1/350 SMS Konig
Part 3
| Turret Blast Bags and Painting
As nice as these turrets are they look naked without the addition of blast bags. These methods can be used on any ship, not just the Konig. The blast bags need to be created before the painting is done. First assemble the turret and position the guns at the desired elevation. |
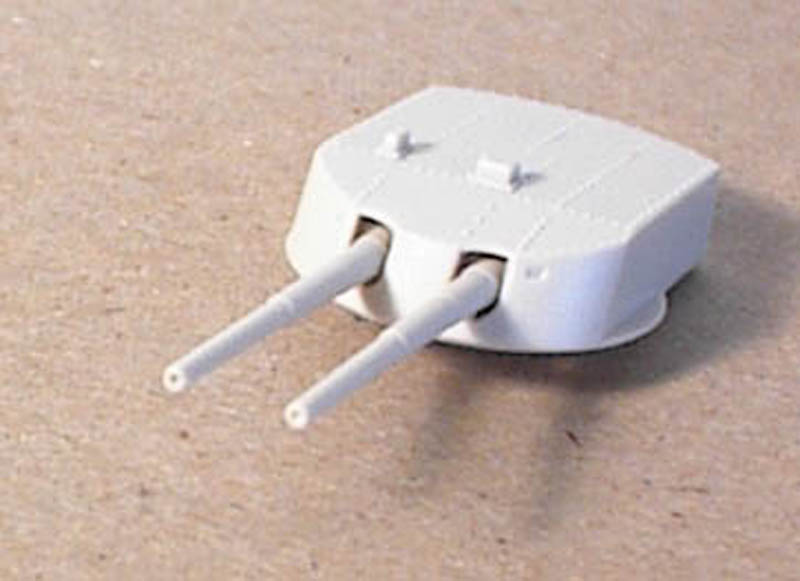
Figure 1. |
| Now that the gun has been installed, we can start the process. The tool you will need is a one 20/0 brush, a tube of Testors Model Putty, and a bottle of Testors Liquid Glue. This glue will work more for an anti stick solution and brush cleaner. Squadron Putty works better but the opening is a little too large to control the putty. The opening is about the right size on the Testors tube to provide the bead of putty that we can work with. Squeeze a small amount of putty out of the tube. Wet the brush with the glue. Remove excess by using the lid of the jar. Then using the brush, shape the putty into a ball as in figure 2. | 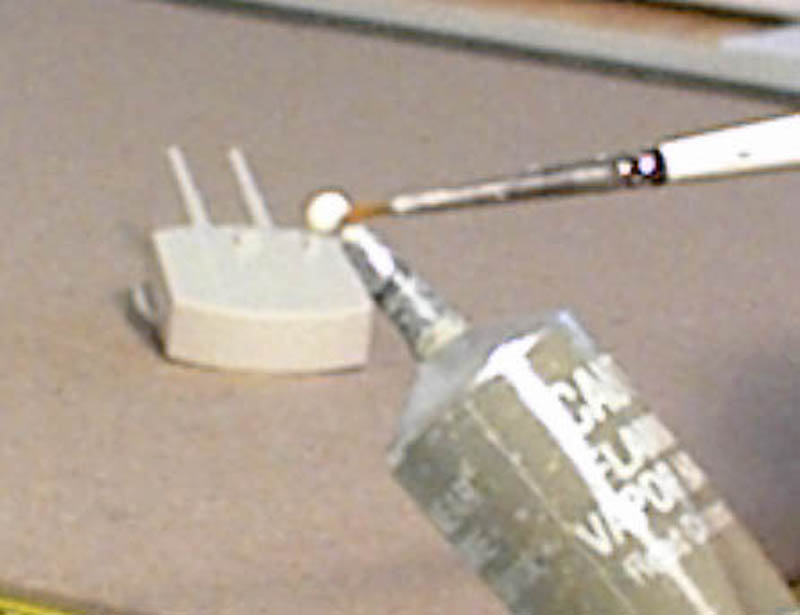
Figure 2. |
| Wet the brush again, and using the tip and side, pick and remove the putty from the brush as close to the tip as possible. You are going to transfer this to the gun where it enters the turret. I like to do this process in four quarters. Top, bottom, and both sides. Once transferred, wet the brush and work the putty into a sagging shape. Starting at the turret roof and tapering down to the gun barrel. It helps to have pictures of the ship to work off of. | 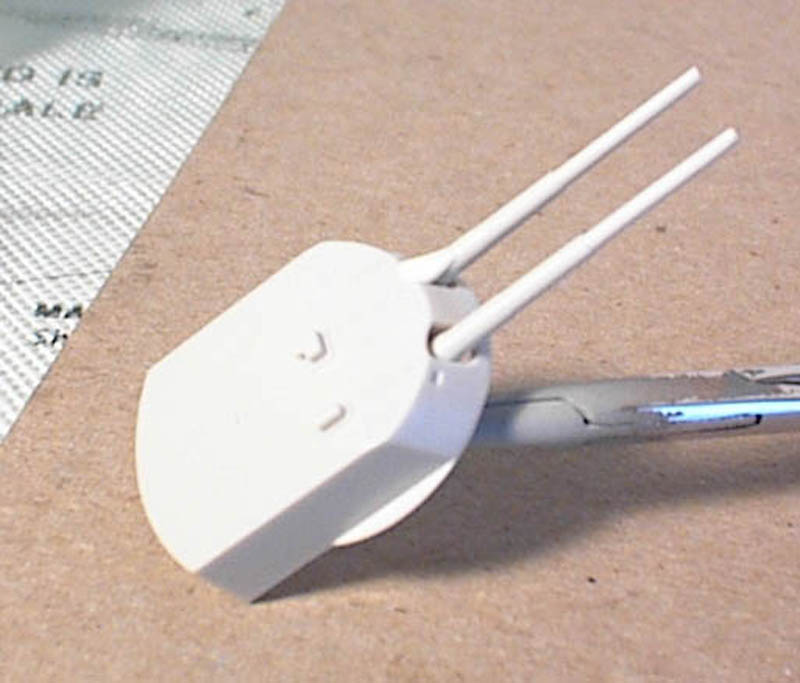
Figure 3. |
| Squeeze the tube and produce a new ball slightly larger than the first one. This is for the bottom bag. Again remove with the tip of the brush and place where gun enters the turret. Wet the brush again and form the bag. I use the width of the gun to judge the width of the bag, making it no wider than the gun. Now, more putty (not as much this time) for the sides . Use only what it takes to fill in the voids on both sides. Wet the brush again and work the bag all around the gun forming it into the shape. The process will repeated on all gun turret. The finished turret will look similar to figure 4. | 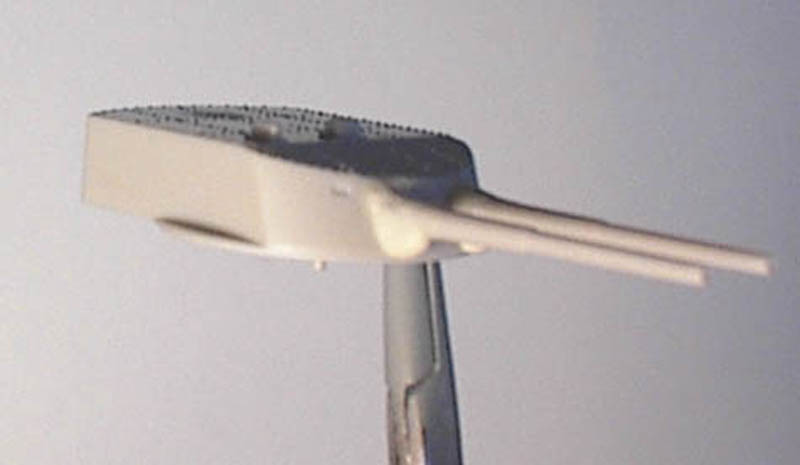
Figure 4. |
| Once the blast bags have been completed and dried over night, we are ready to paint the turrets. We will start with the two turrets that have the white circles on their roofs. First we will paint the turrets roofs flat white and let them thoroughly dry. Cut two pieces of 3M brand 1 7/8 wide masking tape around 12 inches long and lay one piece on top of the other doubling the tape thickness. This will help make a good sharp edge. I work off a piece of glass to preserve the tack on the tape. The circle cutter that we used in part two will have to be adjusted to allow you to cut a small enough circle. | Figure 5. |
| Now precut the two circles for the turret roofs. There are two objects that extend up from the turret roofs that have to be carefully removed so the masking tape will lay tight against the roof. It is easier to scratchbuild replacements than to mask around them. You do not have to remove the molding down to the turret top level, as this may mare the plastic. Leaving the base of the parts will make it easier to locate the replacement details, which can be made with styrene. | 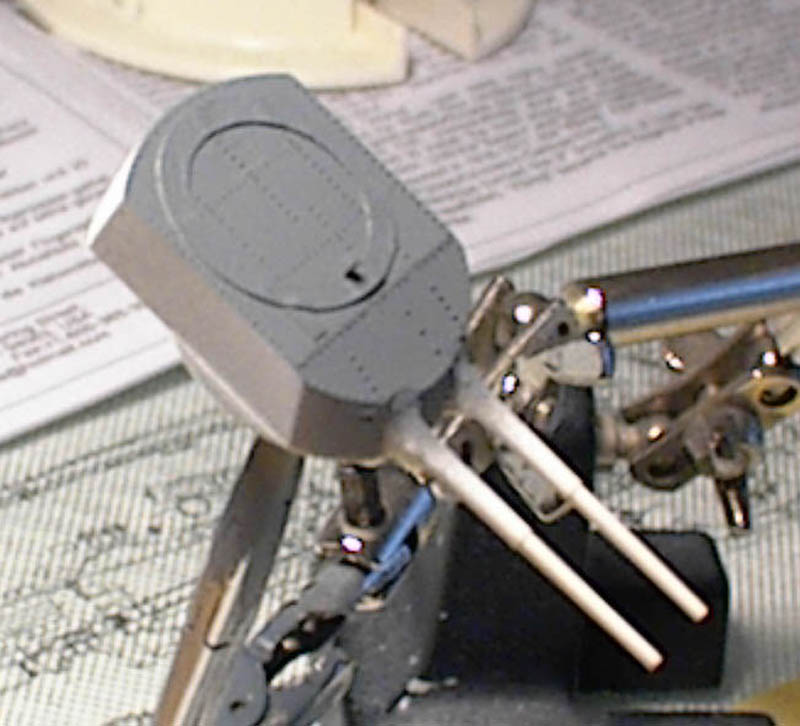
Figure 6. |
| Use a paint brush handle to help set the tape. Now you can apply the German Dark Gray. I like to spray at a little further distance for a softer spray, aiming the airbrush almost straight down onto the turret angle. It may be necessary to use a few coats instead of just one. Now while you have the dark paint in your spray gun, go ahead and spray the other three turrets roofs. | 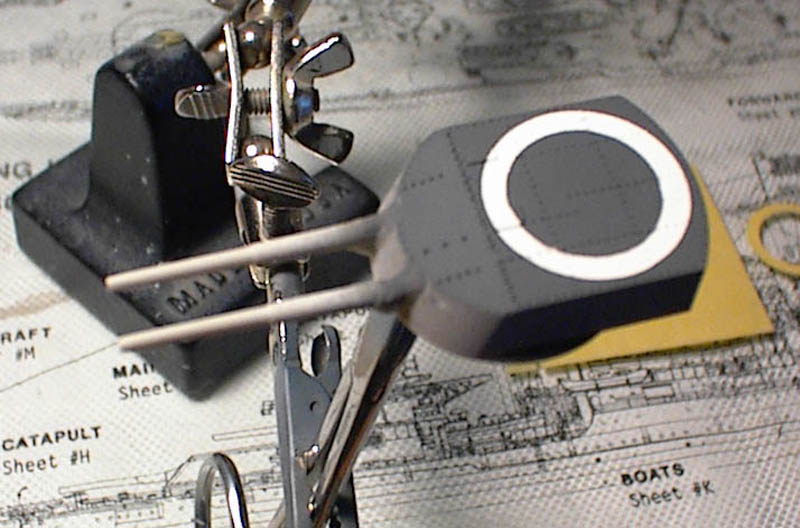
Figure 7. |
| Try to keep the dark paint off the turrets sides as these can be hard to cover with the light gray paint. Using the same 3M tape, mask the turret roofs. Keep the tape cut so it just covers just the top of the roofs. This is most important on the turret front so the paint can cover it all. Cut openings for any raised details to allow the tape to set flat. | 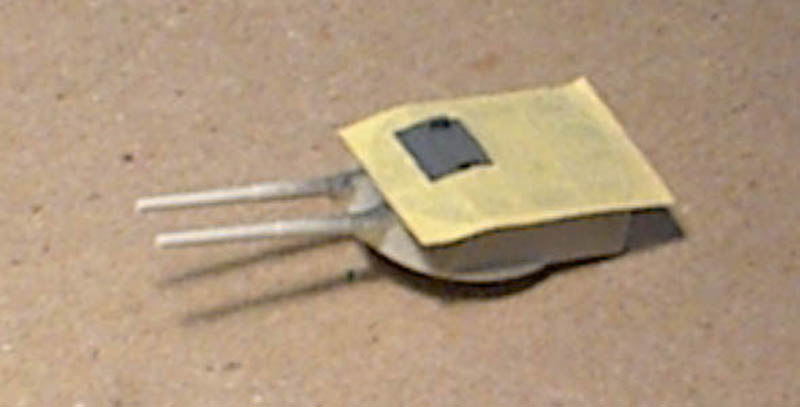
Figure 8. |
| Make sure the tape is secure to the turret, this can be done with a Xacto knife tamping the edge securely along the edge. Spray the paint at an angle with the turret bottom facing the gun. This will help keep the paint from getting up under the tape. | 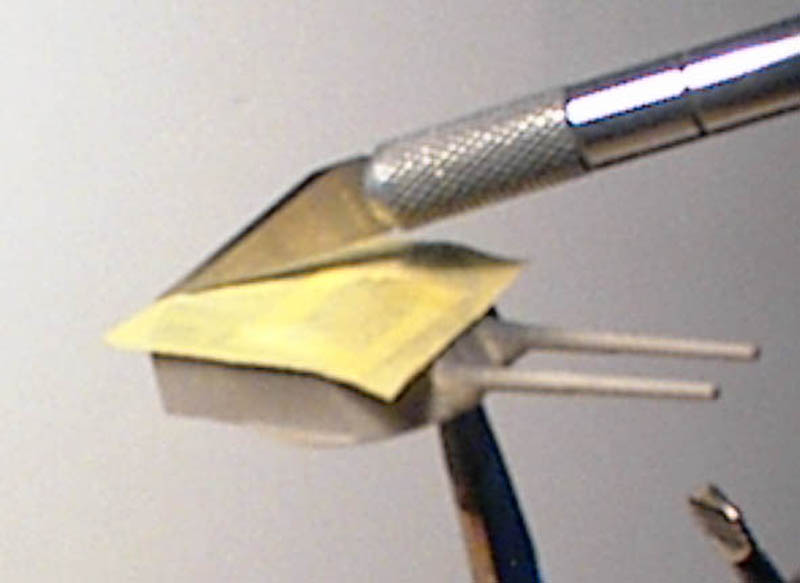
Figure 9. |
| To finish spray the light gray color for the turret sides and gun barrels. When dry, remove tape and you are now ready to highlight the blast bags in the appropriate color. | 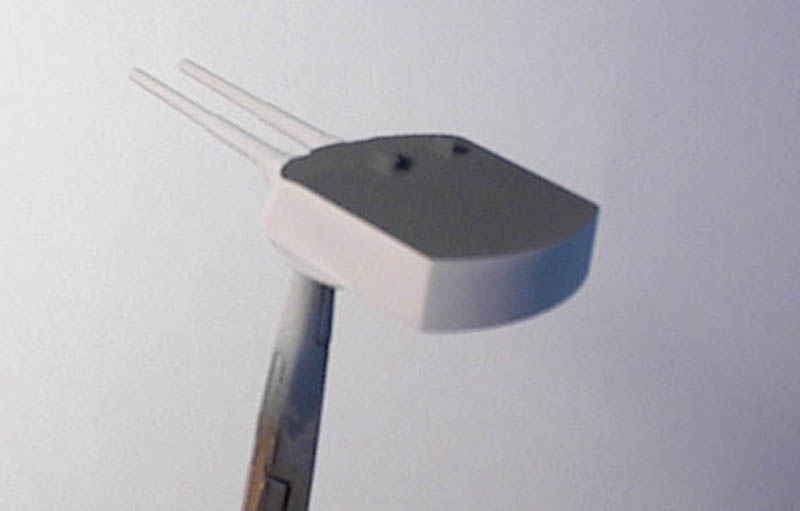
Figure 10. |
| I hand painted the blast bags a slightly darker color to allow them to stand out subtlety. Black decal scraps were cut to represent the gun sighting slits. Set your turrets aside for now and as we have some superstructure parts to assemble. | 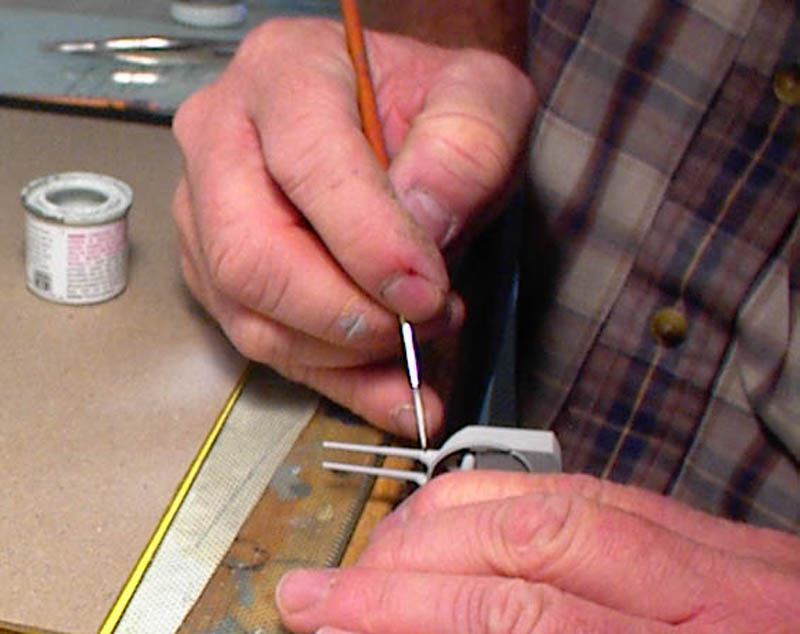 |
| Webmaster's Note: Andy is not online at this time. Please post your questions on the message board. | |
