1/350 SMS Konig
Part 4
| After the superstructure parts are glued together and the seams have been sanded, they were masked off and deck levels were painted. It is better to paint now before any other railings are added as it will be too difficult to mask with the railings in place. | 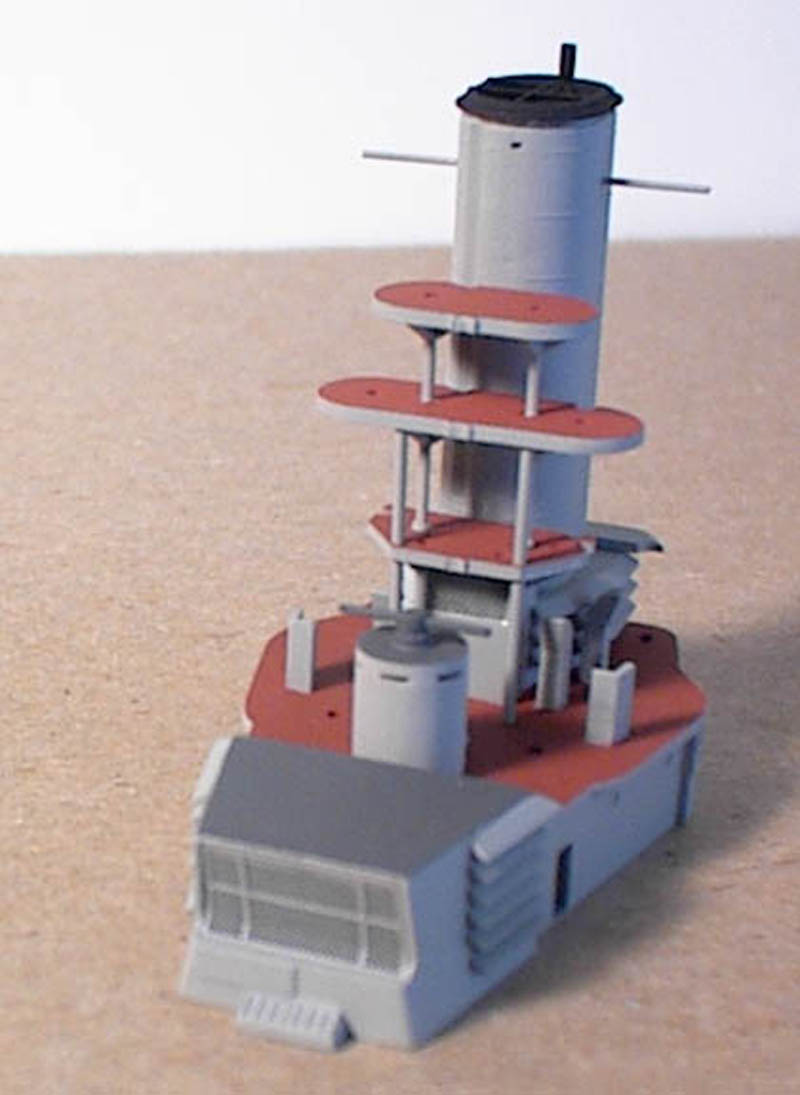 |
| Some photo etch was applied during this stage but most of railings and other parts will be added later. It is best to add the PE items that are hard to get at before moving on. | 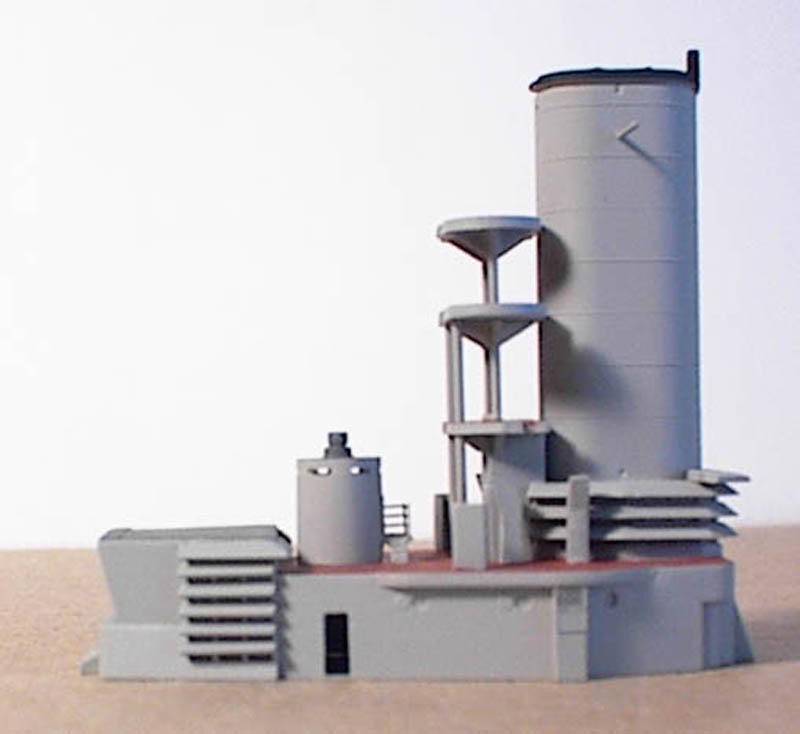 |
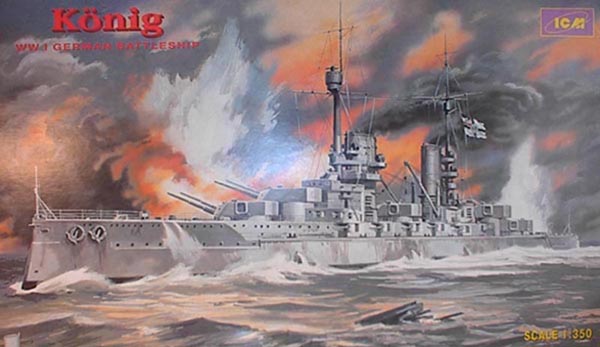
| Here is a view of the forward superstructure prior to photo etch railing installation. Slits have been cut using the same techniques as in part 1. | 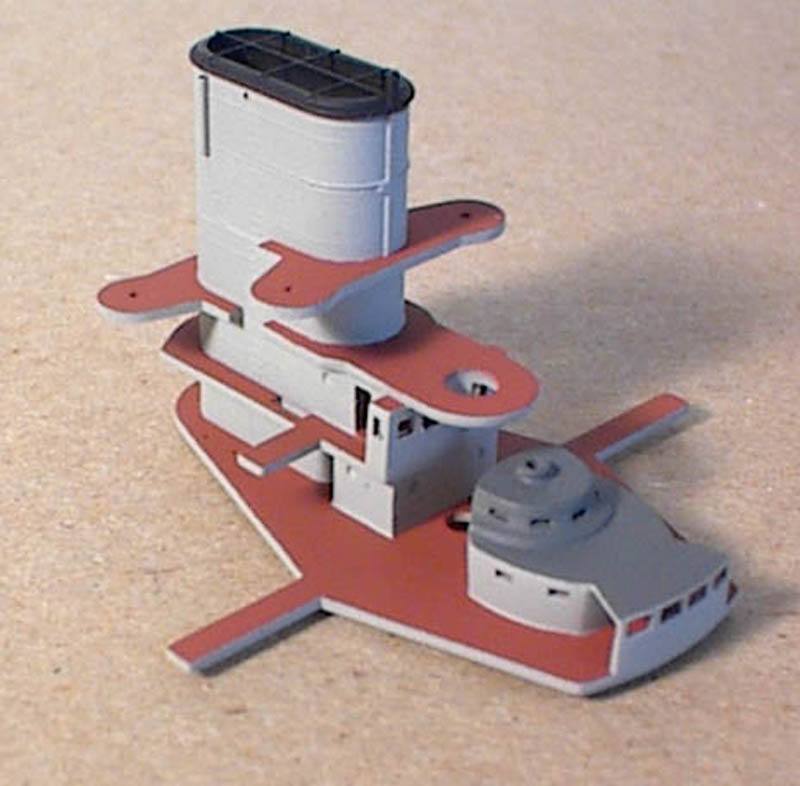 |
| Small parts were assembled and painted prior to assembling. The kit allows for the guns to rotate within their mounts, but these guns will be glued in after the deck has been assembled instead. This makes the deck masking much easier. | |
| Now it's time to add more photo etch to the superstructure. Depending on the size of the part it is best to have some sort of handle to hold it, I used a pair of scissors that fit snugly inside of the part. | 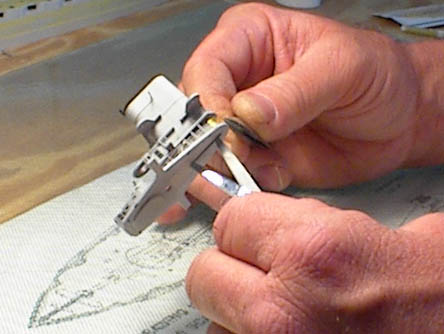 |
| After the railings are measured and cut to length I use a fine set of tweezers to place them on the part. This is a delicate operations and practice makes perfect. Take your time and do a little at a time. It takes very little super glue to hold the railing in place, so be careful not to apply too much. | 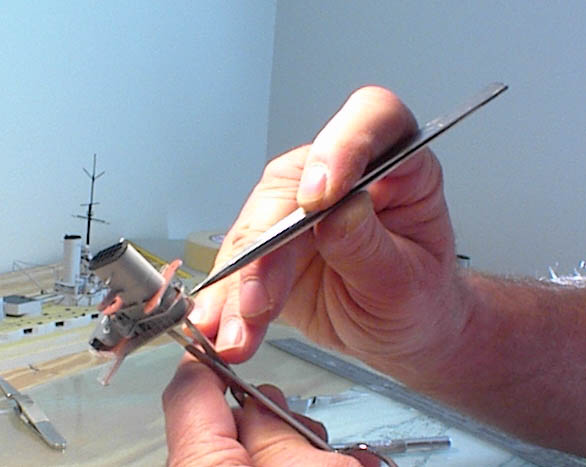 |
| Here is a look at the superstructure seen in Figure 3 above with the addition of some railing. It makes a big difference in the appearance of the part. I generally start at the bottom and work my way up when adding railings. This way you are less likely to knock off the railing that you just applied. | 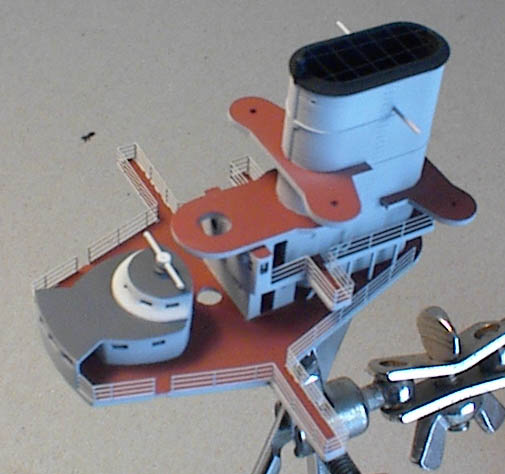 |
| In part five we will construct the mast and detail the superstructure
Stay tuned.
Andy Elwood |
|
| Webmaster's Note: Andy is not online at this time. Please post your questions on the message board. | |
On to Part 5
