in 1/700 scale Part 3
by Gabor
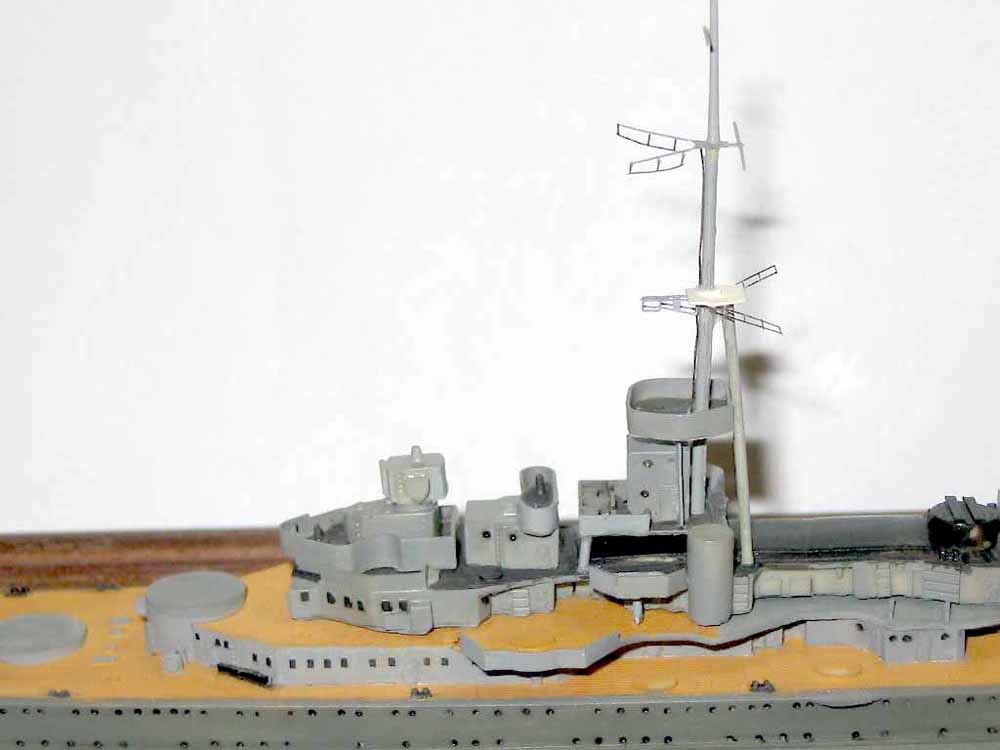
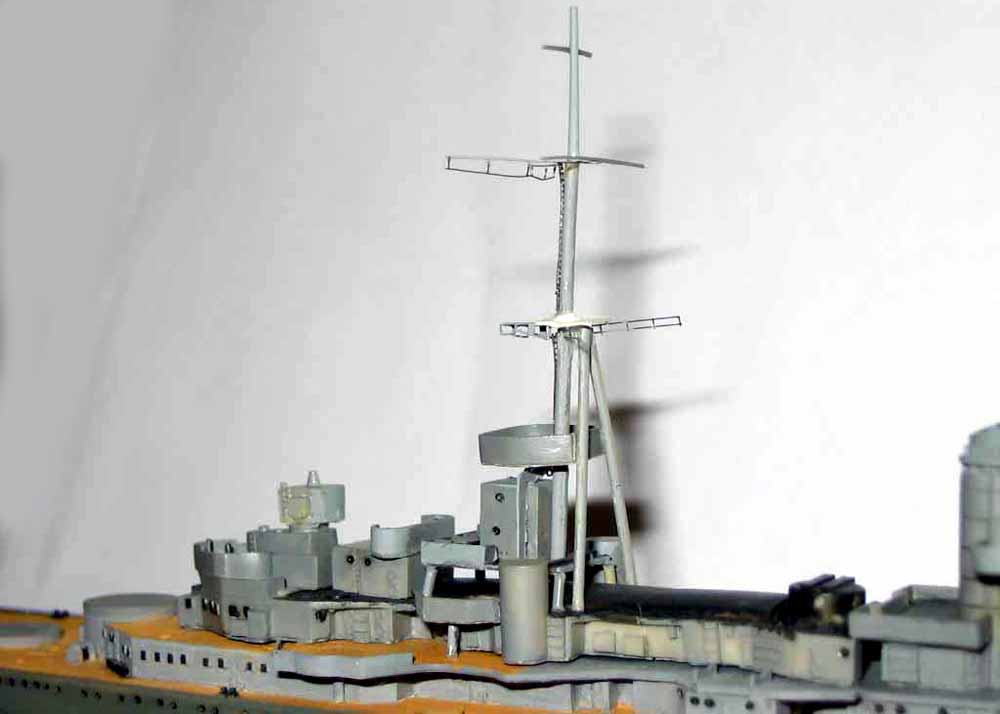
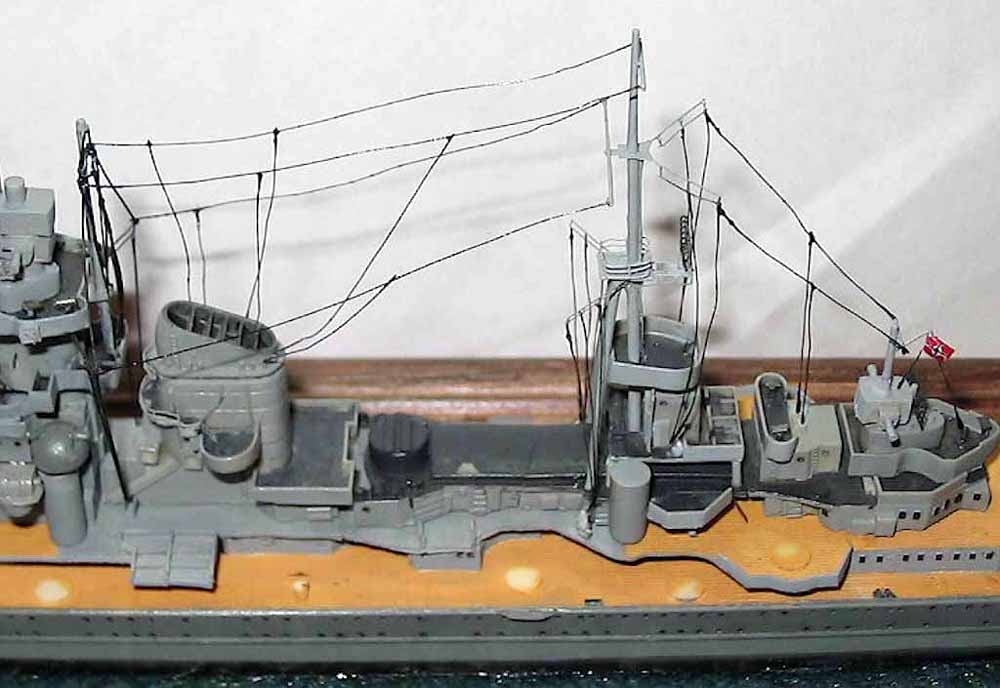
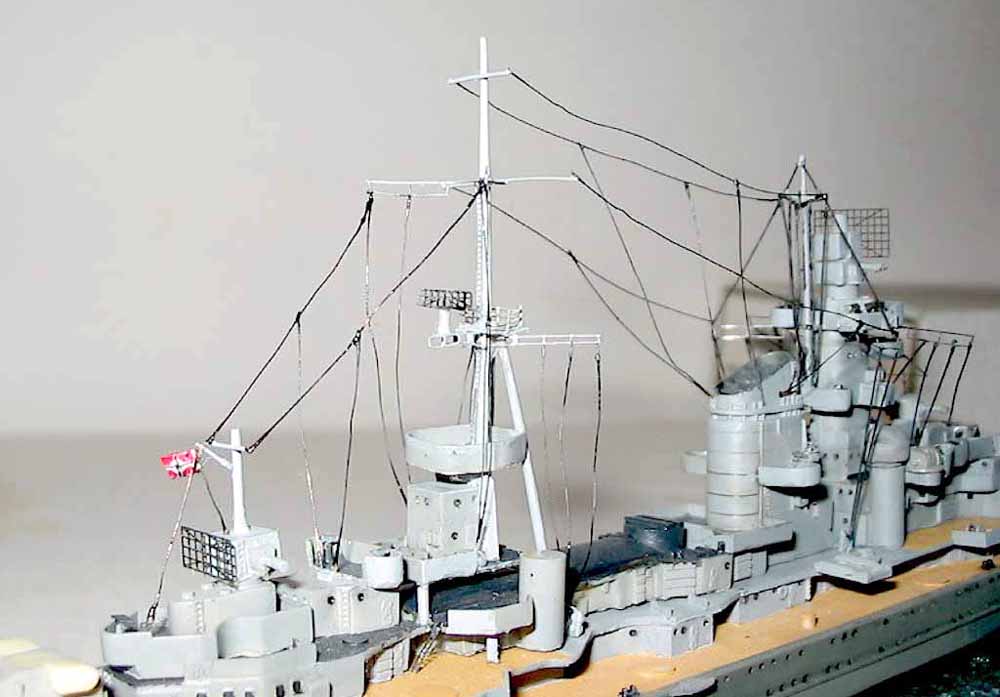
| The third step of the sub-assemblies was the building of
the aft superstructure and the mast. It was easy because I had to do nothing
else except to build step by step. Fit was good everywhere. I had to replace
only one PE part which fell from the table and I crushed it when I tried
to pick it up. It was the platform above the searchlight platform.
|
|||||||||||||||||
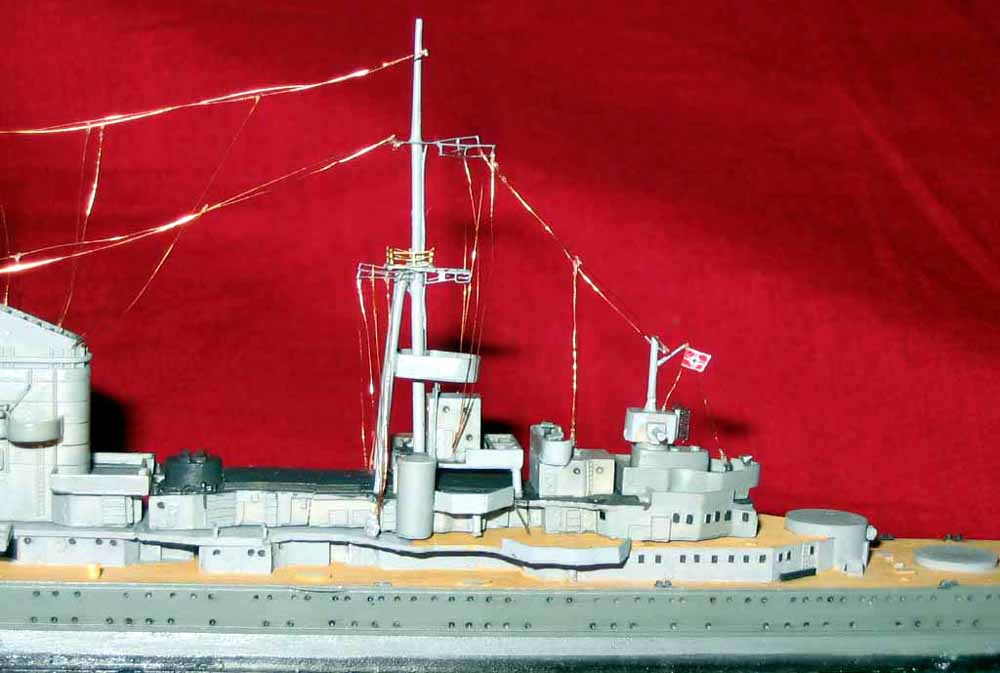
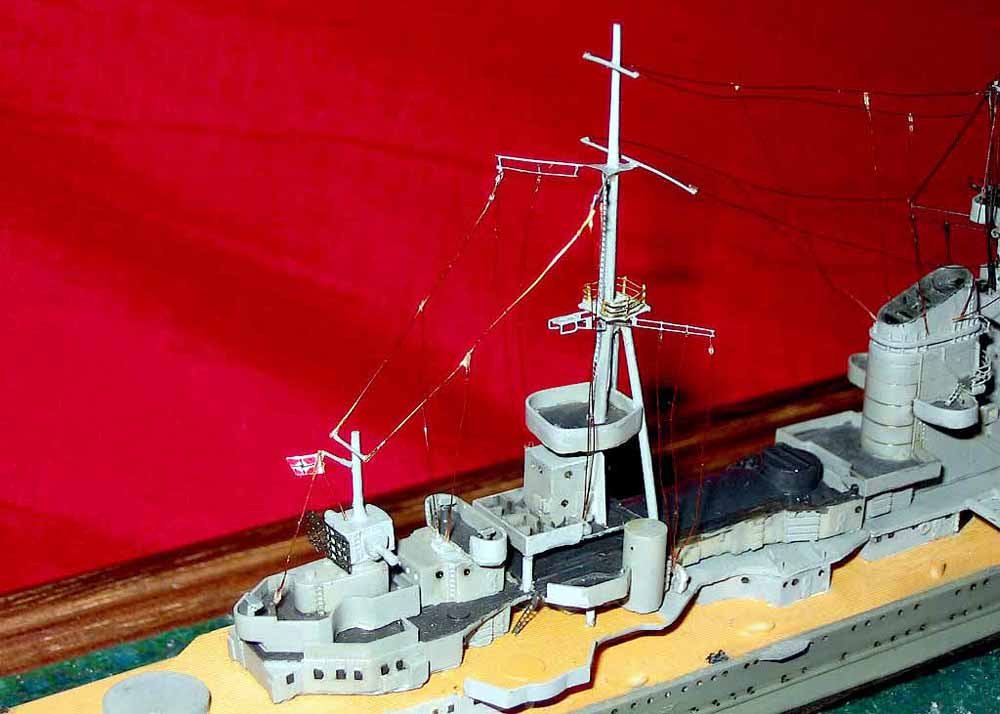
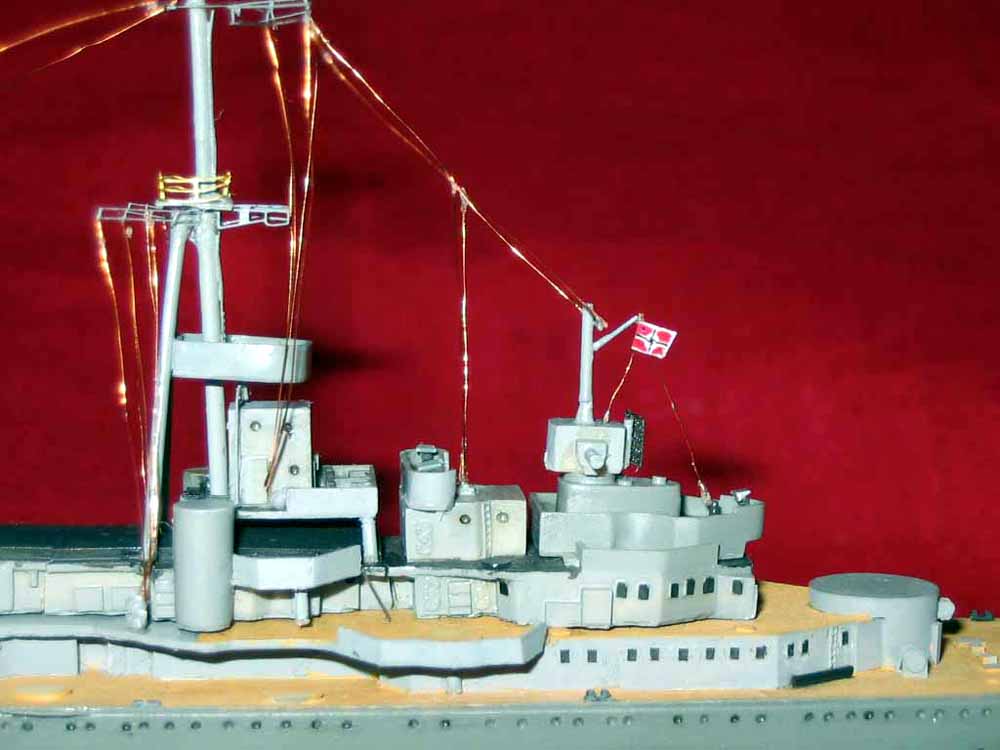
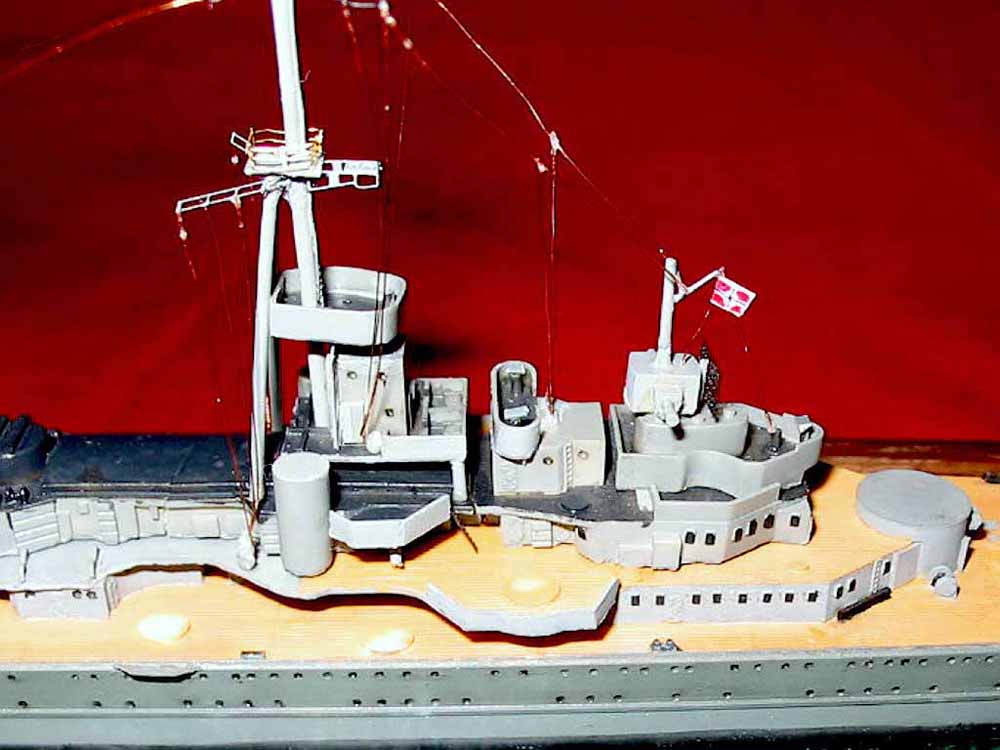
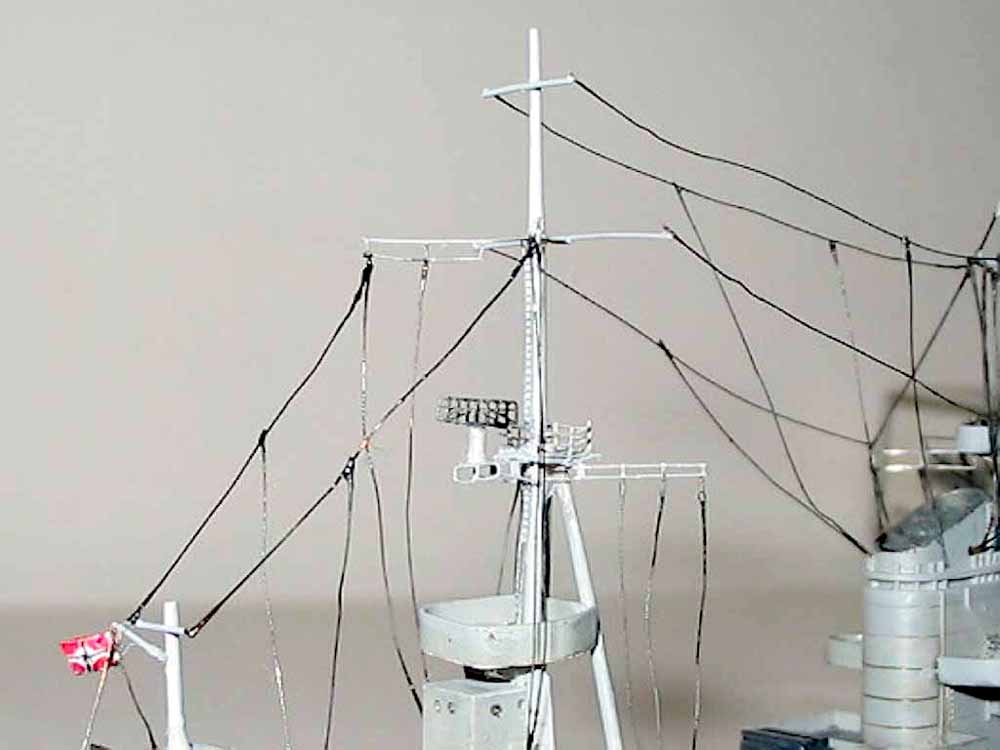
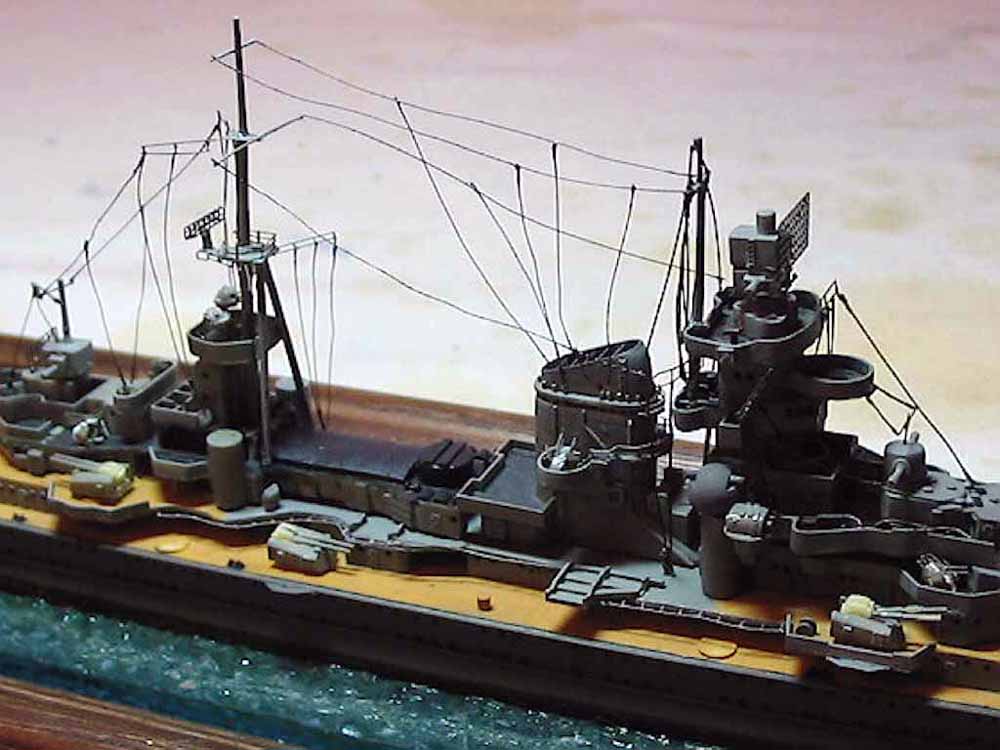
I found two noticeable differences between the real ship
and the kit. The first is a transverse girder which can be found under
the searchlight platform. I made it from a piece of resin wafer. The second
is the FuMo 25 radar above the searchlight platform. The radar is not square
shaped as it can be seen on the enclosed PE fret of the kit, but rectangular.
Its not a big problem. I took the PE part and bent it half then I made
a small plastic rod to hold the radar. Finally I glued the radar to its
place. I cut small pieces from a Heller rail to create the top of the target
designators and I made the crossbars of both aft masts from sprue (see
pictures). The final step was adding and painting the rigging which was
made of brass wire.
|
|||||||||||||||||
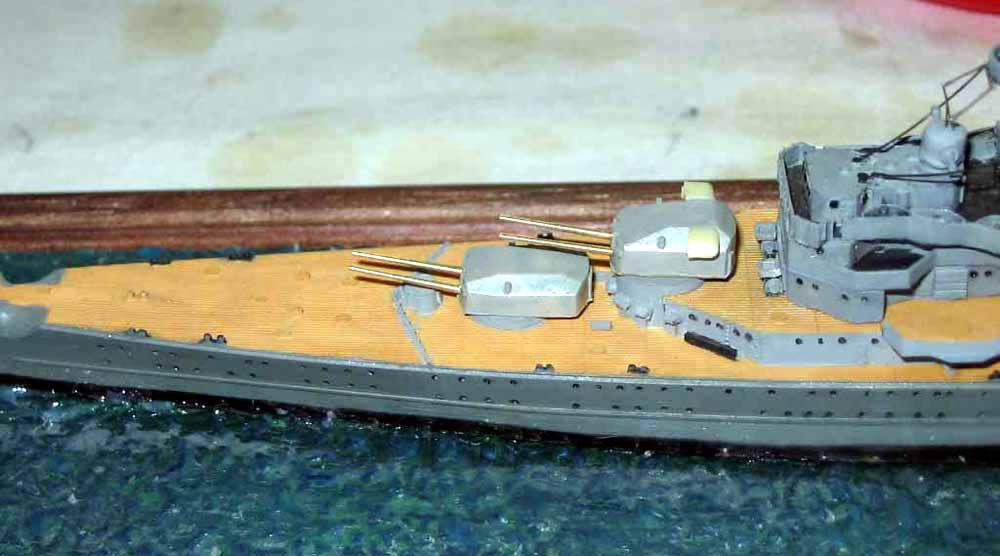
| The first was sanding down the ladders on the sides of
B and C main turrets and replacing them with PE ladders. It was necessary
because the molded ladders were faulty (perhaps something had happened
during the manufacturing process).
Ive replaced the resin gun barrels with brass ones because they looked more realistic. Ive to mention one thing about the main gun turrets. If you want to build the turrets with the blast bags then I recommend the barrel and turret set of Pit Road (which was designed for 1/700 Prinz Eugen kits) because the blast bags are nicely molded to the turrets. If you want to build the turrets without the bags then use the kit parts which dont include the blast bags. |
 |
||||||||||||||||
| It was the secondary (10.5 cm) armament the best to assembly.
I had to glue the barrels to their places only and then glue the gunhouses
to their places.
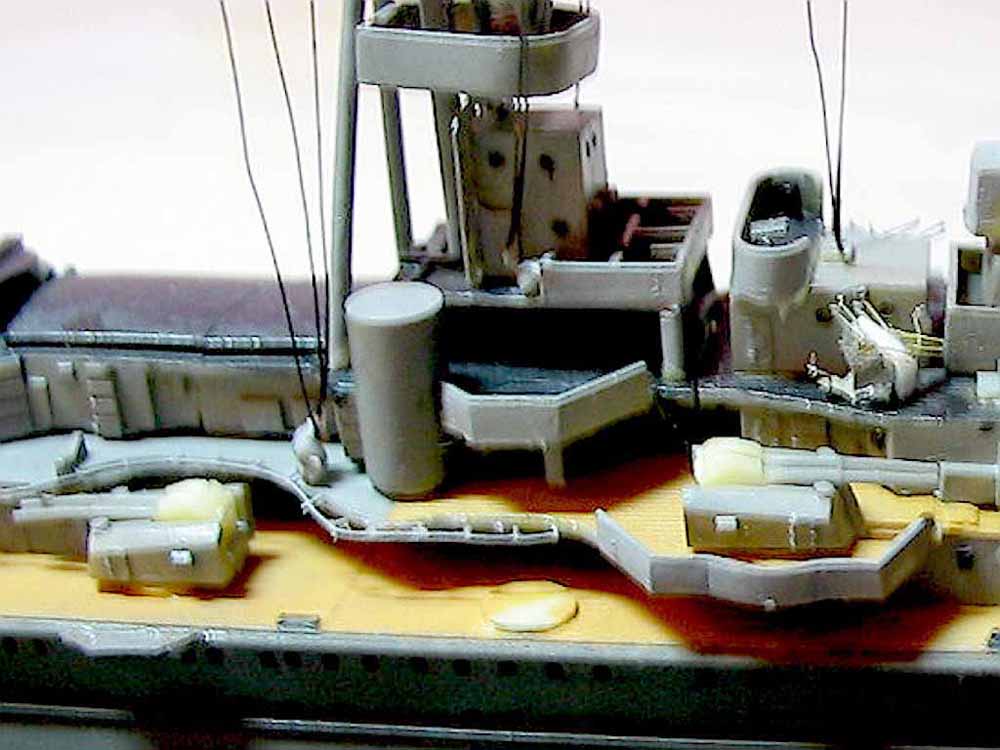
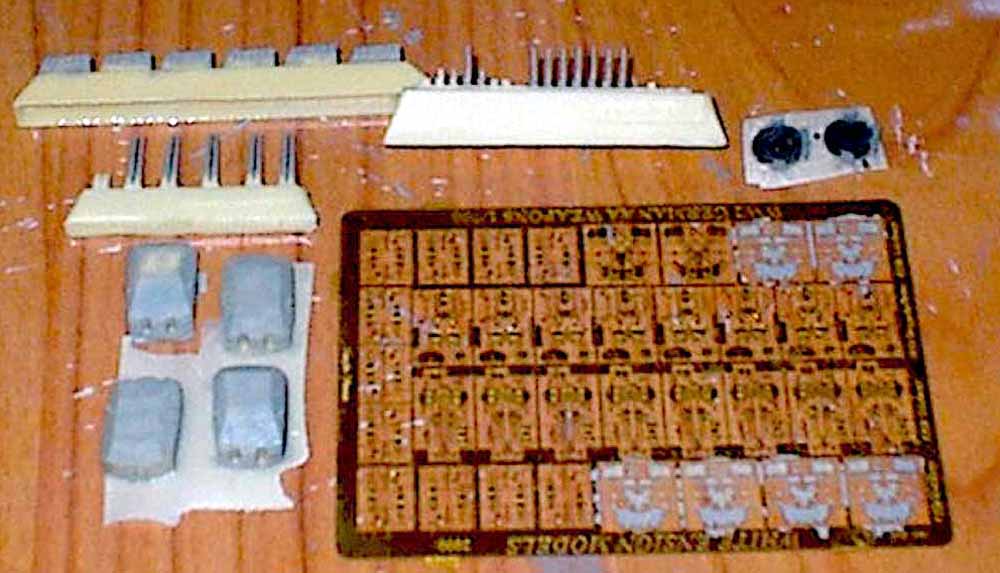
Unfortunately the AA guns were bigger problems. The first was the quality
of the parts, their poor. The second problem was that two types of Flak
were missing. One of them was the 2 cm Doppellafettes, the other one the
2 cm Flakvierling. Samek issued the kit with 4 cm Flaks only.
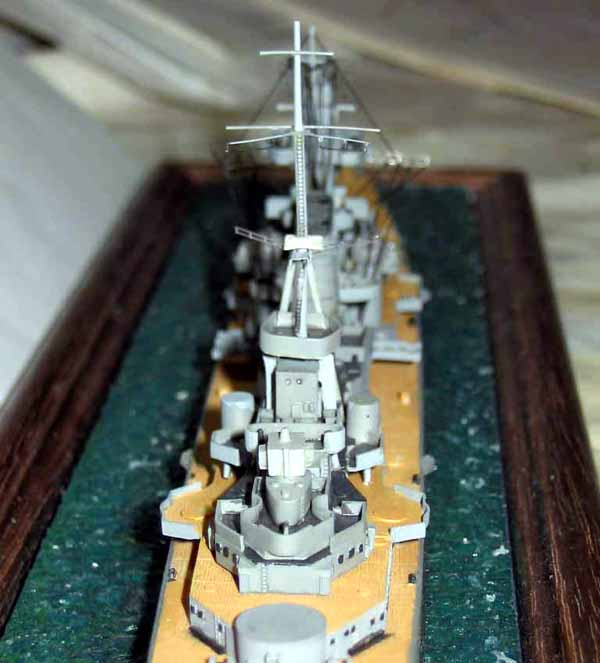
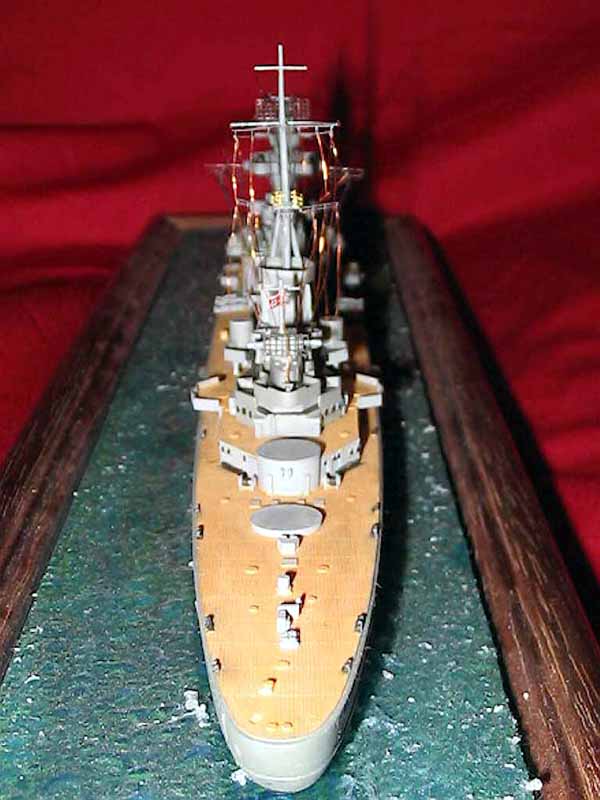
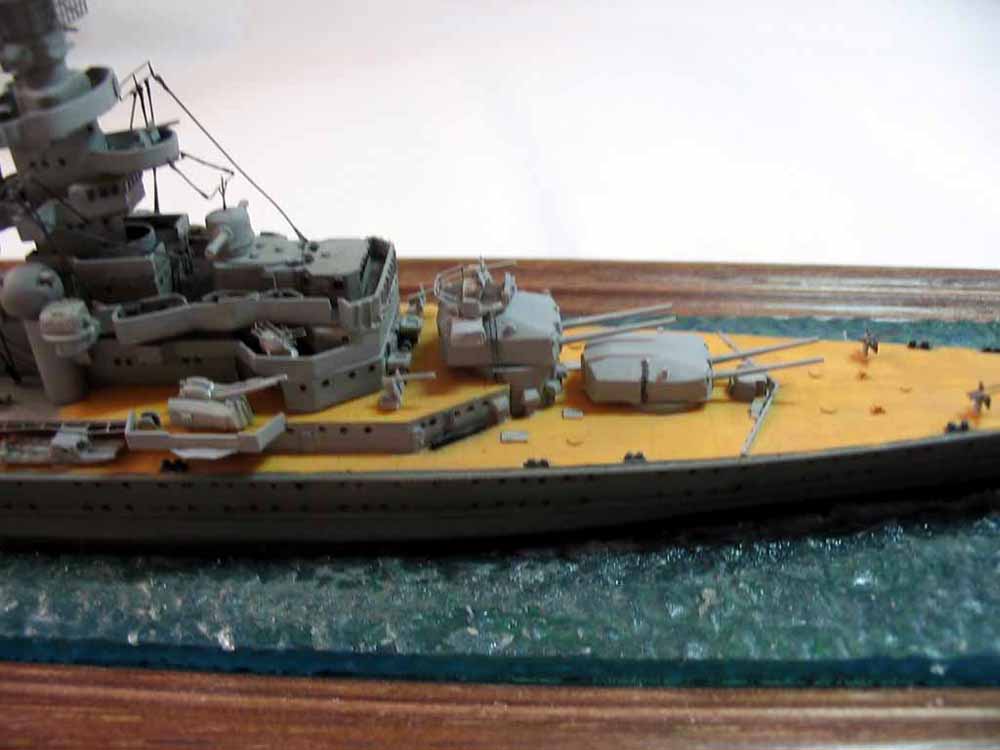
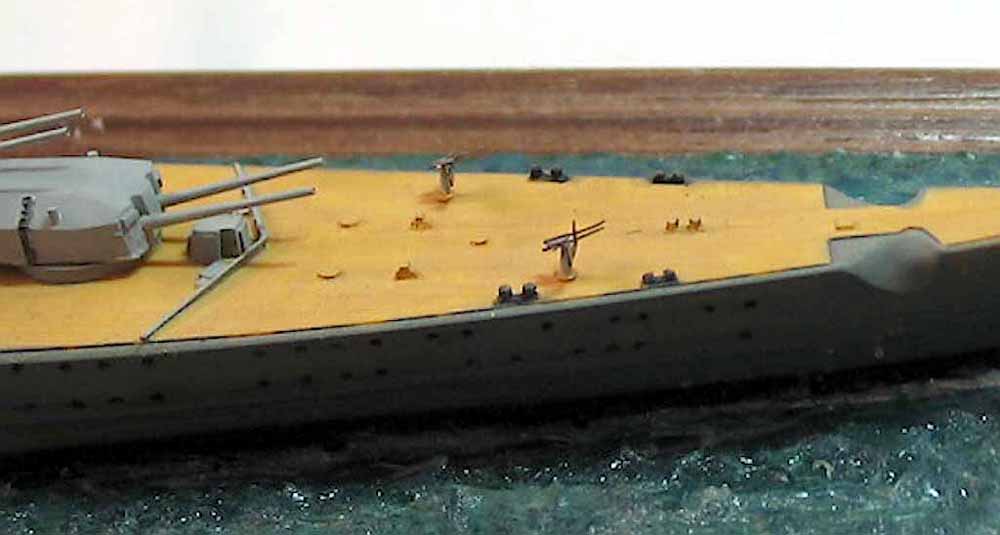
Here came another problem. It seems Samek supplies their own fret but they dont leave enough space for other Aftermarket AA guns. I hardly could glue the Flakvierlings to their places. The problem wasnt the body of the guns but the shields. There simply is not enough space to glue them to the gun in correct open position. The 2 cm Doppelafettes were less problematical. I scratchbuilt them, using the parts from the kit. Then I glued them to the foredeck. Id like to give you the configuration of the AA guns what I found the
best for Prinz Eugen at the end of 1944 (for the location of guns see pictures):
There is one more thing about the AA guns. When you mount the two 4 cm Flak to the top of B and C turrets, you have to modify the platform. Cut down the splinter shields and replace them with two bar rails. |
|||||||||||||||||
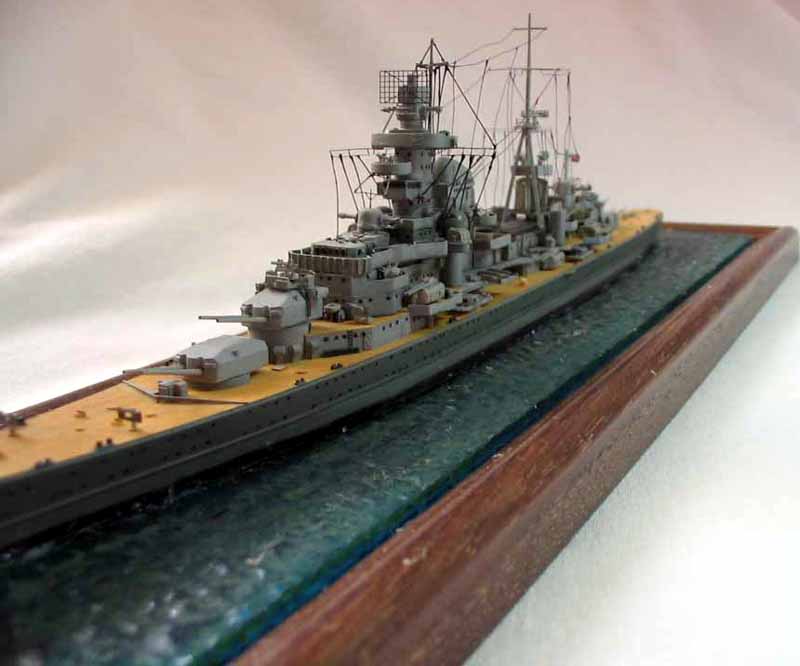
The last phase was adding the rails, anchor chains and other PE parts and forming the diorama around the ship. This will be described in part 4 |
|||||||||||||||||
| For an in-box reveiw of this kit
click here.
|
|||||||||||||||||