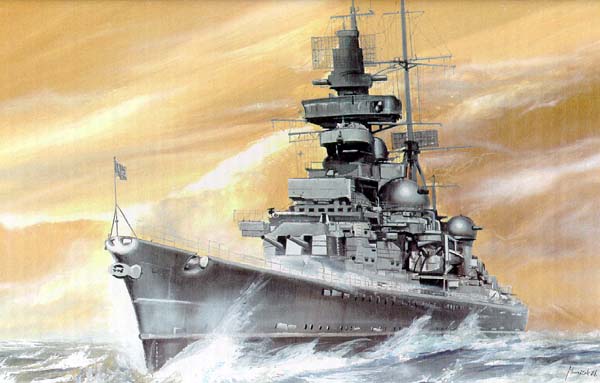
in 1/700 scale Part 2
by Gabor
| Before the building of the aft superstructure and the mainmast,
I took a diversion.
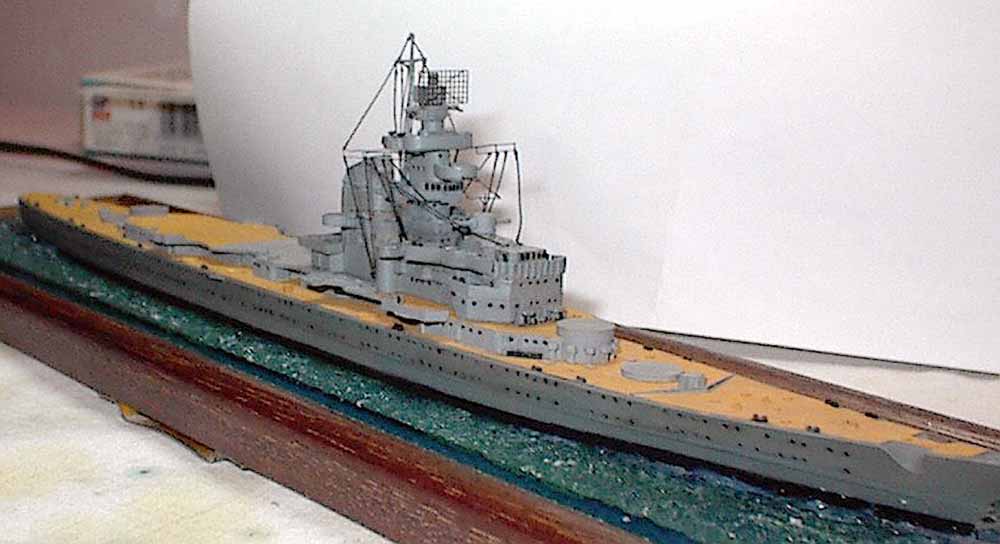
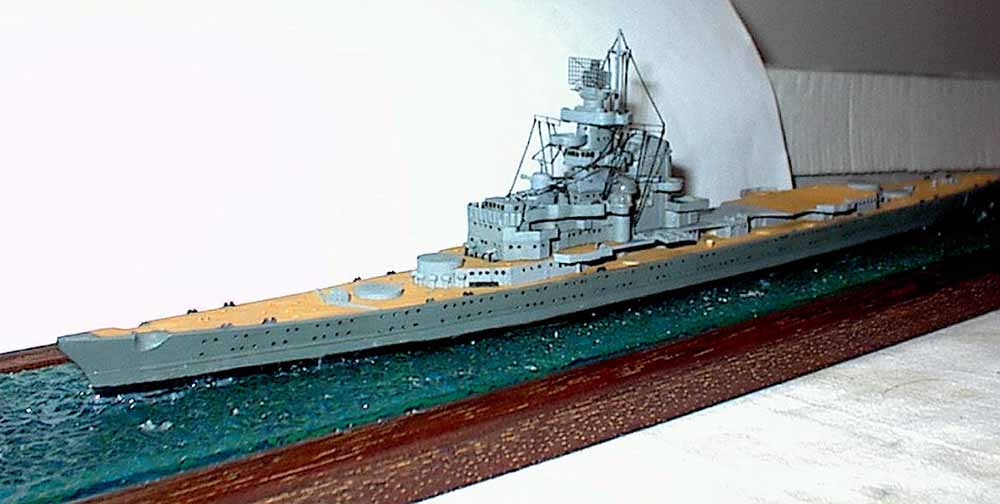
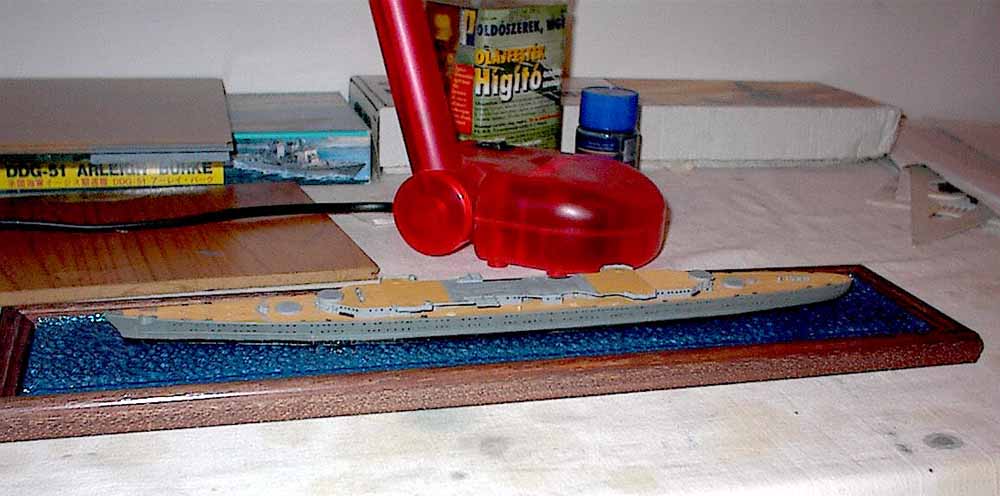
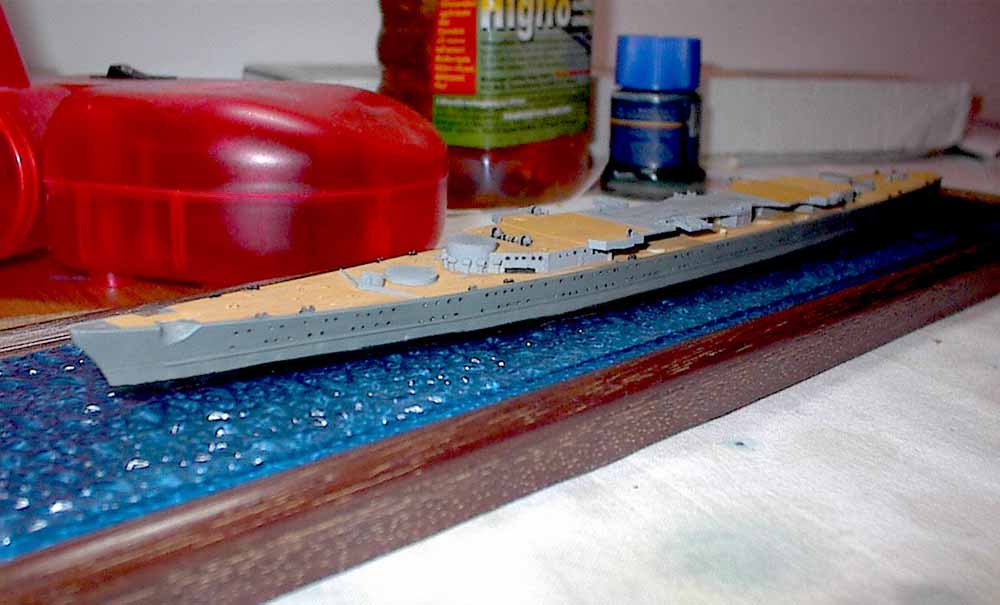
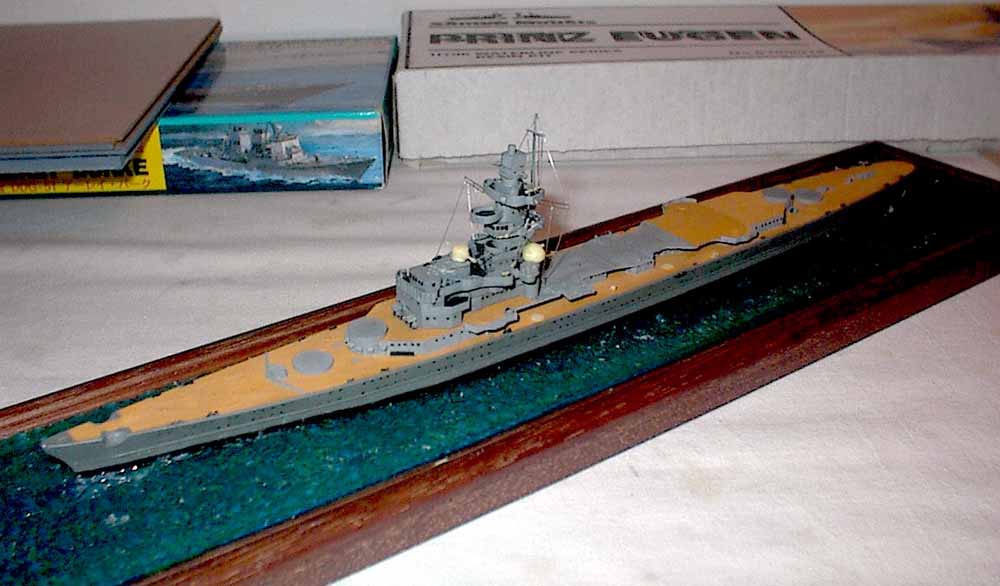
Ive built a small diorama basic for the ship. Its a piece of framed wood plate. The plate was painted with dark blue then I painted irregular light blue stripes to simulate the depth. The water is a piece of shower door glass. The smooth side of the glass was painted with well thinned light blue. After drying I glued the glass to the wood plate with the grainy side up. I used a special glue. Unfortunately I didnt find the proper English word, thus I try to describe this glue shortly. Its a white gel which becomes colorless after drying. Its used for gluing glass parts of hobby aquariums. Maybe you can get a tube in a hardver store. After gluing I painted the grainy side of the glass with light green and after drying I glued the hull of the kit to the plate ( the hull was painted earlier ). Then I took a small portion from the above mentioned glue and spread it on the glass around the hull (see pictures). What you cant see on the pictures is the final phase. The waves will be painted with white but itll be done later. |
to enlarge |
|||
 |
||||
 |
||||
 |
||||
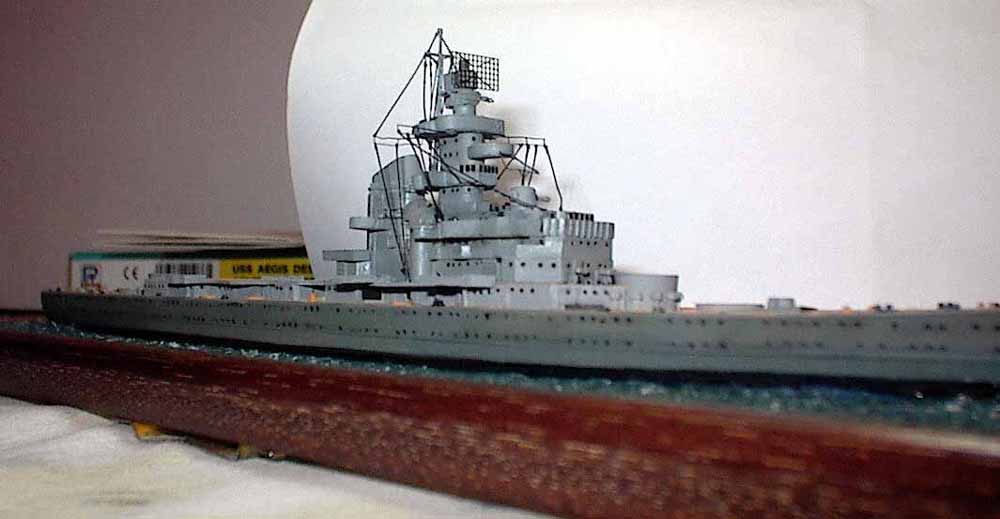
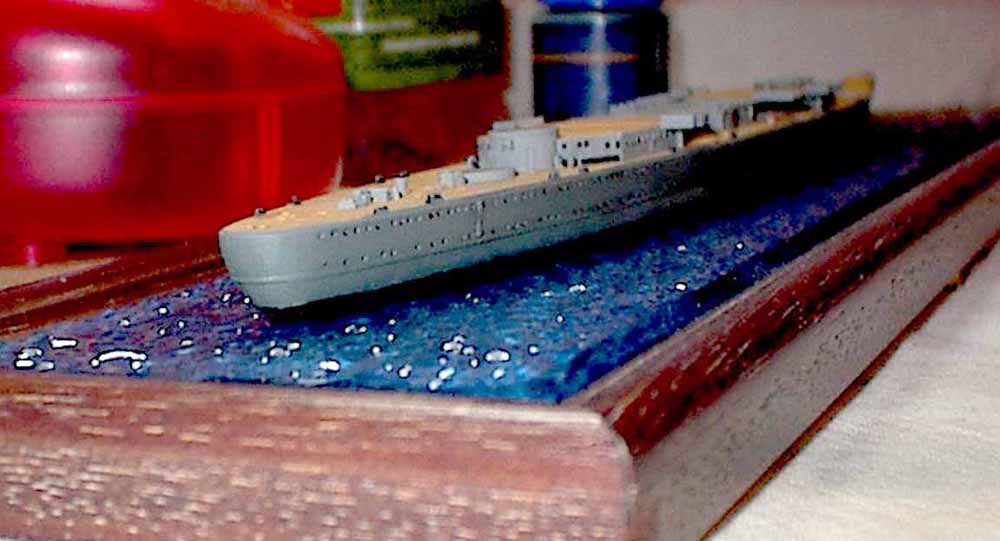
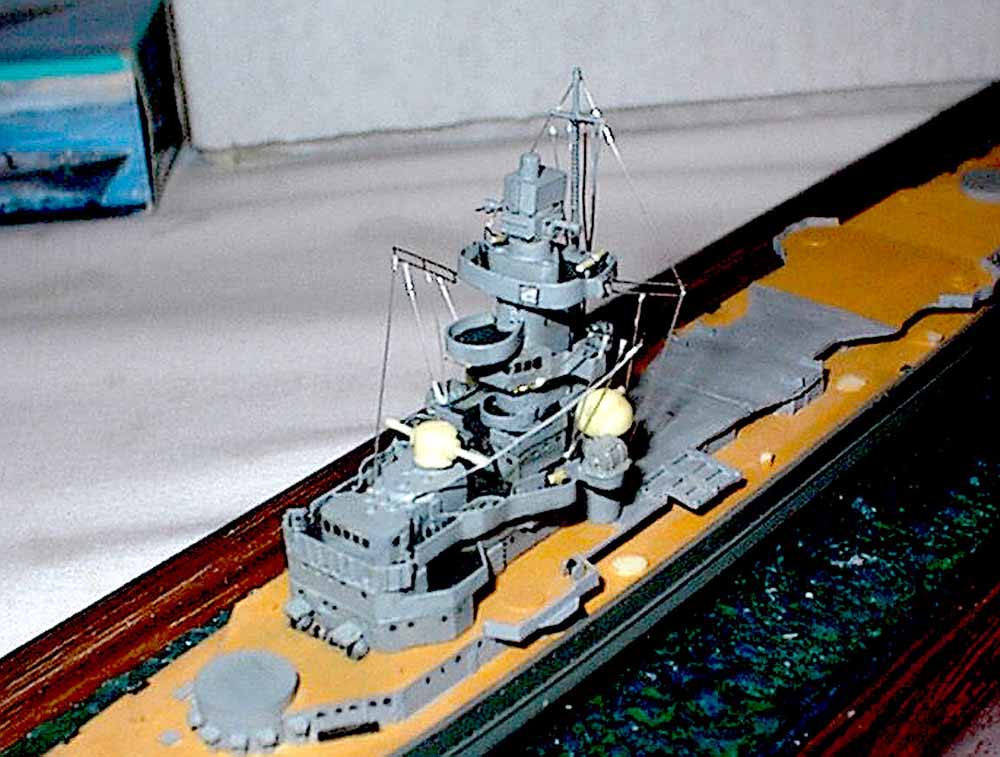
| The next step was gluing the bridge section to its place.
I added the PE parts, made the rigging and I made a little scratchbuilding
(see pictures). The rigging is made from sprue and fishing-line. The target
designators are made of sprue. Ive tried to cut nearly equal parts.
The FUMB 4, "Sumatra radars (see on the sides of foretop platform) are also scratchbuilt parts made from a piece of helicopter safety net (from a PE set made for 1/700 modern ships) and a small piece of resin. After gluing everything to its place I painted the unpainted parts of the bridge section, including the rigging and other stuffs. |
 |
|||
 |
||||
|
||||
|
||||
| For an in-box reveiw of this kit
click here.
|
||||