in 1/700 scale Part 1
by Gabor
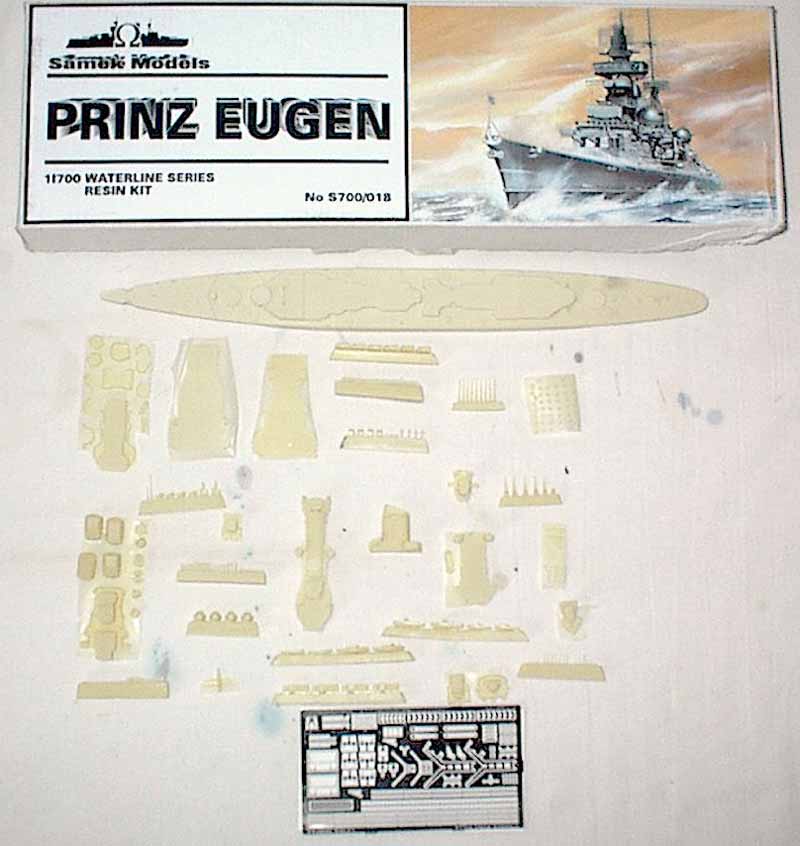
| I have to agree with Timothy's
in-box reveiw of this kit. The main weakness of the kit is the assembly
instruction sheet. It requires carefull studying altough its not as difficult
as it seems. The sub-assemblies can be separated well and I think there
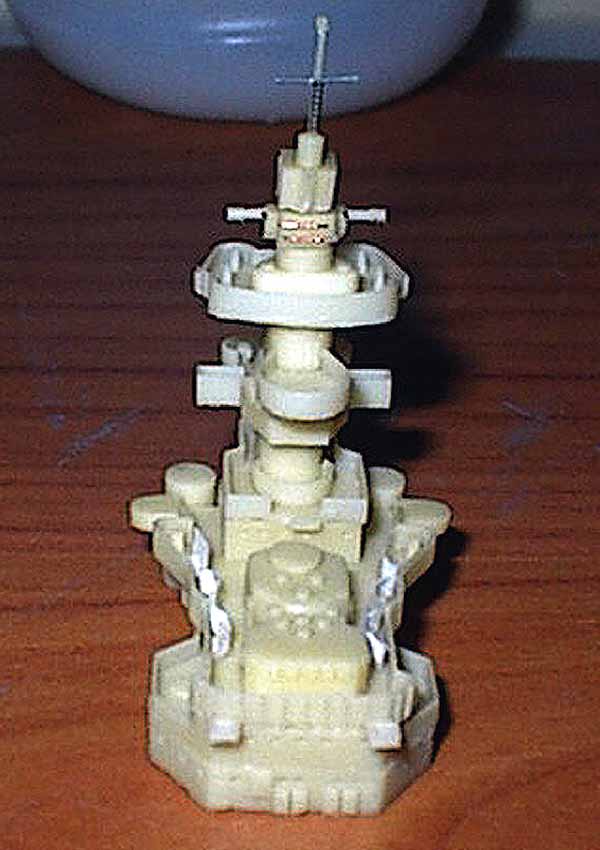
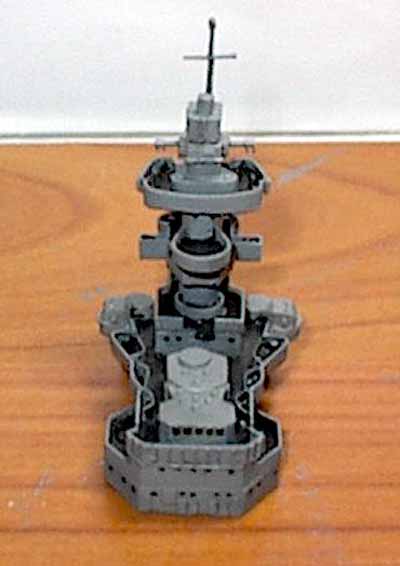
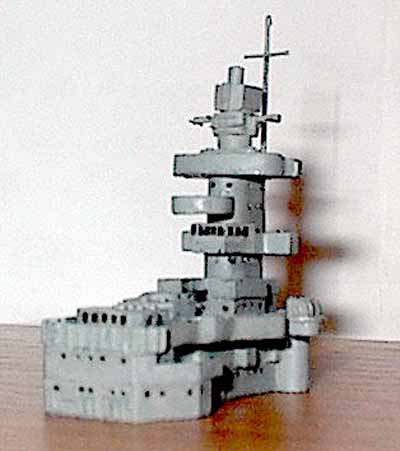
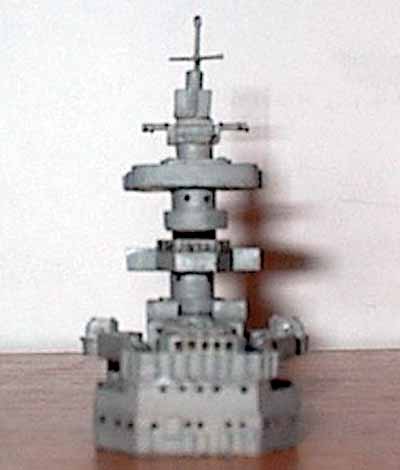
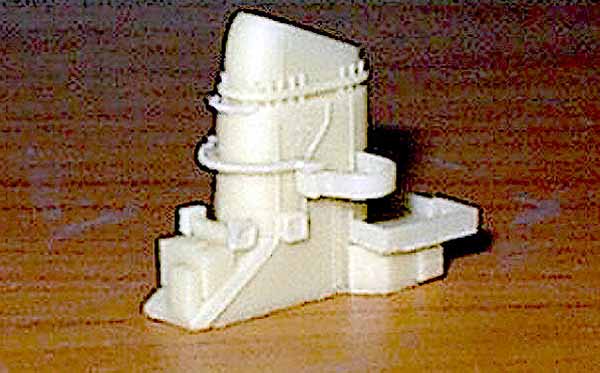
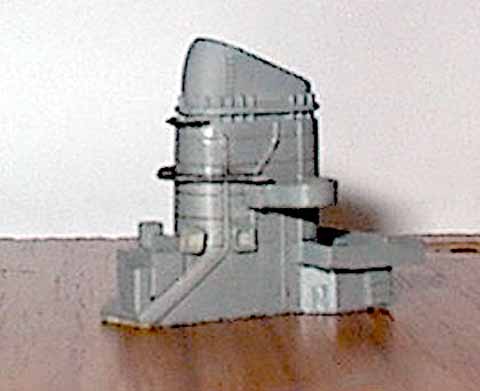
are four sub-assemblies: the bridge section, the stack, the aft superstructure
with the mast and the armament.
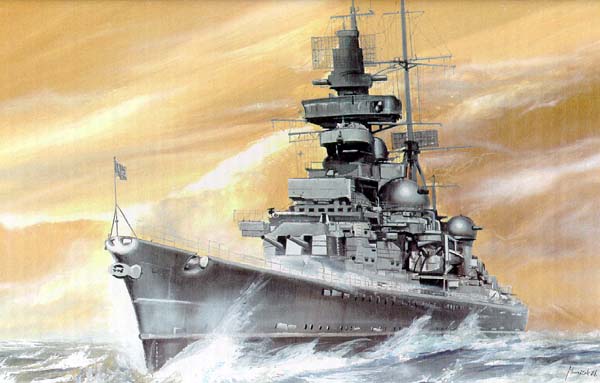
Altough the kit represents the ship in her 1945 form if you have enough reference material you can build an earlier version. Ive modelled the Prinz Eugen as she appeared at the end of 1944 because Ive already seen several kits showing her in 1941/42 but I hardly saw models showing her at the end of the war. |
|||||
| I started the assembly with the hull. Id like to show
you a method which can be useful if you paint with handbrush. I call this
method scarving and I do it on each kit where the upperwork and deck
is molded together. What is this method ?
Take a blade and scarve a small canal alongside the basic of the upperwork (see picture .., the canal is marked with a thin red line). Repeat this procedure at the breakwater. Do it slow because if you cut the deck or the upperwork, the scarve can be seen after painting. Why is it good ? Because the colors of the deck and upperwork are different. That small canal will barrier the mixing of the colors. |
to enlarge |
||||
| The next phase was the painting of the main deck and the
basic of the upperwork. Now you can see how useful that canal was.
The next was the first thing what I didnt understand. The basics of the bridge section and the aft superstructure are two large parts. I had to cut out a small piece from one of them because the parts are long ! This cutting is marked on the instruction sheet but Samek doesnt explainto you why. I glued the PE parts to their places and painted the two parts |
|||||
|
|||||
|
|||||
| For an in-box reveiw of this kit
click here.
The next will be the building of the aft superstructure and the mast. Coming soon ! |
 |
||||