| Part II was mostly about the flight deck; an important part of any carrier. This section will touch on some issues that my build suffered from concerning the flight deck. | |||||||||
| Let's do the twist! | |||||||||
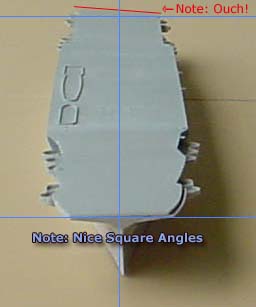
| As the deck went down I noticed that the stern seemed to have an oddity' the starboard side of the flight deck was higher than the port side. The ship sat down on a flat surface well, but it seemed like there was a twist in the hull. | Click images
to enlarge |
||||||||
| Further examination revealed that it wasn't a twist; just that there
was one area that was shoved up. I recalled that when I was gluing the
stern together the deck below the flight deck had seemed a bit narrower
than the hull below it; thinking that the hull had "relaxed" a bit after
molding I squeezed the hull at this point to narrow it and make less filling
and sanding for me down the road. I had probably glued the port side down
first, and when I went and did the starboard side the narrow hull translated
to one edge being higher than the other.
Nothing else to do but cut the joint, press down on the deck until it was flat, and reglue it. I cut the joint by using my knife to score the joint over and over, until I eventually cut all the way through. I used plenty of glue when reglueing it as I wanted to be strong to resist any torsion force that I had glued into the surrounding structure. The hull did stick out a bit but it actually wasn't that hard to sand down with a coarse and then fine sanding stick. Cost me a night's work including the time spent waiting for the glue to dry. |
 |
||||||||
| The rest of the hull was relatively easy to clean up. Save yourself some headache and just sand off the porthole eyebrows while you're sanding and puttying the joint as they weren't there on Lex; if you don't believe me look at pages 18-21 of the Classic Warship book. One possible *positive* about the small depression that this joint has before filling is that it might serve as a good guide and "brace" for the Gold Medal Models Photo Etch Safety Nets, which have no bracing to mount them against the hull and will probably be quite fragile when completed. | 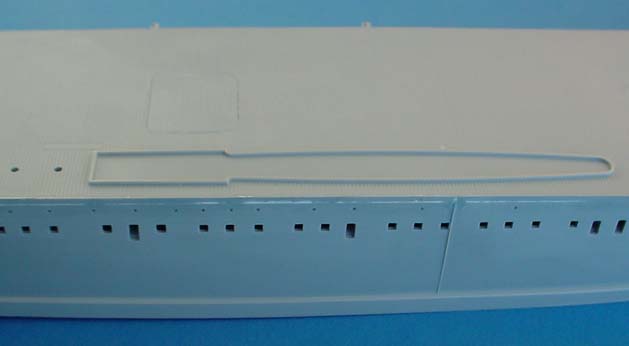 |
||||||||
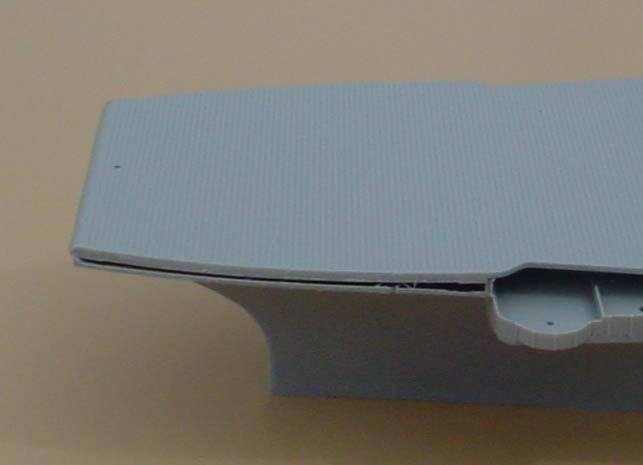
| Because I had chosen to seat the bow cheek firmly against the hull instead of the flight deck I was left with a gap where the cheek protruded beyond the edge of the deck. Although it was a huge gap, I believe it's easier to fix this than the gap one gets otherwise at the hull-to-cheek joint. First step was to line my razor saw up vertically and cut the prodruding section off. This left a fairly large gap on the side, but I was able to plug this with a series of plastic shims which I then cut off and sanded down. In the process I noted that the line of portholes on the cheek had their path twisted and one was even cut partially through; the good news is that these did not exist on Lexington and you can simply fill them and not worry about redrilling. |  |
||||||||
|
|||||||||
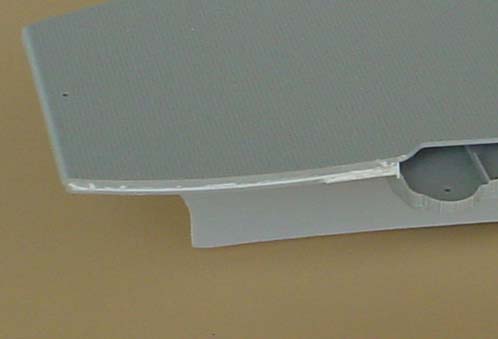
| The Starboard side was similar albeit not as bad. It did present a challenge however, in that it was flush at the bow, so it was not really an option to just dive in with the razor saw. What I would up doing was using my flush cutters to cut a pretty messy section of gradual "ramp" from the very bow flush with the flight deck so that I did eventually get a point about half way back that I could then start using the razor saw with. The advantage of switching to the razor saw at this point rather than sticking with the cutters is that I can make a more purely vertical surfaceon the cut so that there is less work done to reconstruct the lower edge of this surface. It worked well enough that the putty that was smeared on this area just to fill the gaps left over from the plastic shim was enough to ensure nice sharp corners. | 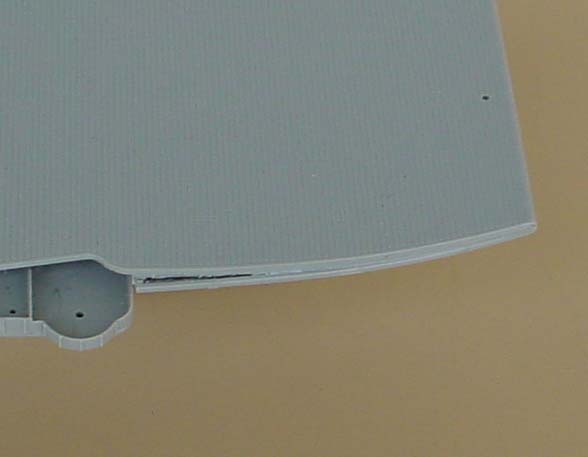 |
||||||||
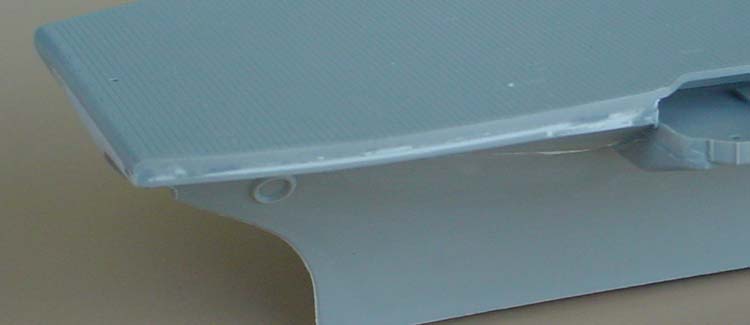
| I had also noticed that the forward edge of the flight deck protruded out on the port side; while it would have been easy to sand flush it would have left this side's round-down noticably flattened. So I added a piece of sheet styrene to the area underneath and filled and sanded it smooth. This was much easier than trying to back fill and build up or sanding down and dealing with having to rescribe planking. | |||||||||
| As you can see this was not a hard process nor particularly long in execution; if you'd like to ease into a little bit of scratch building or "major surgery" modifications this is a good one to try out. It definately does help to not have "black holes" in the model! | 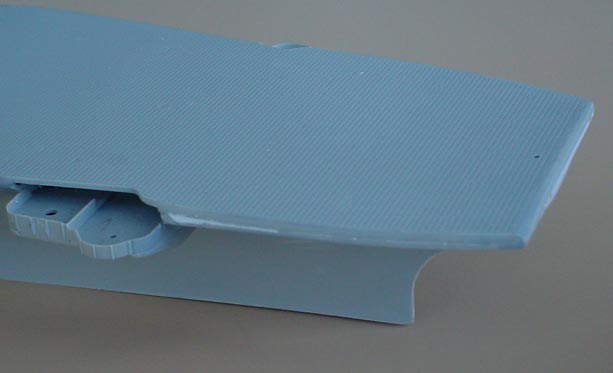 |
||||||||
| - Tracy White | |||||||||
| Back to Menu
On to Part 4 Coming soon |
|||||||||