The Finished Diorama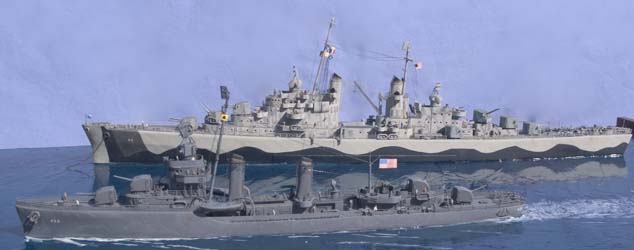
Bringing it all together: Many times the question comes up among ship modelers of "Full hull or waterline". To me, the answer is always waterline. Not to say that I won't build a full hull ship someday, but for a ship to look real to me, she needs to be in the water. Ships were built to float. This is my favorite part of any project, and the most intimidating. It brings the ships to life, and it also provides the chance to make some mistakes that can be hard to recover from.
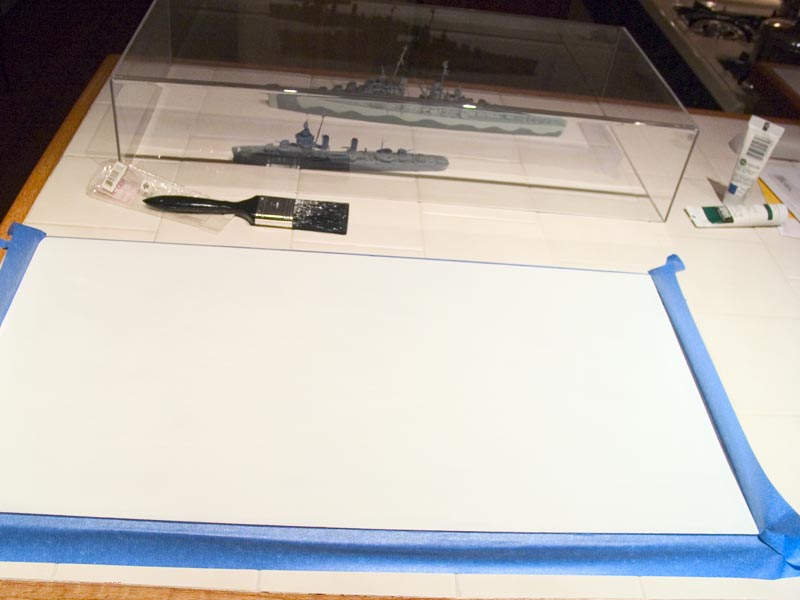
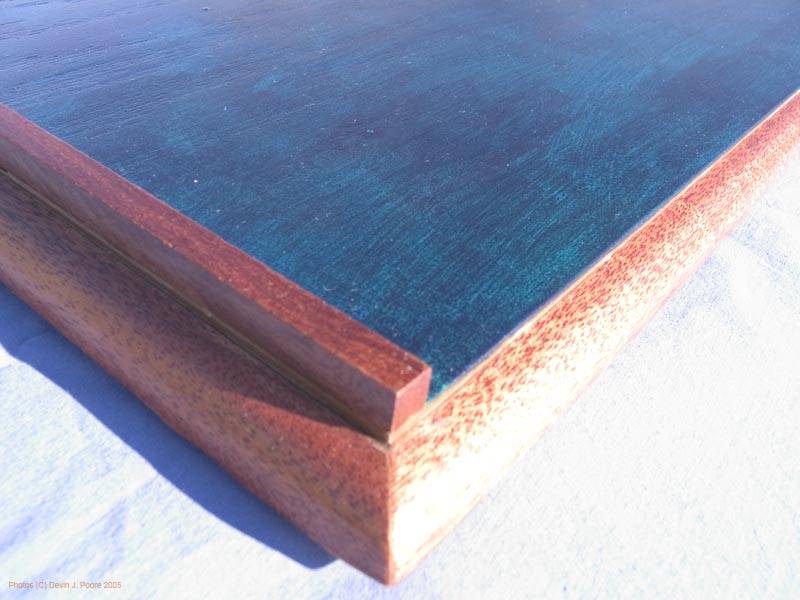
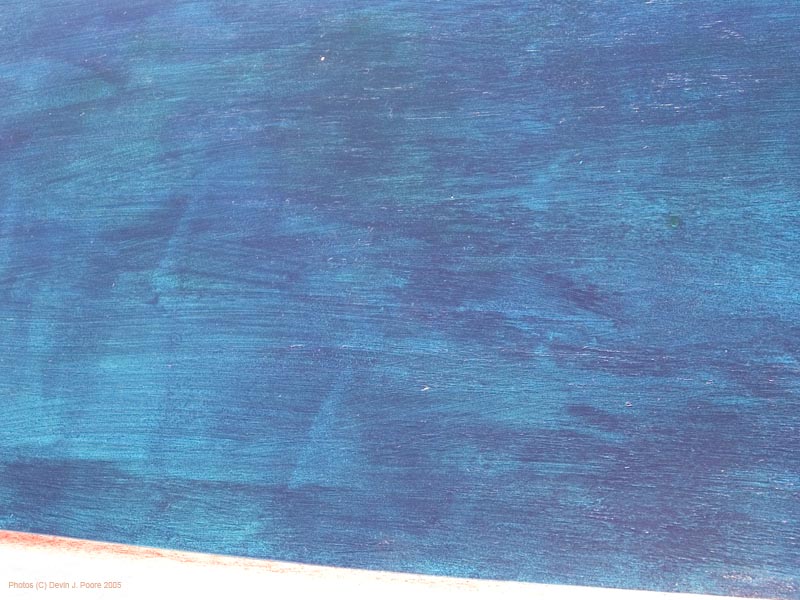
The Base and Water Paint: Photo 1 shows the base in progress, the edges taped off and a base coat of white laid in. I order my cases from BC Plastics. Great quality, very reasonable price. This setup is 28" X 14" with a 5 1/2" tall acrylic cover with folded corners. I got the entire thing delivered for less than $85 (but that was some time ago). Photo 2 gives a close up of corner of the base after the water colors are laid in. For some reason, the case was shipped with the base being routed particle board. Very odd, and not at all attractive. I bought a roll of dark walnut veneer, and ironed it on, trimmed it to shape. It looks perfect under a coat of varnish. I also added an extra strip of wood on both of the short ends of the base. This is to give the cover something more to rest against, and I'll eventually add pins through the acrylic cover into these strips. Photo 3 shows a close up of the water paint; I applied the light green with a roller, airbrushed in the dark areas for texture. I use Liquitex bottle paints.
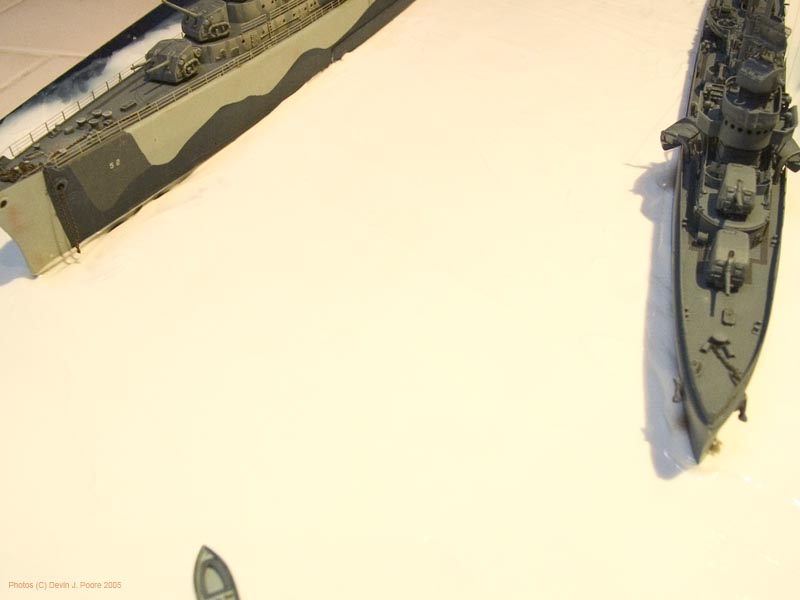
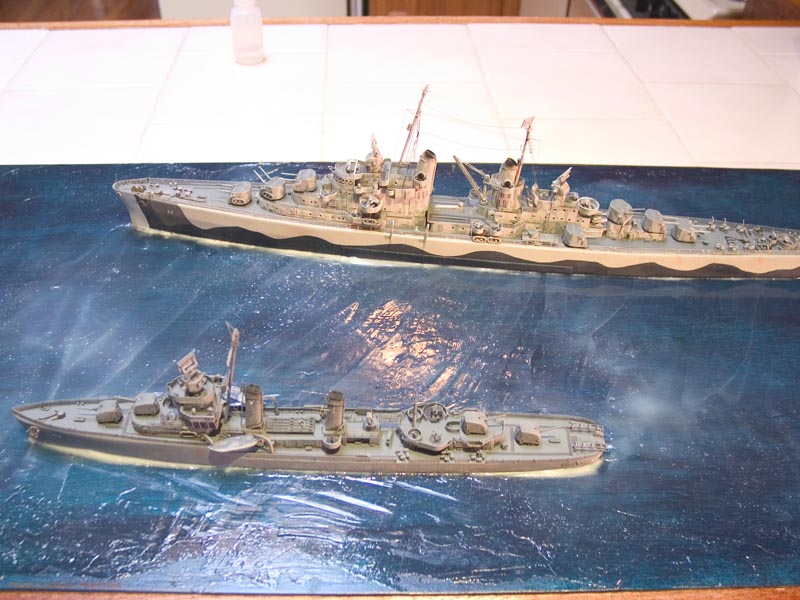
Positioning of Ships and Acrylic Gel Water: Photo 4 shows the Liquitex Acrylic Gel Medium laid in and the ships inserted. I took a putty trowel, and worked the stuff in. Put on a uniform coat, and then drug it in varying patterns to get the wave effect. Photo 5 shows the stuff nearly dry. Photo 6 shows the earlier mentioned problem. Evidently I worked the gel a little TOO much. Air bubbles through everything. I had intended to just leave this clear layer, paint in the wakes, and seal it with a little blue tinted Future. With all of the bubbles, though, that wasn't happening.
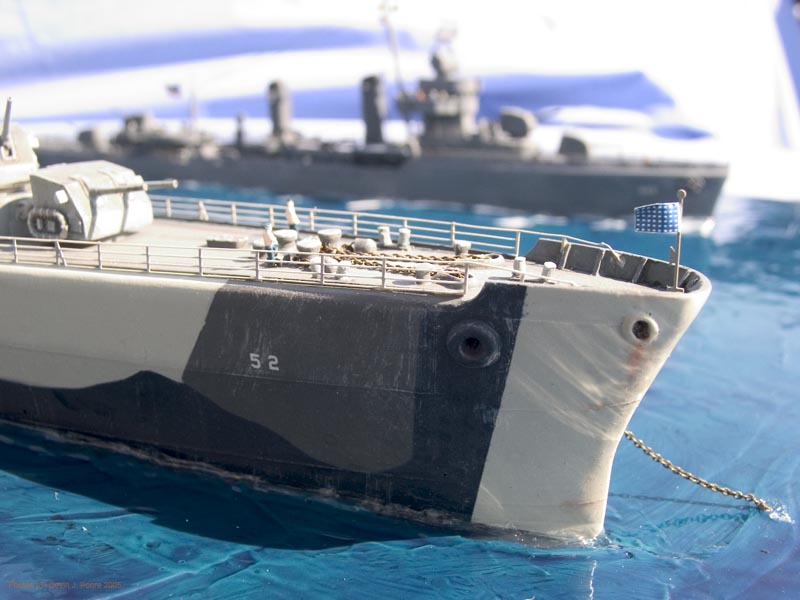
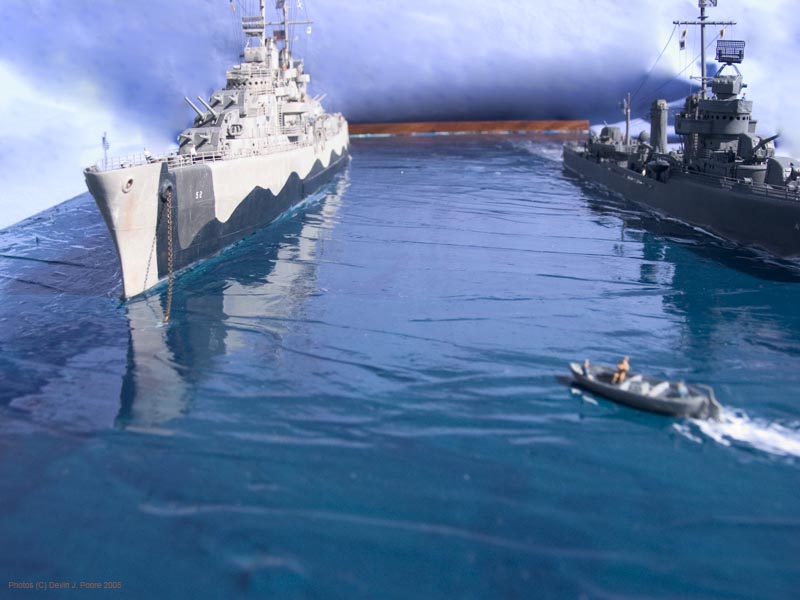
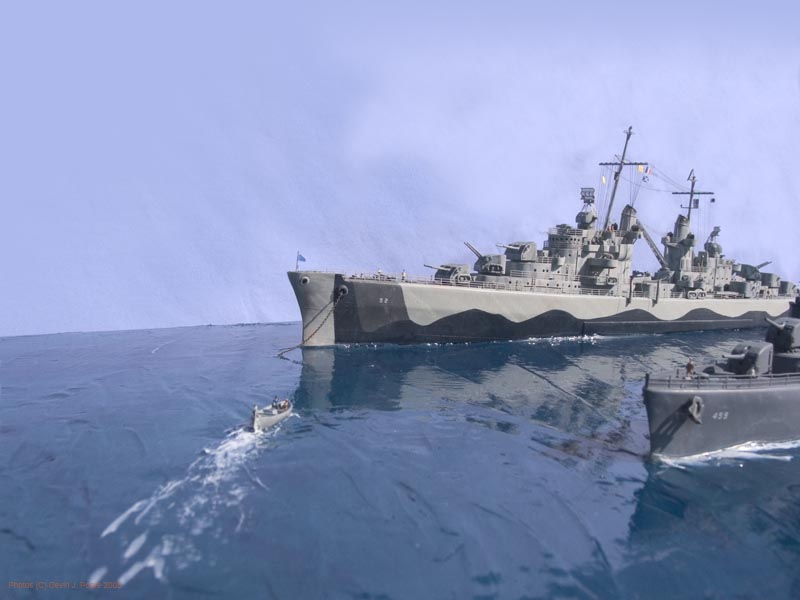
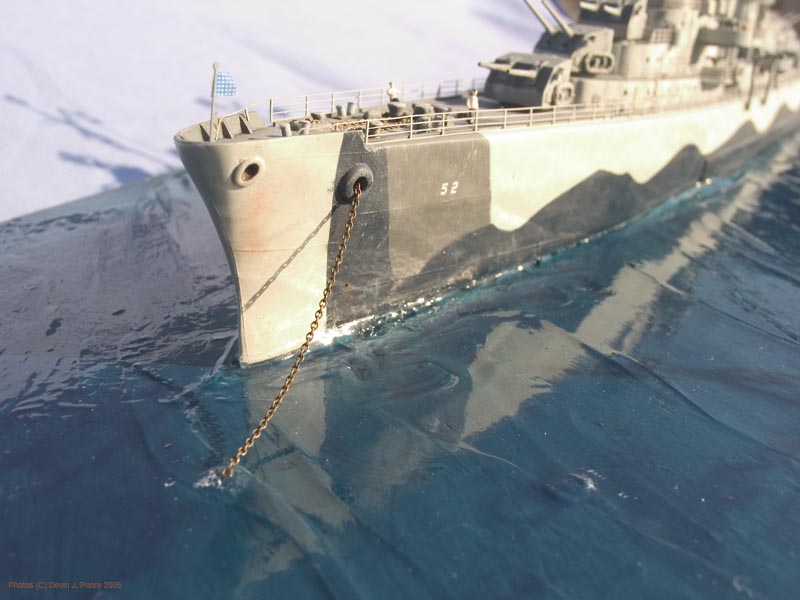
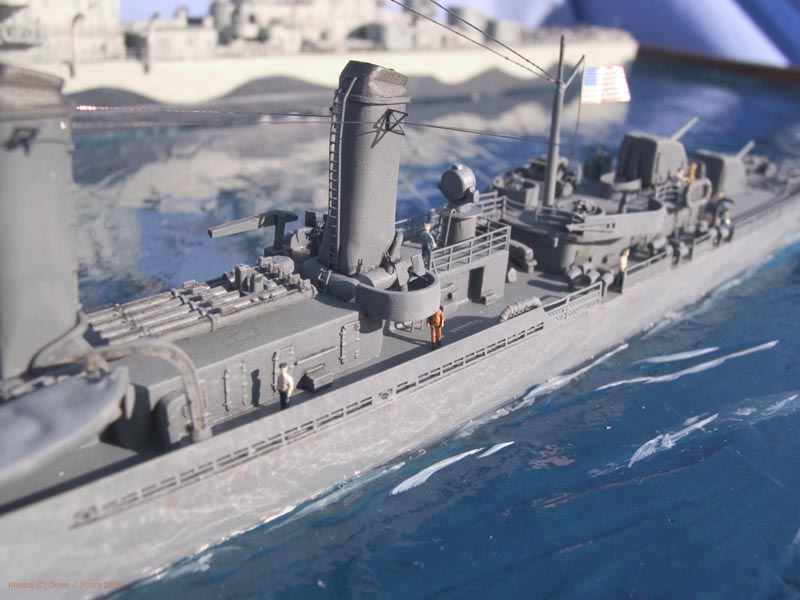
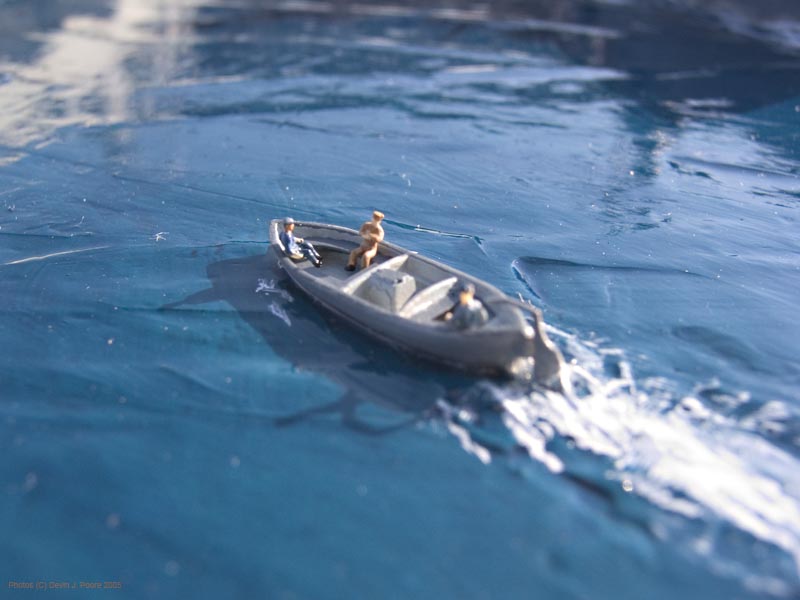
Fixing a HUGE Problem: When the bubbles appeared, I thought I was boned. I mean, the ships were in the acrylic, and they were never coming out again. Ever try to pull a model out of that stuff? In pieces, maybe. I grabbed a 1/2" paintbrush and mixed up some Liquitex paint, going for a more green than blue color (shallow water anchorage and all). I very carefully cut in around the hulls with the brush, then finished off all of the water. After this dried, I used the Citadel brand paints blue ink, and gave the entire surface a coat. The stuff works a lot like a wash (actually, so far, it's exactly like a wash in my eyes, but I haven't really experimented with the stuff yet). The dark blue ink settled in to the valleys, giving a very nice depth effect. I then drilled into the acrylic and put in the chain from the Juneau - Photo 7 (that photo also reminded me I forgot the starboard anchor!) - and then gave the entire surface a coat of Future that was tinted dark with a color between the brush painted aqua green water and the dark blue wash. After that dried, I put in the wakes for the gig and the Laffey, Photo 8.
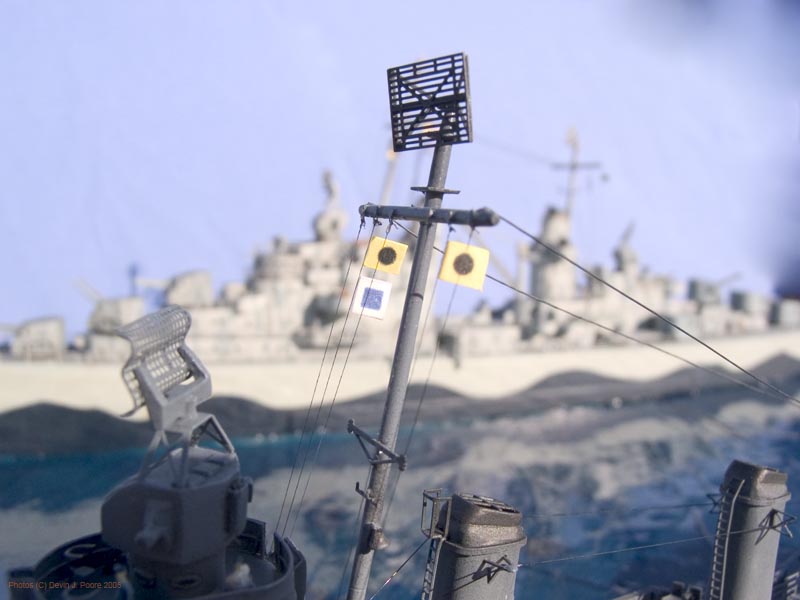
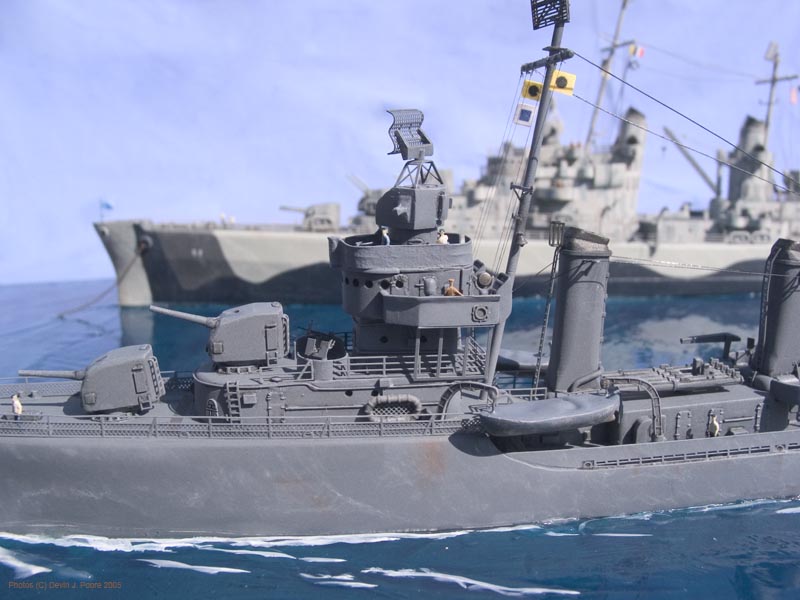
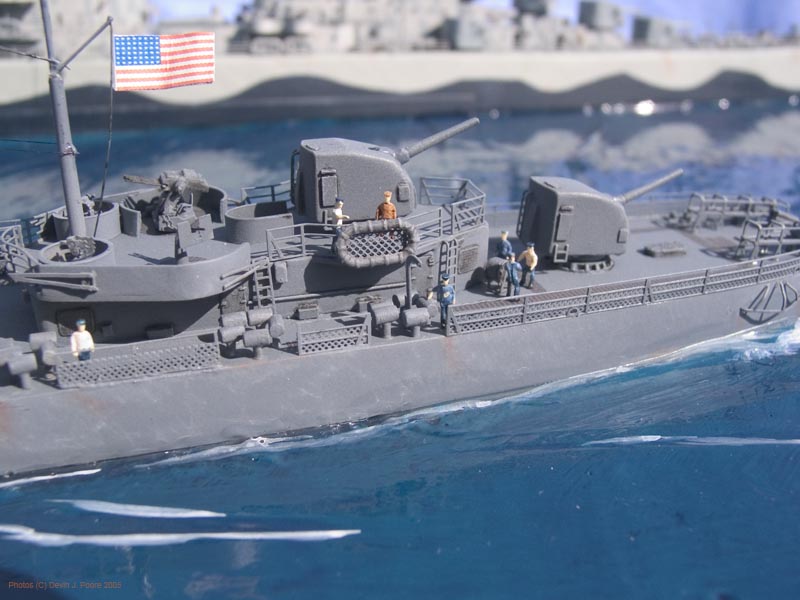
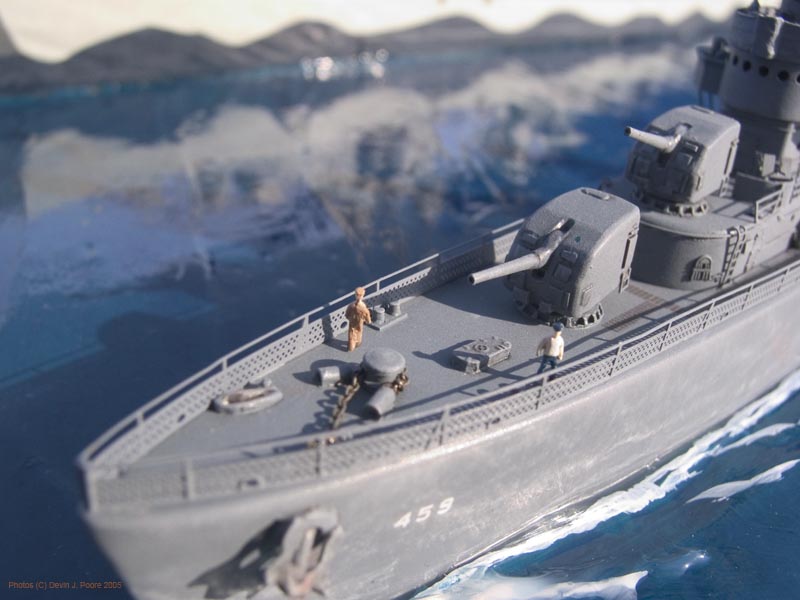
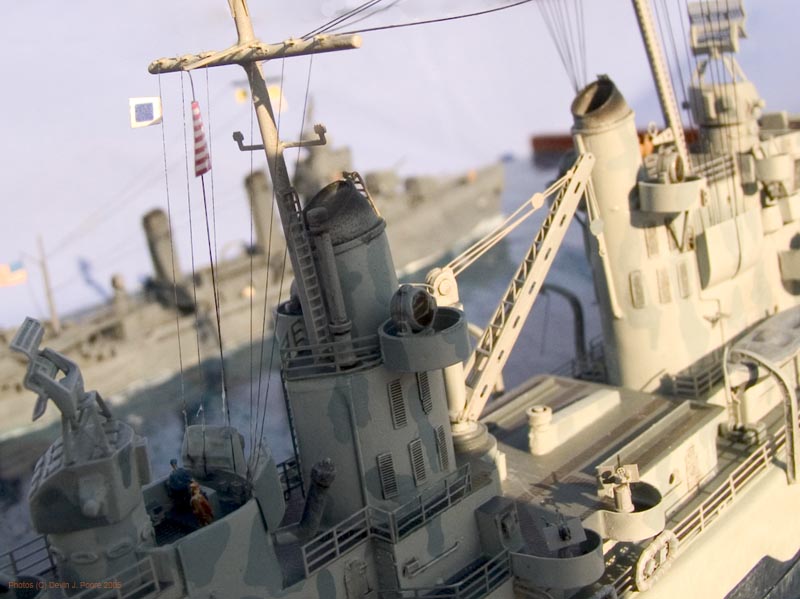
Figures and Flags: Along with my "ships go in the water" mentality goes the thinking that "crewmen should not be two-dimensional". I'll admit that one of the reasons it took me so long to finish this diorama was that I was waiting around to see if anyone would start doing 3D figures in 1/350th scale. The PE figures just don't to it for me, even when you build them up with glue or paint, they're still too flat. L'Arsenal to the rescue! Photo 9 shows their figures on the sprue in the process of being painted. I broke them up into three different types: enlisted, blue shirts; enlisted, white tee shirts; officers and NCOs in khakis. The hats bothered me at first, as they're very French Navy inspired. I filed down the heads on about three of the sprues, got tired of it, and just left the rest as it. They look fine in the end, as it turns out. After painting them on the sprue, I drug the back of a new #11 blade across the very fine casting gate, and they came away easily. For flags I used Blue Water Navy decals for the Ensign and Jack. I put the decals on aluminum foil, cut, fold to shape and give some waves to them, and then attach. The signal flags are printed on plain paper using an inkjet. These are a little thick for my liking (Photo 10), and I may some day replace them with custom made flags using the decal and foil method.
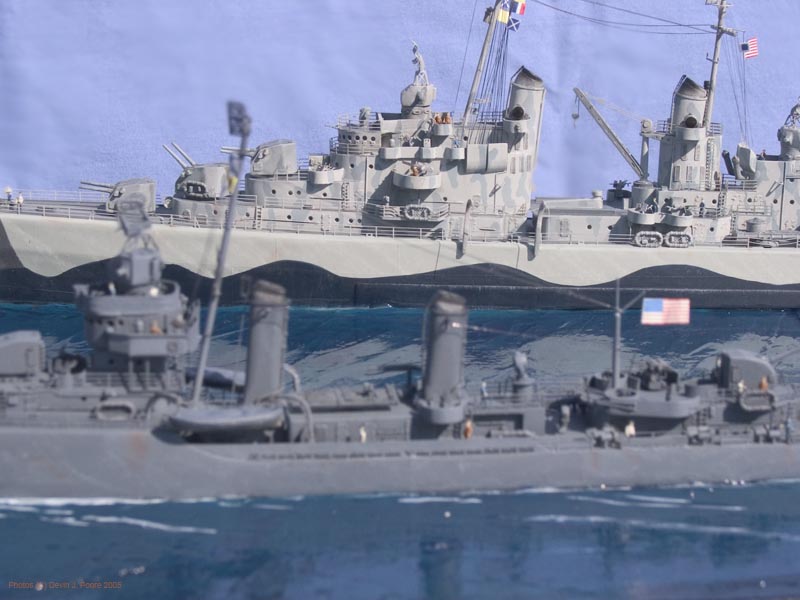
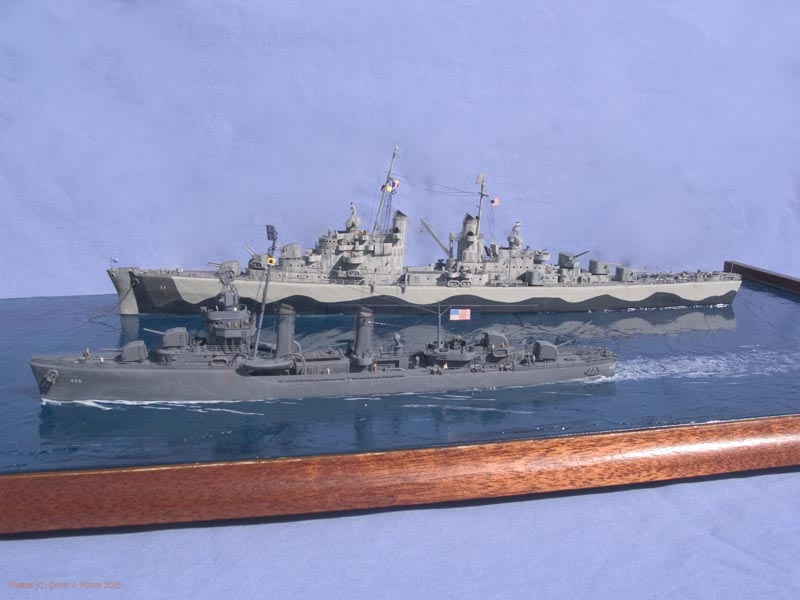
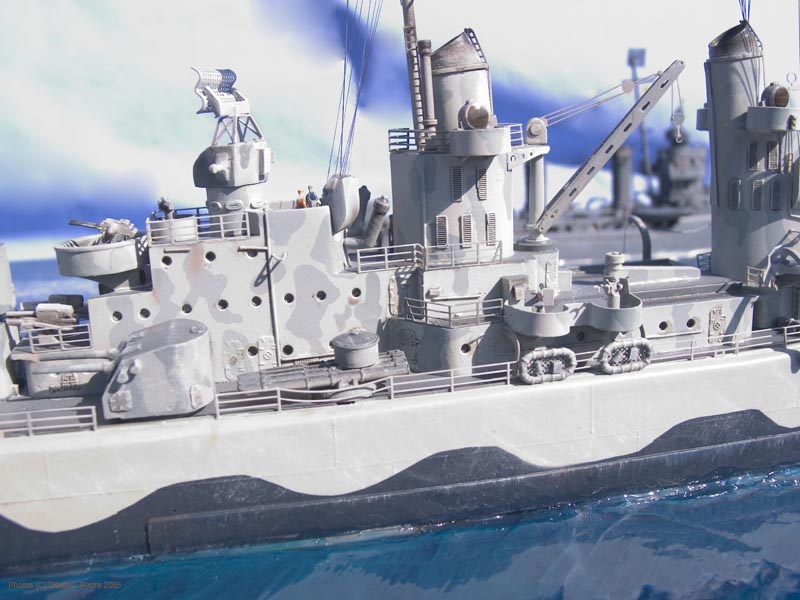
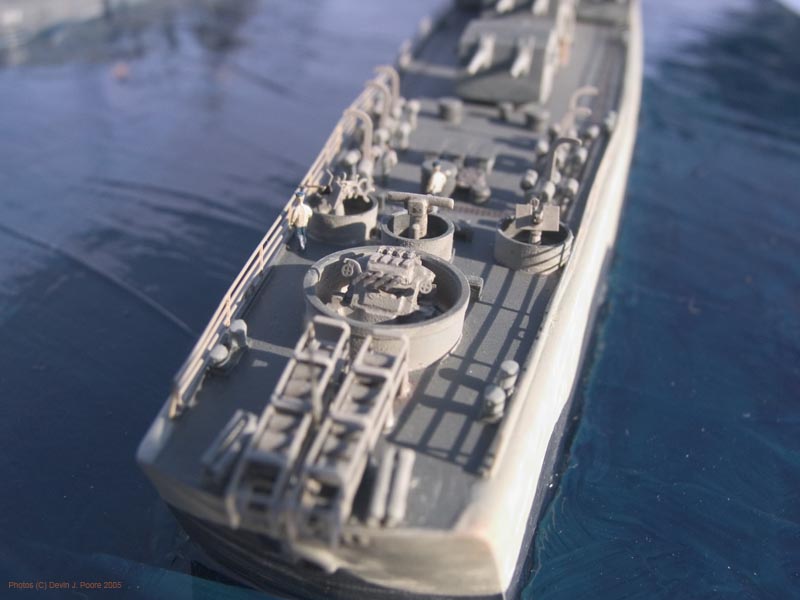
Photos: In the end, I'm very happy with this diorama. Those who have seen it seem to enjoy it as well. It also won second place in the Dioramas category at MosquitoCon, April 9, 2005. It's embarrassing to admit, but it took me almost exactly 4 years, off and on, to finish this project. Granted, moving, work, being laid off, writing, and other modeling projects did occur during that time. But, that does give me one of the things I like the most about this is that it shows my progress as a modeler over the past years. I can look at the Juneau, and then over to the Laffey, and see how much my PE skills have improved, the finer paint finish, etc. I almost didn't put these two ships in the same diorama because of those differences, but now I'm glad I did. Okay, enough blabbing on my part. Here are the final photos. Taken outside with a Canon PowerShot G2. Enjoy. I've already go the next project underway, something I've wanted to do since I was 12 years old: a 1/350th scale WWII aircraft carrier. Back to the Main Build page Back to the USS Juneau page Back to the USS Laffey page |