By George Elder and Bruce Gordon
|
|
||||
| Detail Parts: Funnels | ||||
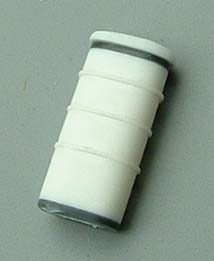
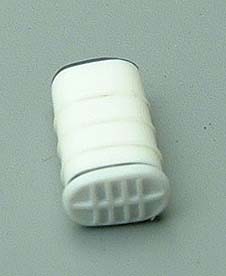
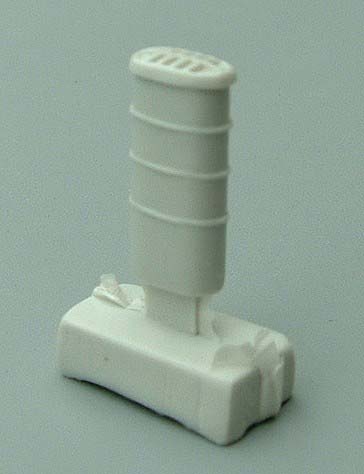
| Here we see the body of the Lion's funnel. The access rungs
that the crew used to paint, etc., have been affixed to the funnel body,
which in 1/1250 scale is tiny. Good magnifying tools are key here.
The funnel cap is a separate piece. Milling tools were used to make
sure the cross-members lined up. Once again, there is no room for error,
given the tiny size of these parts. Once the funnel is completed a silicone
mold is made, and repeat units can be cast. In some cases, it is possible
to get 40-50+ parts before a new mold must be made. In very complex pieces,
much fewer parts can be expected. But here we see an excellent rendition
of the master!
|
||||
| Detail Parts: Cranes | ||||
| Dave went through a number of steps to make a lattice structure that is open. In this case, the crane's base is distinct from the body so that the cranes elevation can be adjusted a bit. There may be grooves cut on the top and bottom surfaces on the crane body, but this would greatly complicate the mold-making process. We may end up using photoetch processes for the crane if we cannot achieve the desired effect via traditional casting techniques. | 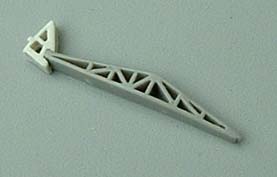 |
|||
 |
||||
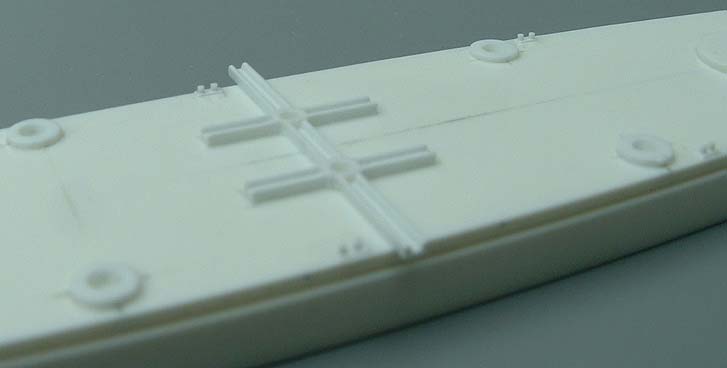
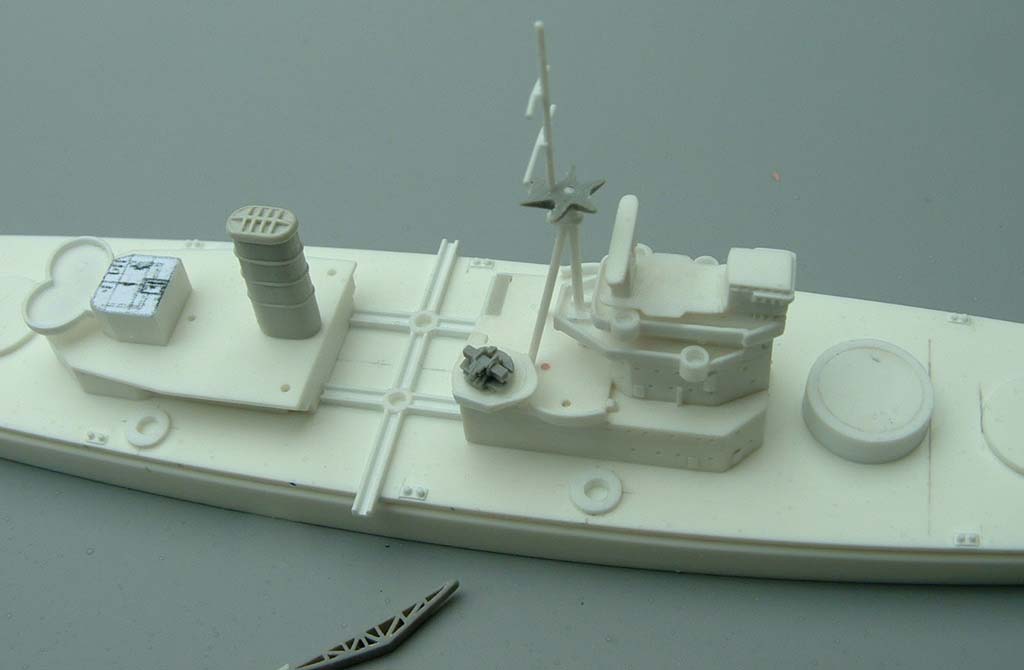
| Deck Fittings | ||||
| Bollards and the like are difficult to make. A diminutive
plate is first laid down, and two tiny holes are drilled. Two miniature
pegs are then fitted, and then ground down to a precise height. Also evident
is the great attention that must be paid to laying out the portholes. The
milling machine is used here, along with an attached jig that allows for
precisely lining up the numerous portholes.
We also see the catapult and trolley rails being laid out. These must be milled down to a lower height, but this gives a good idea of the layout. |
 |
|||
 |
||||
 |
||||
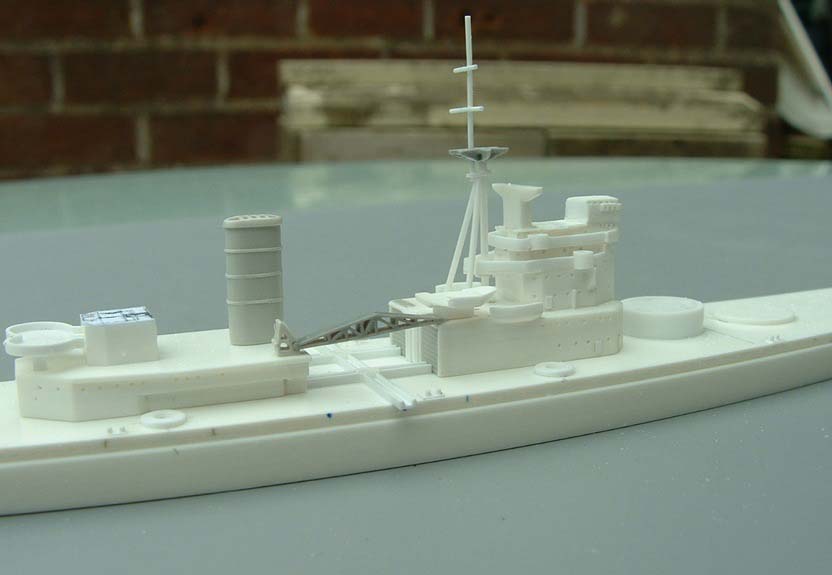
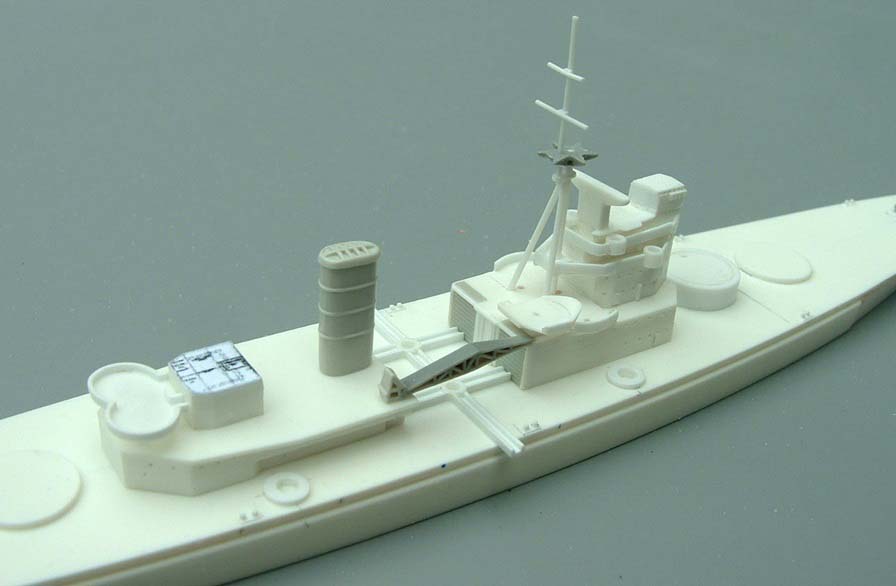
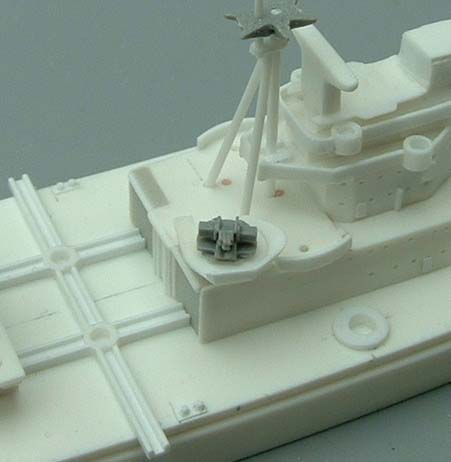
| Preassembling | ||||
| As the detail parts are completed, test fitting is constantly
done to see how the decks, superstructure, funnels, etc., will work together.
Here we see some test fitting being done. Please note that the cranes and
aircraft catapult elements will be further milled as the process continues.
On the rear deckhouse we can see the schematic for where various bits will
be added.
Dry fitting the AA guns proceeds, but here we must also consider the paints to be used. One problem is that paint tends to fill in the spaces between adjoining tiny AA guns -- so we must contemplate what kind of finishes should be used, and how they must be applied. High pressure application of oils such as Humbrol may produce the desired effect, although Neptun uses acrylics with good results. No decisions have been made in this area yet. |
 |
|||
 |
||||
 |
||||
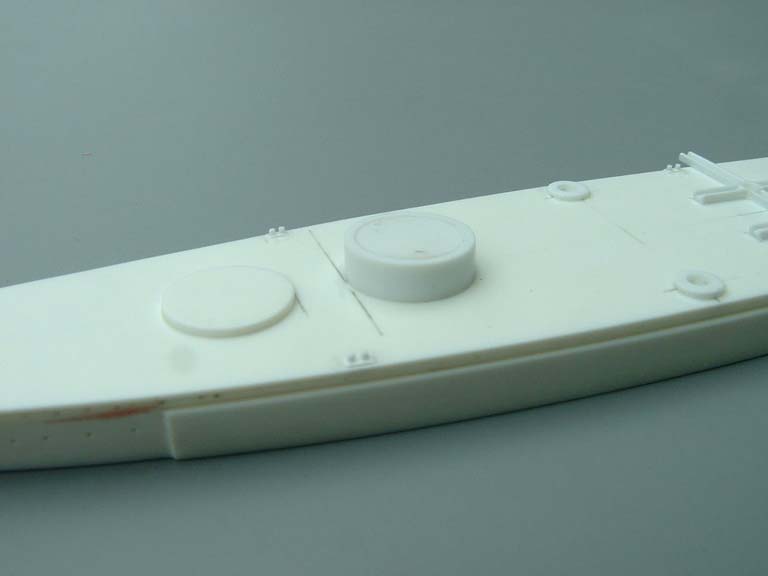
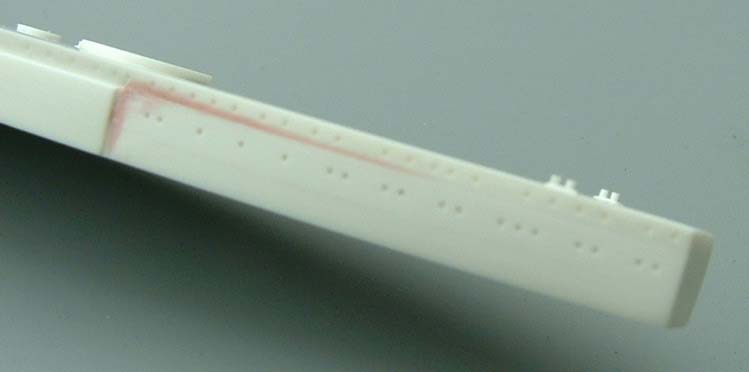
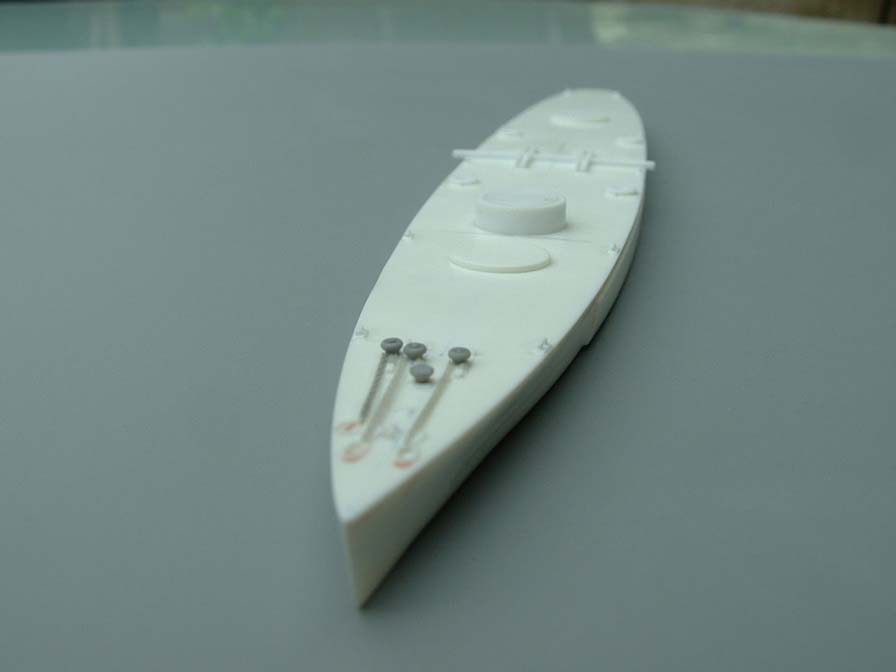
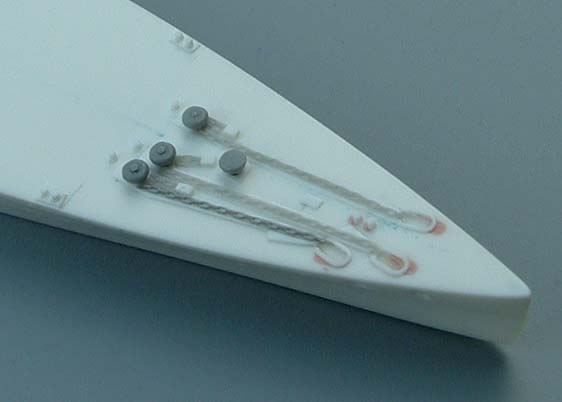
| Refining Deck Details | ||||
| Once the locations of the major deck elements have been
laid out on the master, the addition of hatches and other fine details
can begin. In this case, Dave is starting at the bow, and has added hatches,
bollards, and even hatch covers for the anchor chain inlets.
We also see here the anchor chains being made. One chain has been darkened so that the details can be more clearly seen. There are color marks on the master for where various bits will go or where they are located on the hull sides, etc. Laying out the locations of the models elements on the master itself is a very common technique that prevents a lot of headaches as parts of the models are fabricated and added. |
 |
|||
 |
||||
 |
||||
|
|
||||
![]()
© ModelWarships.com