A build up review of the 1/700 Modelkrak kit
by Martin J Quinn
A build up review of the 1/700 Modelkrak kit
by Martin J Quinn
After the Russo-Japanese War, Aurora spent much of her time training cadets, frequently taking long cruises. She performed these duties until the beginning of the First World War, when she joined the Baltic Fleet as part of the 2nd Cruiser Brigade. During the War, she helped screen the divers exploring the wreck of the German light cruiser Magdeburg. During these dives, the Russian retrieved German chipers, which were turned over to the British. This enabled the British Admiralty basically "read" the German Naval mail for the duration of the war.
In the fall of 1916, Aurora was docked in St. Petersburgh, where she was refitted. Her engines were overhauled, she received new boilers and new main armament. While undergoing repairs, revolution began to sweep Russia. Caught up in the fervor was the Aurora's crew. Tensions reached their peak on March 13, 1917, when the crew murdered the Captain and wounded another officer. Afterward, the crew voted to join the the democratic revolutionaries, and life on board returned to "normal". However, in October of that year, the crew decided to side with the Bolsheviks, taking part in the October revolt. It was here that Aurora gained everlasting immortality by firing a blank shot from her forward gun at the Winter Palace, which led to the storming of the palace.
With most of her crew gone fighting the revolution, Aurora was laid up in Kronstad until 1922. She was repaired and refitted, and once again served as a training ship. In 1927, to mark the 10th anniversary of the revolution, Aurora was awarded the Order of the Red Banner in recognition of her role in the fall of the Winter Palace. Relegated to submarine tender duty in the late 30's, the Aurora again heeded the call to action by assisting with the defense of Leningrad during the German siege. Her main guns were landed for an artillery battery and Aurora was damaged by German artillery. To keep her from capsizing, she was flooded in the winter of 1941-1942.
Due to her history, the decision was made to repair and restore the cruiser as a memorial. Dry-docked from 1945 to 1947, she was repaired and refitted back to her November 1917 appearance. She was used as a training vessel until 1961, when she was turned into a permanent museum. Further repairs were made between 1966-1968 and again between 1984-1988. Aurora, as part of the Central Museum, is now open to visitors in St. Petersburgh, the last surviving vessel from the Battle of Tsushima.
For more information, check out the Tickets of Russia website, which was the source for this operational history.
My next step was to try and decipher what era this version of the Aurora was from. Apparently Aurora went through numerous changes in fit and finish. When in doubt, ask the experts. So, I went to the Modelwarships.com message boards and asked for help. I soon got an e-mail from Vladimir Yakubov, who gave me this insight on how to determine what year this kit represented: "The easy way to tell the time period is to count the number of 6" guns. If it is 8 then it is 1910 and before. If it is 10 then it's 1910 to 1915-1916. If it is 14 then it is after 1916". I counted the number of 6" guns in the instructions, and came up with 12. Figures. After scratching my head I decided my Aurora was a circa 1916 version. Vladimir was also kind enough to lend his help with the paint scheme, which came in as somewhere between medium and dark gray. He also sent me some color drawings of contemporary Russian ships to use as a guide. The color seemed to be slightly darker than medium gray, with a greenish hue to it. I elected to paint my Aurora in 507B Medium Gray - a Royal Navy color from World War II - using White Ensign's Colorcoat line of paints.
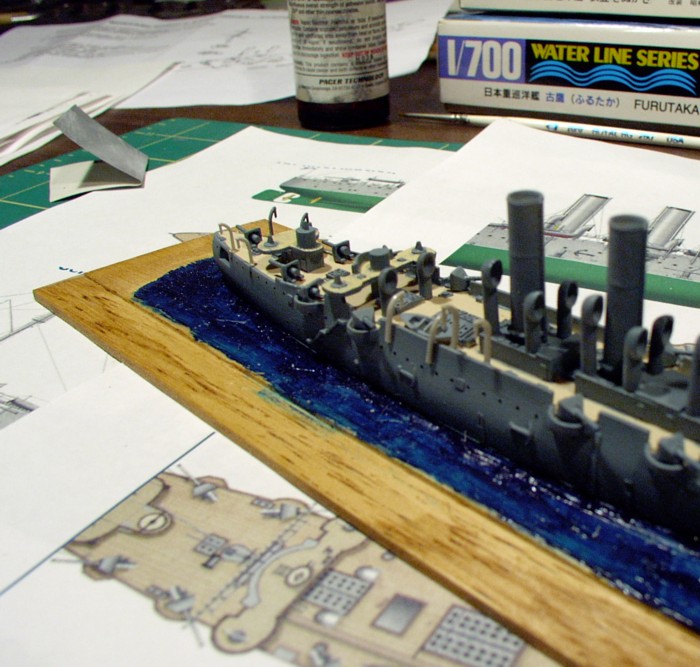
Now ready to tackle the project, I started to work on cleaning up the pieces. The hull has an large block of resin over pour on the bottom, which I removed with a belt sander, leaving a large pile of resin dust to clean up afterwards. I then washed the hull and pieces in warm soapy water to get mold release off. After the model was dry, I airbrushed the deck with White Ensign Teak. Once this was dry, it was time to paint the hull and parts Medium Gray. When I get to this stage in a build, I always try and mask my deck. While time consuming and tedious, I like to avoid any overspray on the deck. I figure I'd rather take the time to mask the deck then go back and keep touching up colors over and over.
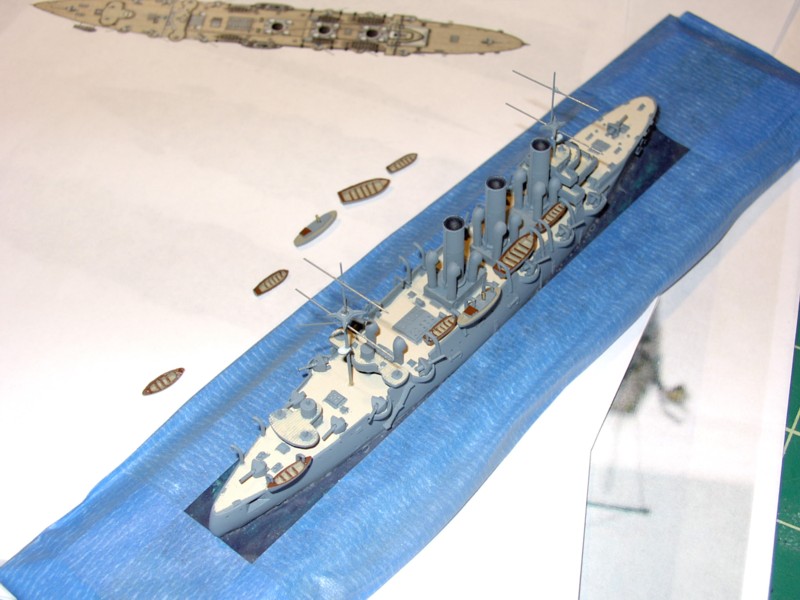
To save time with the mask, I brought the hull into work one day, laid it deck down on the copier and made a copy. I then laid tape out on my desk in overlapping strips larger than the size of the deck. I cut the outline of the deck out with a scissors, then cut out any structures, fixtures or fittings in the photocopy and laid that over my masking tape. Using a brand new Number 11 X-acto blade, I cut the outline of the deck into the tape. Once all the appropriate pieces were removed, I laid the tape onto the deck. With a minimum of touch up, I had a created a mask. After burnishing it down, I brought the model back home (I had a feeling management would have frowned if I fired up my compressor in the office) and airbrushed the hull and the other kit parts.
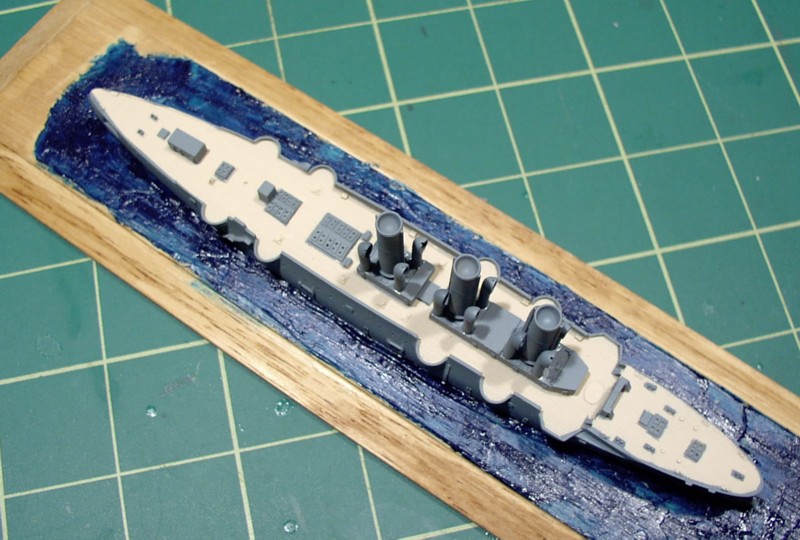
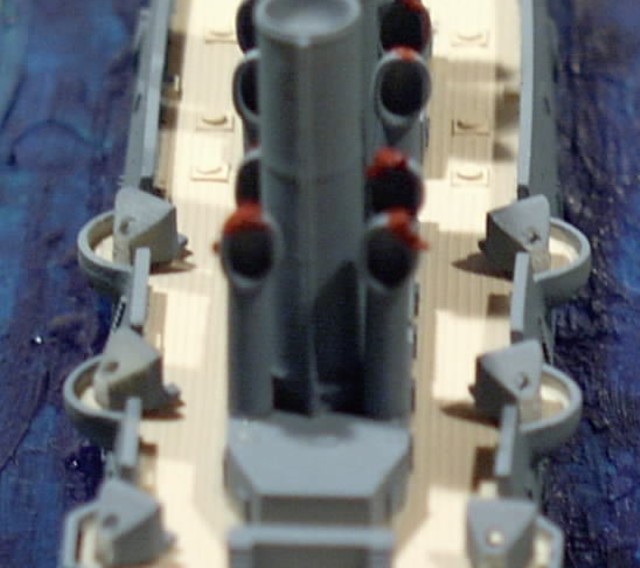
When I lifted off the tape, the deck was in good shape, and I only needed a little bit of touch up with a brush. Once this was done, I cut off the resin plugs from the smoke stacks, sanded the bottoms flush and mounted them on the hull. Once these were secure, I added the ventilators (which I then noticed all had holes in them). At this point, I decided to mount the ship onto a base, so it would be easier to handle.

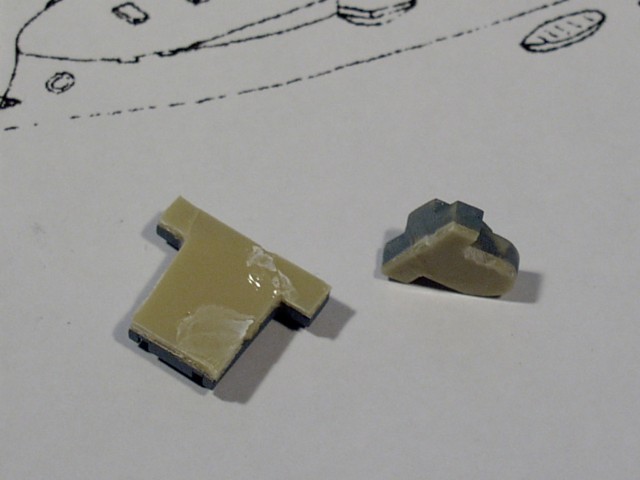
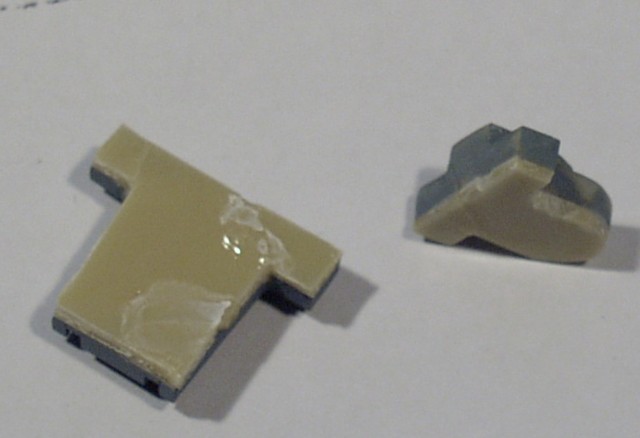
Once the ship was on the base, I began to clean up the superstructure pieces, so I could begin to assemble that. Each superstructure piece was on top of a wafer of resin. I tried cleaning up the edges first, so all I would have to do is then sand the wafer off the bottom of the superstructure piece. It didn't work out that way...while trying to trim the parts, two of the wafers cracked all the way through, splitting the superstructure pieces. Okay - onto Plan B...which mean beginning work on the main guns.
The face of each gun shield was attached to a resin plug, which was sawed off. The face was sanded smooth and after cleaning up the opening for the gun barrels, I slid my first gun through. That's when I realized the holes were too small. The barrels only partially fit into the holes, leaving the breeches several scale feet back of the shields.
I realized that each gun shield had to be individually drilled out to accept the gun barrels. Once I had finished that, the gun barrels were then cut from their resin plugs, cleaned up, and test fitted into the holes. When I was done, I placed the mounts in their appropriate positions (per the instructions) to see how they looked. Not bad...the ship was starting to take shape.
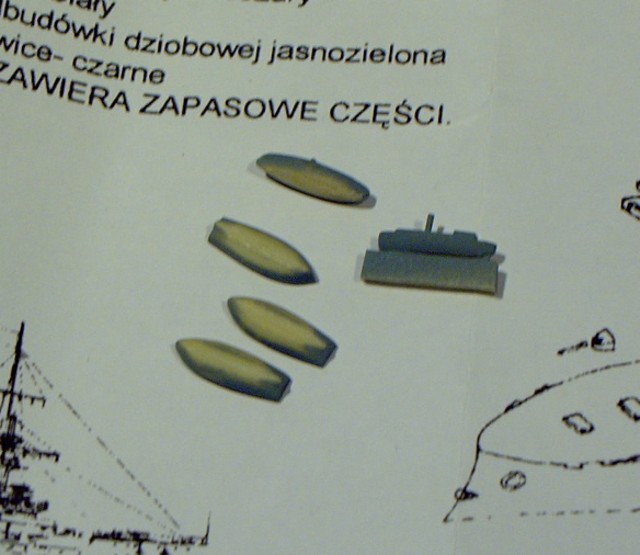
I finished the guns, by gluing the barrels into the shields. Next step was to paint the entire gun/shield assembly again, then mount them to the deck. Since the ships boats were going to be hoisted above the guns in many cases, I thought it best to mount the guns first. With that decision made, it was time to either revisit the broken superstructure pieces or work on something else. I decided to repair the broken pieces with superglue and accelerator. Once I had done that, I laid them to the side to dry and began to work on the ships boats. I counted out what I was going to need on the instructions, cut them off the resin plugs, then sanded the bottoms smooth. Now I had my ships boats - how was I going to mount them? If you remember, there were no davits (or masts) in the kit. Turning to my spares box, cut the appropriate number of davits from my Skywave weapons sets, then cleaned the davits up for painting.
I returned to the superstructure pieces, and using a large foam sanding block I had gotten from a health and beauty aid store, I went to work removing the casting wafer. This has been one of the parts I had been 'dreading', but it went remarkably well. Within 20 minutes, the wafers were removed from the superstructure parts.
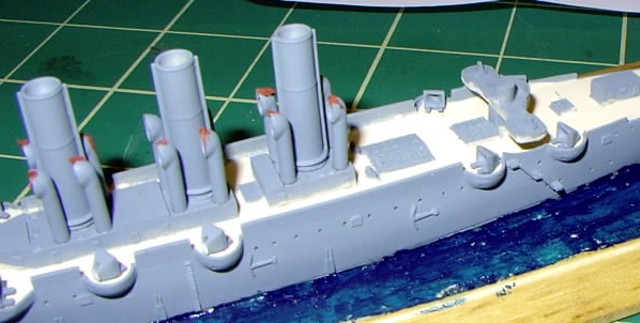
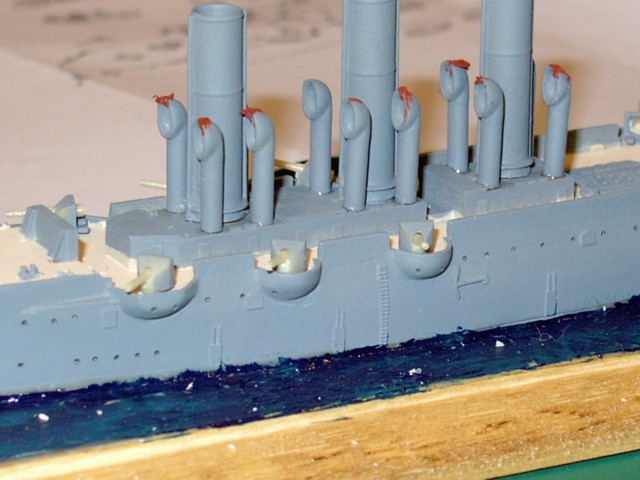
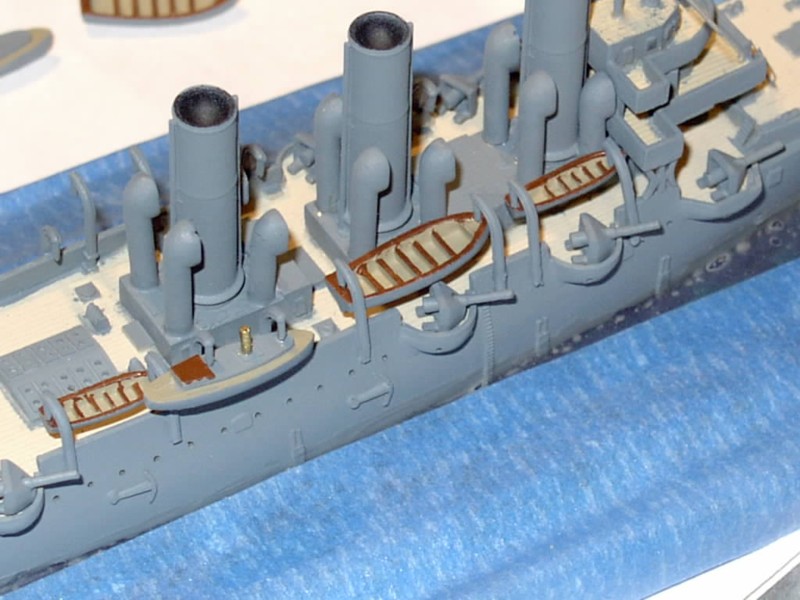
So...now my guns were done. My boats and davits were ready to be painted and then mounted. The superstructure decks had been sanded and were ready for touch up painting. Once that was done, the question was going to be - where do I put all this stuff? The directions were basically worthless, so I needed more information. Off the web I went, hoping to find more information than I had during my last attempt. I found a website selling a 28 page set of plans and drawings for the Aurora, but for a steep price. The limited portion on the drawings they did preview were of some help, but not enough. Then, I hit the mother load. I found a website called The Cruiser Aurora. On that site, they had an color profile and line drawing of Aurora. It was perfect! It also gave me the location of two more gun turrets, bringing the total to 14. I was now able to confirm my Aurora was circa 1916. The next thing I discovered was the location of two more ventilators, and that the height of half the ventilators I had already installed were wrong. Off came the six offending ventilators, which were then cut to the proper height and re-installed.
I put the ventilators back on, then started adding the superstructure levels. I immediately found that the main bridge level didn't fit properly because the ventilators (which I had just shortened and re-attached) were in the way. Rrrrrr.... Off came the front two ventilators again, and in went the superstructure piece. Once that was in place, I added the supports for the bridge wings, then the top level of the superstructure. Now - those pesky ventilators had to go back on. I test fitted them, but found the bottoms protruded over the edge of the deckhouse they were mounted on. I took a sanding stick and sanded the inside of the ventilators a little at a time, then test fit it on the deckhouse. When I was able to get one to fit, I repeated the process on the other side.
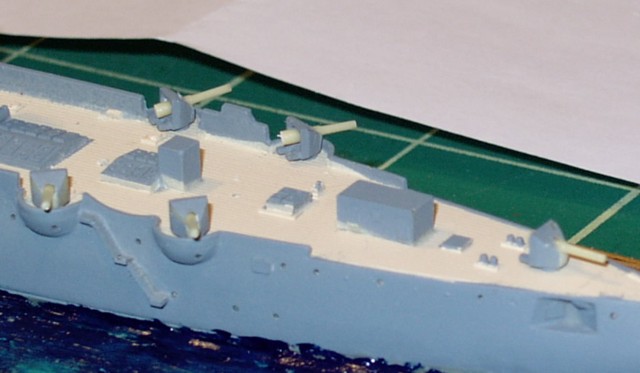
At this point, I had the superstructure, guns, funnels and ventilators on. The only other kit supplied parts that weren't on were the boats. Using the downloaded plans and drawings from the internet, I positioned the davits and attached them to the hull.

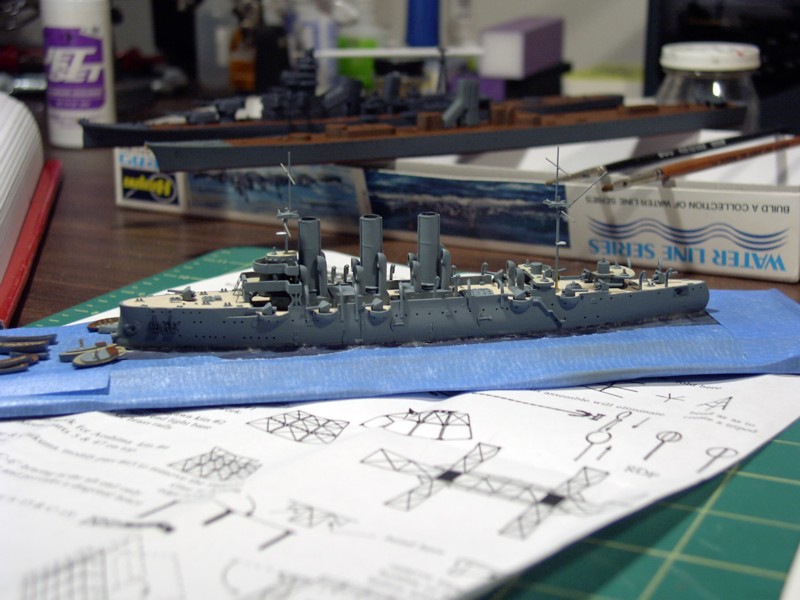
I had added everything the had came in the kit (save the boats), plus my Skywave davits, but the model wasn't completed. I now needed to fabricate masts from brass rod. Just as I was preparing to do this, Vladimir Yakubov's Tour of the Aurora was posted on this site. That created a new dilemma for me - as I spotted a treasure trove of items that were not on the model. Do I go hog wild or do I just build the mast and throw on some railings? Discretion being the better part of valor, I decided it was time to simply add some masts, fabricating them from brass rod.
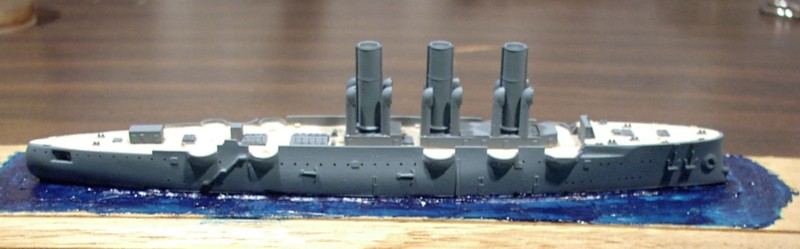
Once the masts were on, I masked off the base and airbrushed the masts from below the deck level, trying not to get over spray onto the decks. Once this was done, I touched up any spots I missed with a brush. The ship was finally ready to have the boats added, so after breaking off a few davits along the way and uttering many a bad word - Aurora had her boats.
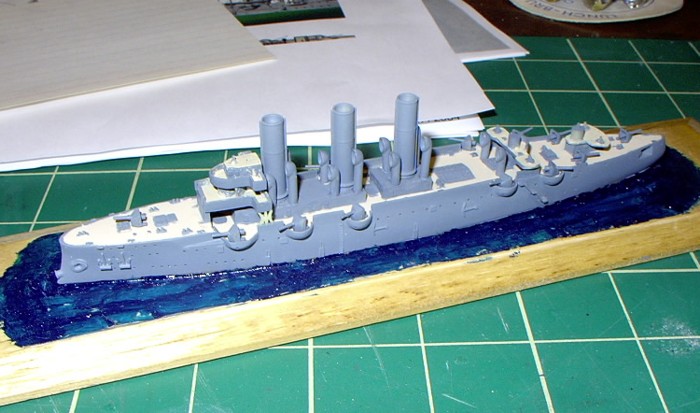
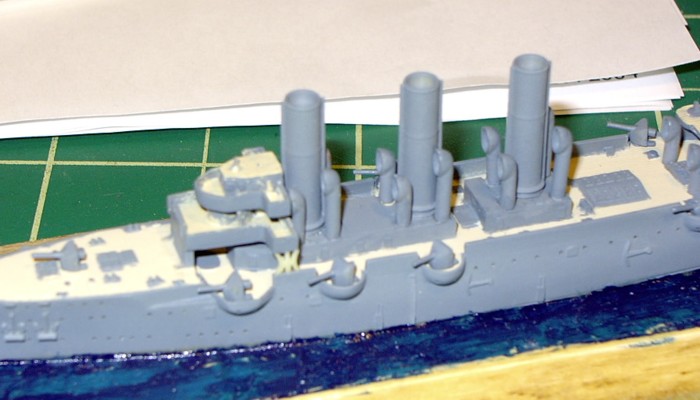
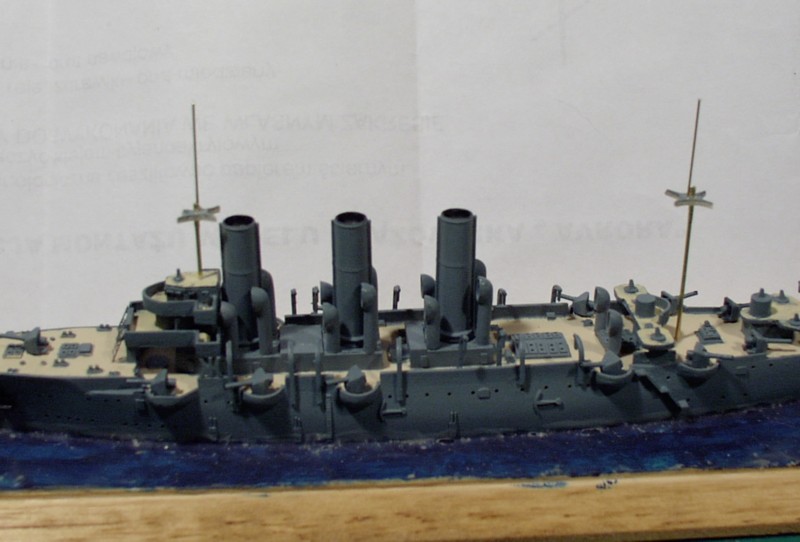
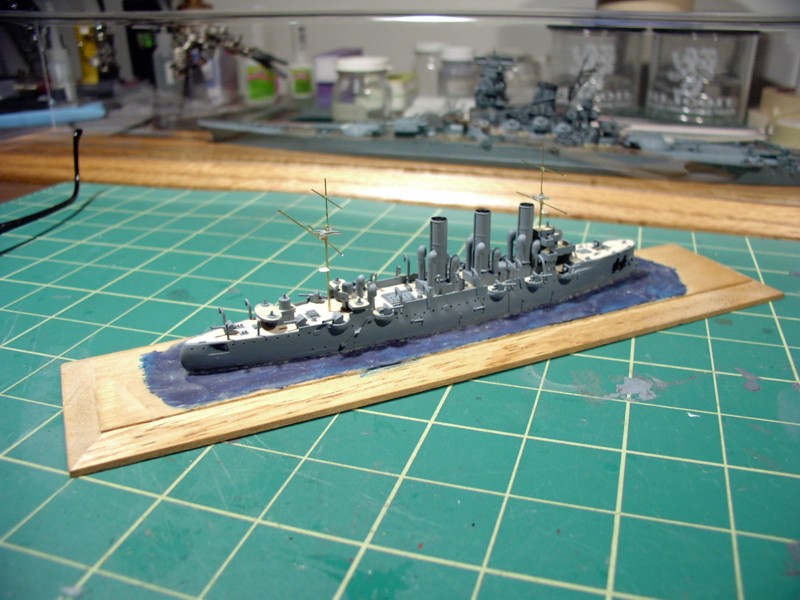
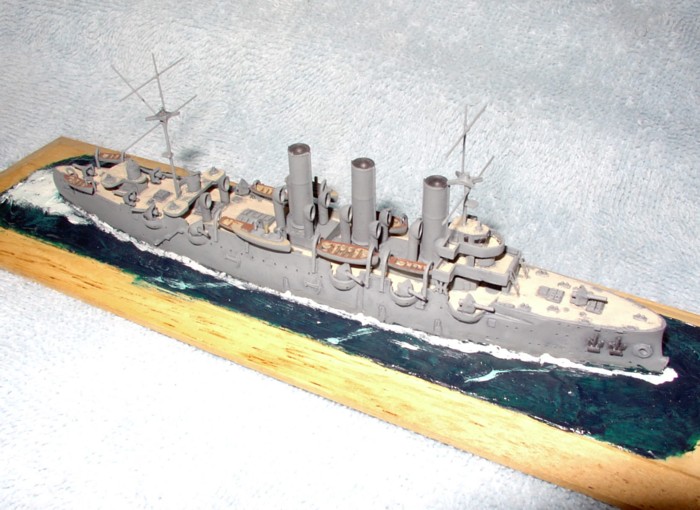
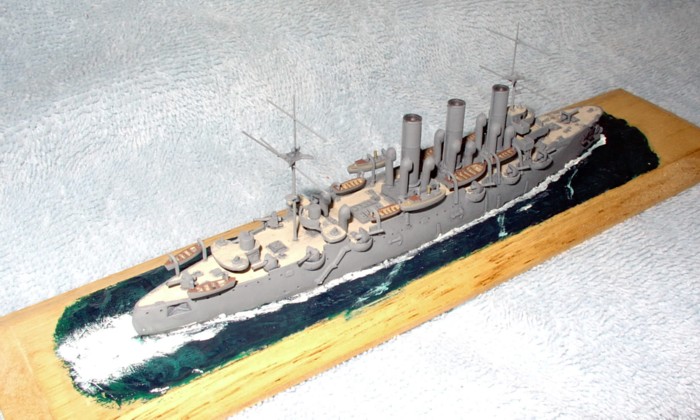
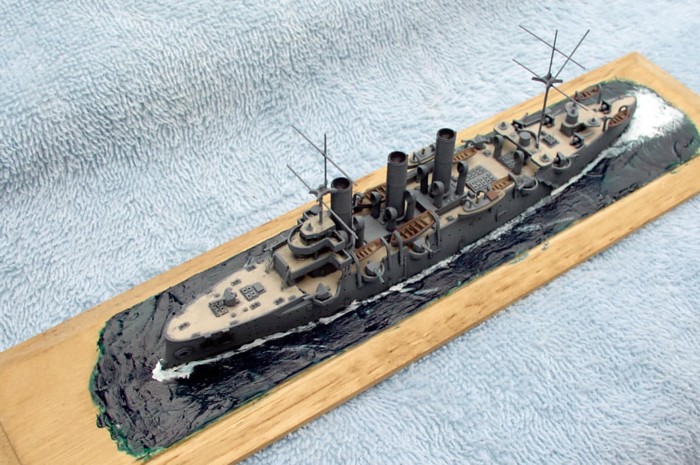
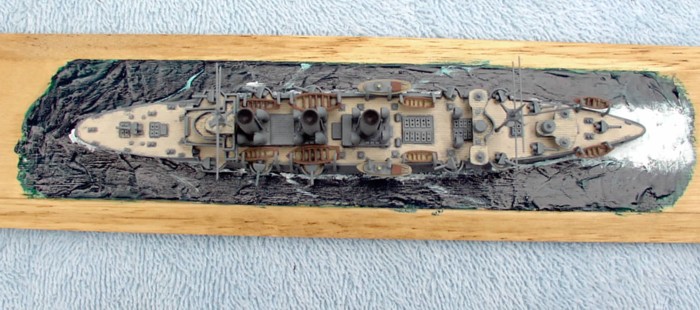
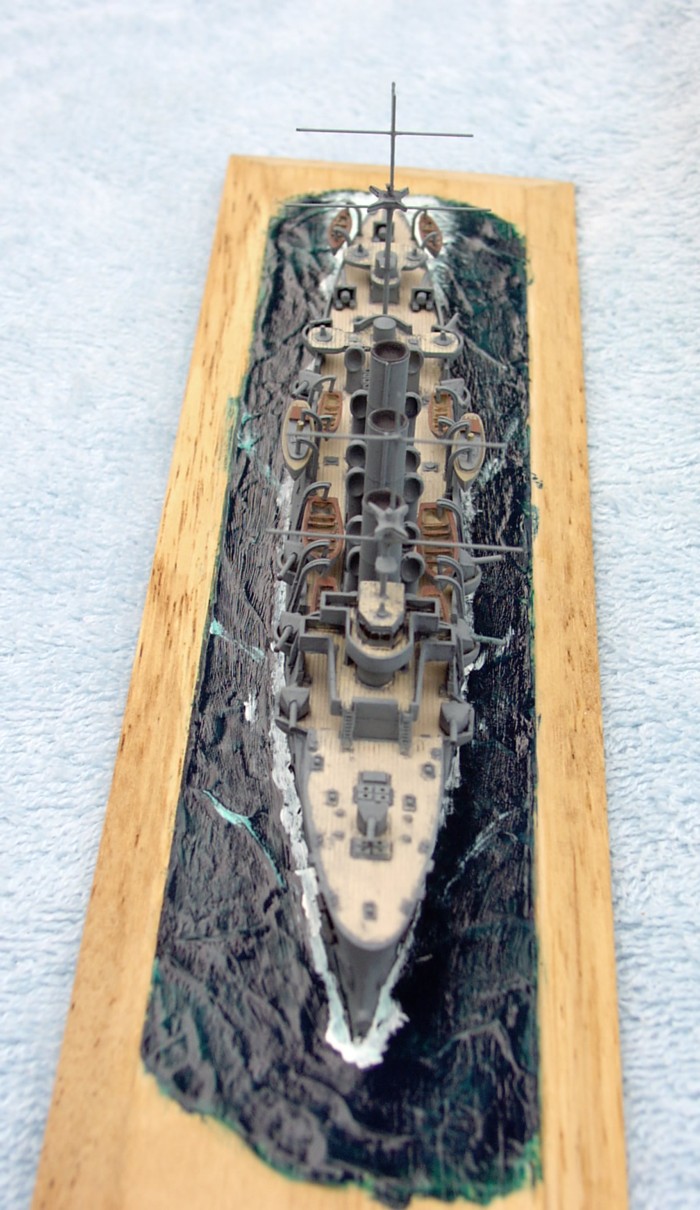
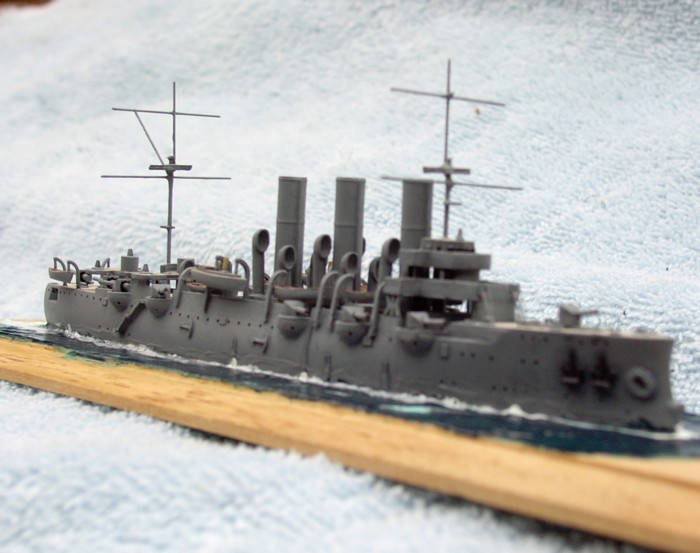
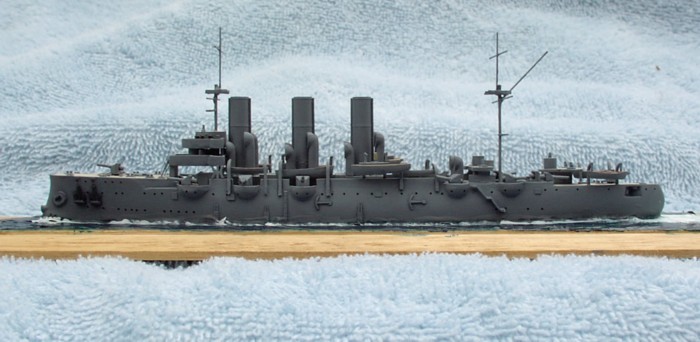
Deciding not to add railings, I weathered the model with oils and then gave her some final light coats of flat. I may go back and add railings and rigging at a later date. Here are some pictures of the finished model:
|
|
|
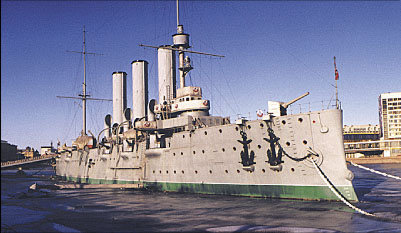
| The Aurora
is the last remnant of a once proud fleet, a relic to an earlier age, a
different time and a very different world. From Tsushima, through
revolution and two World Wars, she has been an eyewitness to history.
She is a historic ship, and Modelkrak has chosen well by adding her to
their line of kits. However, while the subject matter and casing
are first rate, the instructions are shamefully poor and the fit and placement
of some parts mediocre. Additionally, my example was missing davits
and masts - both of which are shown in the instructions.
While I enjoyed building this model, I can only recommend this kit to advanced modelers, or those modelers looking for a challenge - this is not a kit for a first time resin ship builder. Thanks to Pacific Front Hobbies for the review sample. |
|
