Converting Tamiya's 1/700 scale battleship from a 1942 to a 1944-Leyte Gulf
fit with the PitRoad conversion set
by Martin J Quinn
Converting Tamiya's 1/700 scale battleship from a 1942 to a 1944-Leyte Gulf
fit with the PitRoad conversion set
by Martin J Quinn
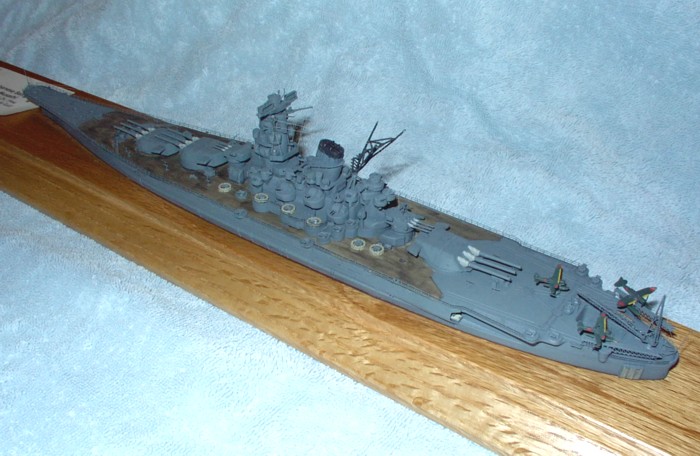
Laid down on March 29, 1938, Musashi was launched on November 1, 1940 and commissioned into the Imperial Japanese Navy on August 5, 1942. When completed, she was 862 feet long with a beam of 121 feet, with nine 18.1 inch guns and twelve 6.1 inch secondary guns. When fully loaded, she displaced almost 70,000 tons.
After commissioning, Musashi remained in Japanese home waters until January 1943, when she sailed for Truk, where she relieved Yamato as fleet flagship in February. She remained at Truk until May, when she carried the slain Admiral Yamamoto's ashes back to Japan. After repairs and sprucing up at the Yokosuka Navy Yard, Musashi hosted the Emperor for a visit on June 24, 1943.
She arrived back in Truk in August, once again becoming the fleet flagship. In October, she sortied with other members of the combined fleet in an unsuccessful attempt to intercept a possible American raid on Wake Island. She returned to Japan via Palau in February, then returned to Palau in March with supplies and troops. Ordered to withdraw from Palau in late March, Musashi was torpedoed by the submarine USS Tunny on the 29th, causing extensive damage and flooding.
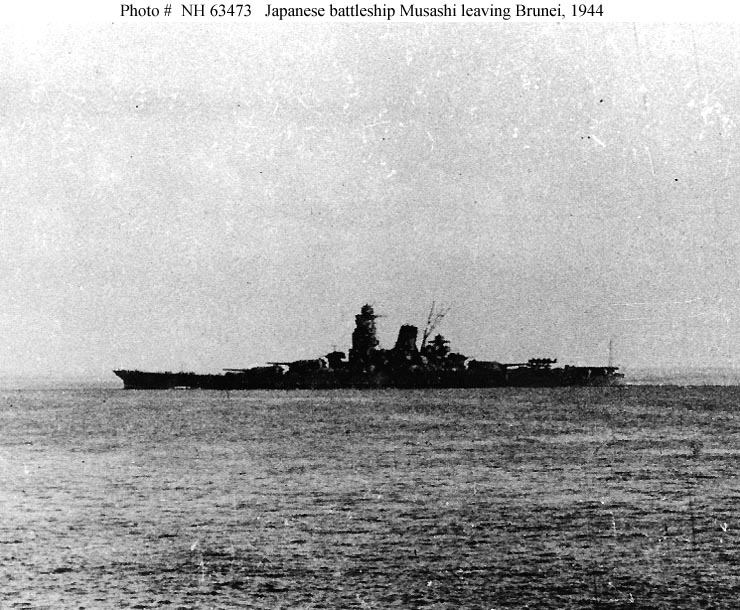
Returning to Kure, the giant battleship spent the better part of the month of April, 1944, in dry dock being repaired. While there, she also had her AA fit dramatically updated. As part of this upgrade, the beam 6.1 inch turrets were removed. Once repaired, Musashi re-joined the fleet and was a participant in the Battle of Philippine Sea in June, 1944. She returned to Japan briefly, sailed for Singapore in July, remaining there until October. While in Singapore, Musashi was re-painted, possibly using stocks of captured Royal Navy paint.
Around the 20th of October, 1944, Musashi departed Singapore for Brunei, Borneo. On the 22nd, she sortied to intercept the American fleet at Leyte Gulf via the Sibuyan Sea. On the morning of the 24th, the fleet was sighted by an American plane. From 10:30 that morning until 3:30 in the afternoon, the Japanese were under constant aerial attack by US Navy aircraft.
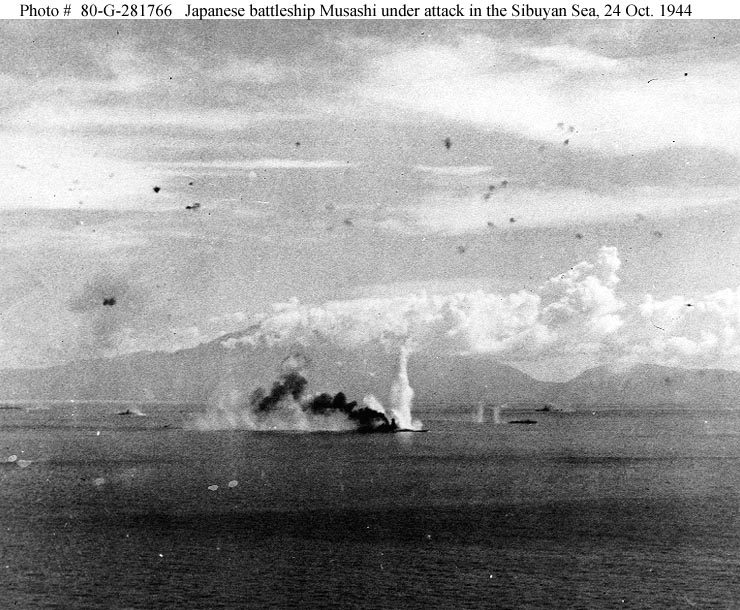
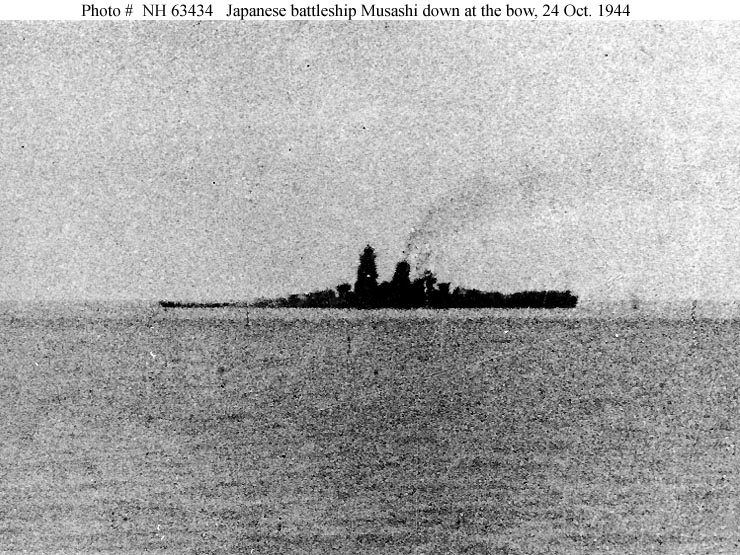
Bearing the brunt of the assault was Musashi. By the time the American planes (some 260 in all) were done, she had endured approximately 19 torpedo hits, 17 bomb hits and almost 20 near misses, leaving the giant battleship listing badly and limping along at 6 knots, her forecastle awash. Several hours later, at approximately 7:30 on the evening of October 24th, after an attempt to beach her failed, the Musashi rolled over and sank in over 4,000 feet of water.
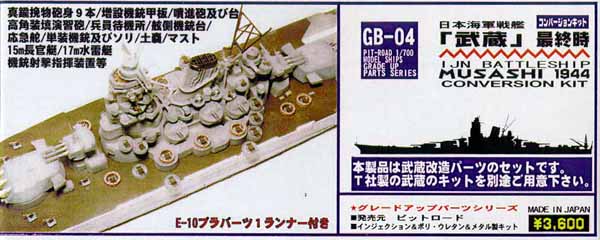
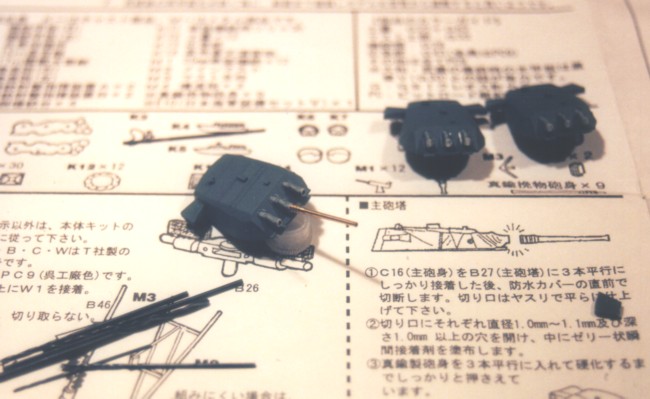
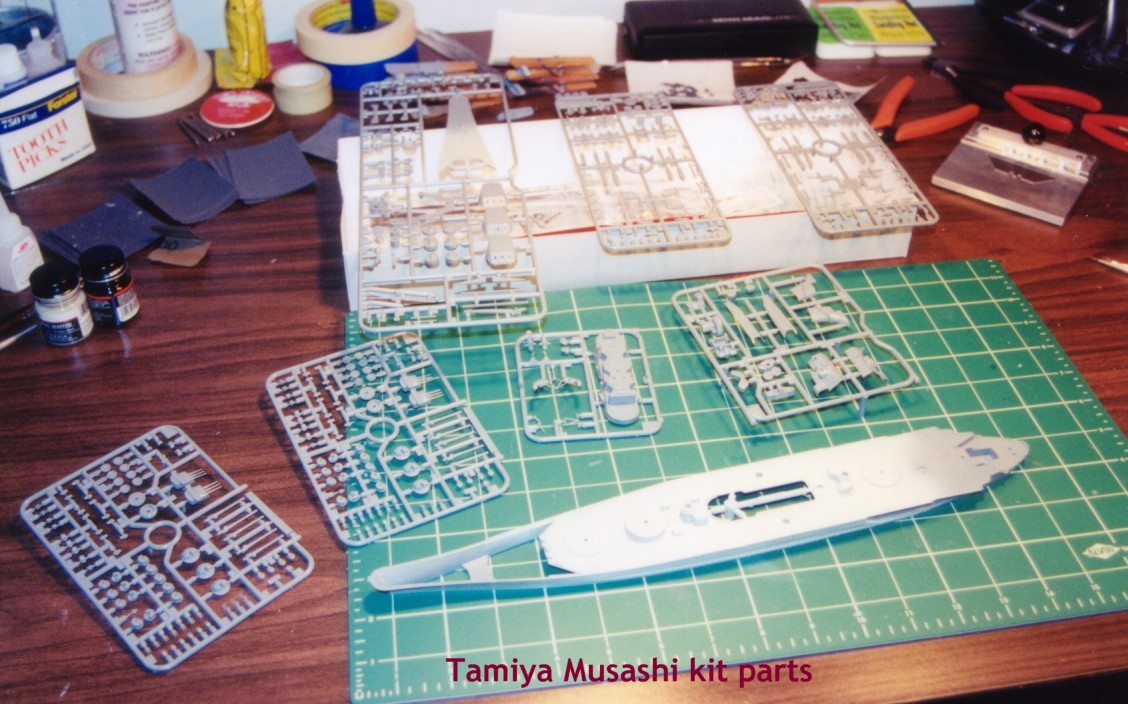
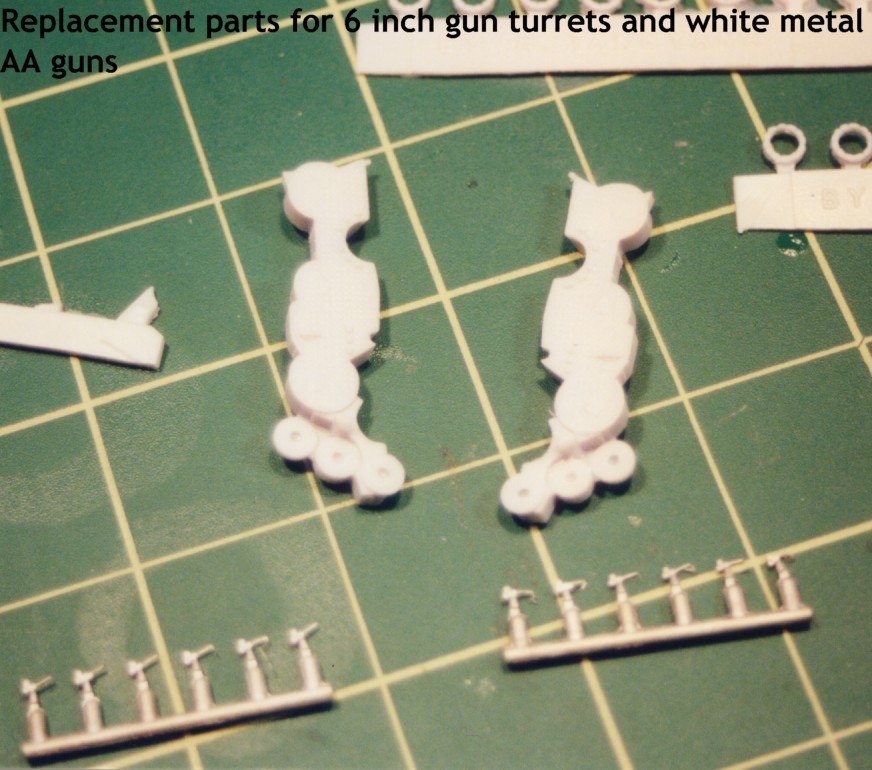
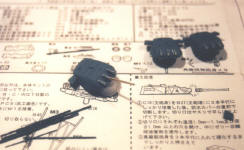
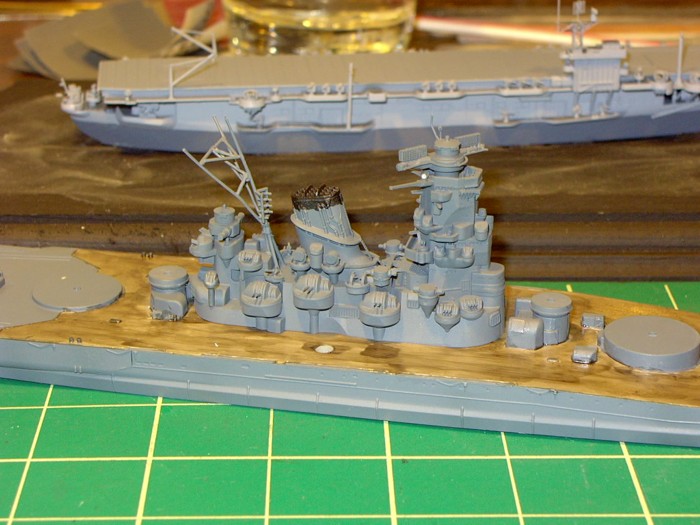
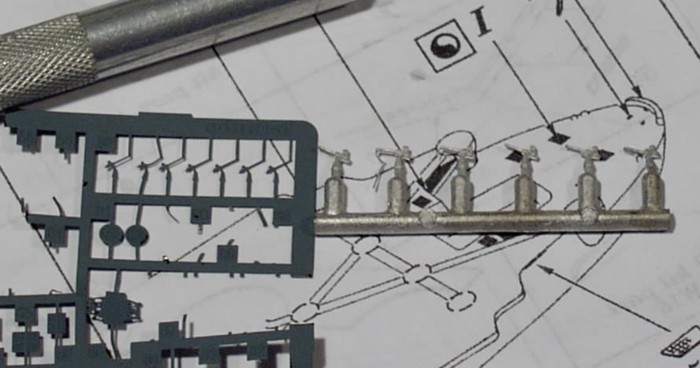
The Tamiya kit depicts the Musashi as completed in 1942. It is a absolutely beautiful kit, but if you want to build the Musashi at the time of her loss of Leyte Gulf, you'll need the PitRoad conversion set. The set includes resin upgrade pieces to replace the beam turrets, a white metal mast and secondary guns and brass replacement barrels for the main guns.
 |
 |
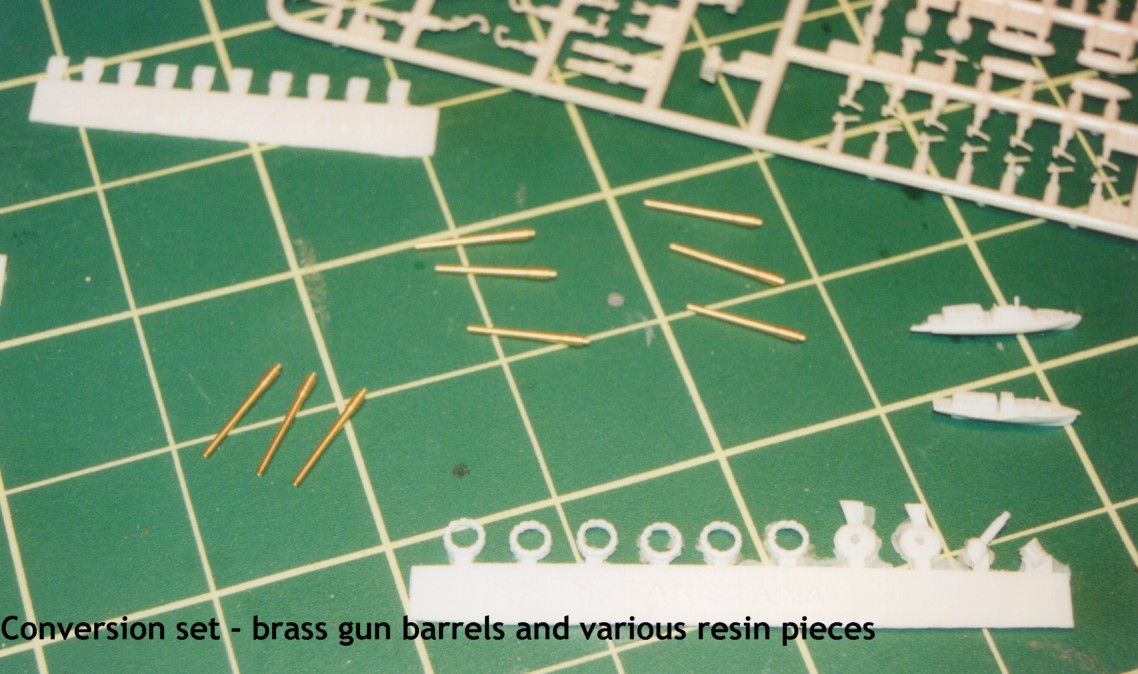 |
I was always interested in this conversion, and it did not disappoint. The resin and white metal parts are crisply cast and the brass gun barrels for the main guns are beautiful. The instructions are one page, which surprised me at first, but this is actually a fairly simple conversion. I decided to buy the Eduard photo-etch set for the Yamato to use with this conversion.
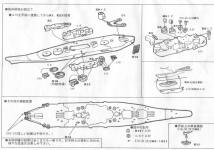
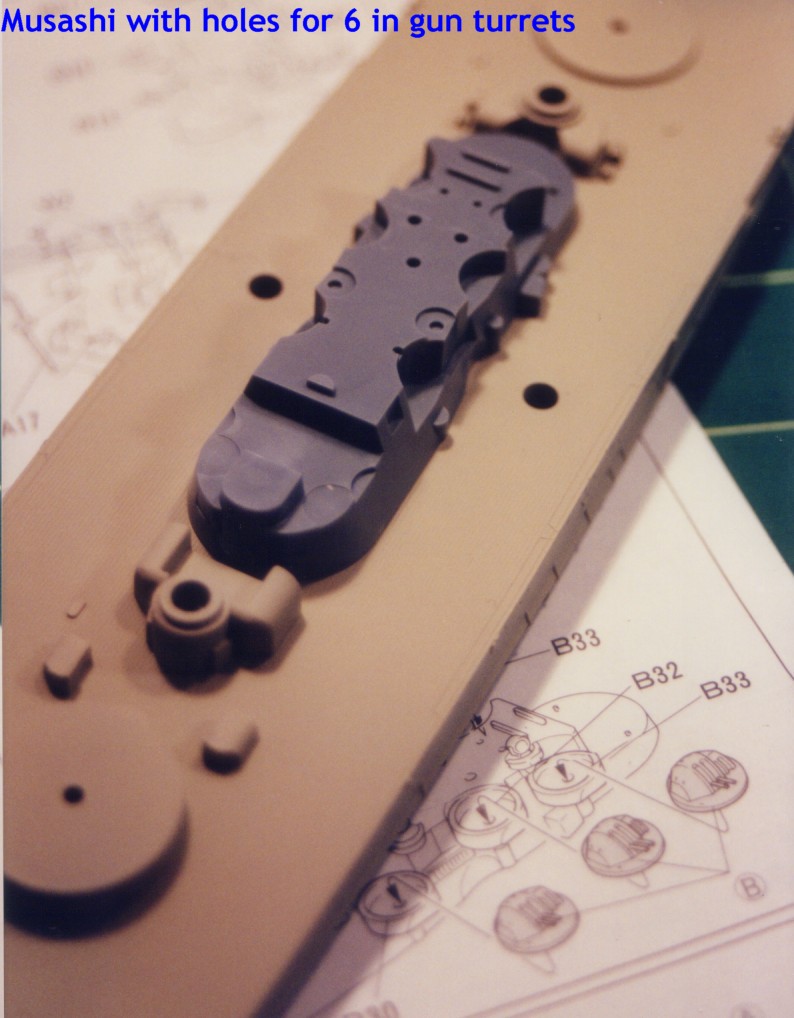
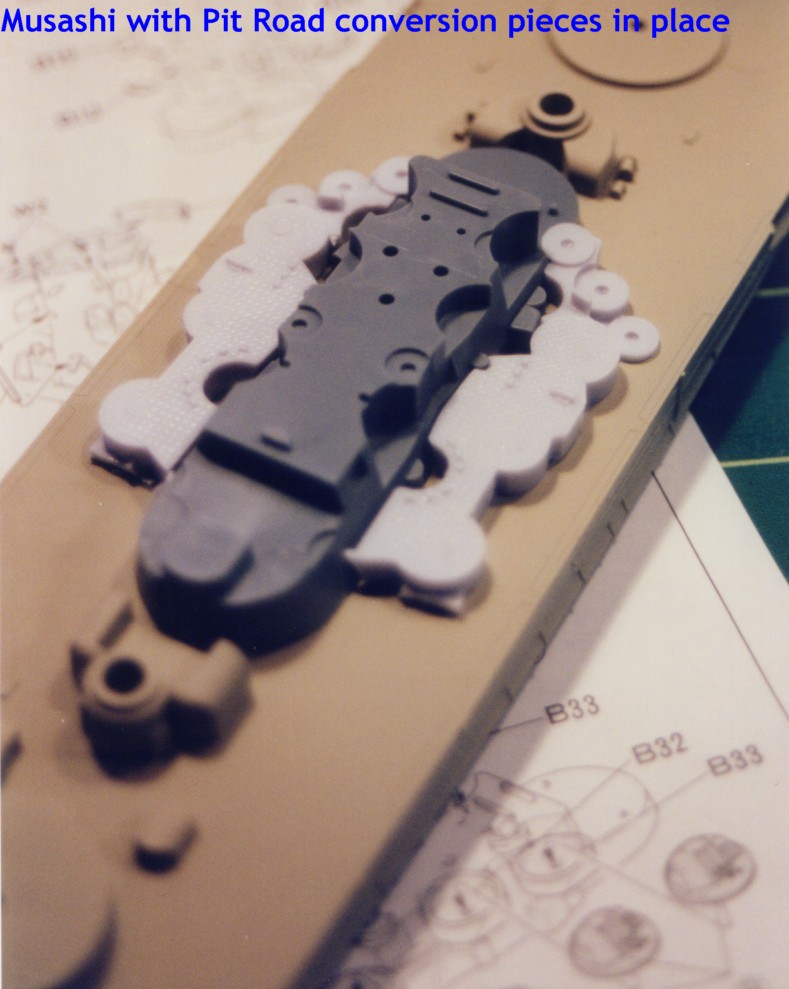
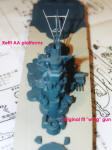
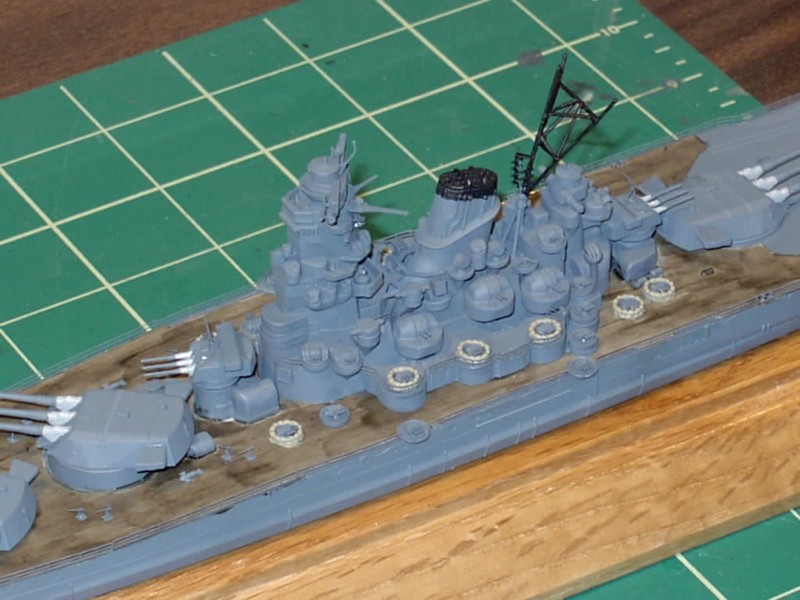
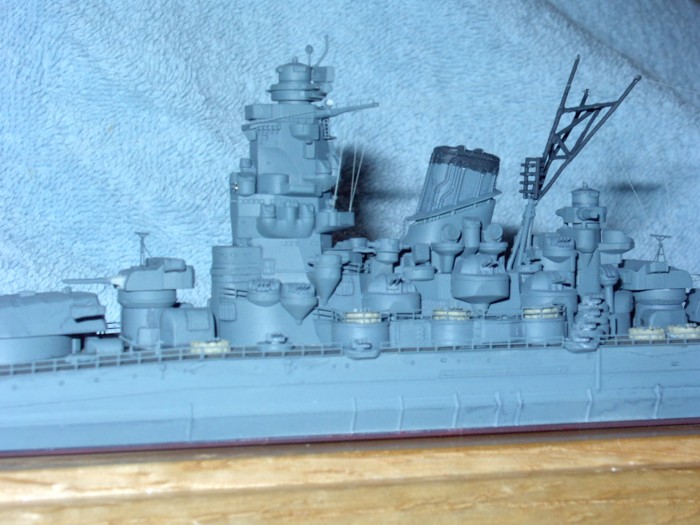
I laid out the instructions for the kit, the conversion set and the photo-etch set on my work bench and reviewed them to see where I needed to deviate from the Tamiya instructions to insert either the conversion pieces or photo-etch pieces. The biggest difference between the 1942 and 1944 versions is the removal of the wing 6.1 inch turrets and the addition of extra AA armament. The conversion set simply drops into place where the turrets were supposed to go.
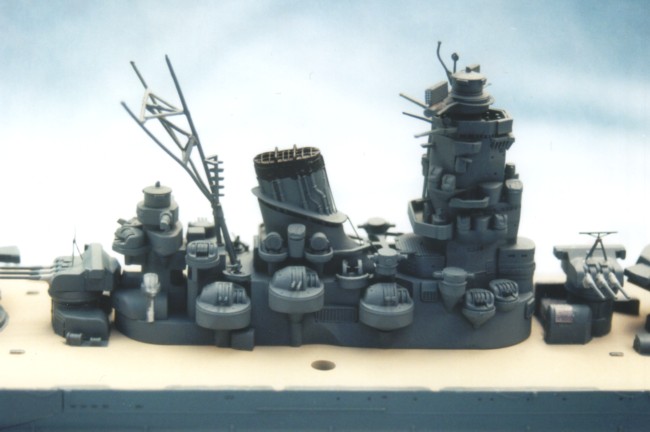
Construction is pretty straight forward. You follow the Tamiya instructions until you need to insert a piece from the conversion set. First, I sprayed the deck IJN Teak, using the White Ensign line of paints. I masked off the deck and gave the Tamiya and Pit Road parts a coat of Kure Gray, then started with the construction.
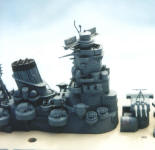
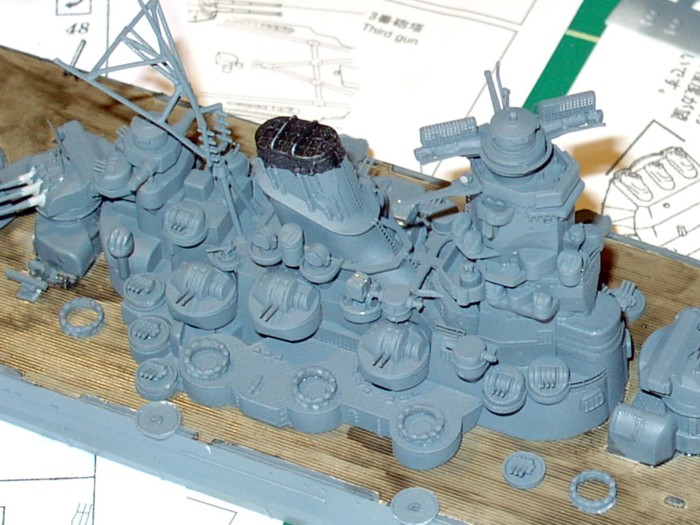
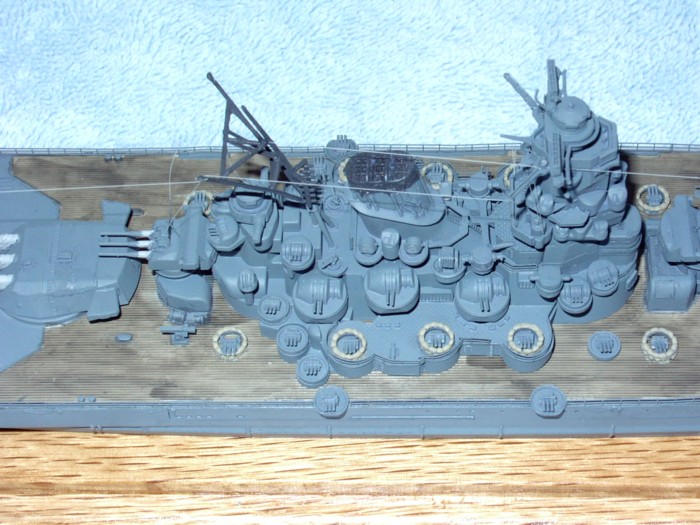
The first place to insert the Pit Road pieces is on the superstructure. Several searchlights are removed and small AA guns are put in their place in one spot, and unrifled projectile launchers are added on either side of the funnel. However, you can't add the funnel once the UP launchers are fully in (thankfully I test fit the pieces), so I installed just the mounts and put the UP launchers to the side for later installation. I built the main bridge tower separately then added it to the base of the superstructure. At this point, I managed to lose one of the gun directors for the tower portion. How one can lose a part on a hard wood floor in an 8 x 10 room is beyond me. After a fruitless search, I put the kit aside and called Tamiya. I had to order the entire sprue the missing piece was on, so now I have an extra set of turrets and more than enough gun directors to go around! Since I switched to other project while waiting for the new parts to arrive, the Musashi conversion ended up on the shelf for a few months.
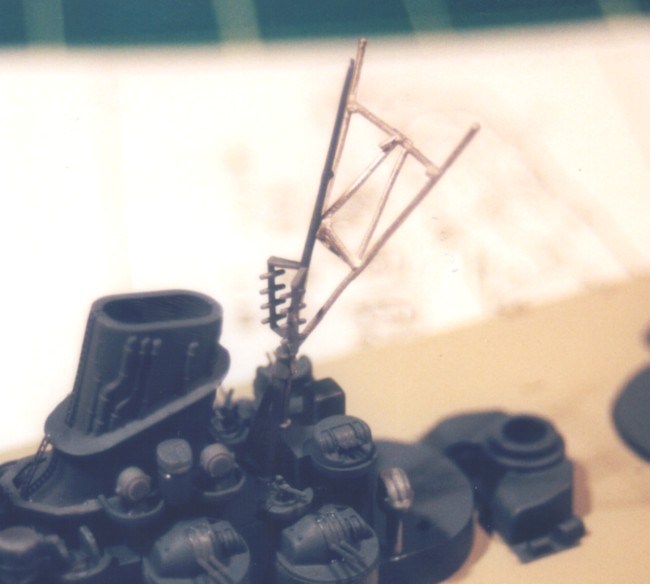
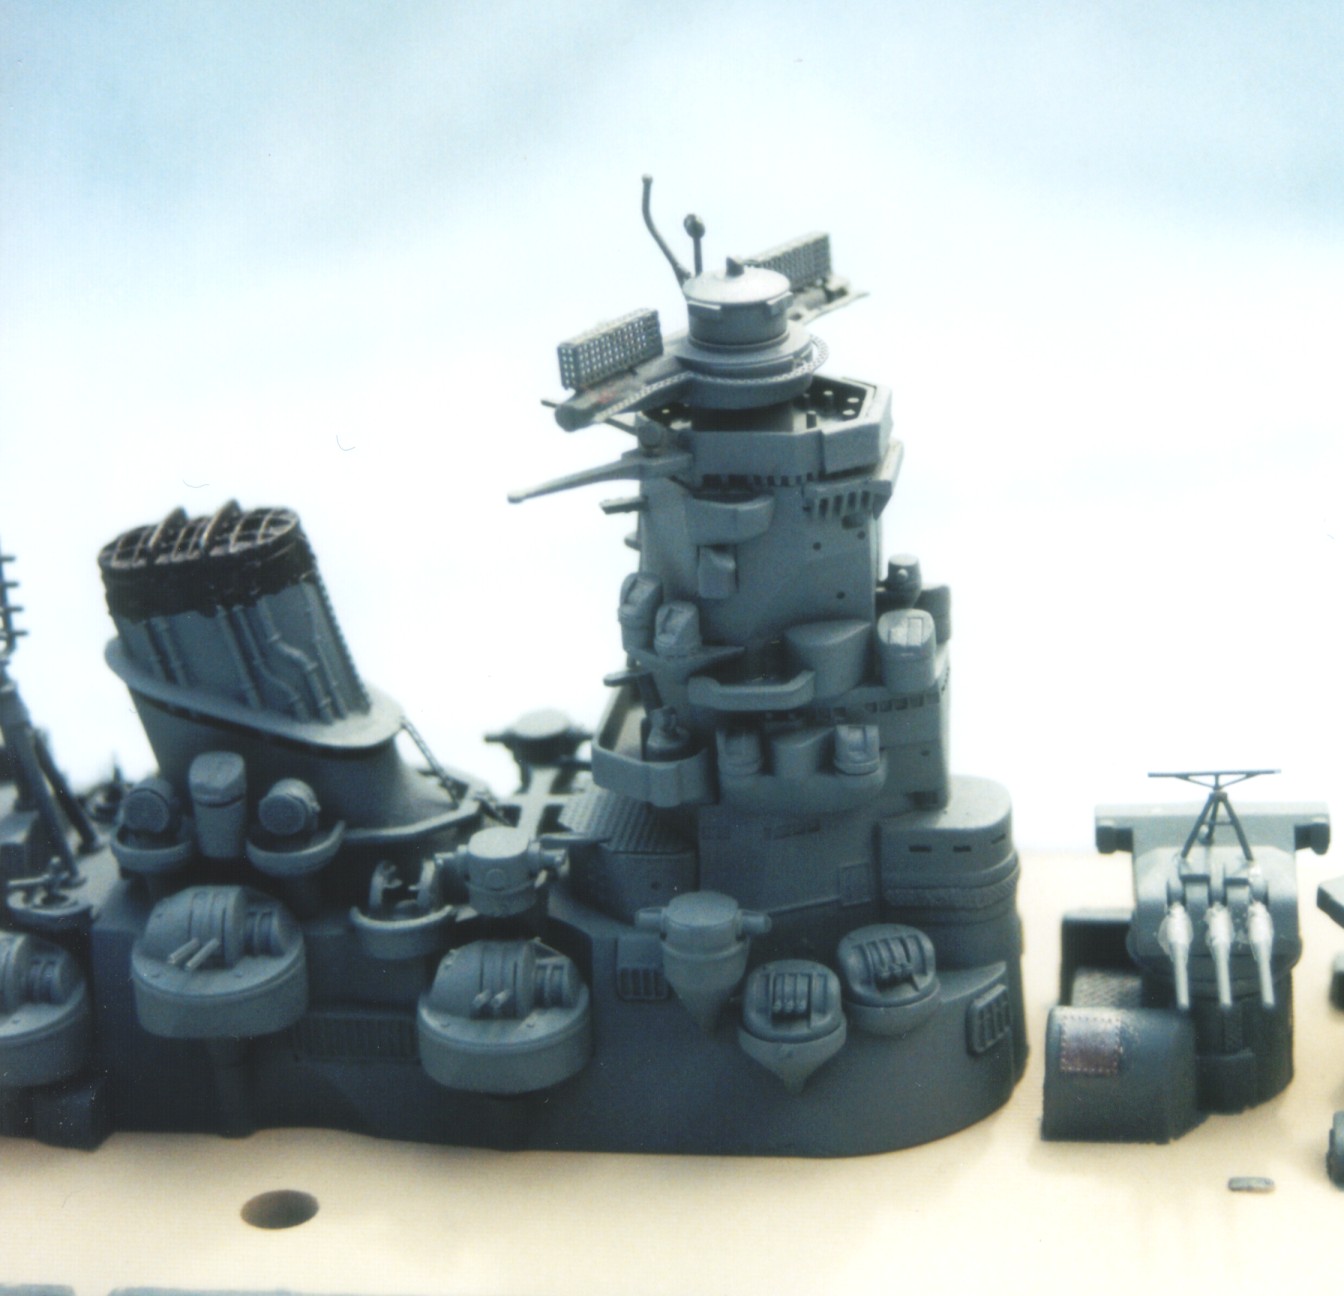
Once I started on the Musashi project again, building proceeded nicely. The next step in the conversion was using the white metal parts to change the mast to the 1944-era fit. These parts fit perfectly - though the difference between the kit supplied mast and the new one are subtle.
I finished the assembly of the Tamiya and PitRoad parts, then added the Eduard photo-etching, which included new radars. Since I hadn't glued the superstructure to the hull, once these steps were completed, I re-painted this assembly Kure Grey.
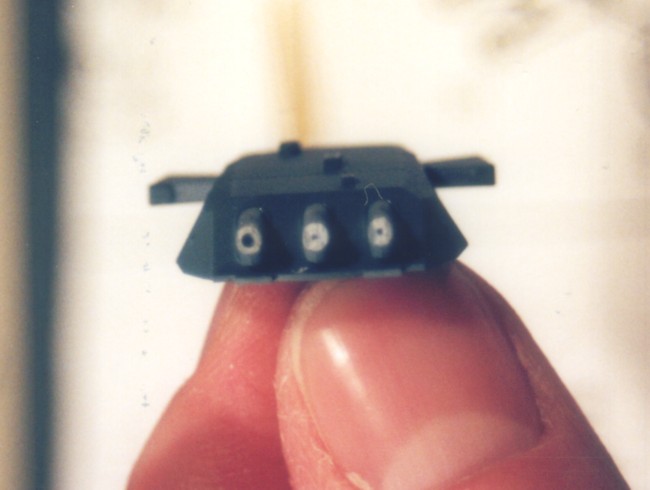
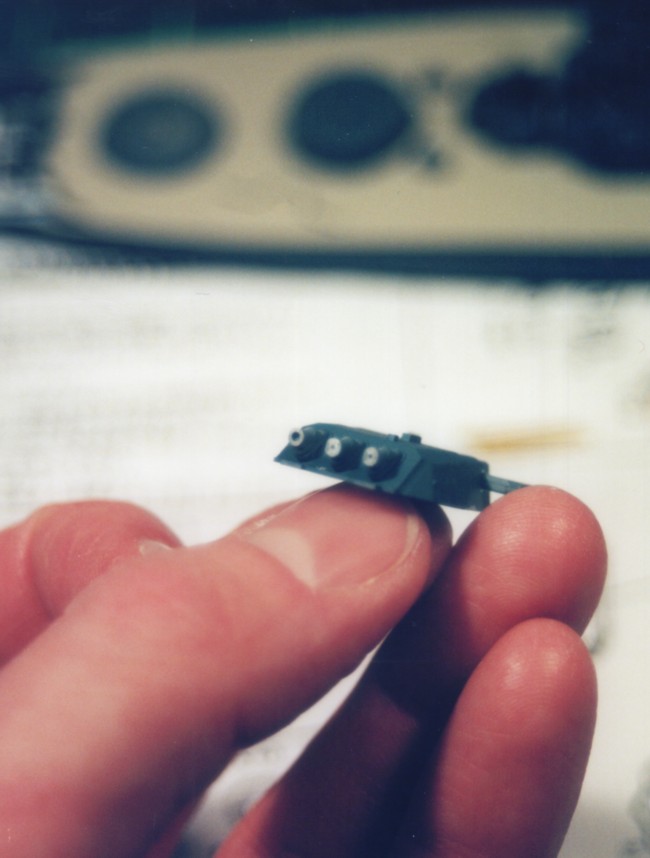
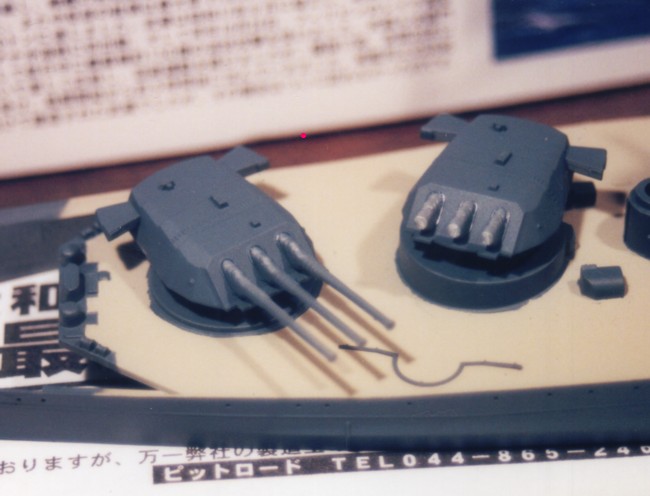
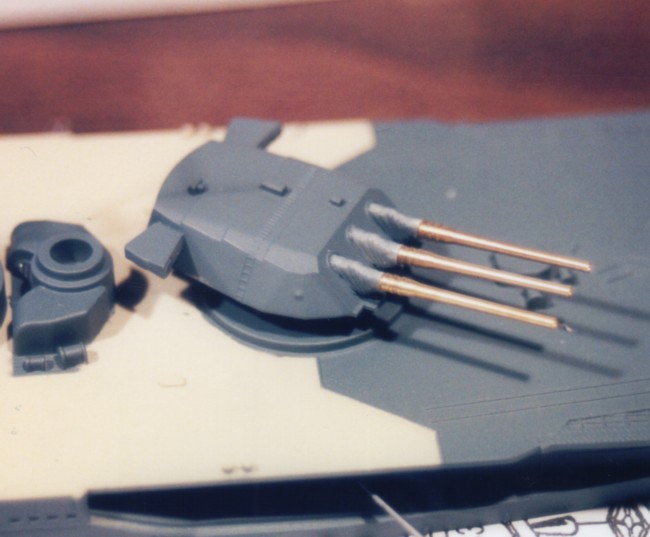
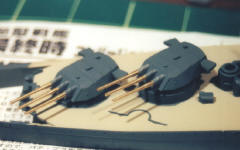
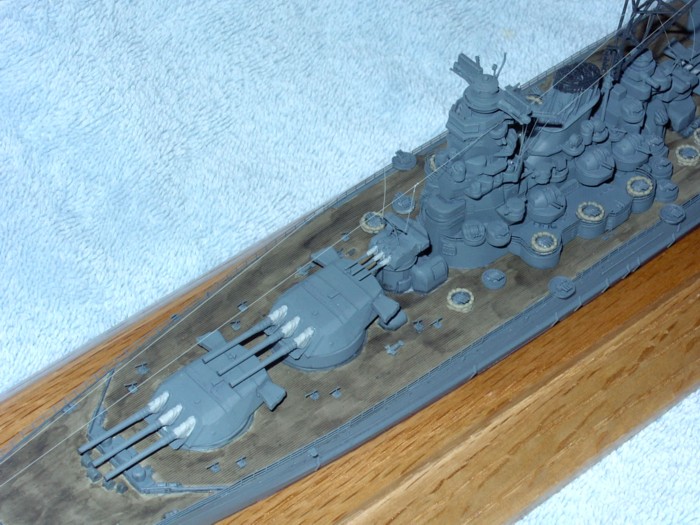
As I mentioned, the kit comes with replacement brass gun barrels for the 18.1 inch main battery. I installed the main battery guns in all three turrets per the Tamiya instructions, then let them dry overnight. The next day, per the PitRoad instructions, I cut off the Tamiya gun barrels, leaving only the blast bags attached to the turret. Let me tell you, it was with GREAT trepidation that I snipped that first barrel! Taking an X-acto knife, I started a small pilot hole in the blast bags. Once that was done, I took a small drill bit and opened the holes to accept the locator tip at the end of the brass barrels.
The next step was to add all the brass barrels to the turrets. While the kit supplies barrels are nice, the brass barrels included in the kit are superb. These view shows how they appear during and after assembly.
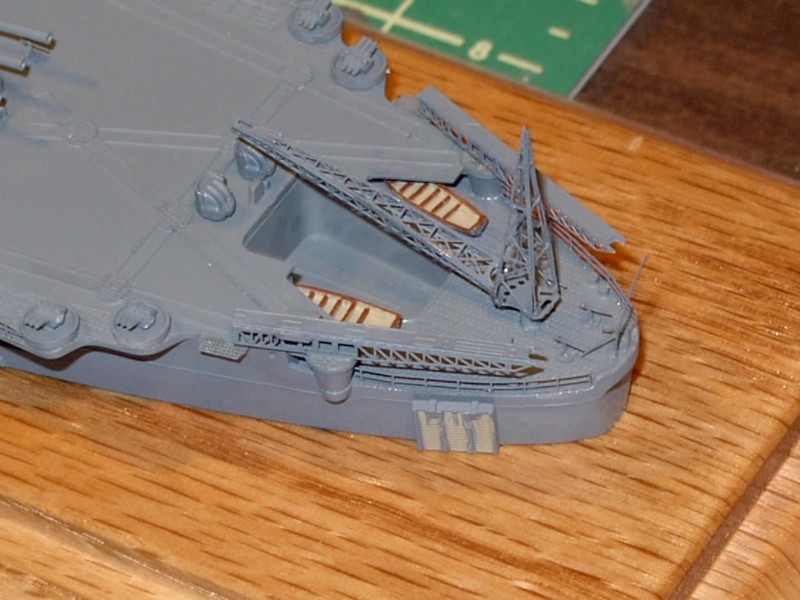
Once the turrets and superstructure were finished, I painted them, then concentrated on the photo-etching, assembling the cranes and catapults on the aft deck.

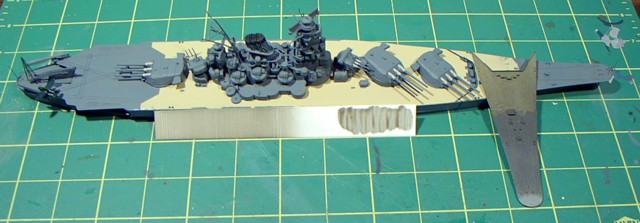
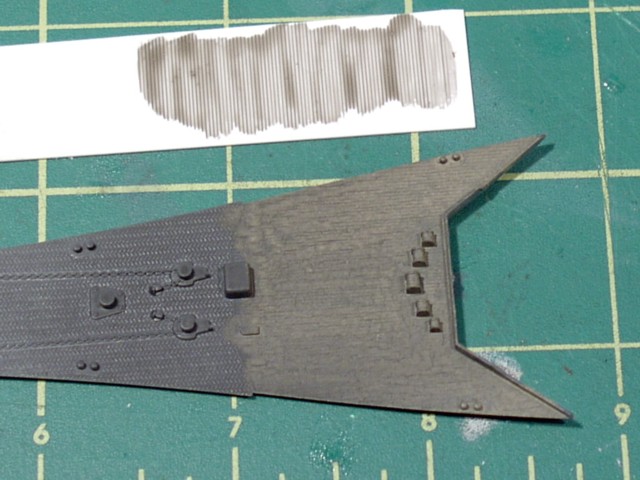
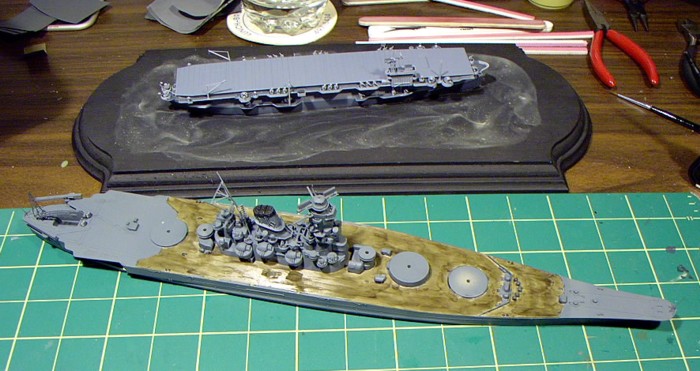
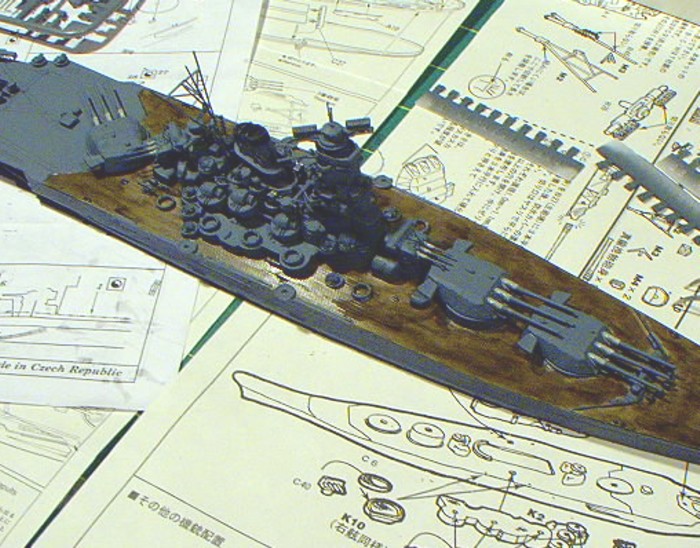
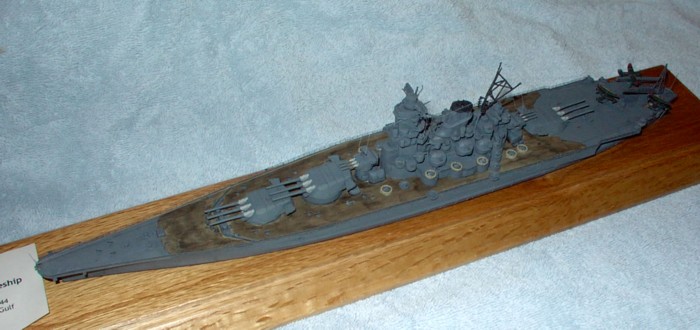
At this point, I was ready to add the superstructure and the resin AA structures to the hull. But first, I had to camouflage the deck. According to different sources, the Musashi had her decks camouflaged black for the passage to Leyte Gulf. The main ingredients were supposedly the soot from the smoke stack and fuel oil. This mixture was applied to the deck, reportedly with mops. I took that to mean the decks had more of a black over-coat applied to them, they weren't stained black the way the US Navy stained their decks Deck Blue.
So, my dilemma was how to simulate this. Remember that extra sprue I had gotten from Tamiya? One of the pieces was the deck for the bow of the ship. I painted the teak deck and proceeded to experiment before I ruined my model. First I tried a very thinned coat of black. It came out terrible - thank goodness I had the extra deck.
I was stumped on what to use, so decided to put the model aside for a little while and experiment. Those experiments included building several 1/48 World War Two era aircraft, then using them as test beds for weathering. One was given a slurry wash of pastels in the panel lines. That looked good - but I was worried the slurry would be too gritty and noticeable in 700 scale. I tried my hand at oils, using Winston and Newton oils in a thinner wash. I loved this effect on my planes - but the oils tended to move disperse when you put them on. That's great if you are trying to highlight a model, but not if you are trying to cover a whole deck. Then, Jeff Herne recommended I try Tamiya Smoke. Since he's not half-bad at this shipbuilding stuff, I decided to give it a try. So, Tamiya Smoke in hand, I airbrushed and hand painted some onto a scrap piece of plastic.
Of course, once it was done, I hated it. So, I masked off the Kure Grey portions of the deck and lightly went over my hand brushing effort with a thinned airbrushed coat of "smoke". It helped tone down the brush marks a little, but not as much as I'd hoped (oh well...). I was hoping that the flat coating process would even it out some more.
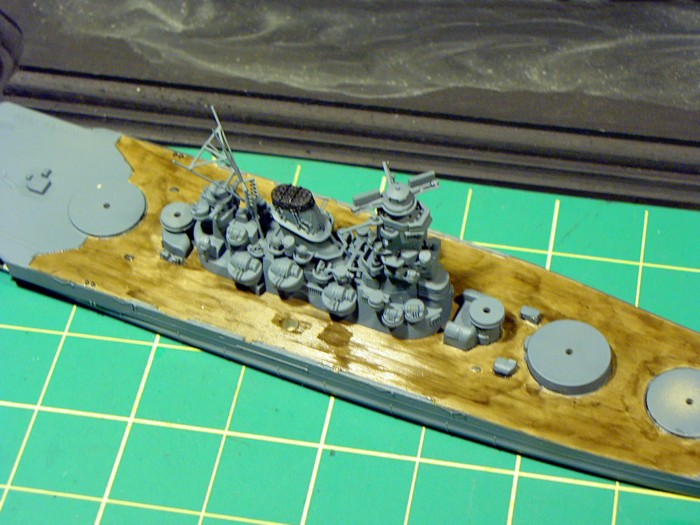
At this point, final assembly began to move quickly. After attaching some photo-etch railings to the superstructure, I glued that to the deck. Next, I glued the pieces from the conversion kit into the holes from the wing 6 inch gun turrets, then started adding the anti-aircraft gun tubs, "sandbags" and finally the guns themselves - first to one side of the ship, then the other. While waiting for the "sandbags" to dry, I popped the main and secondary battery turrets onto the model.
After adding the rest of the triple 25mm AA guns, it was time to place the almost two dozen single 25mm guns on-board. The resin conversion kit came with small resin wafers that were cast to resemble the metal plates the single 25mm guns were mounted on. It also contained both white metal 25mm guns and a Skywave weapons set with 25mm guns. I compared these to the mounts and guns that came with the Eduard photo-etch set. While the one's that come with the conversion set were nice, I decided to use the pieces from the Eduard's set, since they seemed more to "scale".
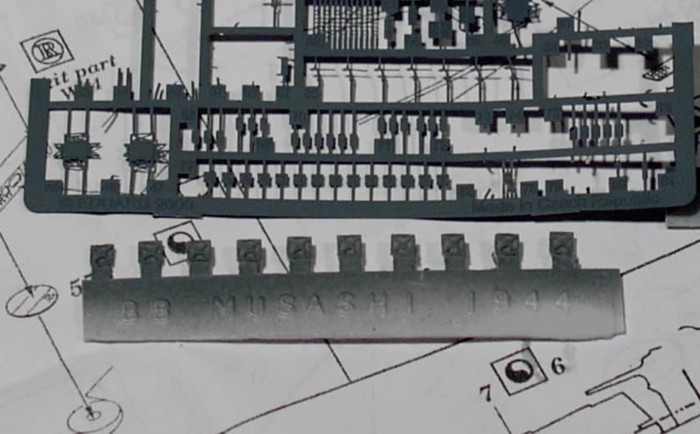
The last piece of the conversion set was now added - the emergency rudder. This was glued into place along the port side of the hull, in the area of the catapult. At this point, the conversion was complete. All that remained was to add the railings to the hull. Eduard has their railings numbered to fit the unique hull lines of the Yamato-class, which made adding them easier.
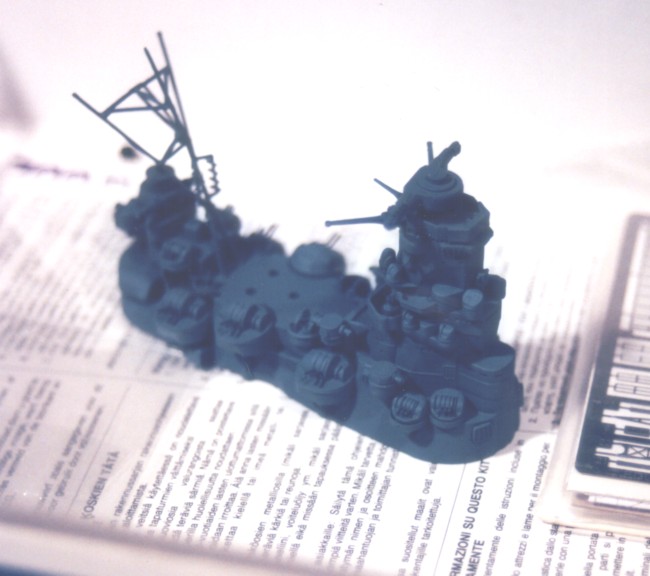
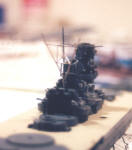
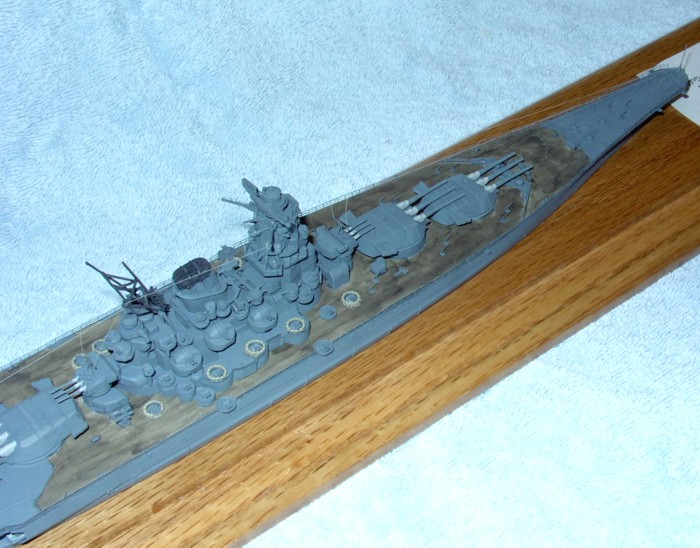
After adding the seaplanes, the model was weathered with oils, rigged with both .003 and .002 monofilament, then given a few light coats of flat. The finished product is an impressive looking ship (notice I didn't say model!), even in 700th scale.

| Conclusion: | |
|
The PitRoad set was much easier to
use than I anticipated when I first opened the box and saw all the pieces.
It goes together nicely, and fits perfectly with Tamiya's Musashi.
The instructions - even though they are in Japanese - are logical and easy
to follow. Outside of my own limitations as a modeler, I'm pleased with
the way the conversion came out, and happy to have a 1944-Leyte Gulf version
of the Musashi in my scale modeling fleet. If
you want to add one to your fleet, I highly recommend this conversion.
Thanks to Pacific
Front Hobbies for the review sample of the PitRoad Musashi 1944
conversion set.
|
|