HMS Royal Oak
by Jim Baumann
| The WSW HMS Royal Oak kit is like much of the rest of that companies products, totally symetrical, well engineered and well cast with no warpage and therefore a good starting point. Most of the outlines are spot on, though curiously there are some inaccuracies and omissions, more later. | |||||||
| There is a rudimentary bit of PE which I usually
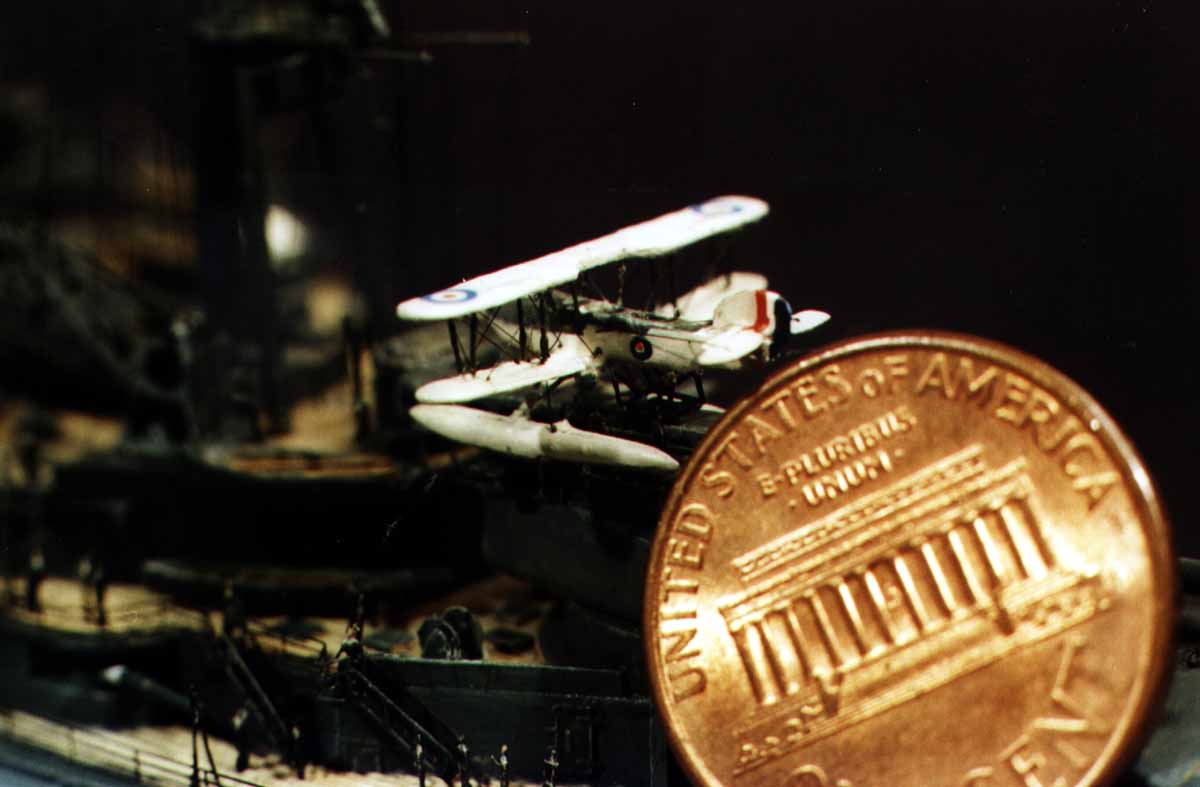
discard. In this instance I kept the Crane and used the basics of
the catapult as this was individual to this ship as far as I can acertain.
I used as my references; The Profile Morskie monograph of the RO (nice drawings and sketches; very good value, photos indifferent. Of primary use was the book by Raven/Roberts 'British Battleships of World War Two" also known as the very expensive bible... |
|||||||
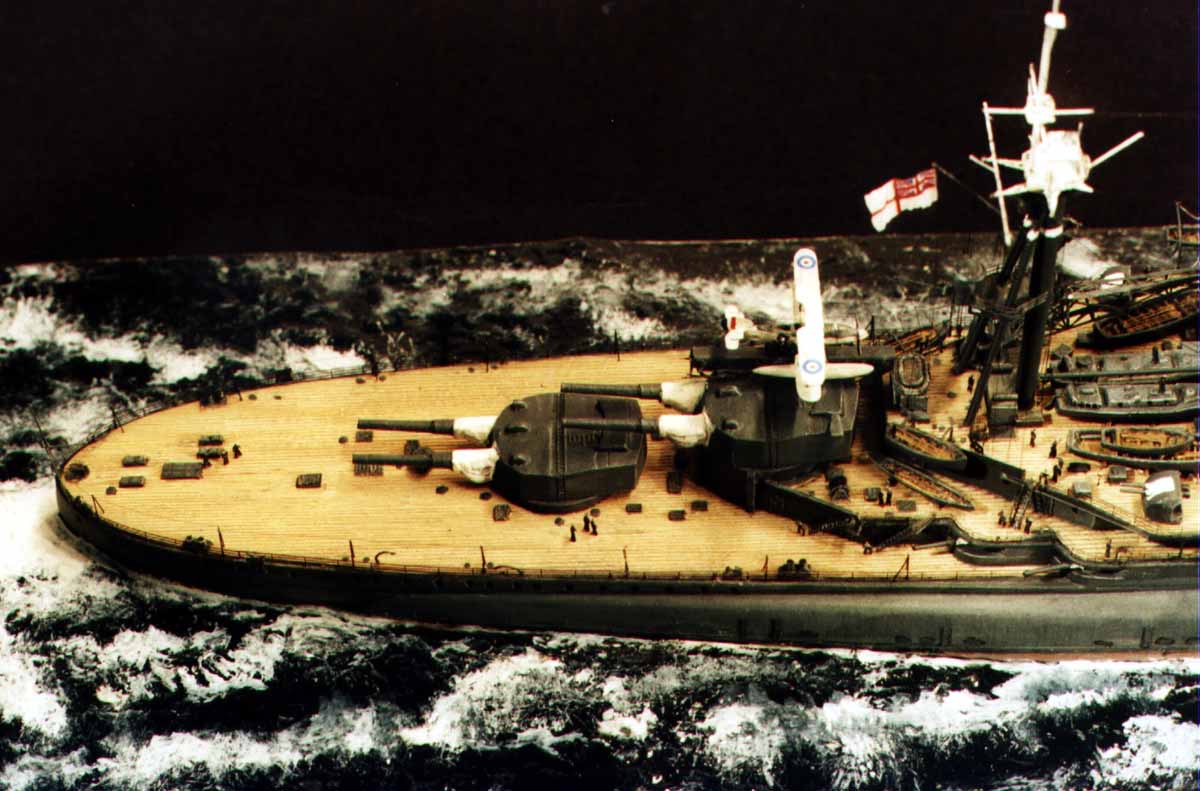
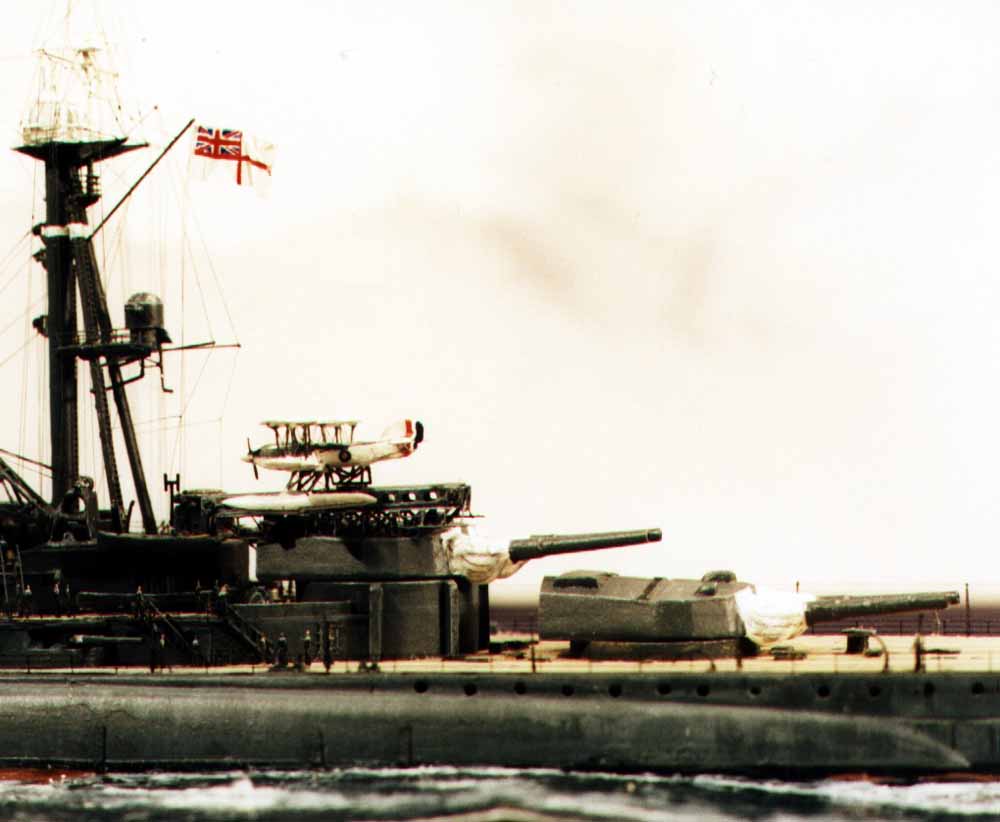
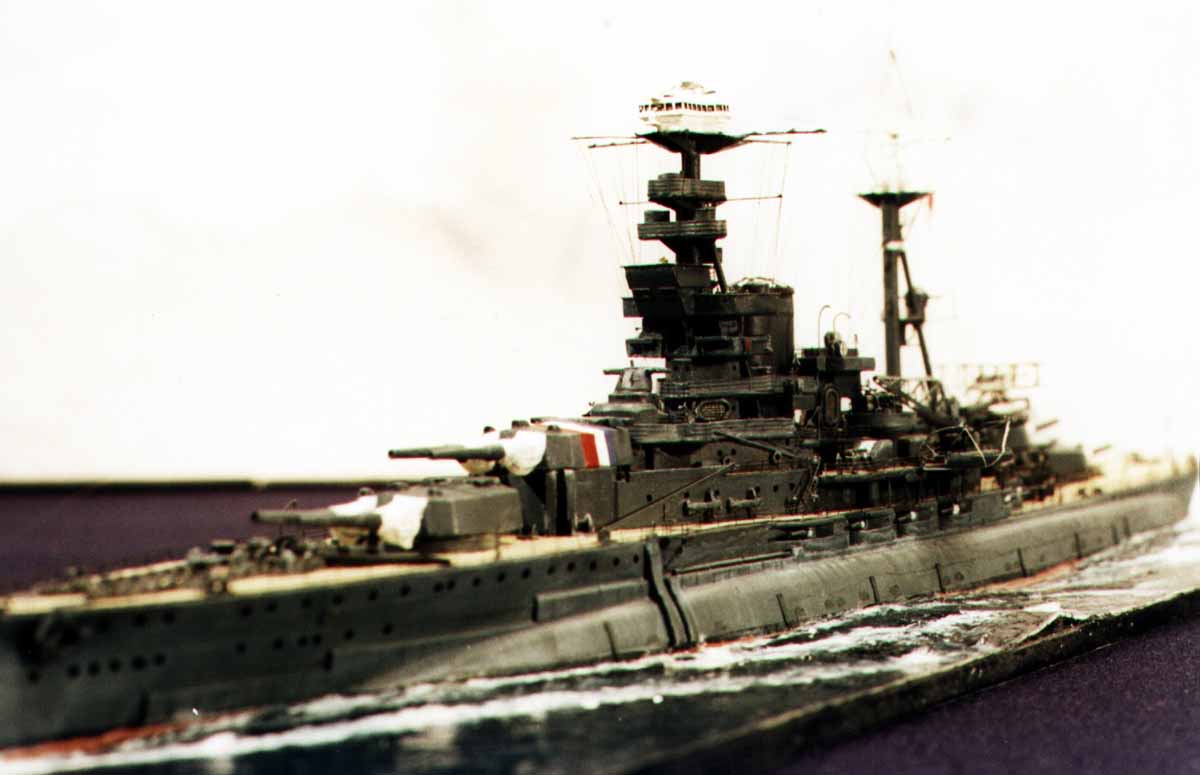
The first thing I did was to add/alter the checkchain plating by the main anchor cable runs. An additional hatch was added on the foredeck between the cables. Immediately aft of the fwd breakwater there are a number of cable reels shown on the drawings which were not present; I used WEM pro series items there and aft just fwd either side of x-turret. The anti torpedo bulges were missing the various protrusions and hatches(?) shown on the plans, these were added from self adhesive tape strips and paint circled with pencil so as not to create a bump where none should be. The very large gash(?) chutes fwd were reduced in height a little and thickness a lot! beware, the resin is brittle, mine snapped off twice...! The main turret blast bags were IMHO too full on the top surface, looking as the if the gun was being fired(!), hence I scraped away at the top to create a hollow and added white glue and paint on the underside to create a baggier saggier effect, this was reinforced by painting and some pencil shading of creases. |
|||||||
|
|
|||||||
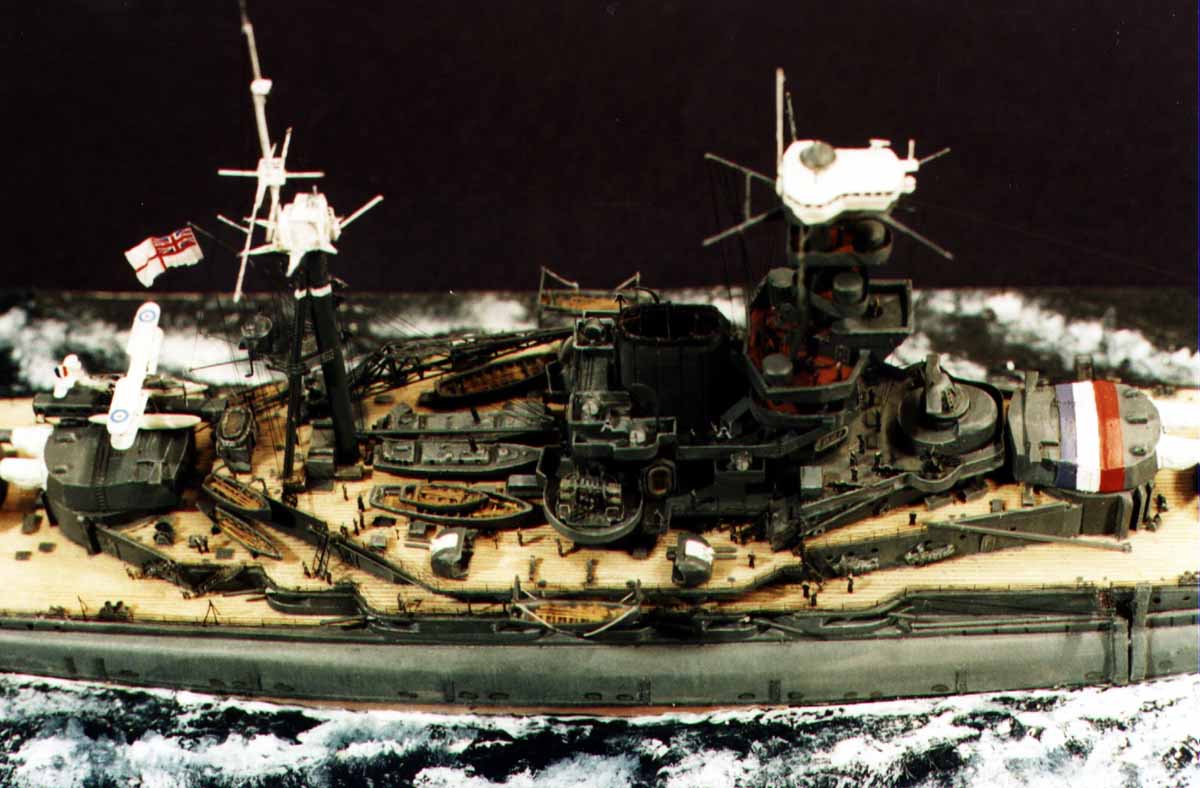
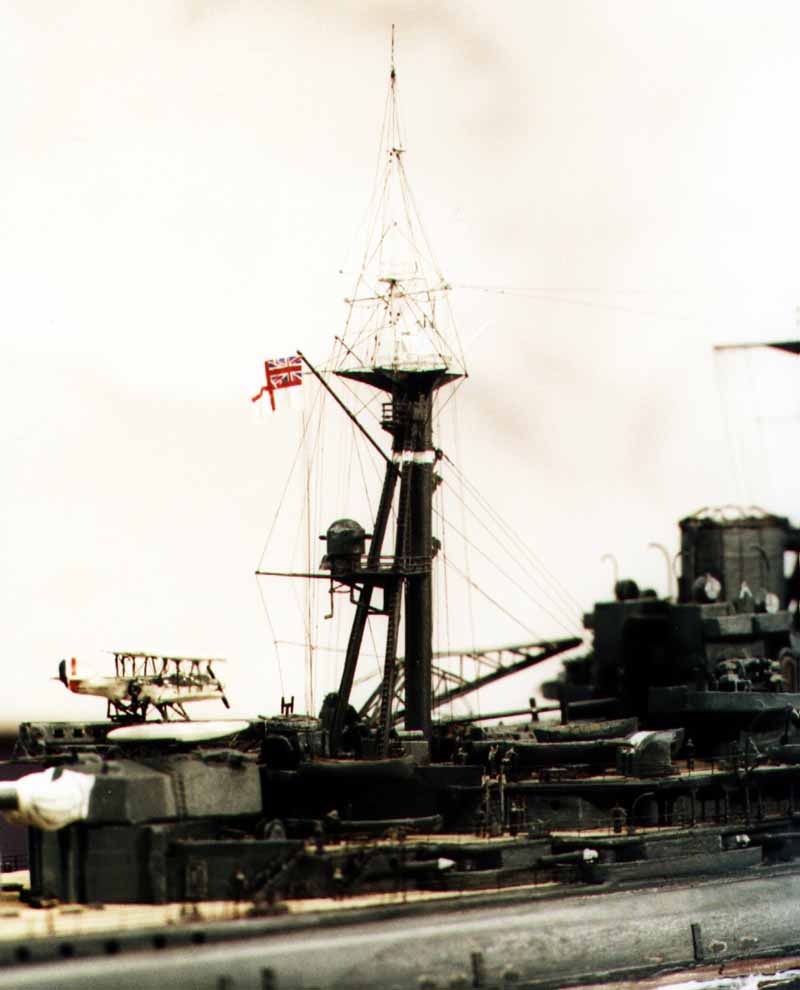
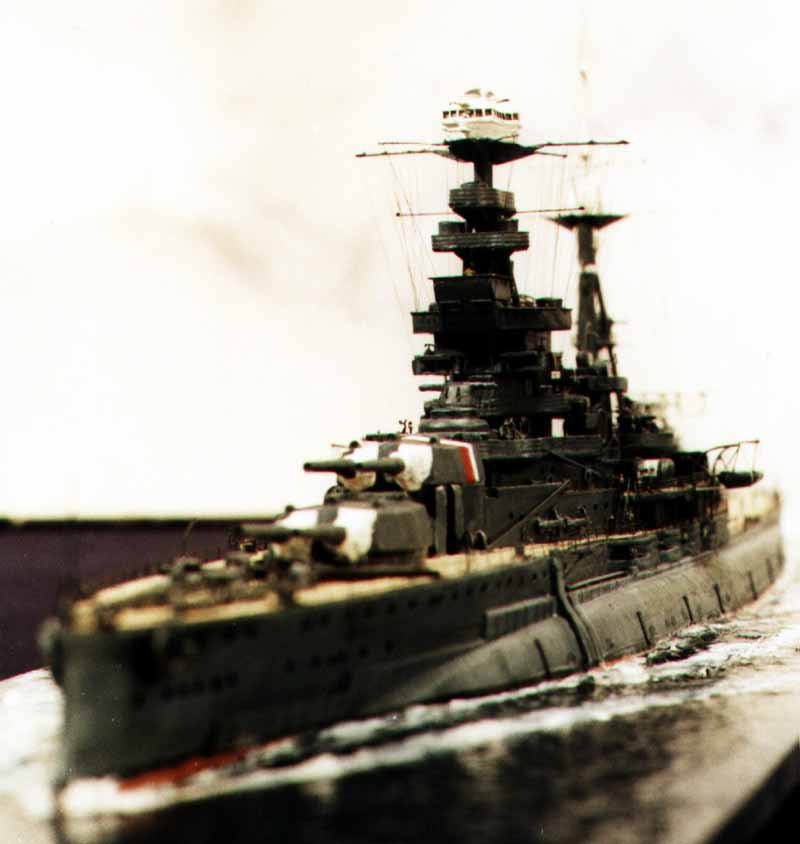
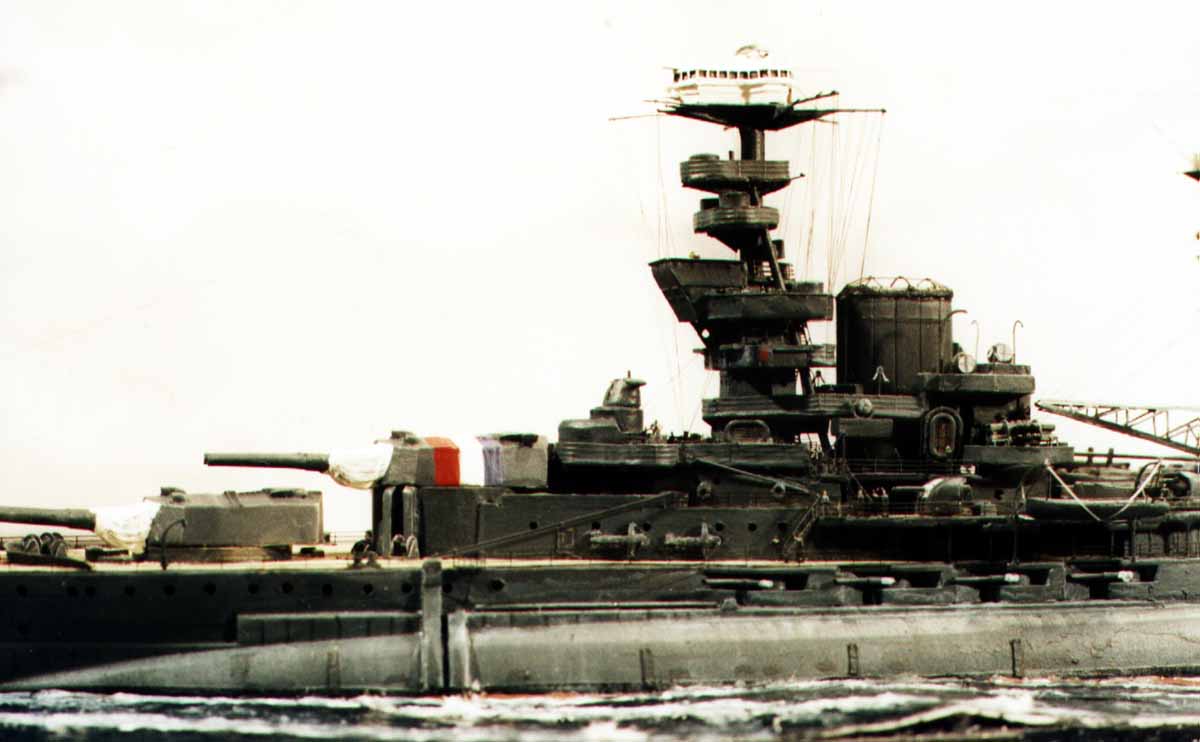
The aft mast also had a starfish constructed to suit and
the Profile Morskie drawings (some of which are duplicated in (1/700!!)
made life much easier. The range finder platform appeared to be too
thick in section and outline so a replacement was made from Brass
scrap along with the supporting structure and a new range finder tub and
canopy from alloy tube and white glue. The aforementioned catapult
is more or less right in outline but needed all the additional bracing
and pulleys added, this became a project within itself; now affixed to
ship you can barely discern all that work; is it worth it?...?
|
|||||||
.
|
|||||||
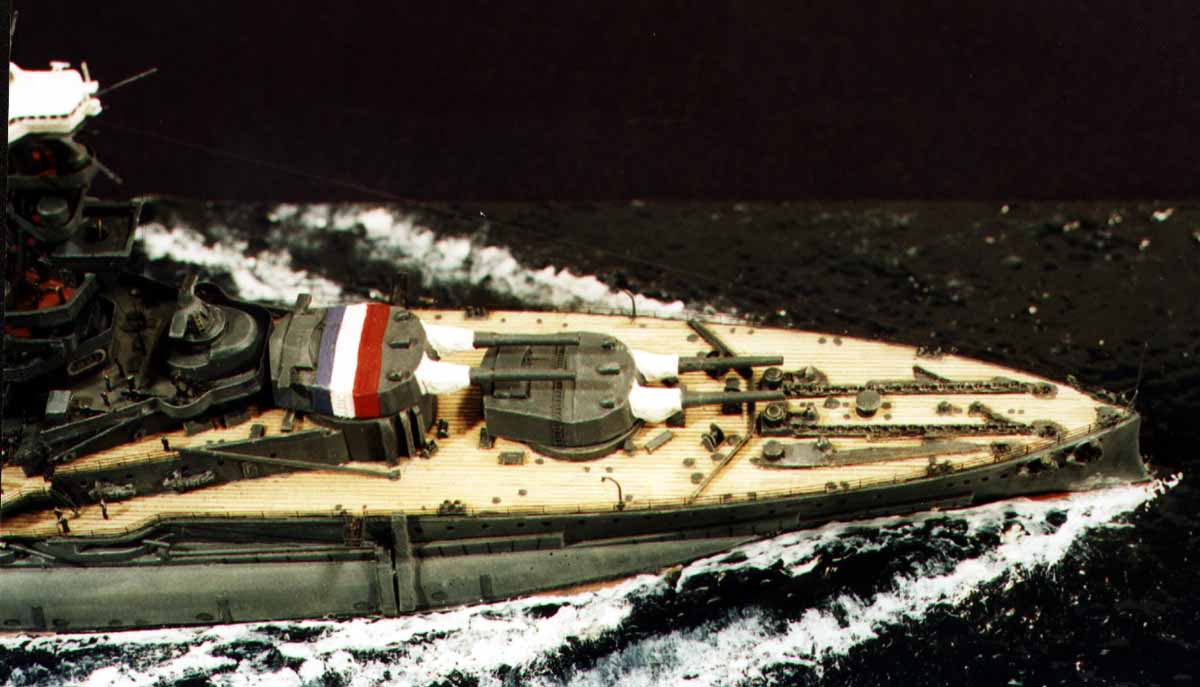
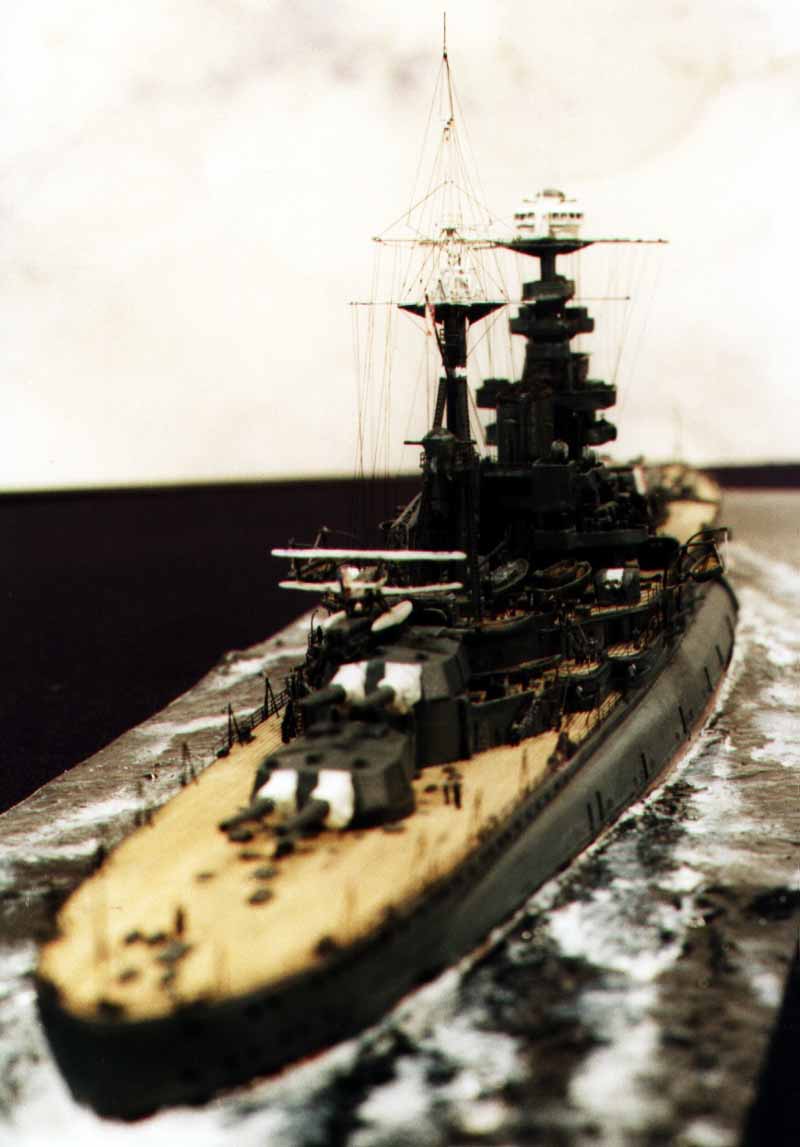
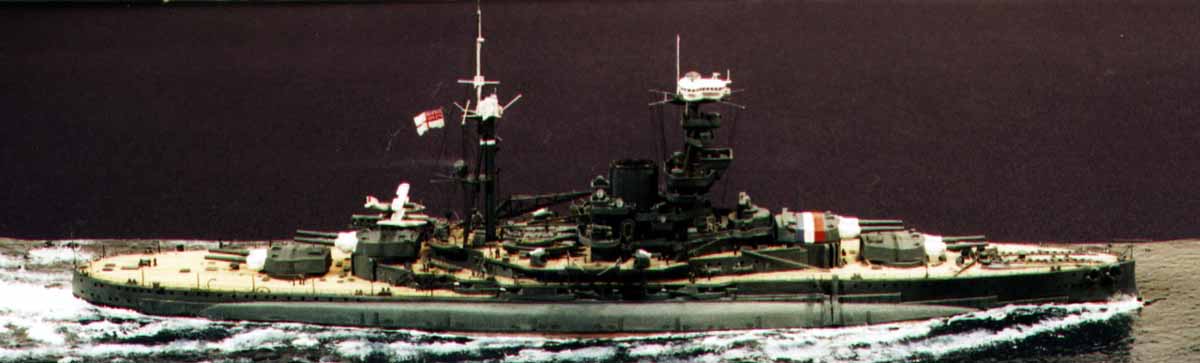
| The sea is watercolor paper laid over cocktail sticks to give swell. The painted and boot topped ship was mounted on a few slivers styrene sheet; then the gap between the 'water' and the hull where applicable were in-filled with white glue, later painted in dull anti fouling colour, ergo lower hull showing in troughs..!! There are loads of small details I have not mentioned that were puzzles in themselves but nevertheless added to the challenge of this model. | |||||||
 |
 |
||||||
| Conclusion:
I would wholeheartedly recommend this kit on the proviso that it need extra work to realize its potential. |
|||||||