U.S.S. Farenholt
in 1/350 Scale
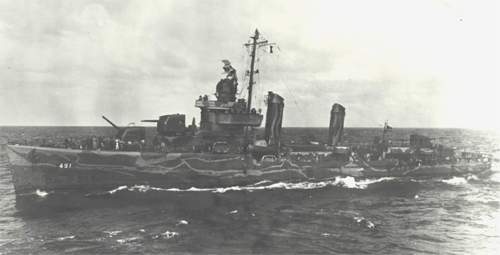
By Devin Poore
![]()
By Devin Poore
![]()
| Okay, priming has commenced! Only one photo of the hull with the primer, as it's pretty repetitive of the previous ones in Part 2 (only in gray now). This is after two or three priming sessions; you know, prime, find a problem and sand, prime again, sand again... The primer I'm using is Mr. Surfacer 1000 by Gunze Sangyo. It appears to be some sort of acrylic enamel type paint. Using their thinner, it goes on really thin and pulls up very tight, hiding no details (or missed scratches). It's my new "primer of choice". | |
| After priming I shot the hull with Badger Acrylic Marine Paints Ocean Gray. I had to do some mixing to get it closer to the color charts (I think the bottle I picked up was mislabeled late 1941 while it was actually a dead on match for the early 1941 color chart). After that had dried, I used masking tape to cut in and then sprayed the Sea Blue to where it should roughly go. | 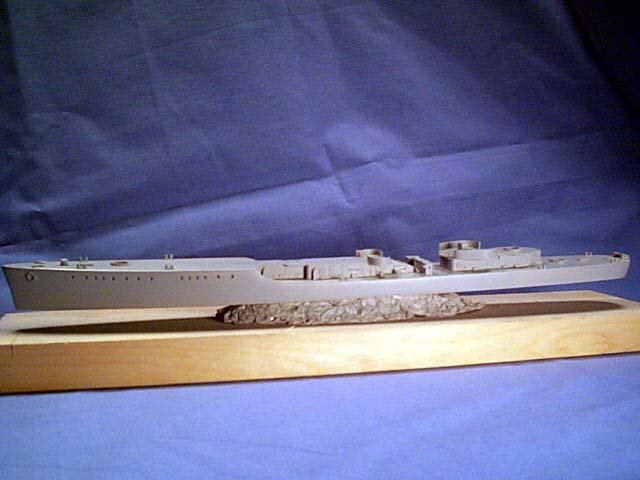 |
| After these basic colors were laid in, I broke out the Silly Putty. Yup, that same stuff I played with as a kid, lifting pictures from the newspaper. I saw an online hobby shop marketing "masking putty" and after asking around, several people suggested I try this route instead (it's a LOT cheaper). Now, on to how I used this stuff. Since I had the Ocean Gray and the blue laid in, I just had to cover what wasn't to be Haze Gray (the lightest color). So, I started pinching off putty, rolling it up into tubes, and then placing it on the hull. I poked and smushed it around, getting the basic shapes of the ocean gray and sea blue blotches. After all the putty was applied, I had something that looked like the photo on the left. | 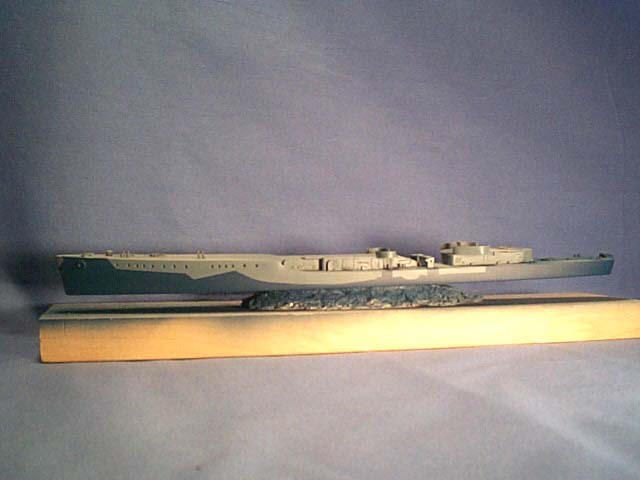 |
| What a mess. You have to be VERY careful handling items masked like this. Unlike masking tape, if you touch what you've already masked, it changes the shape of your mask. I had to go back several times and use a knife or brush handle to separate mounds of putty that had "grown" together. Also, one other thing I noticed about this type of masking is that you have to watch the thickness of the putty on the model. You can run into accumulations of paint next to the putty if you put it on too thick, and end up with a noticeable ridge. That happened to me, but I was fortunately able to make them go away with a sanding stick. After the putty is pulled off, I ended up with: | 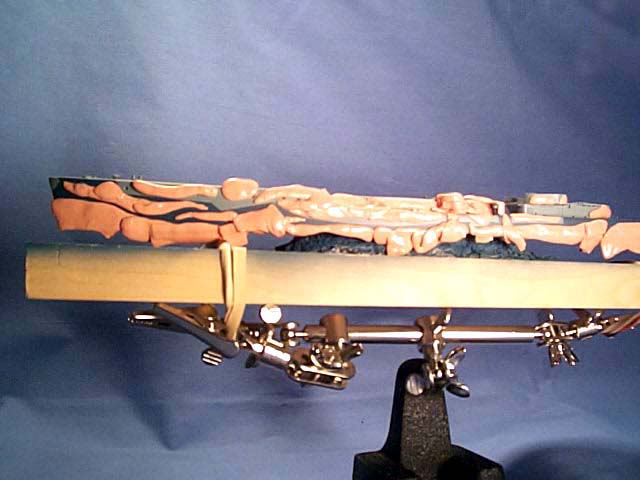 |
| It looks fairly good, better than I expected it to turn out. In the picture I've glued a piece of the PE already, so I can extend the camouflage up onto it with the airbrush before I add more details. | 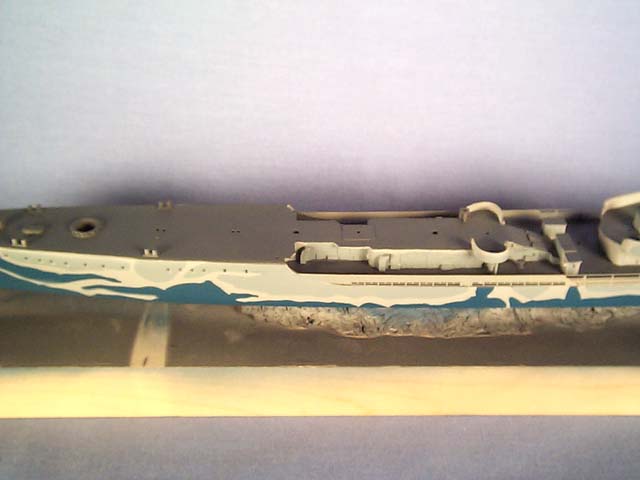 |
| Here is the upper deckhouse. It shows a little of the camouflage and the beginning of the PE rail attachment process. | 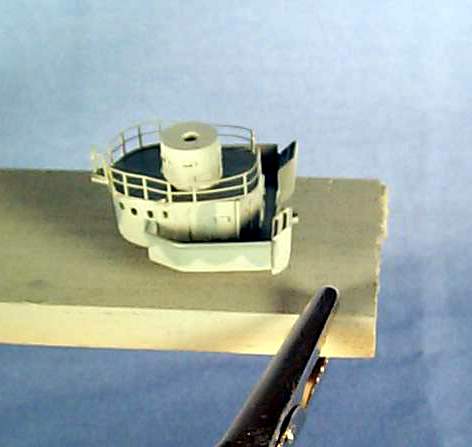 |
![]()
