U.S.S. Farenholt
in 1/350 Scale
By Devin Poore
![]()
Back to the U.S.S. Farenholt Menu
Part 2 Construction
By Devin Poore
![]()
Back to the U.S.S. Farenholt Menu
Part 2 Construction
| Construction:
I am really impressed with the quality and east of construction of this kit. I've built other models before, but haven't worked with resin. I really like it, and this kit with it's almost flawless casting makes it even better. |
||||
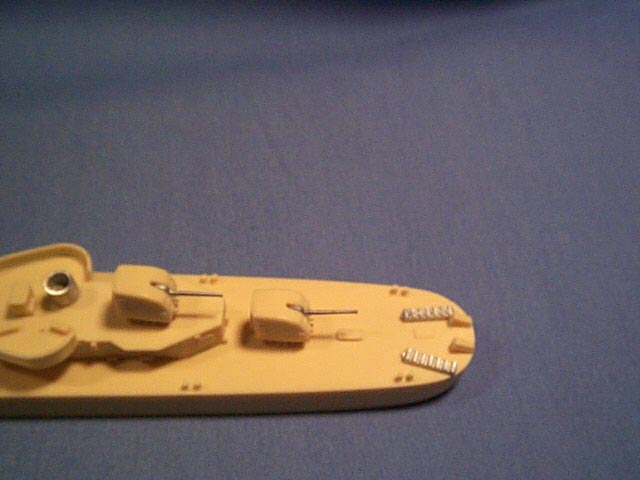
| Initial work is sawing and sanding off the excess resin plugs from all pieces. Starting to assemble items that can be attached before painting, this shot of mid hull shows where two gun tubs (in red) have been super glued on and then sanded with sanding sticks to blend with the rest of the superstructure. The seam for the aft deck level (in blue), was attached and blended in the same way. This is where my first hard headed "I do things the old way" practice went out the window. For filling the gaps where the gun tubs met the rest of the hull, I tried the method of filling with super glue and hitting it with accelerator. If you attack that immediately with sanding sticks, there is no way to tell where you filled after the paint is applied. Much much better than the green putty method |
to enlarge 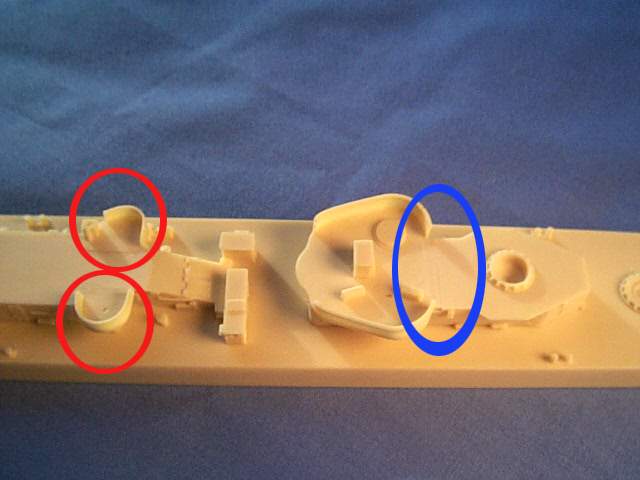 |
|||
| Here is a picture of the torpedo mount. The director still needs to be attached to the top (waiting for my reference pictures to show up so I can get the correct position). All 5 tubes are individually glued to a base. It was tough getting them all parallel, but I think the end result is close enough. | 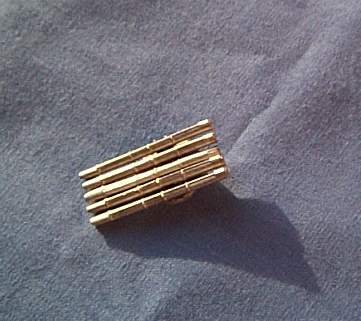 |
|||
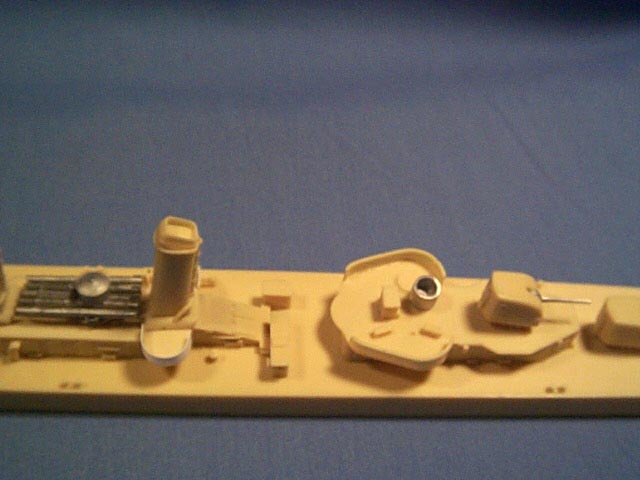
| After cutting all the resin plugs off, sanding out what few imperfections that were in the hull, this is how the parts sit. Almost time to start priming and painting. It took literally only 2 hours of work to get to this point. Next step is to start drilling and pinning the parts, and then priming them for painting. | ||||
| Here are two shots of the next step, marking and drilling holes for the pins that hold everything in place. Basically with resin parts all surfaces are smooth, no locator pins like on a plastic kit (**Correction** That was true when I first wrote it, I have since picked up WEM's Adams class DDG kit and it indeed does have locator pins). In order to make sure it all lines up when the glue is slopped on- and to add strength- I'm adding pins cut from paperclips (who says office supplies aren't useful?). This is all covered in Mike Ashley's latest book, Basics of Ship Modeling, so I won't go into the details (if you want to build these models, you NEED that book). | 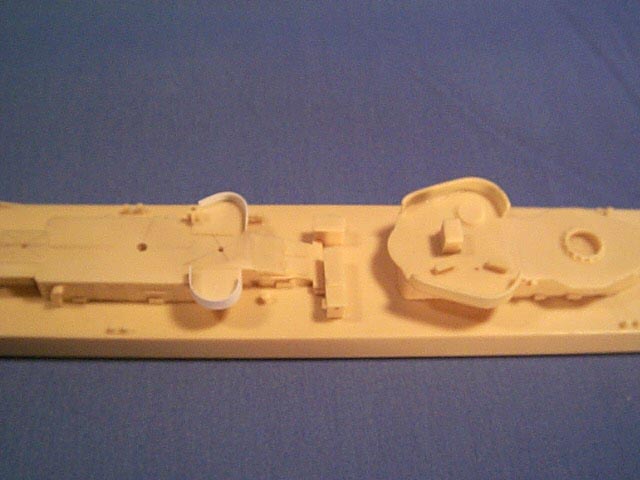 |
|||
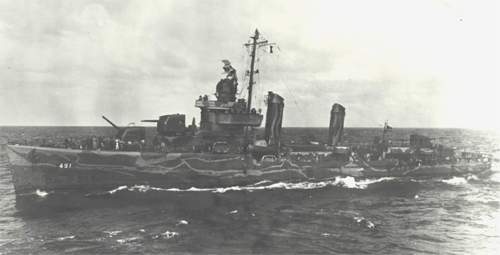
| Also, notice the white plastic I have attached to form the midship gun tubs. These had been in there in resin, but I ground them off to use the photo etch ones with the kit. Well, basically I couldn't make them fit, so I made my own from sheet styrene. They turned out really well, I think. (No, there is no ribbing to them, even though a lot of people say "all gun tubs in 1942 had ribbing. I looked at the photo at the top of this page through a magnifier for quite a while and I can detect no ribbing, so I'm satisfied). | 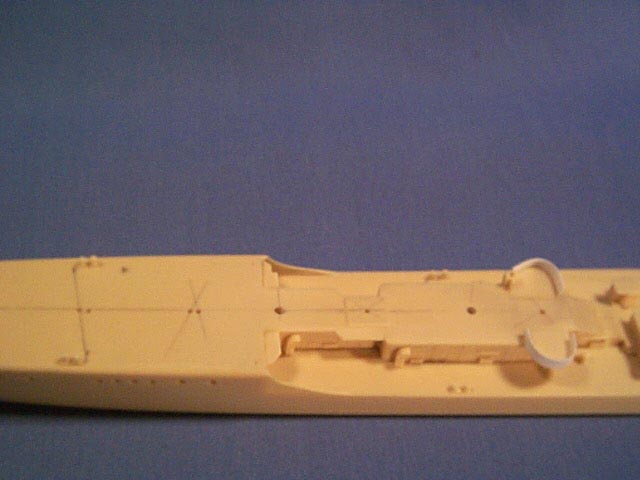 |
|||
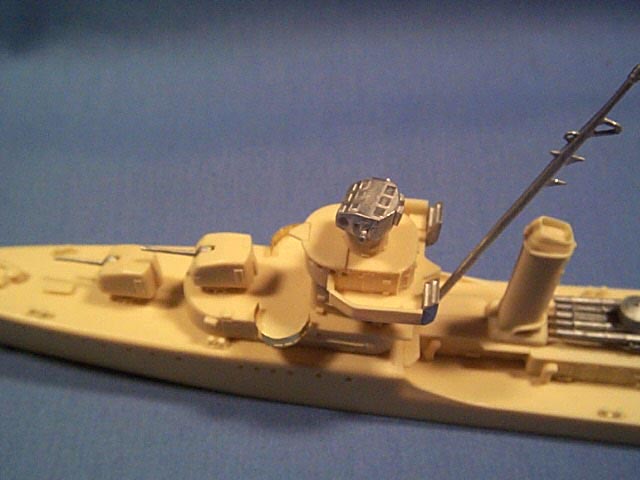
| Here's a shot of the forward superstructure, pinned together and with the photo etch gun tubs attached (I was able to get these to work!). The white metal flag bags have also been attached to the rear of the bridge wings. | 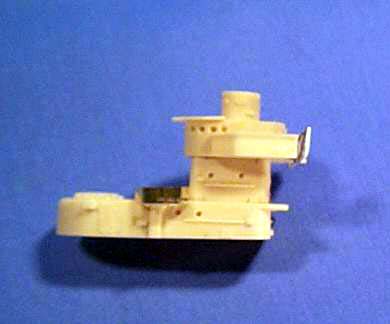 |
|||
I have to keep reassuring myself that this thing will look
like a ship, so I dry-fit the parts together all of the time. With
the pinning done and locator holes drilled, the pieces are sitting as they
will finally. The gun barrels have been attached to the 5" mounts,
the torpedo tubes and their director cover attached, and the mast is set
in the locator hole. I am still entertaining replacing the mast with
a length of brass tube, but since it is one of the last items I will attach
permanently, I can wait to make that decision
|
||||
| The next step is priming and painting. In order to be able to handle the pieces for airbrushing, I've mounted them as shown below. The hull is sitting on top of a "blob" of aluminum foil (the only way I could think to raise the hull enough so the paint doesn't accumulate between the bottom of the hull and the base), while the mounts, stacks, etc. have been stuck into a strip of balsa via their mounting pins. The parts of the superstructure are white glued to scrap of resin plugs and then to wood, also to raise them from the mount. | 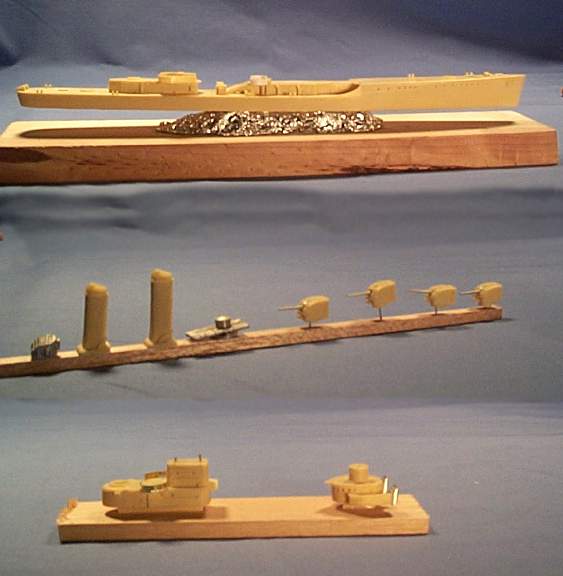 |
|||
| And now for the insanity shots. I knew these anti-aircraft 20mm and 1.1 inch guns were tiny, but these 5 items were trying my nerves during construction. I can't imagine what I'm going to do when I have to do over 30 of these things for the Yorktown kit. | 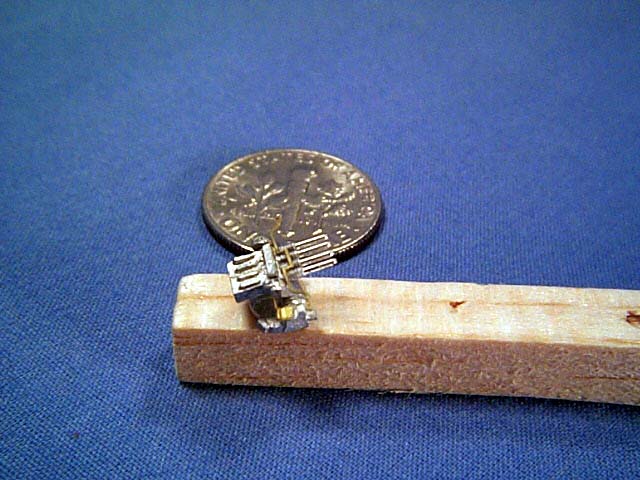 |
|||
| Here's a close up of the 1.1's. These are from Classic Warships; I added some sights from the Gold Medal Models 20/40mm sets and fashioned two seats for the mount from pieces of brass. I'm also actually getting clearer photos now as well (finally figuring out that digital camera with the magnification lenses). | 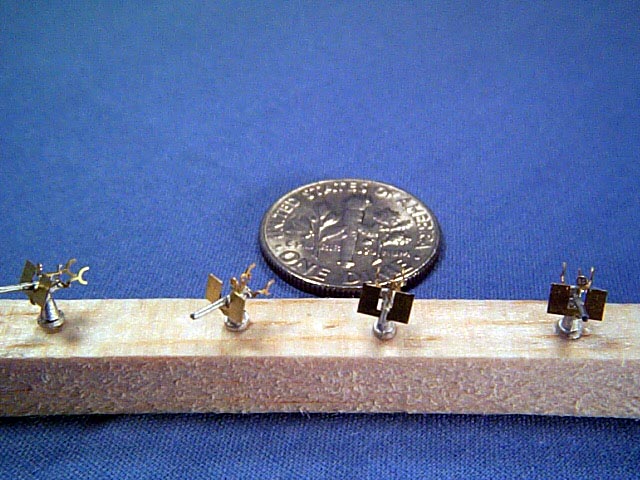 |
|||
| The 20mm guns are also from Classic Warships, they sell separate fittings sets as well as ship kits (I like the white metal guns as opposed to the PE brass ones, flat gun barrels don't do it for me), the gun shields, arm rests and sights are from the GMM set as well. I think the sights are still oversize, the ring sight sticks up over the top of the splinter shield even after cutting the support for them down by half, I probably won't be using them in the future on the Classic Warships mounts, they're staying on for this kit, though, as I spent too much time putting them on. | ||||
| The next step is painting. I had been waiting for all of the exact colors from the Badger Acrylic line to show up to begin the painting. This week I did some color samples of the paints I do have from that line, though, and found out they aren't very close to the color chips I have from Snyder and Short. | ||||
![]()