|
This is just a quick run-through on how I assemble the Blue Water Navy (now Yankee Modelworks) depth charge racks. A few have asked what the best procedure is to assemble these things. I find it near impossible to do it as shown in the instructions, so I came up with this cheat.
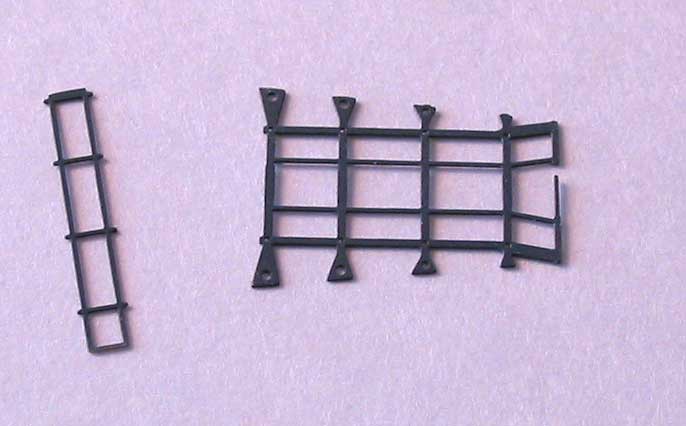
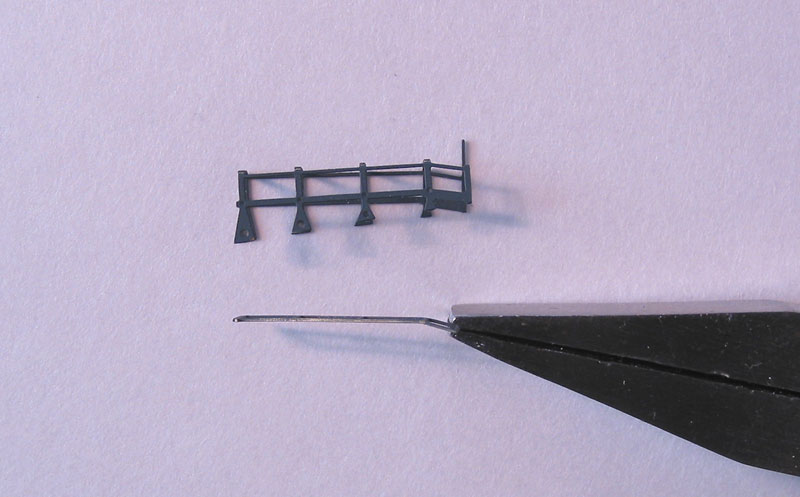
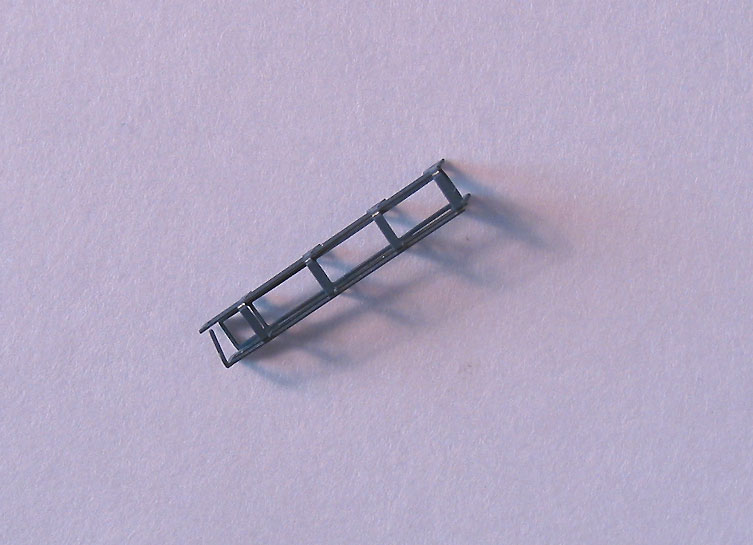
The first photos show the sequence starting as described in the instructions. The two pieces are separated from the fret. For the sake of this description, I will call the two pieces the Body, for the main rack piece, and the Floor, for the small, lower piece of the assembly.
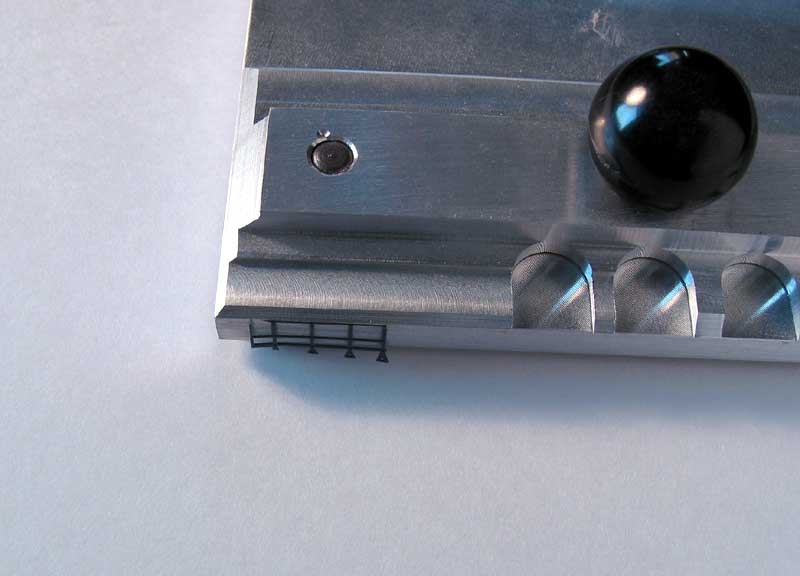
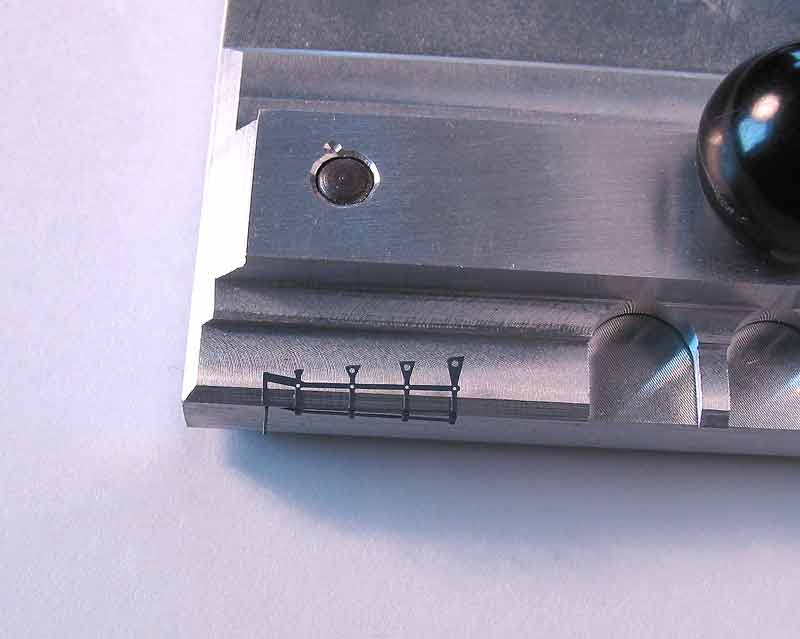
I used the handy-dandy "Hold and Fold" to get the
90-degree bends between the top and sides. You can also use an appropriate
width piece of plastic, wood, or metal here to fold the sides around.
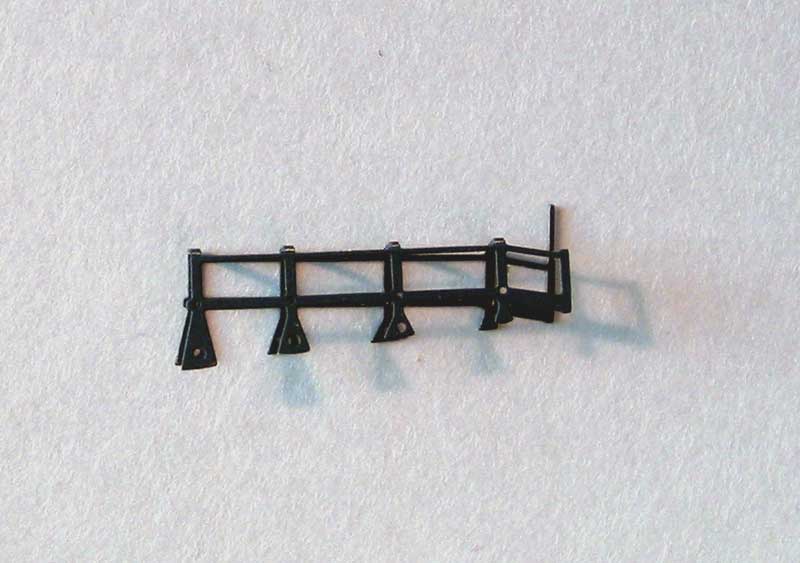
The fourth photo shows the main rack body built. The little "tail"
sticking up will be bent into position at the final step.
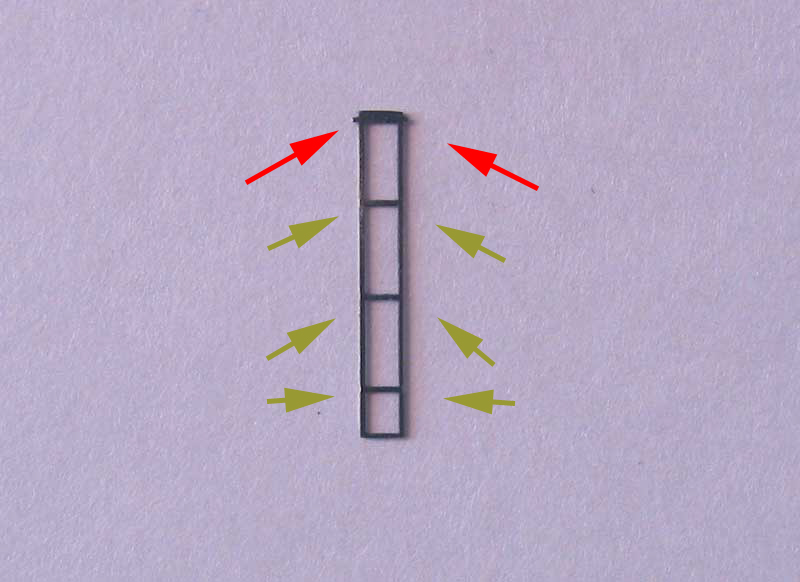
The next photos show the changes I make in my approach. The first photo shows where I have snipped off and sanded smooth 3 of the 4 sets of locator pins in the floor floor piece of the rack. I have NEVER been able to get all 8 of these things into their corresponding holes in the rack sides at one time; so, I just eliminate the majority of them. The red arrows show the one set of locators I leave on the bottom piece, gold arrows show where the others were removed.
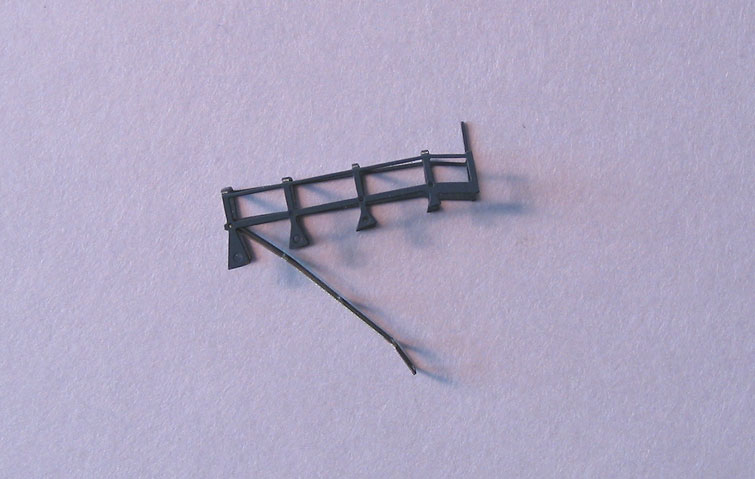
Next, lay the main rack body on its side, and make a bend in the floor piece so that the very end bends at an angle the same as the angle in the angle in the rack body. Eyeballing this step is generally good enough.
Now, with only the two locator pins to worry about, pop the front of the floor piece into place in the rack. Just getting two of them in is no problem. Now you have the floor attached at the very front via two pins, and it will now swing back and forth as if on a hinge.
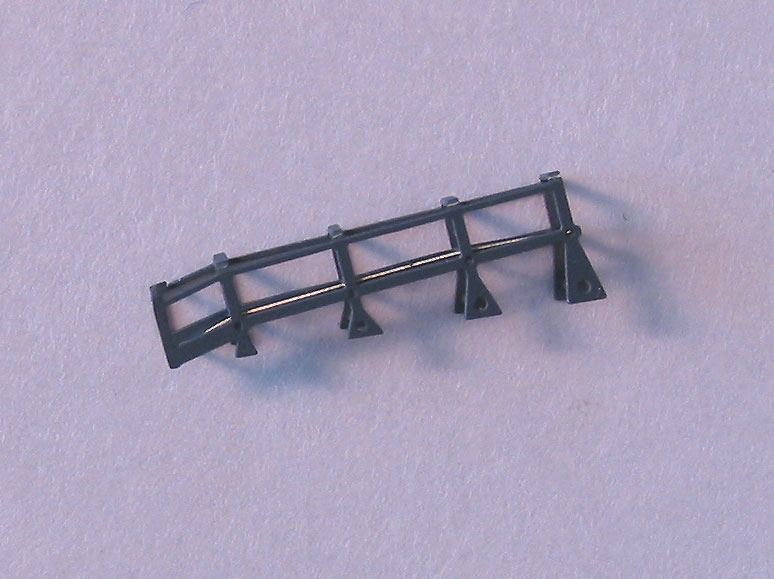
Swing the floor upwards so that it lines up where you want it, and that's it. I usually tack in place with two drops of adhesive on the pivot point. Let that dry, and then run a bead of adhesive along the floor/rack joints on both sides. Okay, so it isn't rocket science. It did take me bending a few of these into formless lumps before I figured it out, though. Hey, I'm the first to admit I'm a little slow! Anyway, I hope it is of use.
Back to the Laffey Build page
|