Fletcher Class Destroyer
by Hague (Steven Spach)

Part 2
Back to menu
| With all the major superstructure parts assembled and modifications complete, I began to apply the photoetch doors and ladders in their proper location. I bend the stand-offs on the ladders with two single edge razor blades; one hold the part while the other is used as a brake. I also have some old tool steel stamps that I use to hold down the etch, and bend part of with razor blade, gives a nice square bend. For railings a divider was used to transfer the proper measurements, one bend at a time to bending. | |
| I work on a big tool steel block, gives a nice surface to work with. Round bends were accomplished using wooden dowels, simply roll the etch on a dowel just a bit smaller than bend needed. Doors were applied with white glue, for the ladders I used blu-tak to hold them in place and glued with medium viscosity CA glue. In multiple locations where kit parts will be replace with photoetch, the mounting holes must be filled, this includes the depth charge racks, lifeboat mounting holes, and the propeller guards. Braces were added to bridge using steel wire attached with CA glue. I also made sprayshields for three places, the starboard midship shield required removal of some plastic and a bit of patchwork. The shields were cut out of .004 brass shim stock which where shaped with my razor blade method. I also made new gun shields at this point finding that the kit ones were way over scale, decided to let the drain slots ride, guess I am getting lazy. Now that most of the parts are prepared or installed, I place the parts index cards and sheets of paper for painting. The rudder is also installed at this point, which allows me to begin with the painting the hull and superstructure parts. |
thumbnail images to enlarge 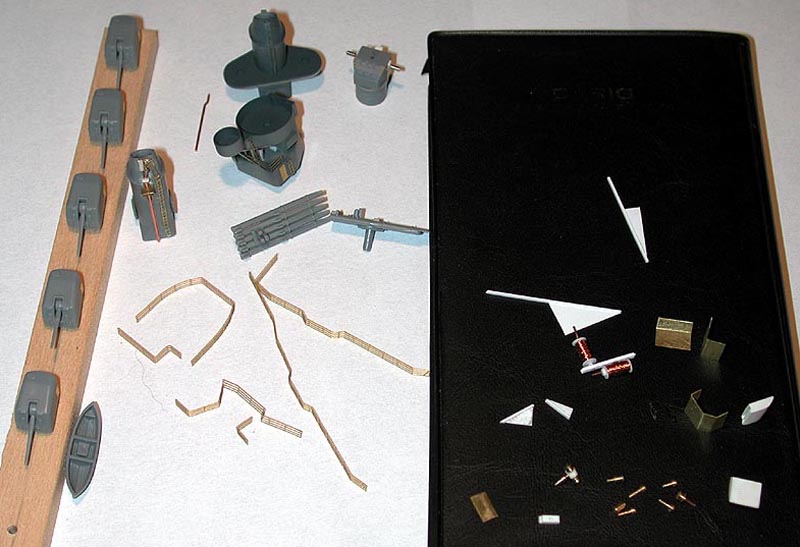 |
| My painting sequence is a little different than most of the build articles I have read but I try to make things easier on myself. I decided to use lightened Floquil engine black tinted a bit with white for my walkways and boot topping, I airbrushed the black onto the deck and most of the hull, including superstructure deck parts. I then brushed future floor polish onto the walkways and set them aside to dry. The boot topping was masked with pactra tape and I proceed to paint the hull ocean gray, which after drying was masked with 3M tape and painted Hull red, which was mixed with Floquil boxcar red and MM Insignia red. I used Snyder and Short color chips for the paint matching; money well spent avoiding all that guesswork. I decided to paint the deck and the superstructure part before assembly, fit was good and I did not know about all that masking. The Hull was masked completely with low tack painters tape, and the deck blue was applied to the decks, and other horizontal surfaces. Allowing the decks to dry a day it was time to uncover the walkways which were not masked. I used a microbrush and thinner and was able to lightly scrub away the paint on the raised lines, the future underneath protected the black paint underneath. A flat coat later on will tone down the now glossy walkways. | |
| Before painting the superstructure I decided to apply as much photoetch as I could without it getting in the way of construction/painting or would be impossible to paint. Ladders were installed on the funnels and the railings under the bridge, which would be tough to install with painting accomplished. It is convenient to paint as much railing as possible while pre-bent for installation, the rails were set aside for painting when I paint the vertical surfaces. Scratchbuilt detail parts like spray shields, braces and vents will also be painted during this time. I am famous for losing parts so the final assembly parts were left on the sprue until near the end, I would rather have an additional bend and painting session than search for lost parts. Flag bags were not supplied with the kit, so I decided to make them out of .01 styrene sheet; here is a link to steps and pictures in part 3. I also added Deck braces these were made out of .01 sheet and some .020 strip stock; these were added to 5 locations on superstructure deck. | 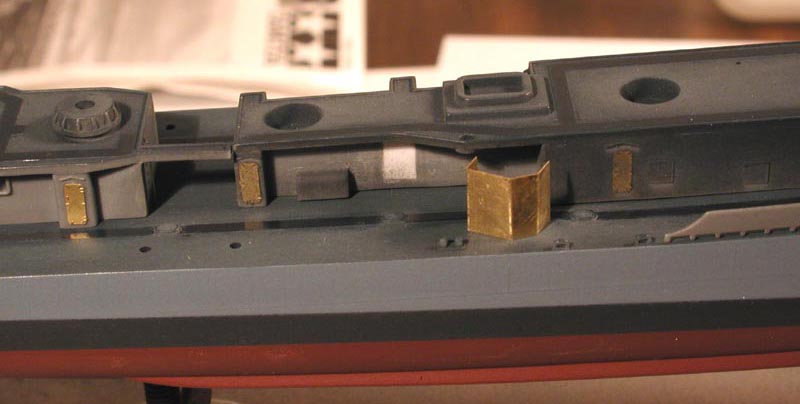 |
| Painting of superstructure was accomplished with a Badger 150 and Modelmaster enamels, no priming to keep paint layers as thin as possible. I masked the horizontal surfaces with liquid mask and proceeded to spray the superstructure parts, along with PE and all other prepped parts. The dapple scheme of ocean gray over haze gray was a chore, I decided to brush paint the ocean gray instead of airbrushing to avoid all the masking, followed by some toning and touchup with very thin ocean gray with my Iwata HP-B. The Sea blue on the hull was masked with frisket film. I used a stencil knife to cut the design, and then applied to the model. This worked very well, the stencil knife gave nice smooth curves and it was fun and easy to do. Since masking the boot topping interfered with the frisket, I had to remask and spray the boot topping no big deal, just a little easier on me. Now that most of the parts are painted, I can glue the superstructure parts to the deck in order to add additional detail it became necessary. I can now add the forward gun tub braces, ladders and stairwells, spray shields; most of which are pre-painted. | |
| I think I will call that it for Part 2, she is beginning to take shape, the part of building I like finishing is coming soon so stay tuned |  |
| Links: | |
| On
to Part 3
Questions about this article? Ask them on our message board |
|
