Fletcher Class Destroyer
by Hague (Steven Spach)

Part 3
Back to menu
|
This is a simple little way to make flag bags, which are not offered in many photoetch set and kits. These dimensions are for Fletcher class DD, though I believe many vessels used ones of similar size. |
|
|
1. The first step is to make the cuts in .010 styrene strip, widths of .19 and .094 inches were cut with a square. |
Click on the
thumbnail images to enlarge 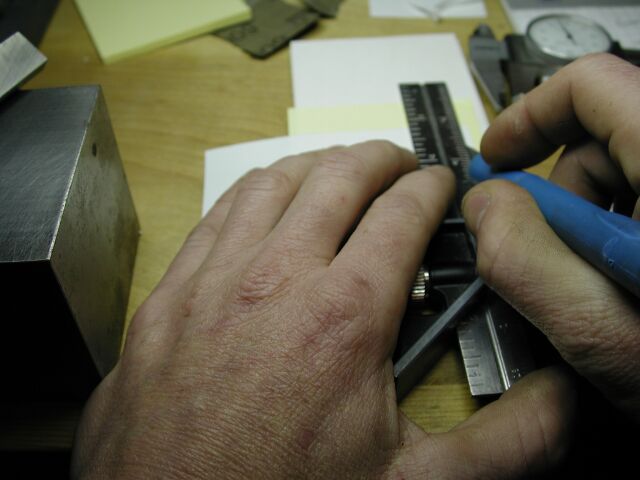 |
| 2. A radius was bent for bottom of flag bag and the edge of .19 strip is glued to side of thinner strip. | 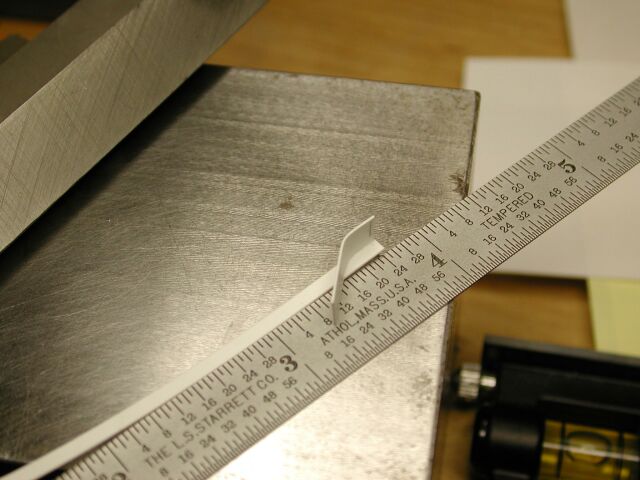 |
| 3. I use double sided tape for holding small parts for gluing and such; here I add the opposite sidewall. | 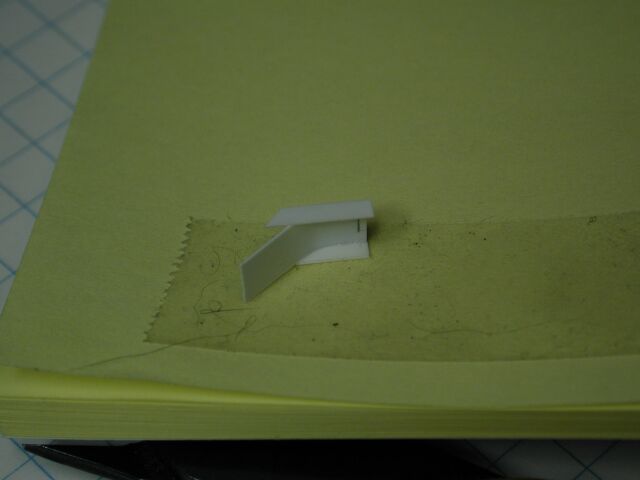 |
| 4. The back is added from a separate piece of .19 strip, all gluing is done with tenax, which sets up very quickly so I was able to work through assembly in about 15 minutes. | 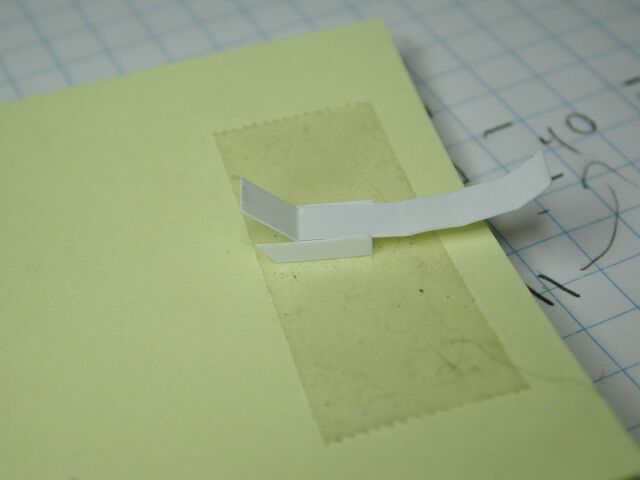 |
|
5. Picture of both bags, one cleaned up a bit the other still fresh from glue stage,only thing left to do is add the tie-down bar. |
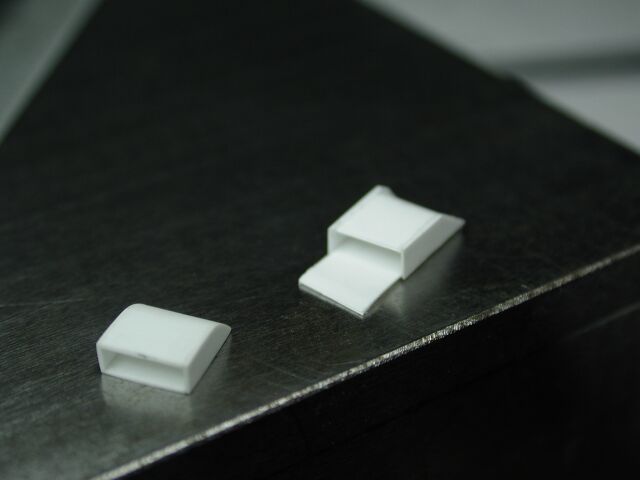 |
|
6. Finished flag bag except for little cleanup before paint, painting inside dark gray gives part the look of a bit more depth. |
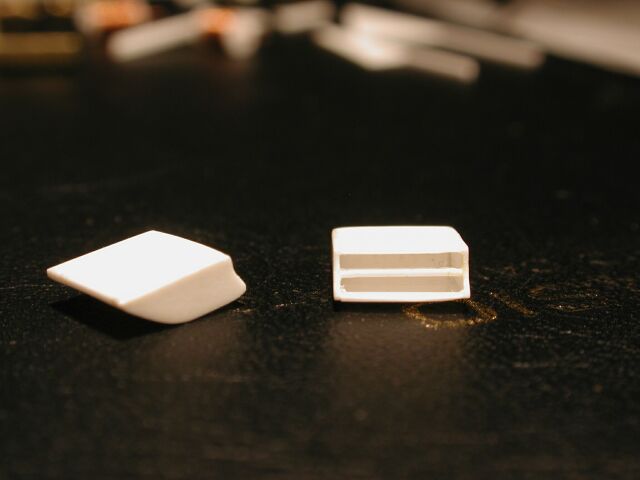 |
| Links: | |
| Coming soon, part 4
Questions about this article? Ask them on our message board |
|
