Fletcher Class Destroyer
by Hague (Steven Spach)

Part 1 of 3
Back to menu
This is my first ship kit in over 25 years, I finished
the last one about 1976 or so when I was seven years old, wow do times
change. A year or so ago I received two ship kits in a trade for
some r/c equipment, a BWN
Atlanta and a Tamiya Missouri, both very nice kits. Opening the Missouri
box I was taken back by all the parts, the resin Atlanta is too nice for
a first time builder
..what to do? I decided to buy a 1/350
Tamiya Fletcher, much smaller but still loads of detail to be added.
My first mistake was purchasing the Fletcher Planbook from the Floating
Drydock, wow look at all the detail on this little ship. The
book is great, but being a detail freak it added many hours to my construction
time. I purchased the GMM Fletcher set and made a short list of the additions
to the kit.
|
|
| I decided to build an early war Fletcher Class, ship and paint scheme still undecided at this point. I will probably end up doing the Fletcher in dapple camouflage, but I really think MS 21 would look nice. I had many questions like how I was going to paint this beast after construction, after searching http://www.deja.com/usenet, I decided to paint hull and deck separate from the superstructure parts. I also decided to apply the photoetch after the kit is painted, though I will prepare it before that step. The ship will be displayed full hull, it is mounted to a jig with wingnuts for construction, and after completion it will sit on brass pedestals and a wood base. After I got a grip on what I had to do it was on to the kit. | Click on the
thumbnail images to enlarge |
|
|
|
|
 |
| These parts were about as small as I ever want to turn, and too small for me to cast. | 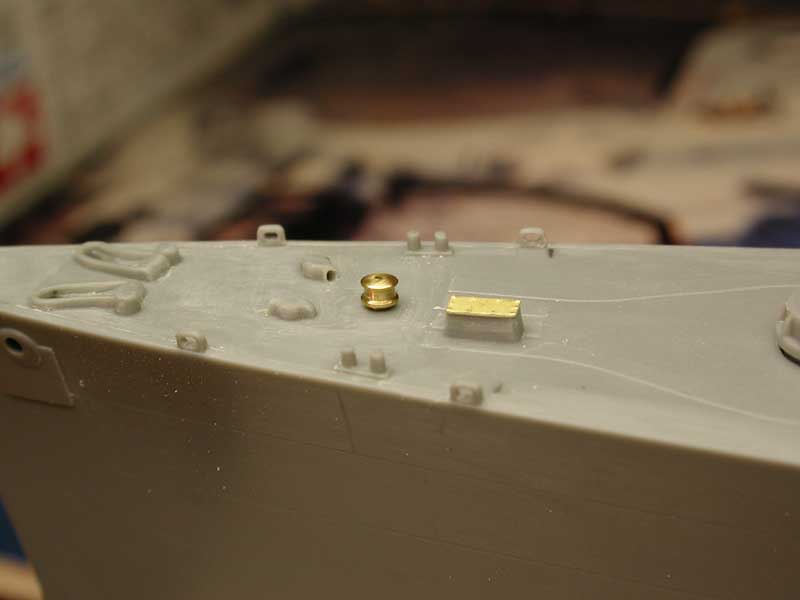 |
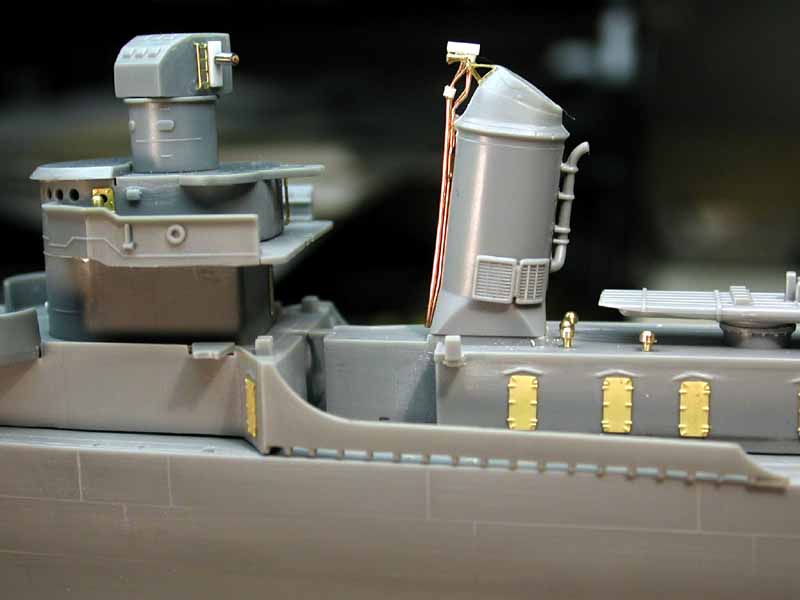
| The funnels were detailed with copper wire in 2 sizes the fun was bending 2 matching .03 offsets in the piping. I used my first piece of photoetch, the mounting bracket for the horn and whistle. I then proceeded to real funnel I removed the railing off the platform and added bracing. | 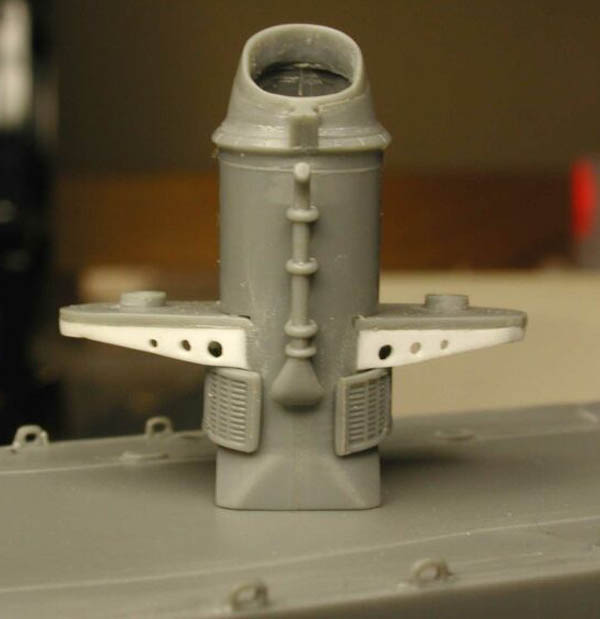 |
| The aft steering station was detailed with stretched sprue, steel wire, styrene bits, photoetch ladders and railings, and #5 from the list above. I drilled out locations for vents, leaving a small nib when I parted off the parts to glue into the hull. I will install vents and such after painting, when they will not get in my way. | 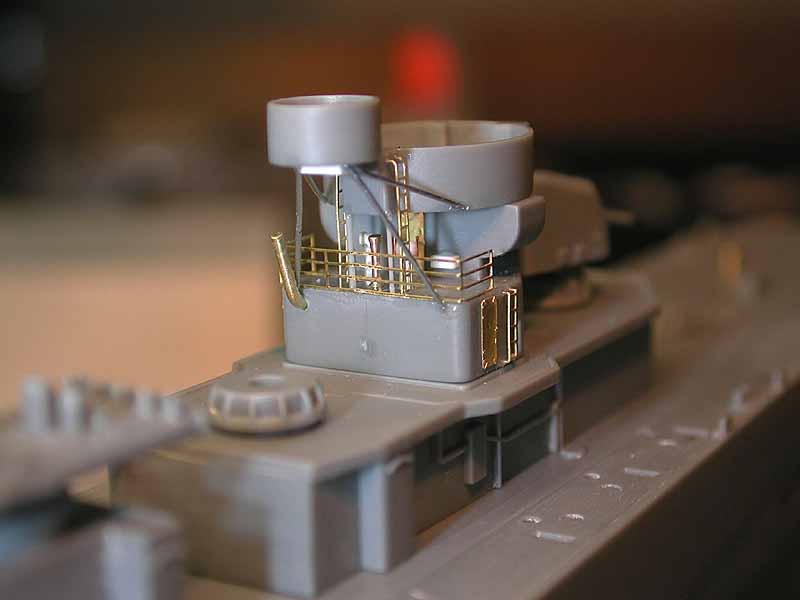 |
| Links: | |
| On to part
2.
Questions about this article? Ask them on our message board |
|
