| Hello out there again fellow modelers! I have finally got to the point where the Flightdeck is mostly completed so this new series of photos will show the final work on the hull areas. As you view these photos go back to part one and two and you'll see how things have progressed.The next series,#4, will be the completed ship.I hope to have everything finished by late August of this year. | ||
|
click images
|
to enlarge | |
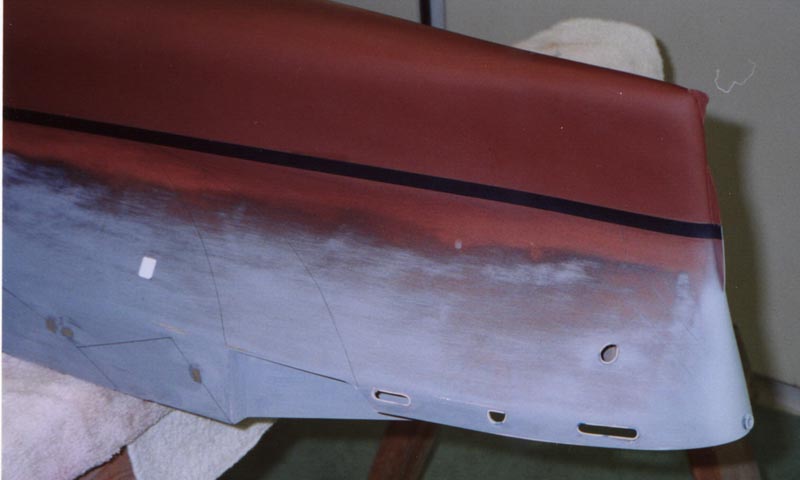
| Here we can see the hull during the final body work and prep for final paint application. Note the red blotches.This is spot putty which is almost like real thick red primer.After I got the shape correct using autobody filler, I then primed the entire hull again,sanding between each coat of the primer.I then use this spot putty to fill in and shape any imperfections that were missed the first time around. Spot putty is used only for minor defects,anything bigger I use the filler. | 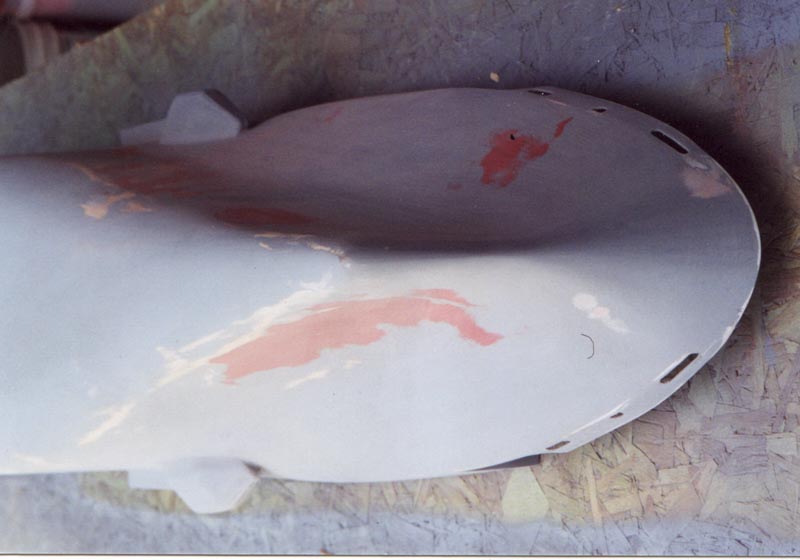 |
|
| In the first photo we can see the hull still being preped for final paint.Note that the propeller shaft housings and the rudder have not been added yet.Photo #10 shows the housings and the rudder installed. | 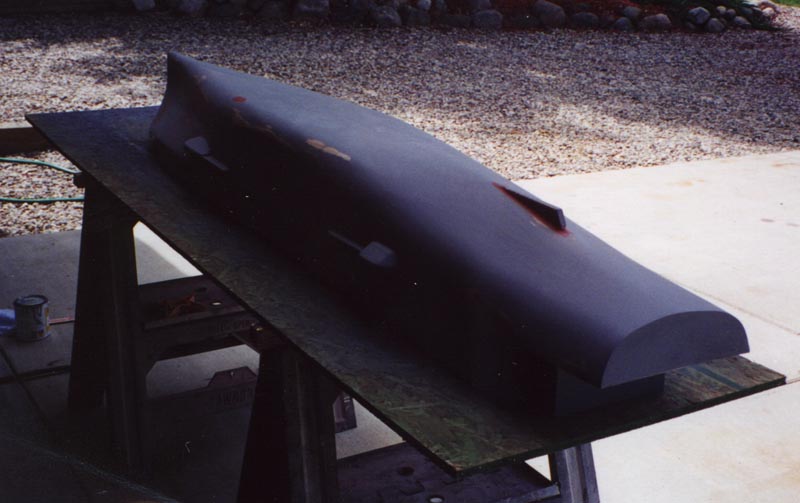 |
|
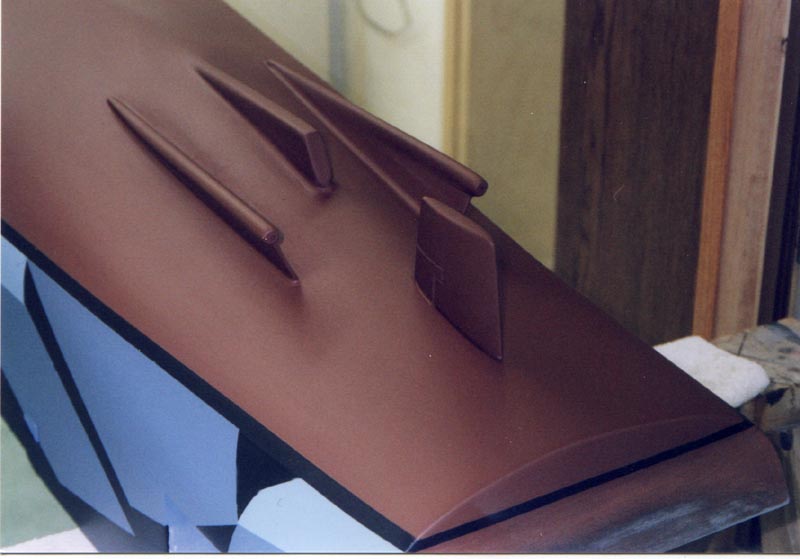
| More shots of the stern area.The prop shaft housings and the rudder
are carved from solid balsa wood, then attached
using 5 minute epoxy which is much stronger than super glue. |
 |
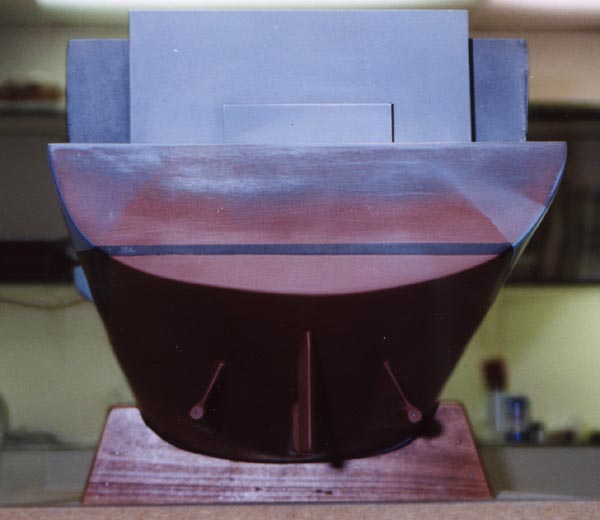 |
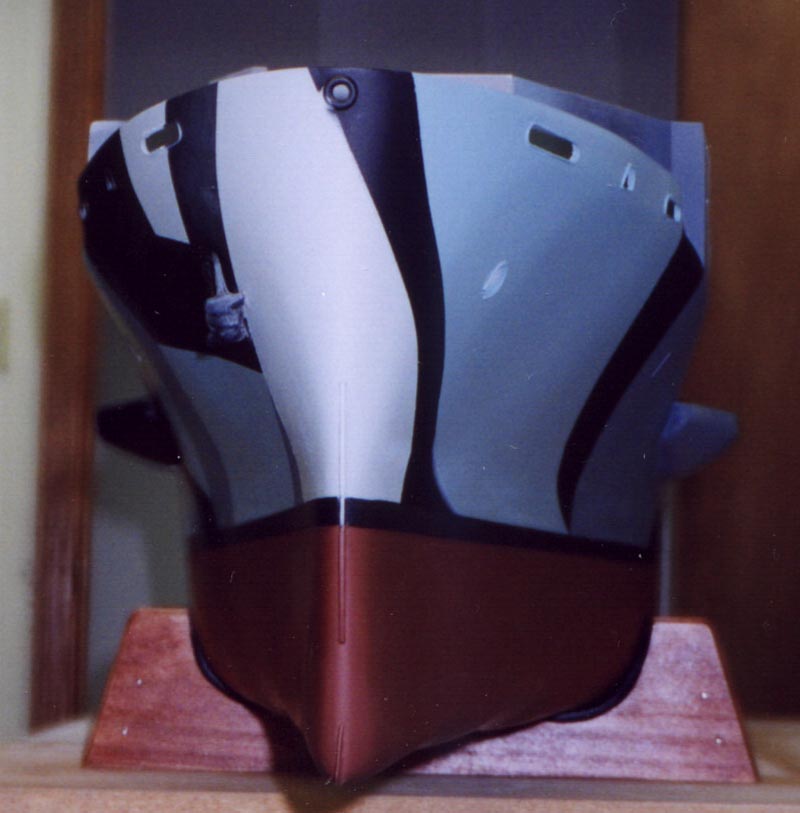
| In the first photo you can see the props have been installed. These are solid brass and are kind of pricey, $25.00 each. The last photo shows the bow area before camoflage painting. If you look closley, you can see the pencil lines I spoke of earlier. | 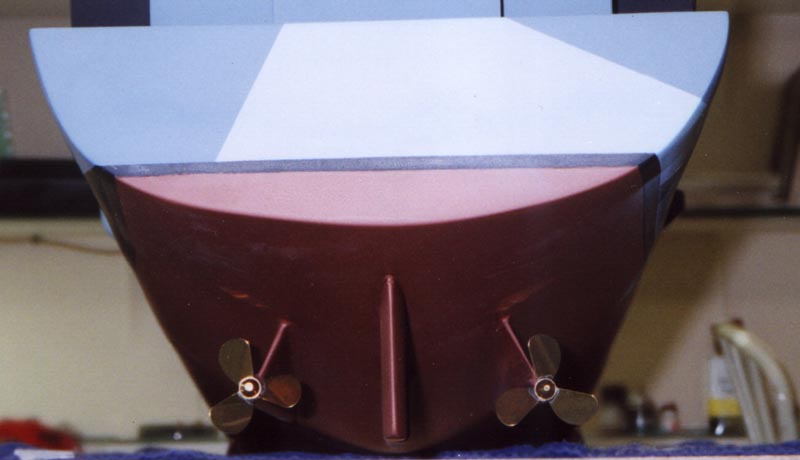 |
 |
| Starboard side of hull and then a bow shot.Note that I only have one anchor installed.They are cast metal as are many other fittings on the ship. |  |
 |
| Basically same views as the two above. Note how well the autobody filler works to form in the hull.This is most apparent at the bow area. |  |
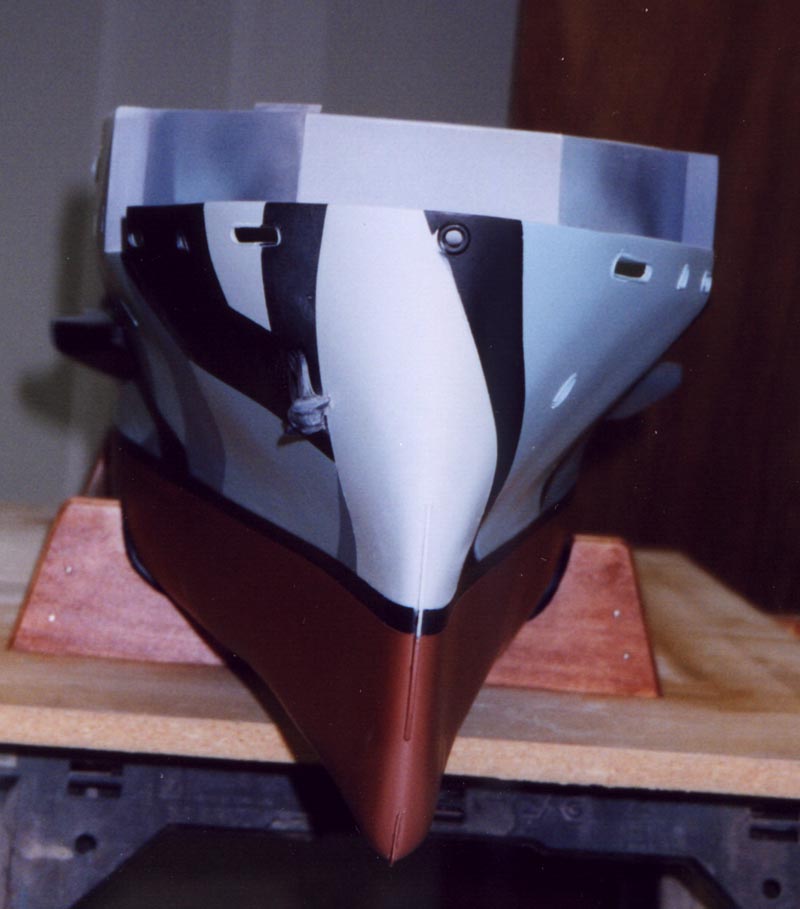 |
| Here are some pretty good shots of the port and starboard sides of the ship. Gambier Bay was camoflaged in Measure 32/15a in late 1943. Note that the pattern is different from one side to the other. This particular color scheme is not difficult to do but it is time consuming. I painted the bottom first,then added the boot topping line. After that the patterns were penciled on the hull. Then each color is taped off,painted, untaped then masked again to get ready for the next color. There are 4 colors.This procedure took me about a week to complete.Lots of paper and tape used here. | 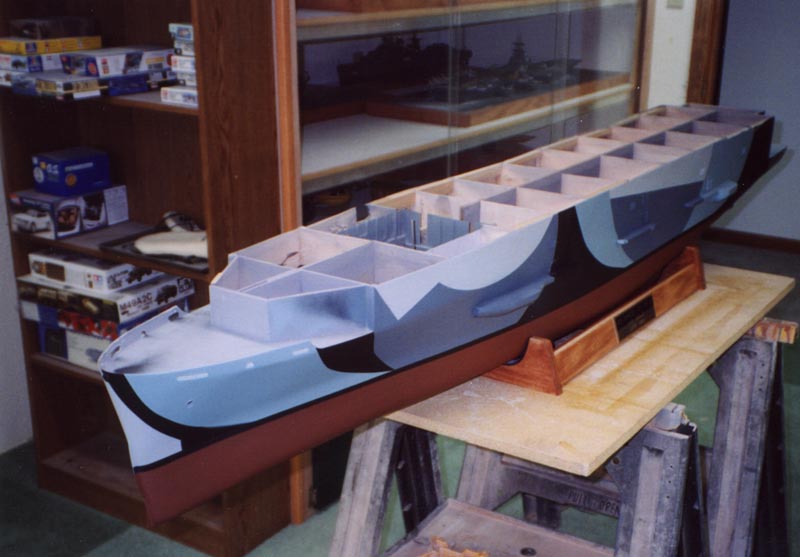 |
 |
| Since these photos were taken I have begun to detail the
forcastle deck, sponsons, and the stern deck. These areas will be shown
in the final series which will come soon. There are a few parts I do not
have yet and have not figured out quite what to do about them. Namely the
26' motorwhale boats and the tie down tracks for the flightdeck. Both of
these items are supposed to be available soon I hope, otherwise its back
to the drawing board!! I hope that I've given a good description of the
project so far. This ship is really not that difficult to scratchbuild
as it is a fairly simple straight forward design.It is however large which
may present problems for some modelers.I am fortunate in that I have room
to display it. My wife wants to know what I'm going to do with it. Women
just don't understand the modelers mind!! Stay tuned for the last series
on this project. It should be pretty impressive if only I don't drop it!!!!!!
Many thanks to Tim Dike and the website for letting me share this with
all of you.
Any questions anyone has or if I can be of any assistance, please feel free to e-mail me at bjsww@earthlink.net. Bill Waldorf
|
||
