| Introduction: Hello fellow modelers. Well, it has been a long road on this project but I can say that I am finally finished with CVE-73. That is to say, as far as I'm going to go. With a model of this size one could spend years on a single subject. I am not getting any younger as we speak and there are other projects on the horizon which I want to pursue while I can still see! Ha, Ha! I feel that I have done justice to one of these great ships in that I have represented her to the best of my abilities and with the aid of scarce research material, I have tried to model her at least 90% accurate. Hope you all enjoy these final pages. I would also like to thank this Website for all the exposure and the chance to show all of you my work. I feel it is a honor to be on these pages. | |
| I would also like to thank a company named Loyalhanna Dockyard. They are located in Bergen, N.Y. and without their assistance this project would not have been possible. Once again, Thanks to all. | click images
to enlarge |
| Forward view of port side. Note the addition of the aircraft/cargo boom, flags, etc. Note that the anchor chains on the forecastle deck have not been painted yet. | 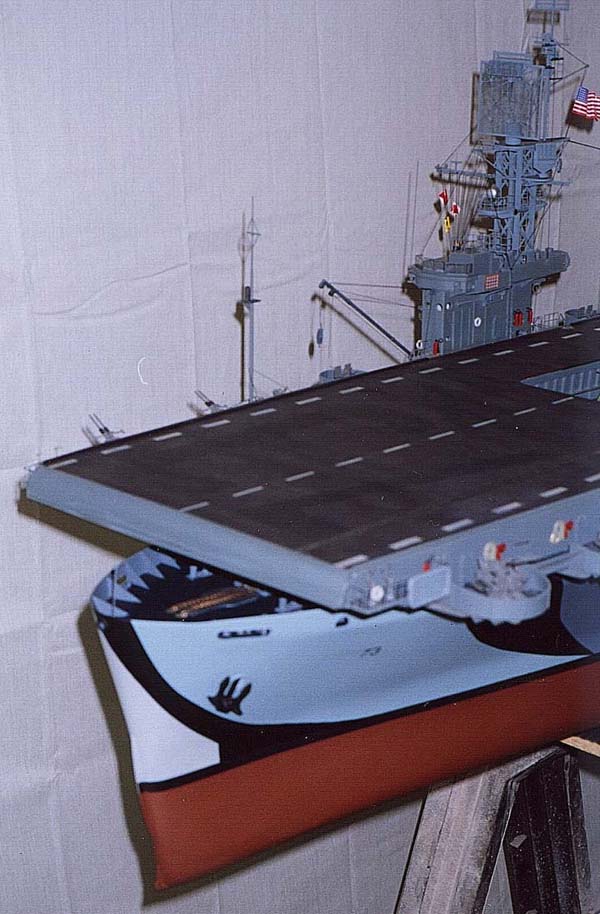 |
| Aft view, starboard side. Note the single 5/38 deck gun. This is from HR Products as are all the guns and other fittings on the ship. Also note under deck bracing. This was very time-consuming to do but the end result is good as I hope you agree. Railings are galvanized steel mesh cut to size. | 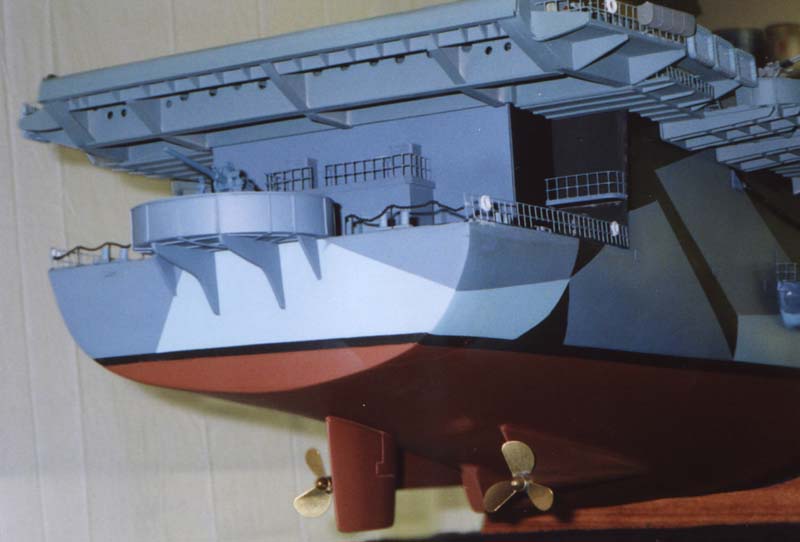 |
| Another view of stb. side aft. Note all the individual fittings, Most of which are cast metal, again from HR Products. Lookout chairs are scratchbuilt. | 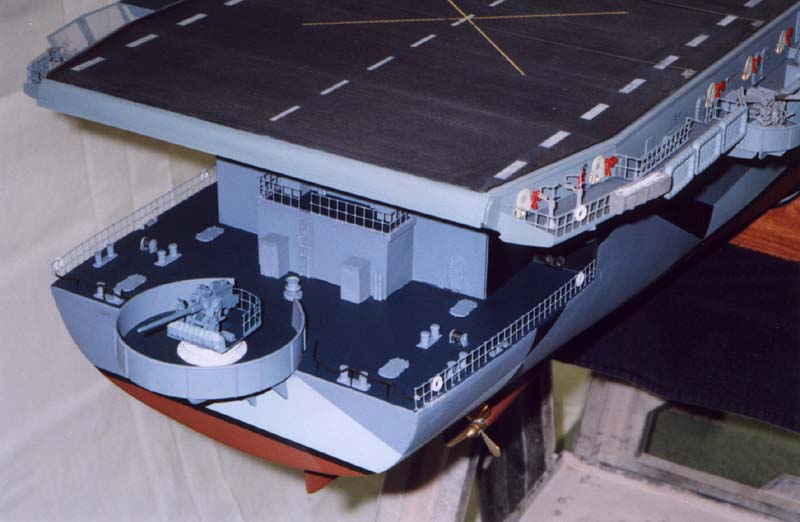 |
| Stb. side fwd. view. Note the 26' MWB and the paravane just below the island structure. These were also scratchbuilt. Note the folding wings on the TBF Avenger a/c in the elevator well. They are on wrong. I had inadvertently done this on all the a/c with folding wings, to my horror!! That's what happens when you get in a hurry. This problem has since been corrected. Take your time on your own model, whatever it is. | 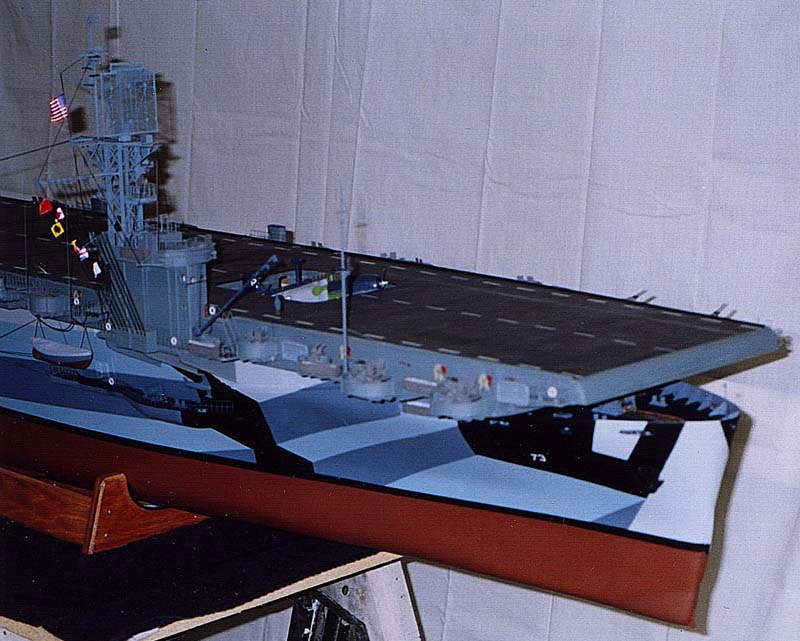 |
| Photo #5 | |
| Port side amidships. Note the 26' MWB and the paravane again. Also the boat crane just aft of the lifeboat. A good detail shot of the under deck bracing also. The long tube attached to the hull is the flight deck drain. | 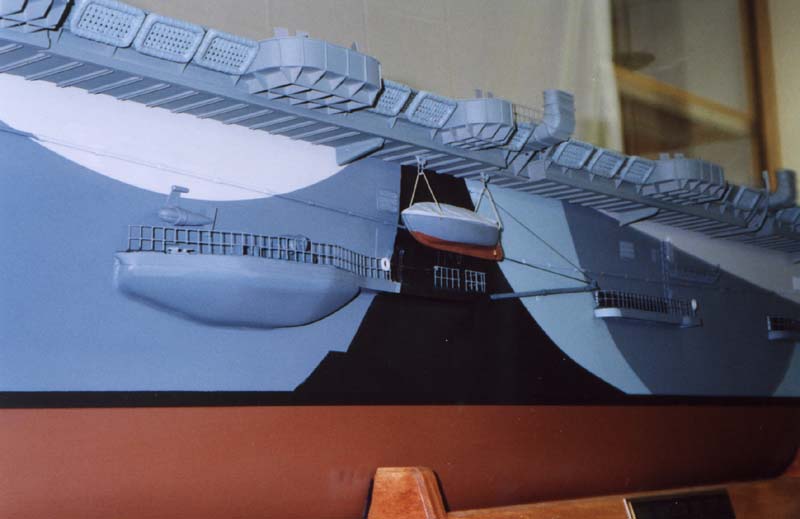 |
| This is a shot of the island, port side. It was not intended to turn out like this. I placed a white sheet for a background and took the photo. This makes the ship look darker. You can see the flash go off. Looks like the sun at daybreak. The other white line which resembles the horizon is a fluorescent worklite. The photo turned out like dawn in the south pacific! A mistake which turned out pretty cool I think. You never know what the camera will do! | 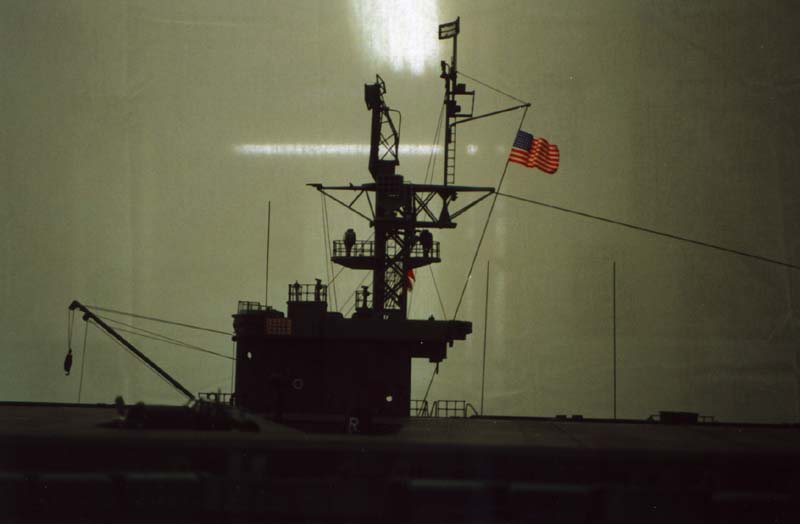 |
| Another shot of stb. side aft. Note propeller. Other small details are clearly visible. | 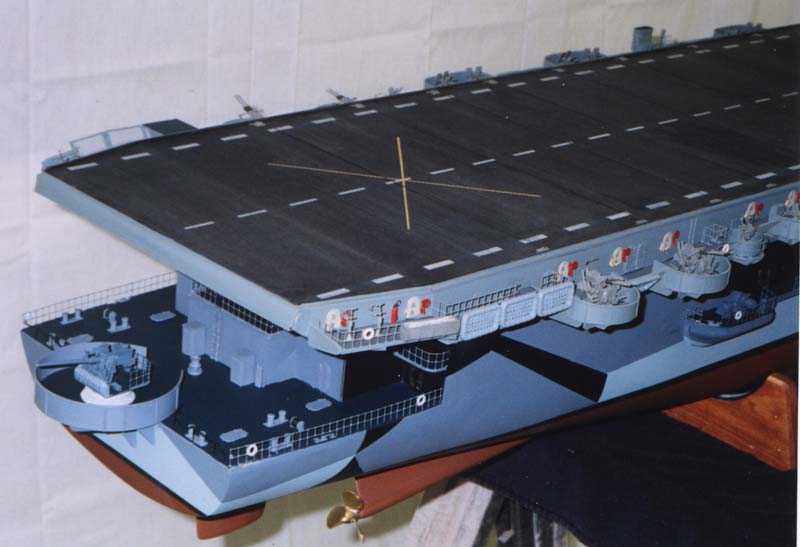 |
| A good shot of the island and radar array, stb. side. Note the a/c handling boom and fwd. elevator area. Again, many of the small fittings are cast metal. | 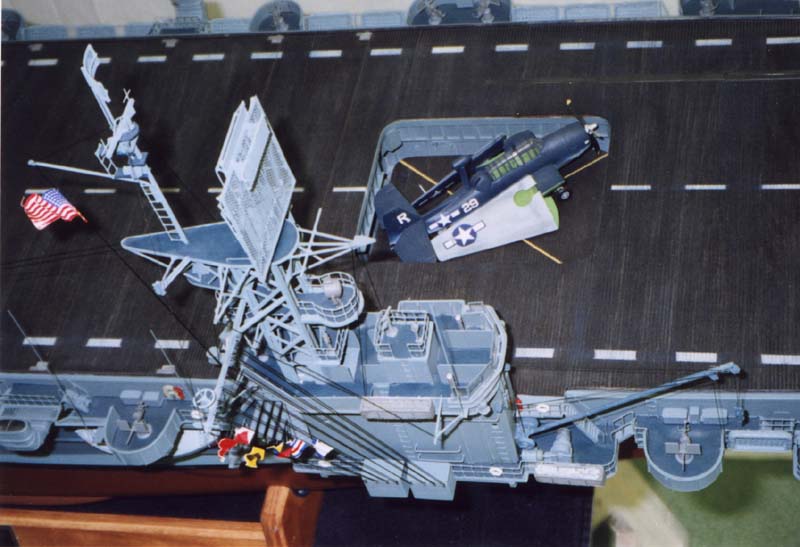 |
| Well, That's it for Pt 4. Stay tuned to this website for
Pt. 5, the Airwing. This next series will bring the ship to life so keep
an eye out. These photos and text are exclusively on Modelwarships.com.
Any questions anyone has or if I can be of any assistance, please feel free to e-mail me at bjsww@earthlink.net. Bill Waldorf
|
|
