 |
|
|
| Hello again fellow modelers! Well, I am back again with another scratchbuild. Another Escort Carrier , only in 1/96 scale this time. I was commissioned by the survivors assn. of the ship to do the model and I agreed. I was honored, by the way, that they asked me. I was given a one year time limit on the model so things have been pretty busy here. I hope construction to be completely finished by May of this year, if all goes as well as it has. I have been invited to attend the ships Survivor Reunion in Las Vegas, Nev. in May. I plan to take slide photos of the model and make a presentation to the members, rather than bring the model due to logistical concerns. Vegas is a long way from Michigan!! Steve Nuttal and I will be working on another artwork of this ship and if all goes well I will present an 11 x 14 poster to each of the members. That's about 80 copies!! I am awaiting cost estimates. The final resting place for the model will be at the Naval Air Museum in Pensacole, Fla. My wife and I plan to deliver the model in Oct. of this year. I am excited about this to say the least, as you can imagine! Lets take a look at things so far. I will not detail all aspects of the construction of the model here, as I have already done with her sister ship, the USS Gambier Bay in 1/72 scale. This article is on the MW site if you go back a ways. Most of the procedures are the same only here we are smaller by two feet. | |
| Starboard side view of the ship. Note the dazzle camo pattern. Measure 32/15a or 33/10a. Both are nearly identical. I mixed my own colors here. Paints are Floquil RR colors. I started with the bottom, then added the boot topping, then the various colors of the pattern were masked off and painted one color at a time, one side at a time as both are different. Paint job took about 20 hours. The model is a little over five feet in length, so I am standing a bit away from it to take this shot. The paint work is typical of the six Escort Carriers involved in the Battle of Samar, one of which was the Kalinin Bay | click images
to enlarge |
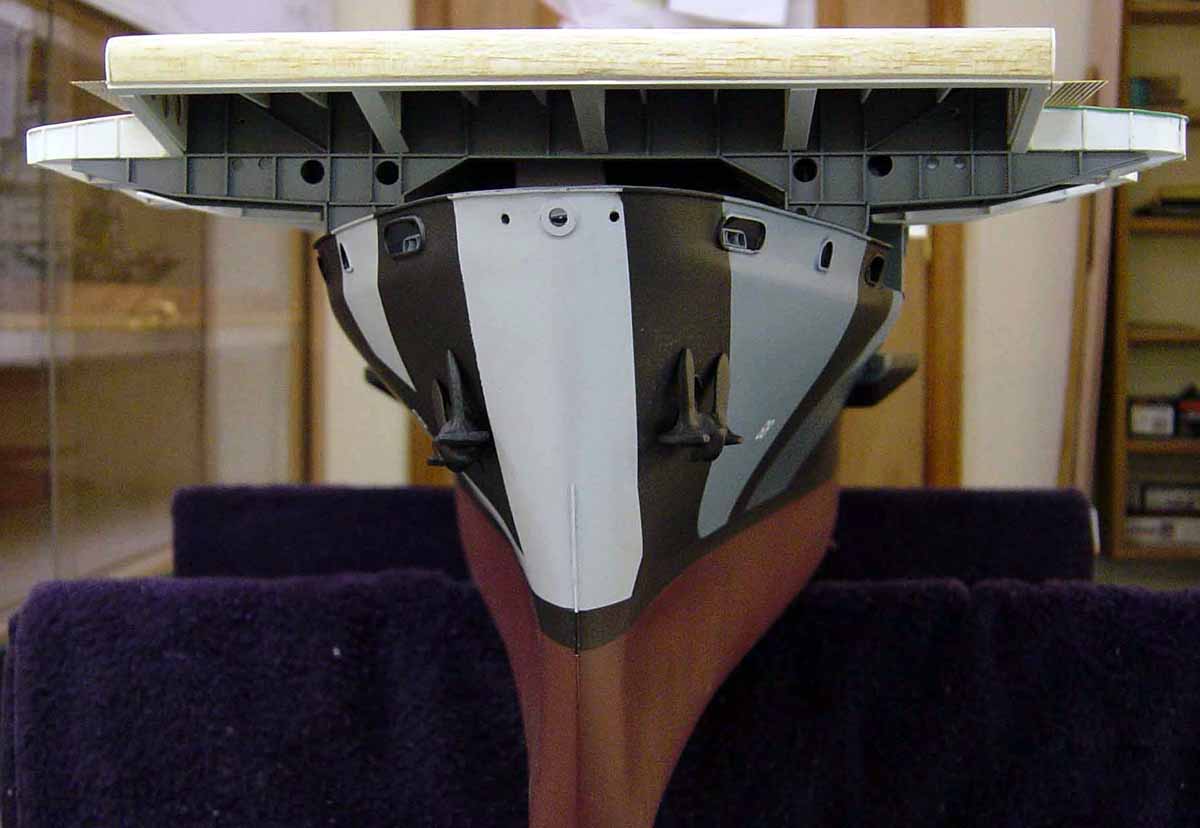
| Port side view of the stern. Note that no deck fittings have been added as of yet, or the propellers. | 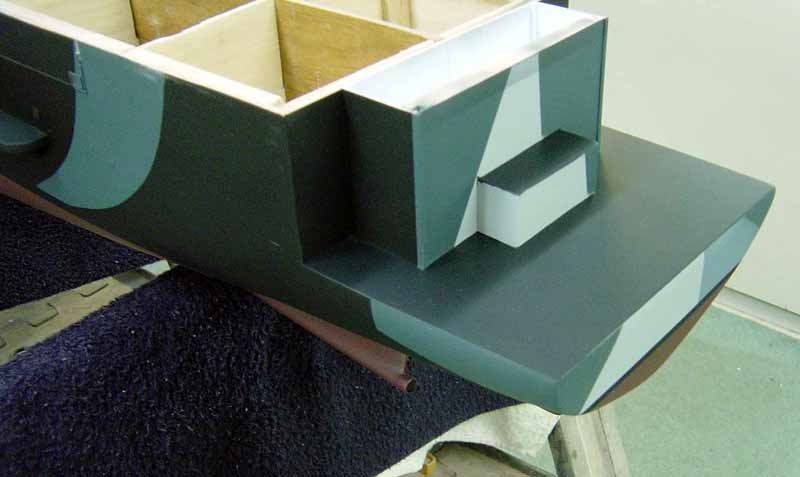 |
| A shot of the bow area. In this photo the gallery deck is finished and I have begun to make all the gun tubs and related platforms, etc. on the stb. side. You can see the first two 40 mm platforms roughed in. Anchors from HR Products, cast metal fittings. The bracing under the flightdeck has not yet been constructed. | 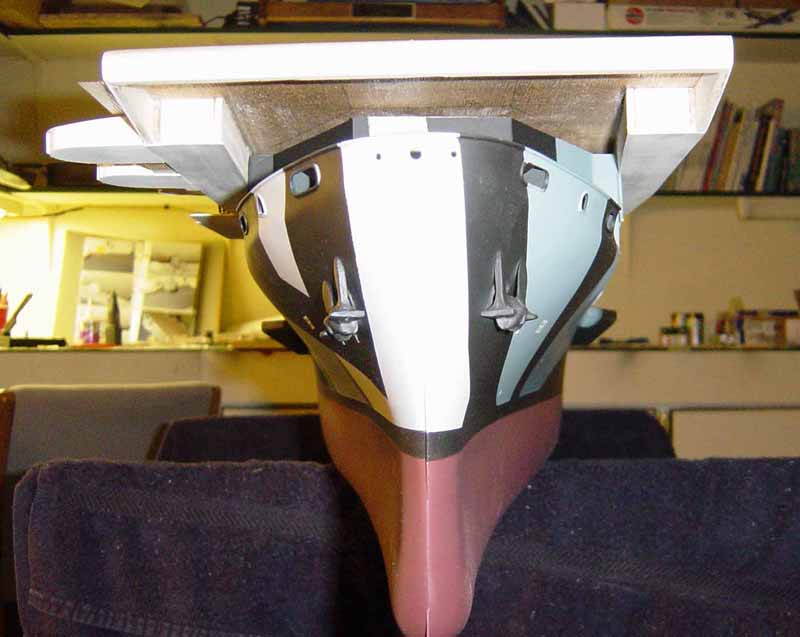 |
| Stb. side view from fwd. Here you can see I have added the gun tubs and related platforms, etc. Note the elevator openings. Fwd. one will be down about half-way, while aft will be full up position. | 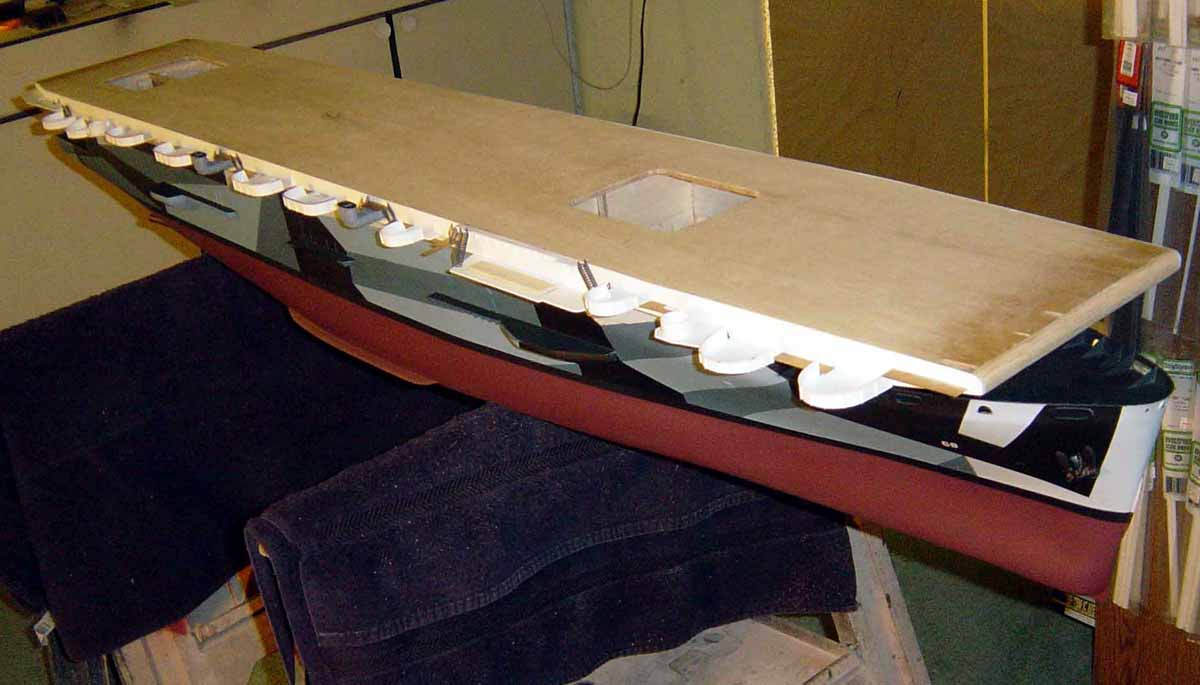 |
| Stb. side again from aft. Again note the gun tubs and platforms. All fabricated from styrene for the most part. | 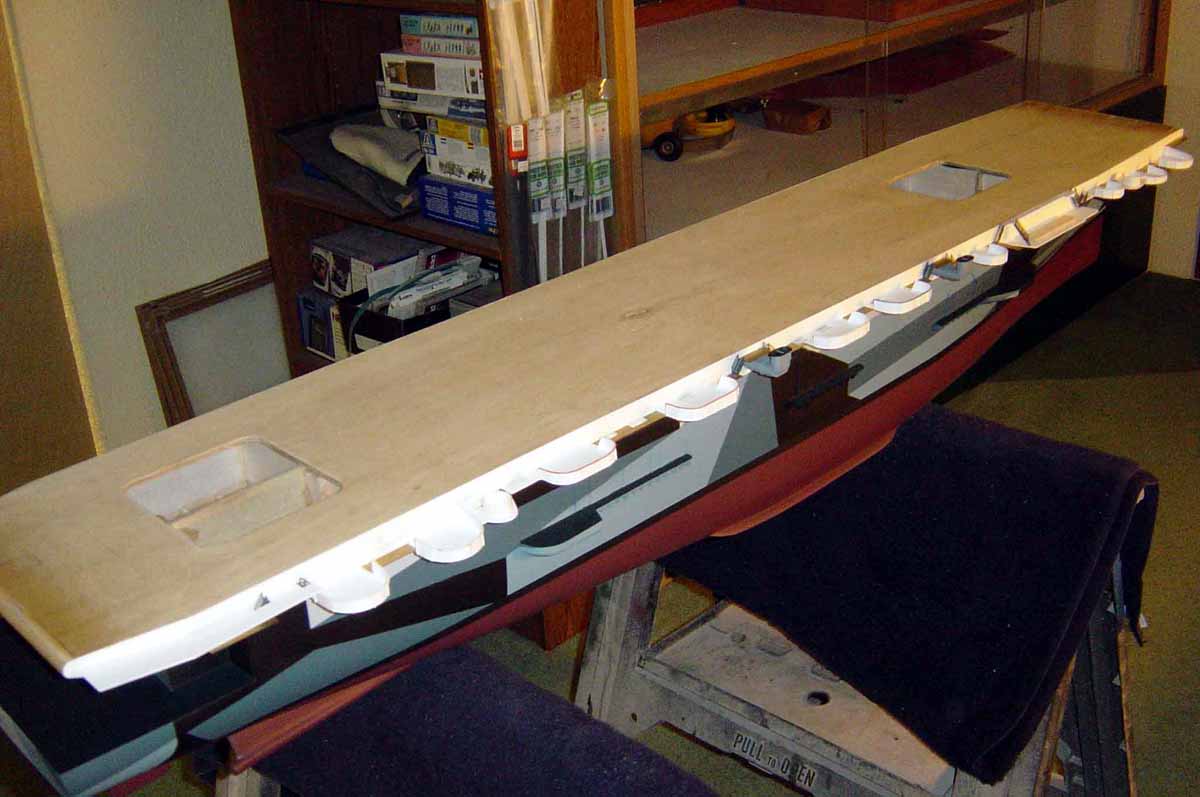 |
| Stb. side view of the bridge location. Large beams under solid deck of Island platform have not yet been added. Note the fwd. funnel or "uptake" as they were called. Inclined ladders and railings are from Plastruct Co. Goldfish looking areas are perforated brass to represent catwalk areas. | 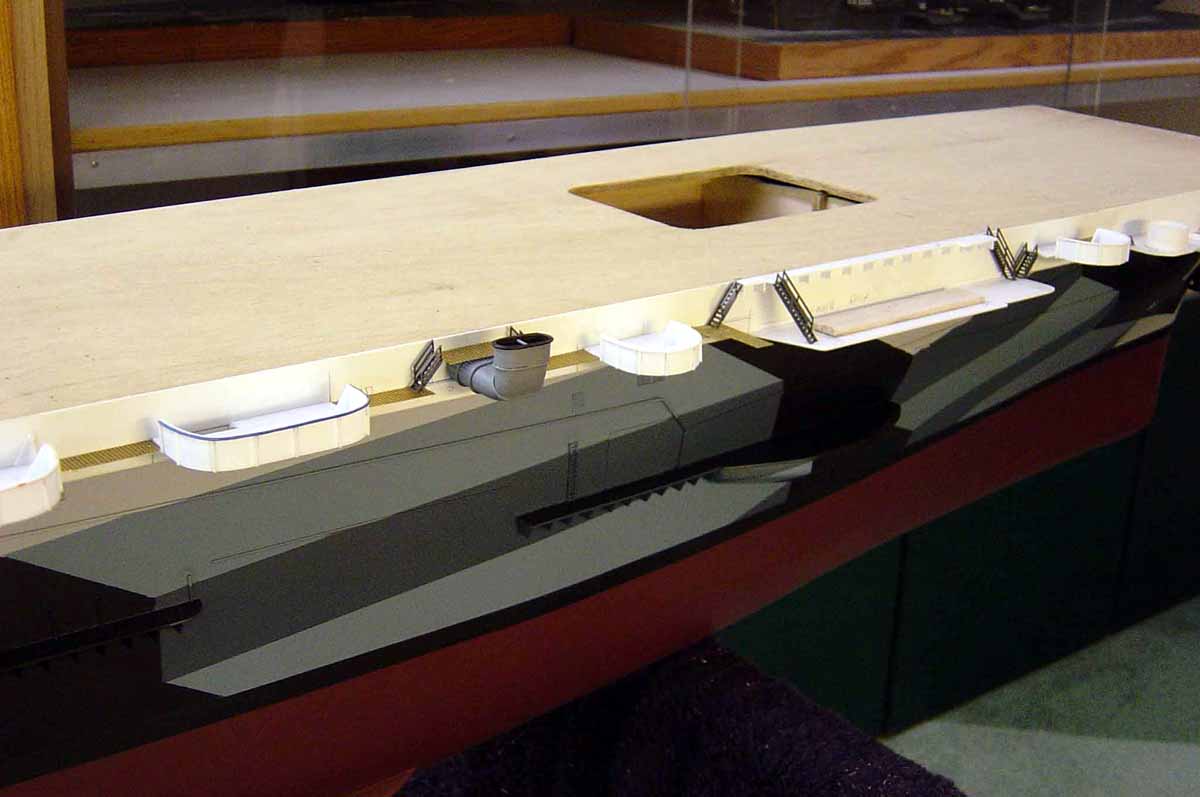 |
| Stb. side bow view. Again note no bracing beneath as yet. I will complete all gun tubs and platforms, etc. on both sides of the ship then tackle the bracing structures. | 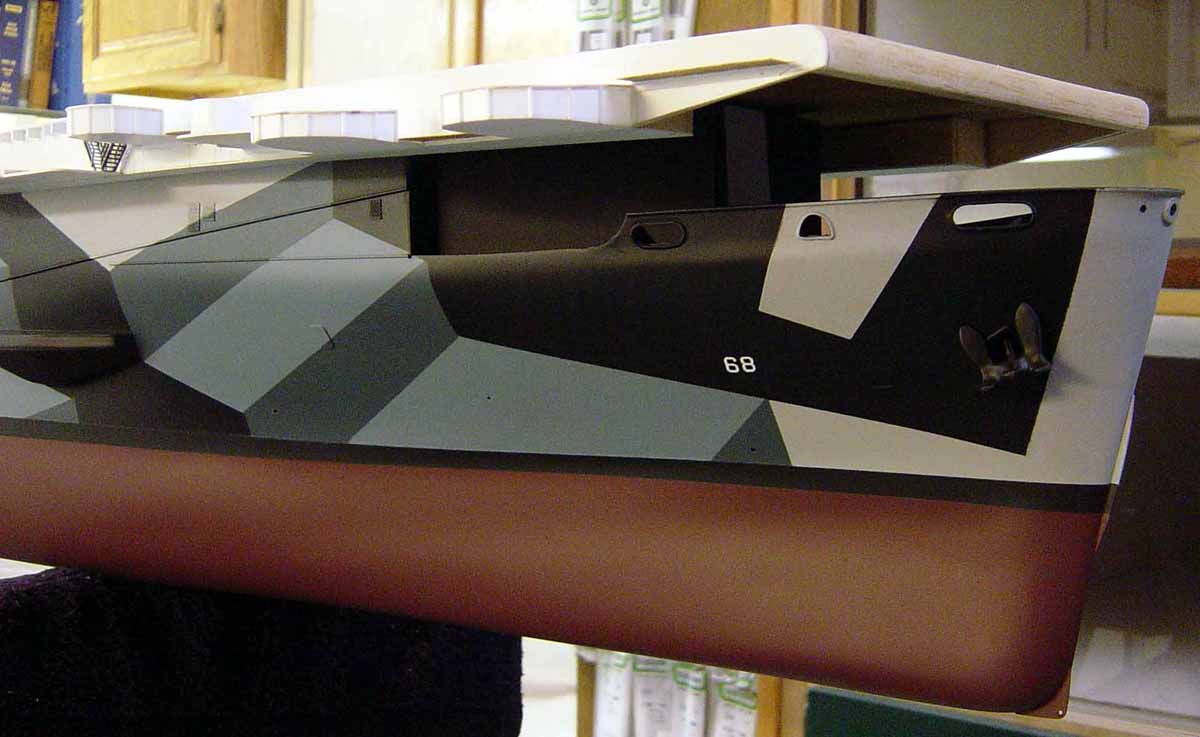 |
| Stb. side fwd. looking aft. Note I have added the sponsons to the sides of the hull. Fabricated from balsa blocks. Bilge keels have also been added. Anything you see white is styrene plastic fabricated. | 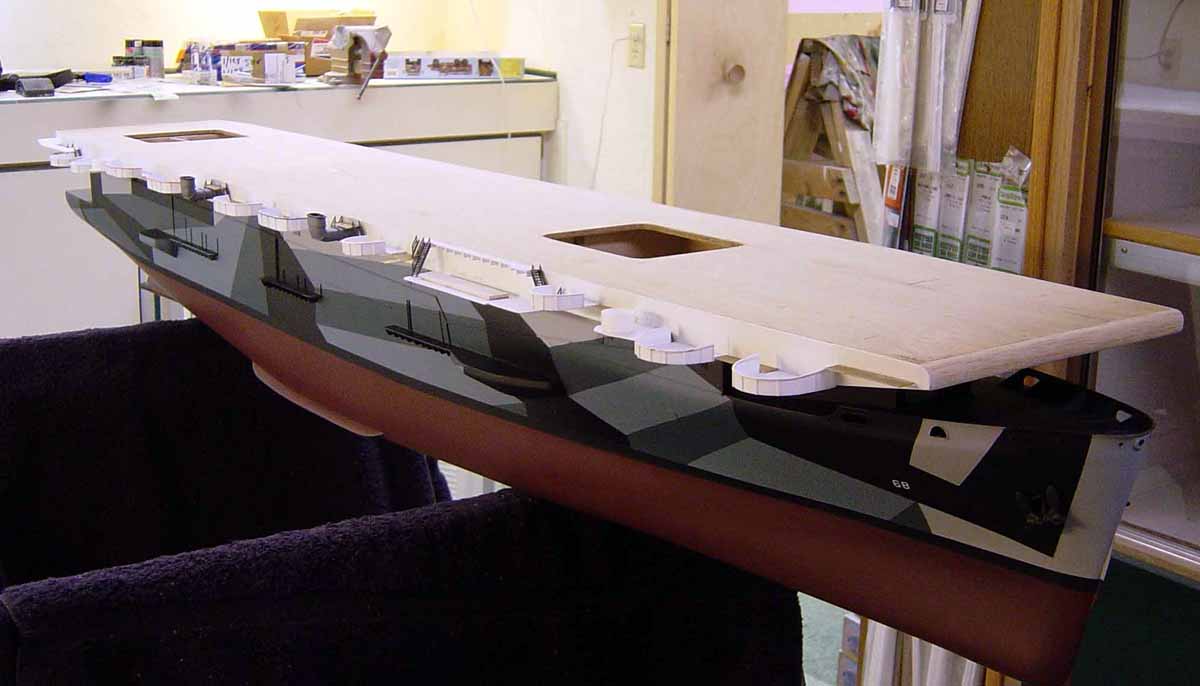 |
| Here is a shot of the 20 mm gun tubs located on stb. side between the funnels. Reinforcements made from styrene rod and telephone wire. Funnels are formed balsa also, and dressed up with styrene rod and telephone wire too. | 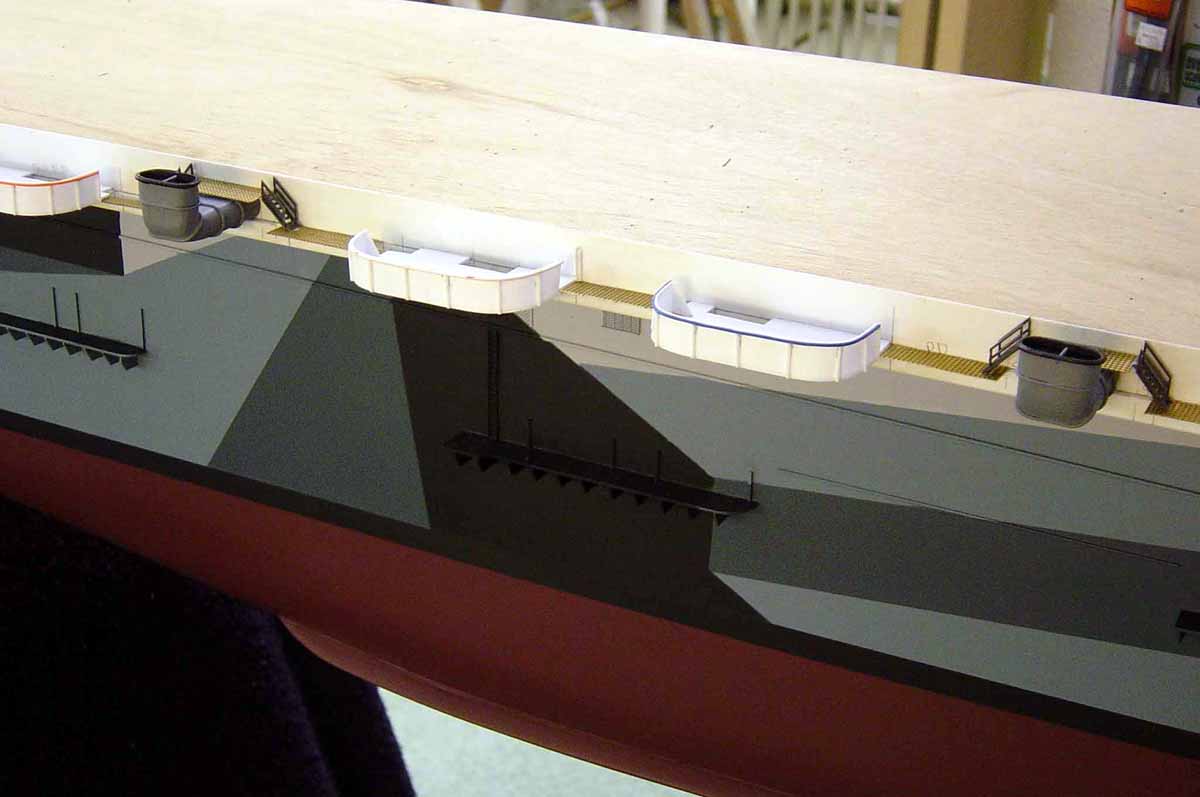 |
| Another stb. side view of the bow area looking slightly underneath again. | 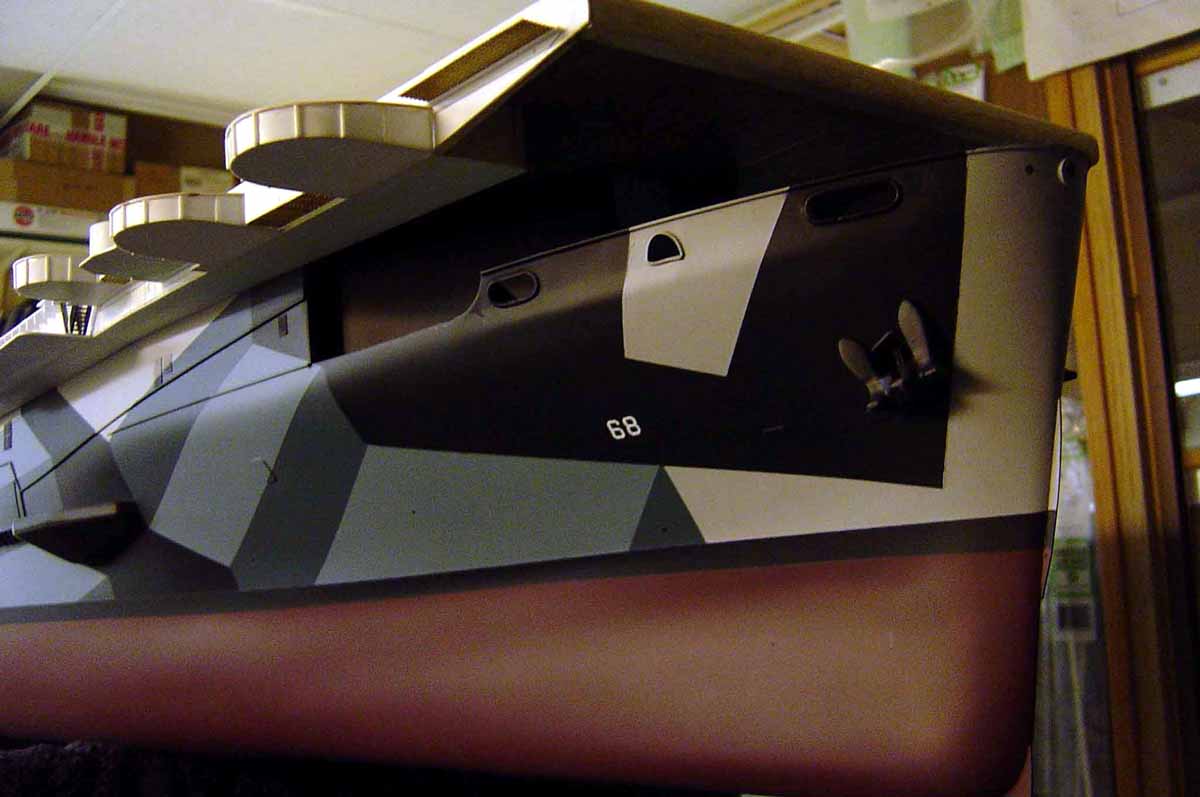 |
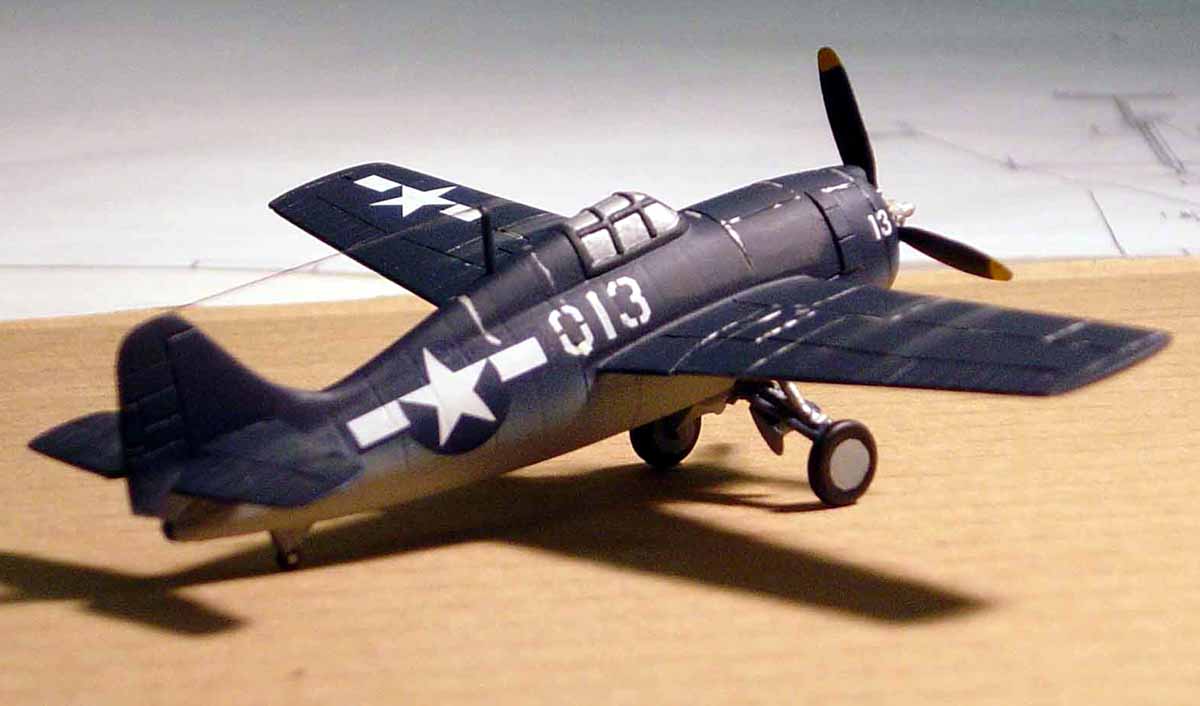
| Here is a prototype of one of the FM-2 (F4F-2) Wildcat fighter a/c. These are small resin kits from John Haynes Products of England. There are 11 pieces to each kit and they come with instructions and decals, both of which are not really needed. They are $40.00 a pop! I thought they were a nice little kit but was disappointed they did not come with clear canopies. An expensive little item but the only ones available in 1/96. Therefore you bite the bullet so to speak. | 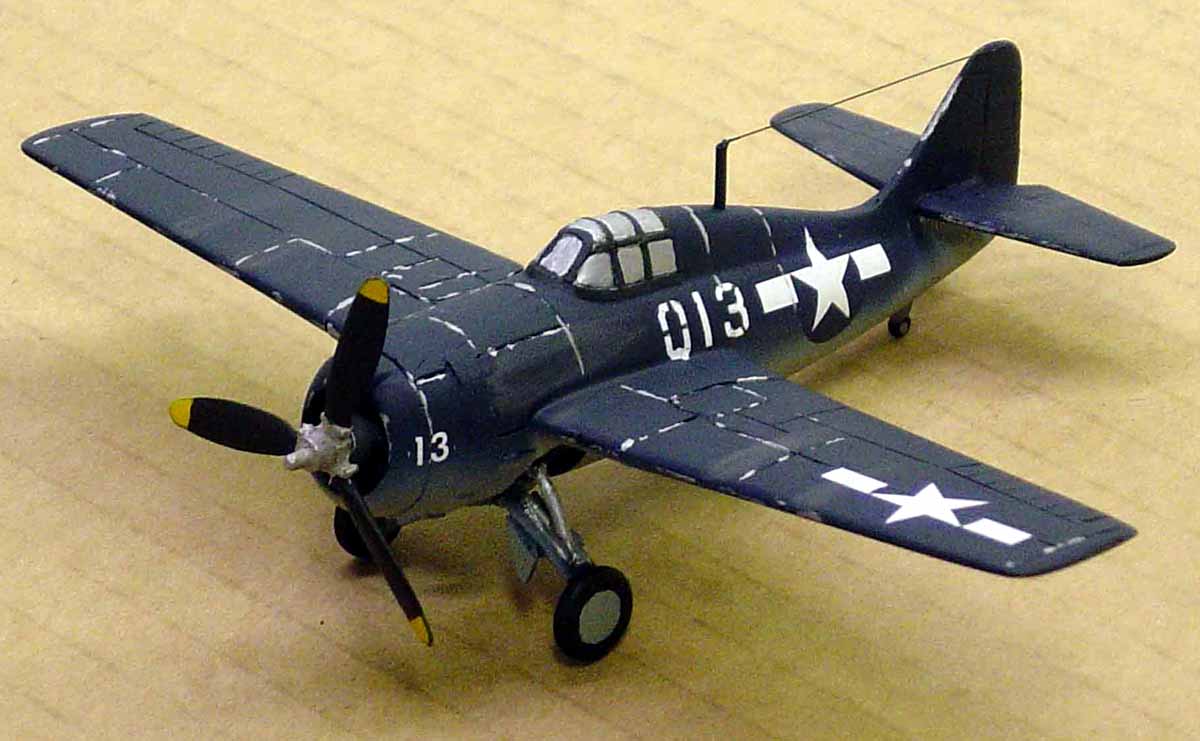 |
 |
|
| Another stb. side view of the bow. Notice here I have started the under deck bracing. Compare this photo with # 10. All bracing assys. fabricated with strip styrene. Again note perforated brass catwalks. This material is in 7 x 10 inch sheets available at Special Shapes.com. They have many other cool brass items that are great for shipbuilding. | 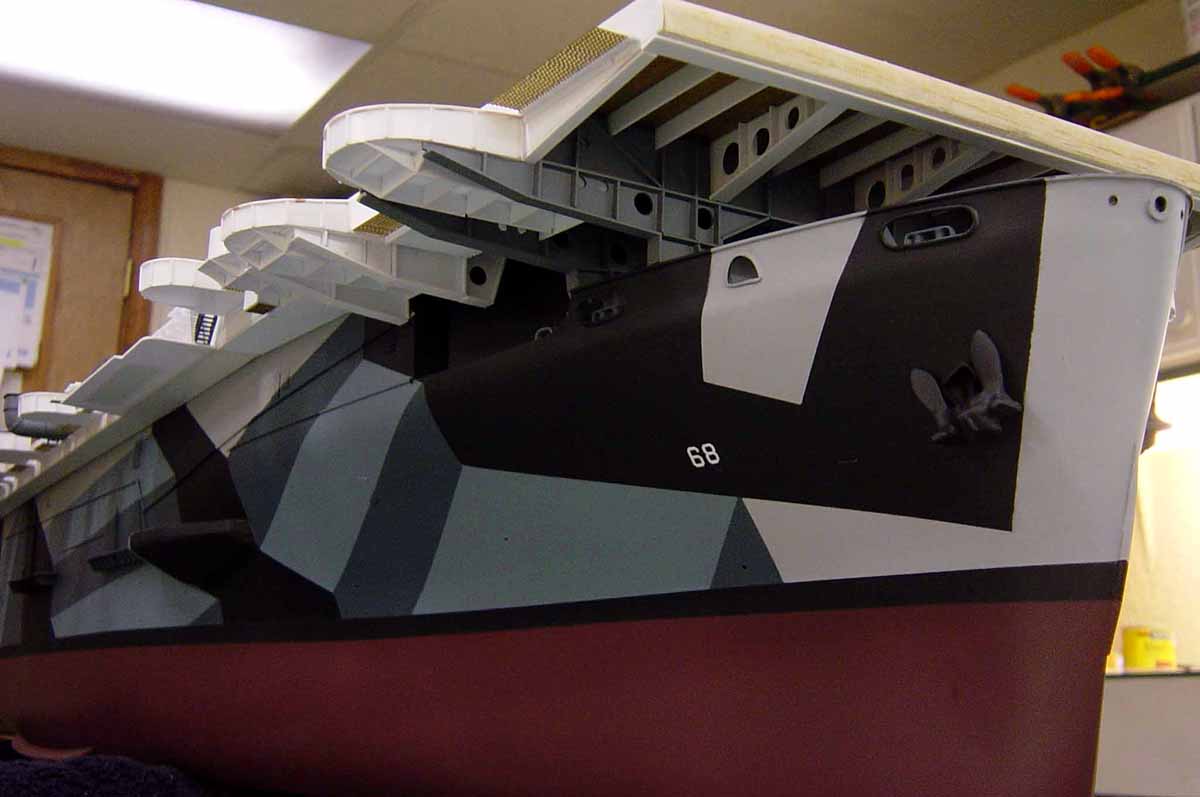 |
| Couple more pics of the bow area. Here you can see again the under deck bracing in progress. | 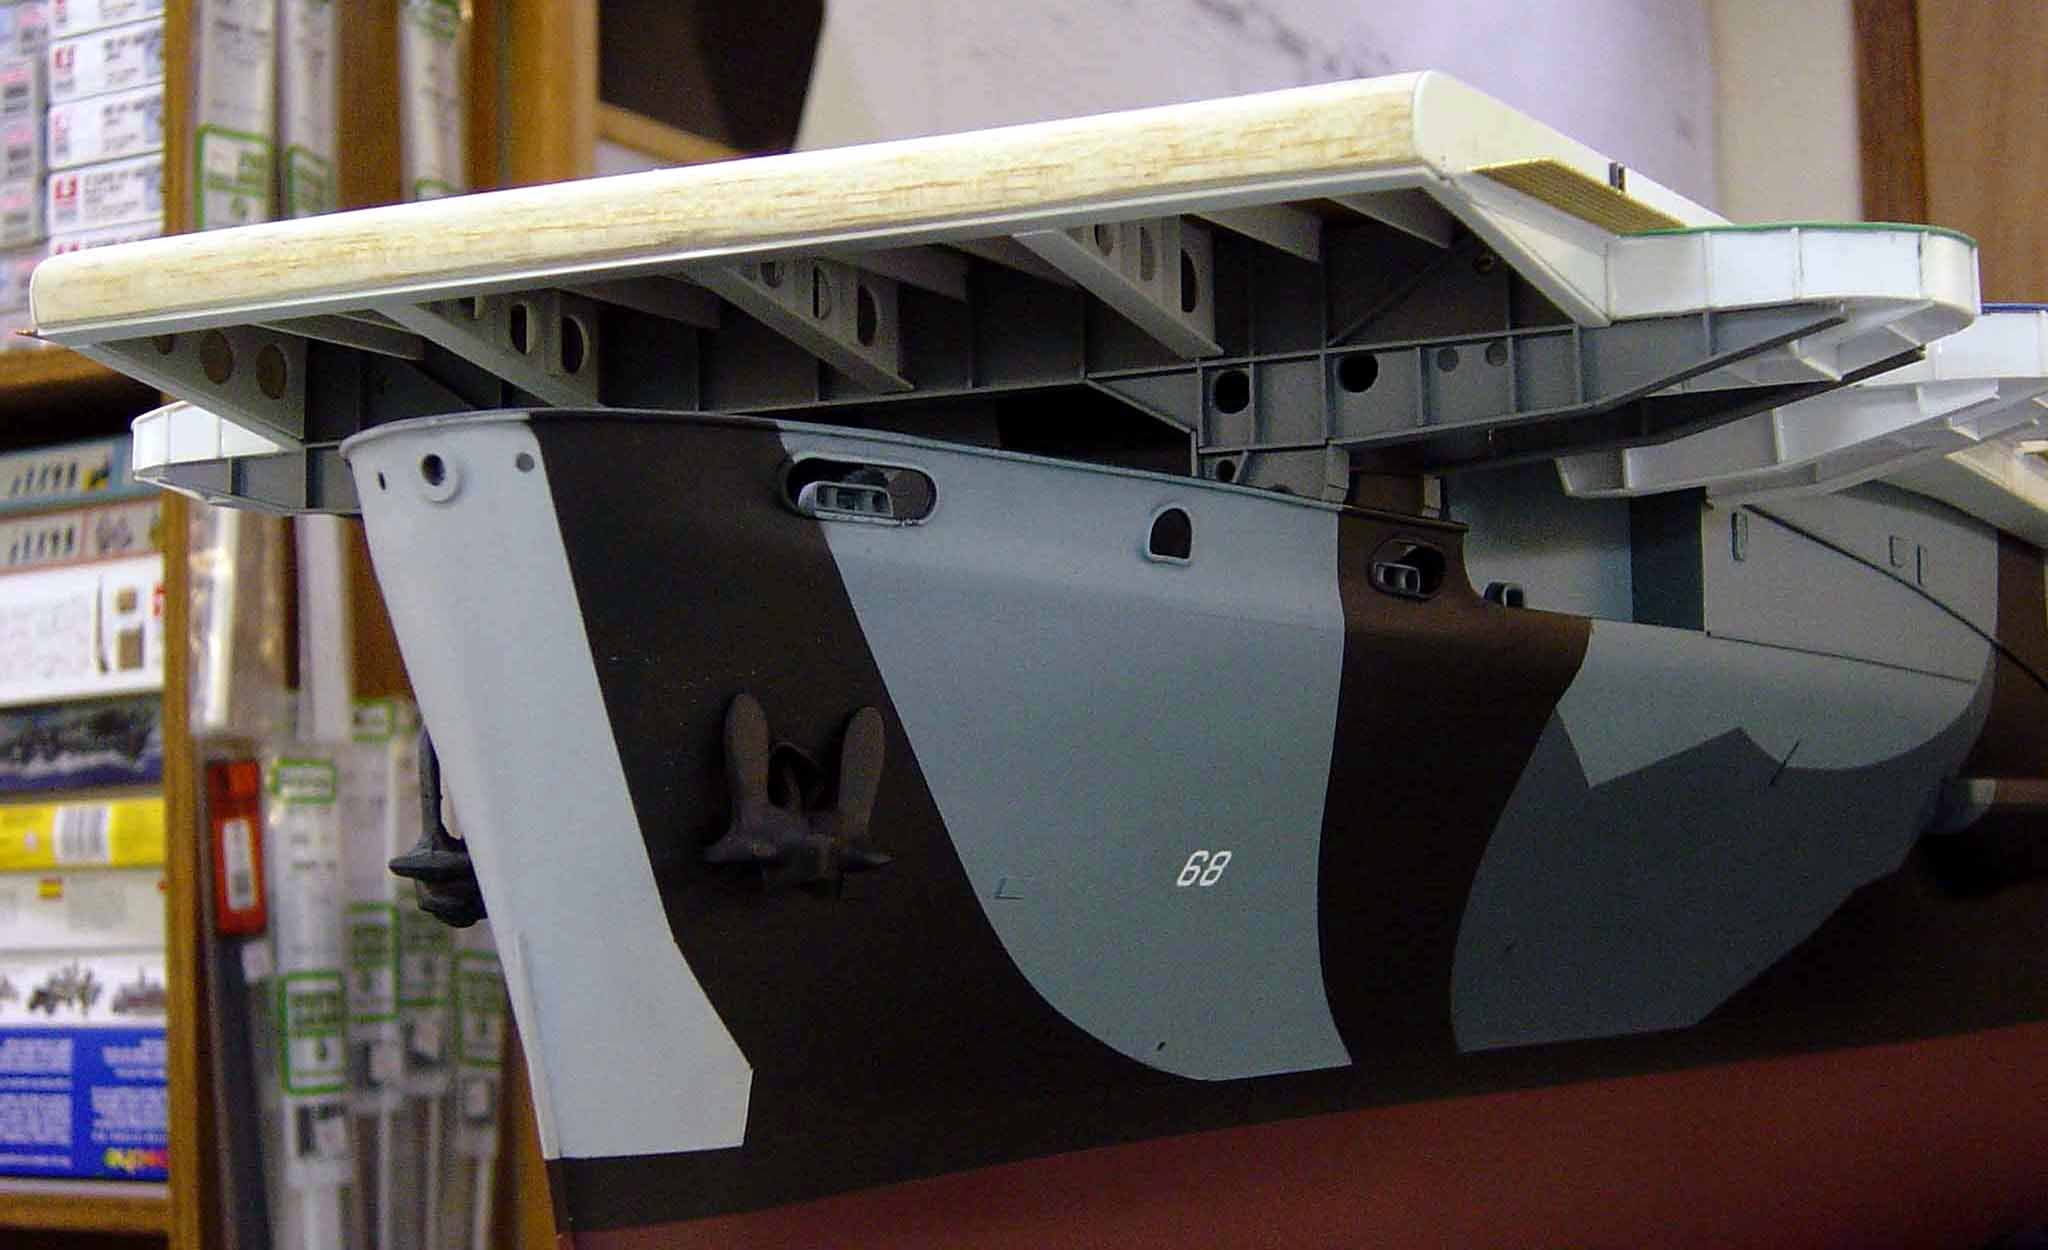 |
 |
|
| Here we have the forecastle deck. Note I have begun to add fittings here. Anchor winch from Sirmar Products from England. Paravanes are John Haynes products. Other items are from HR Products in the US. Note the bulwark bracing and anchor chains. A few more items to add yet. | 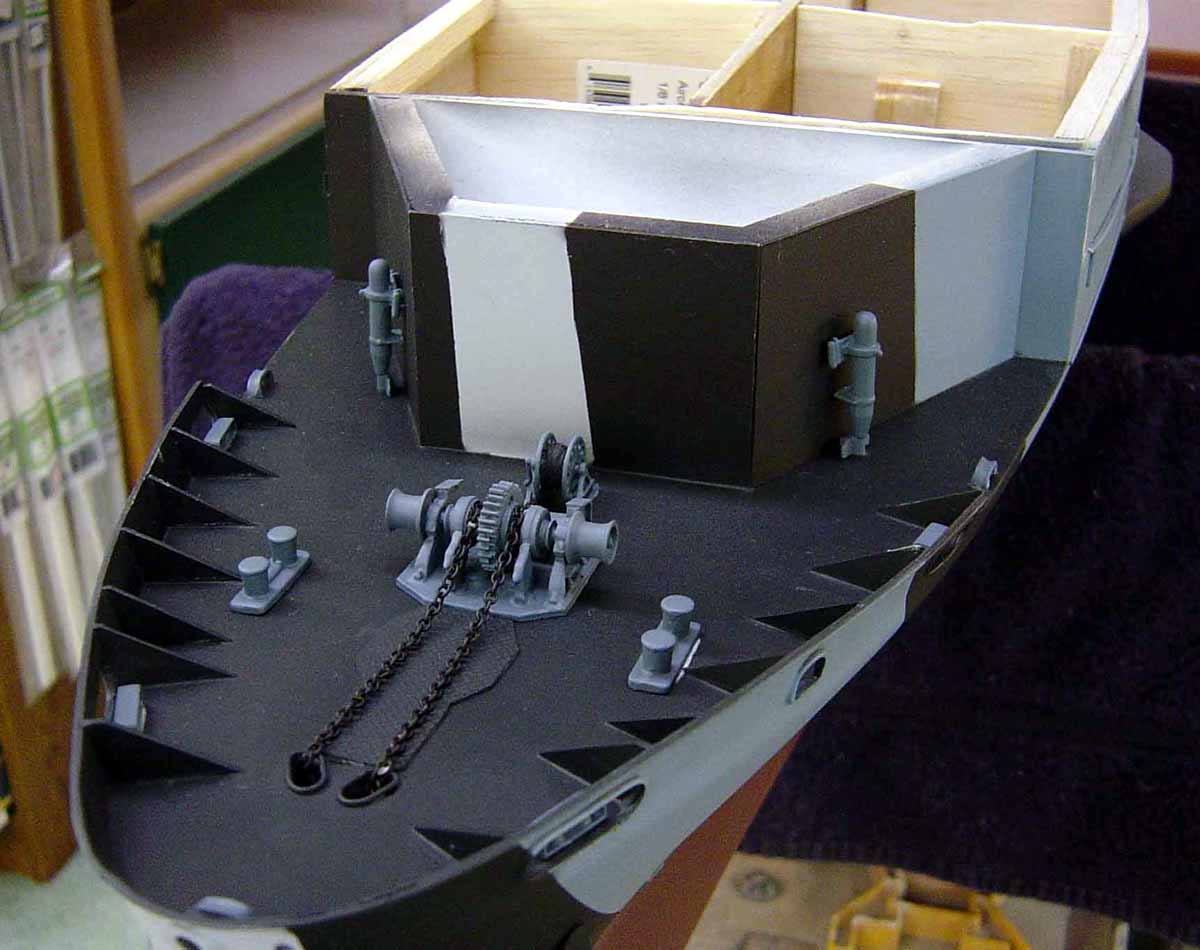 |
| The aft 5/38 gun mount. The gun itself is another John Haynes product and consists of 12 individual parts made from resin and cast metal. Again, a nice little kit but as all things from overseas, pricey, about $30.00. Gun tub is scratchbuild and does not come with the kit. | 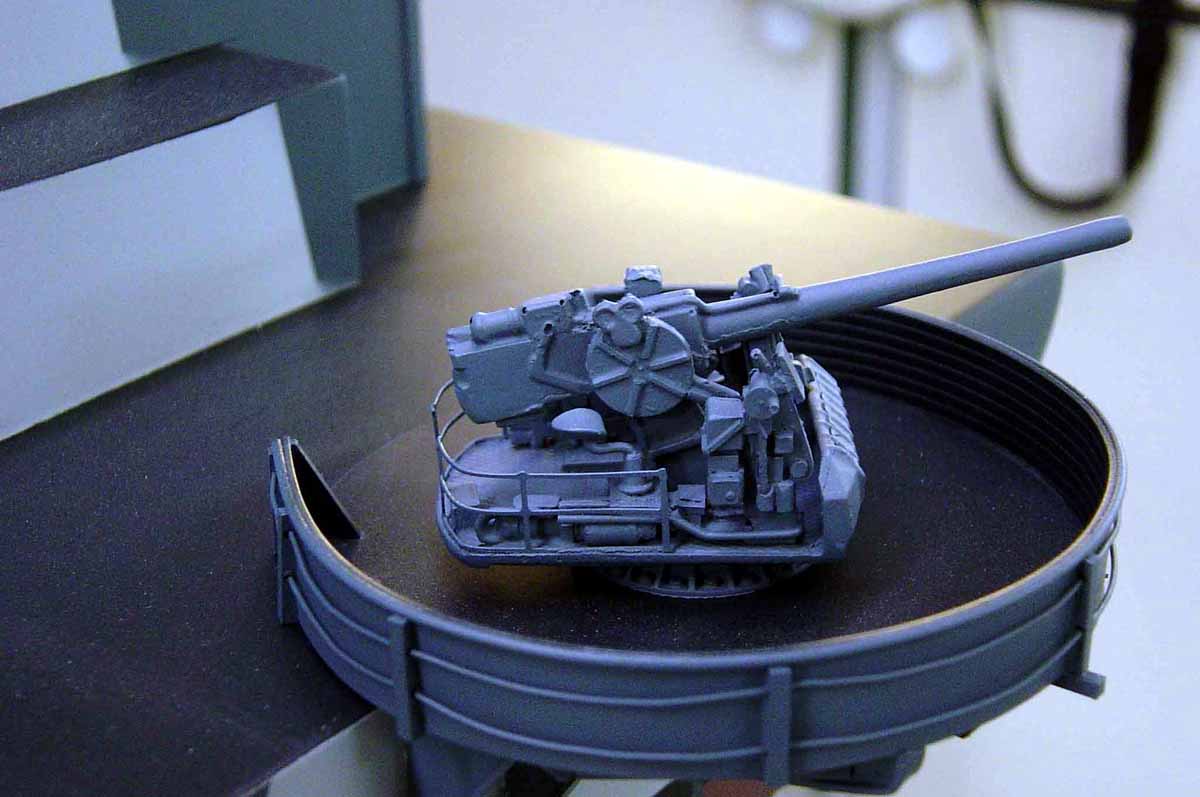 |
| In this photo the flightdeck is flipped up-side down so you can see the start of the bracing. There are many individual pieces here and continues this way along the entire length of the flightdeck. I estimate 60 hrs. to complete all this and over 1100 individual pieces. The sad thing is, when the model is on actual display, none of this is really that visible unless you crouch down and look beneath! Why do it??? Cause it has to be there. |  |
| A little further along here. These are a couple of the 20 mm gun tubs viewed from beneath. Perforated catwalks are clearly visible here. Note the small" boxes" that hang beneath the gun tubs and catwalks. These are the ladder wells that lead into compartments of the Gallery decks. Escort Carrier modelers take note: This is the correct configuration I have this from 1st hand memory of a man who was on the real ship. His name is Henry Sawicki and was a sailor aboard the Kalinin Bay. He has an almost photographic memory of the layout of the ship. He went on after the war to become an engineer/draftsman and has sent me numerous drawings of certain areas of the ship of which there are no photos. He has been of great assistance to me. Nice to have someone like him to assist. A walking encyclopedia if you will. He is now in his late 70's. | |
| Yet another shot of stb side bow area with the bracing in progress. Note how this adds interest to the model. | 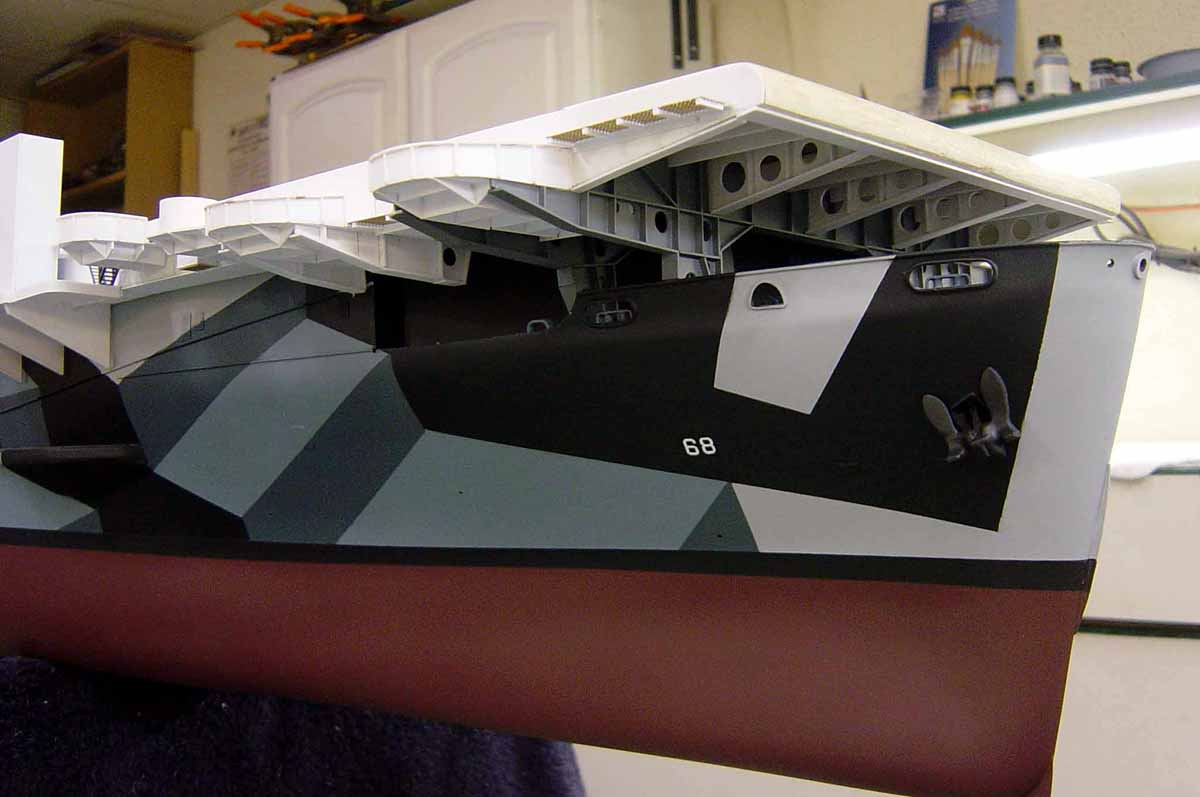 |
| Port side fwd. looking aft. Here you can see all gun tubs, catwalks and platforms have been fabricated and installed on the ship on both sides. Bridge assy is roughed in and is visible. | 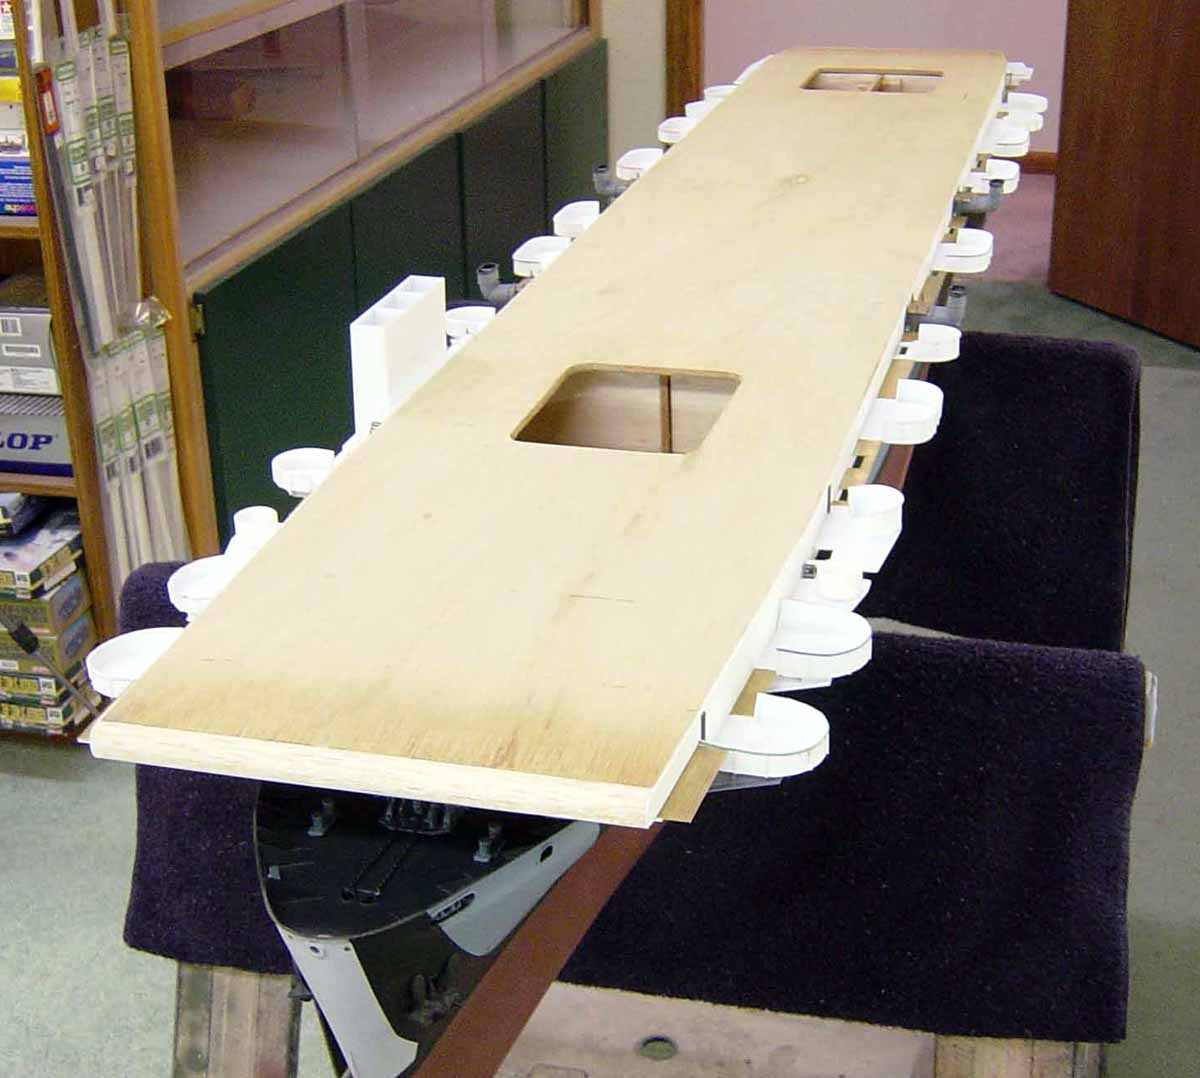 |
| Epilog:
Well, that's it for now. I will be sending updates to this website as construction moves fwd so stay tuned! Thanks to Loyalhanna Dockyard for assistance in obtaining the overseas fittings as well as things made here in the states. Their service is great as usual. Thanks again to Tim Dike and all the staff at MW for the opportunity to show things to all of you. This is after all, the #1 ship modeling site. I'll be back!! Best Regards to All,
|
|

© ModelWarships.com