USS North Carolina BB 55

by Ron Horabin, Cheshire England
|
Part 6. TWIN 5-INCH GUNS & MOUNTS |
||
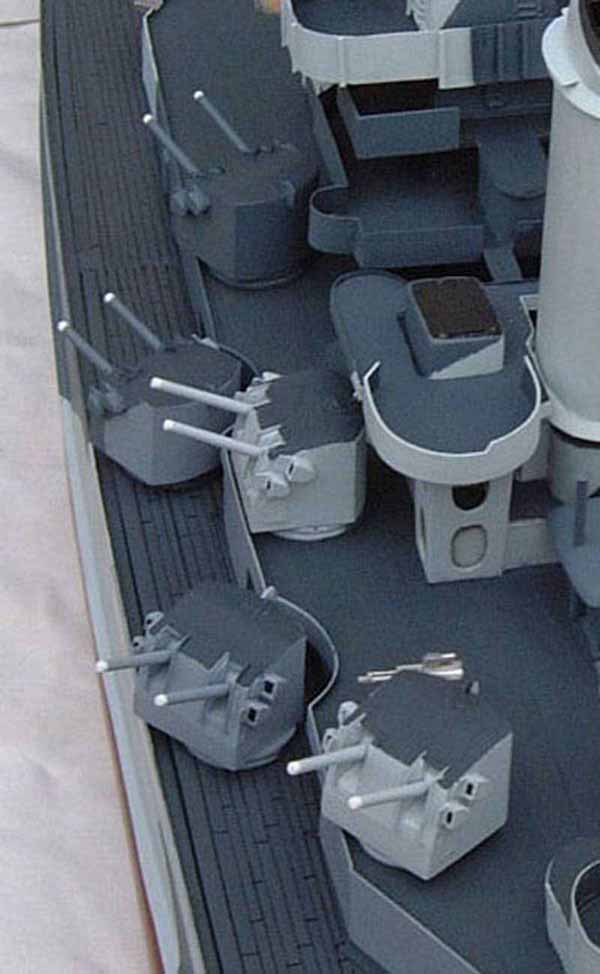
| USS North Carolina BB55 had 10, twin 5-inch duel purpose
guns with M/K 28/3 mounts, my next job on the model is to make a master
for all 10 guns, so we can cast them from resign instead of making each
individual one.
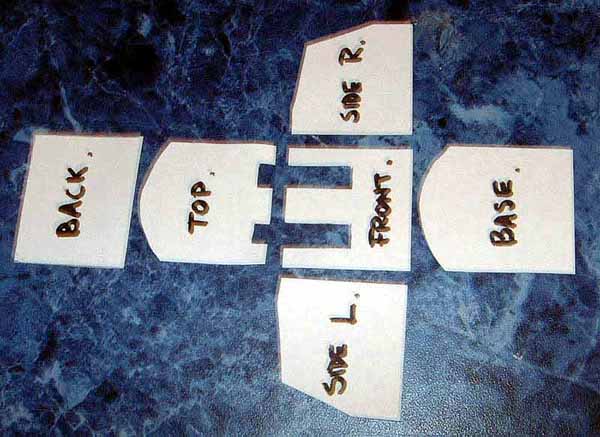
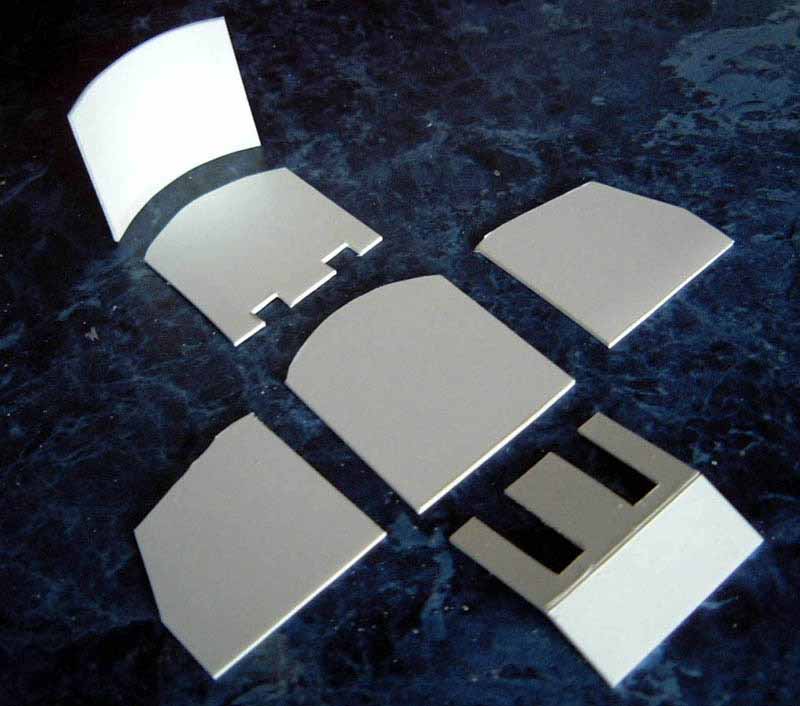
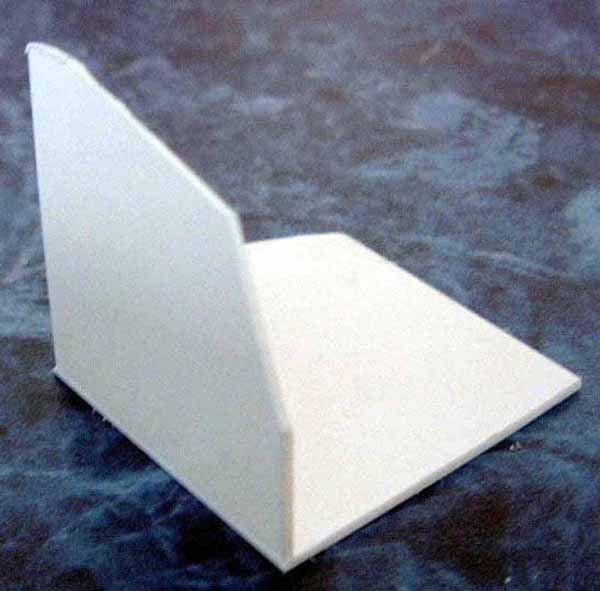
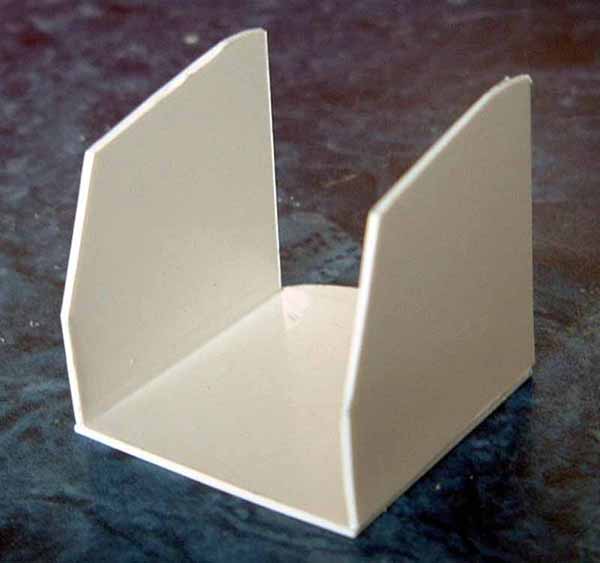
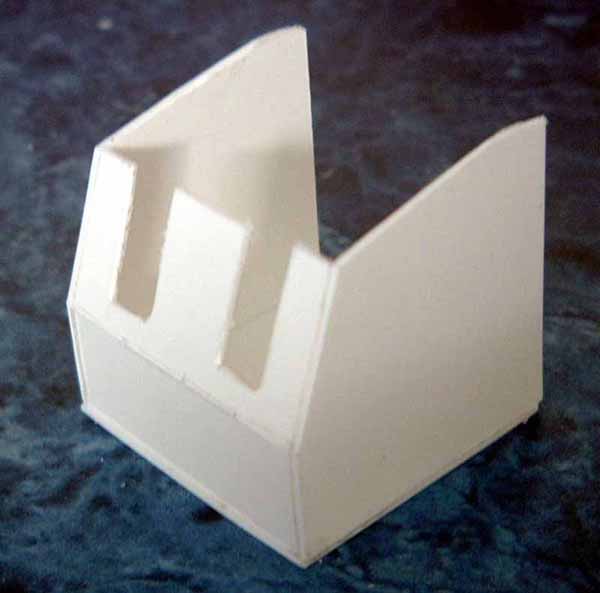
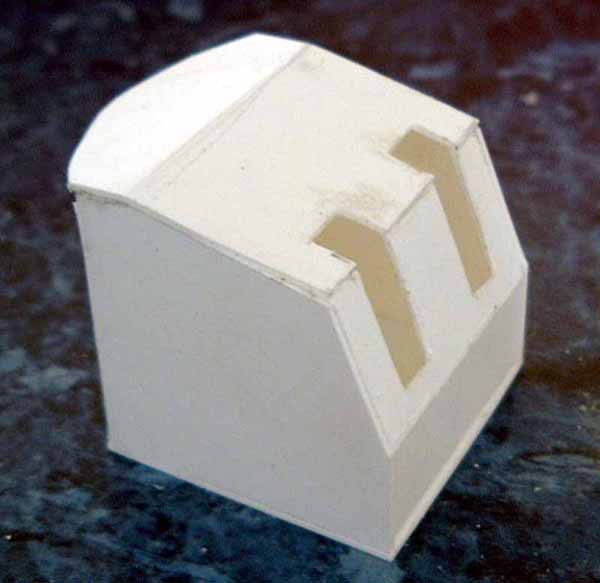
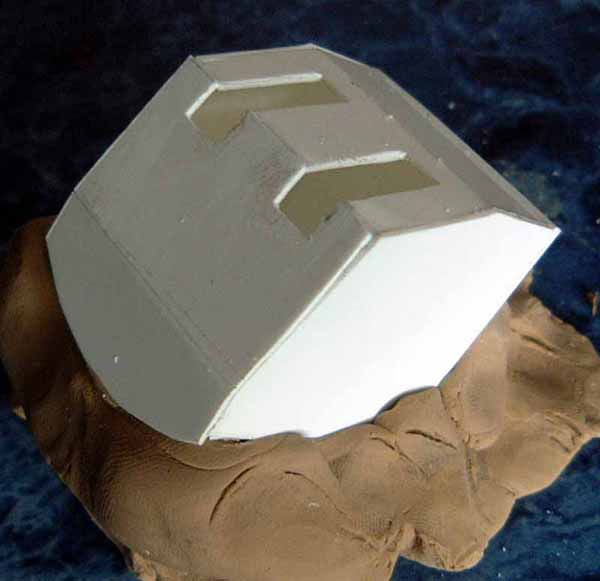
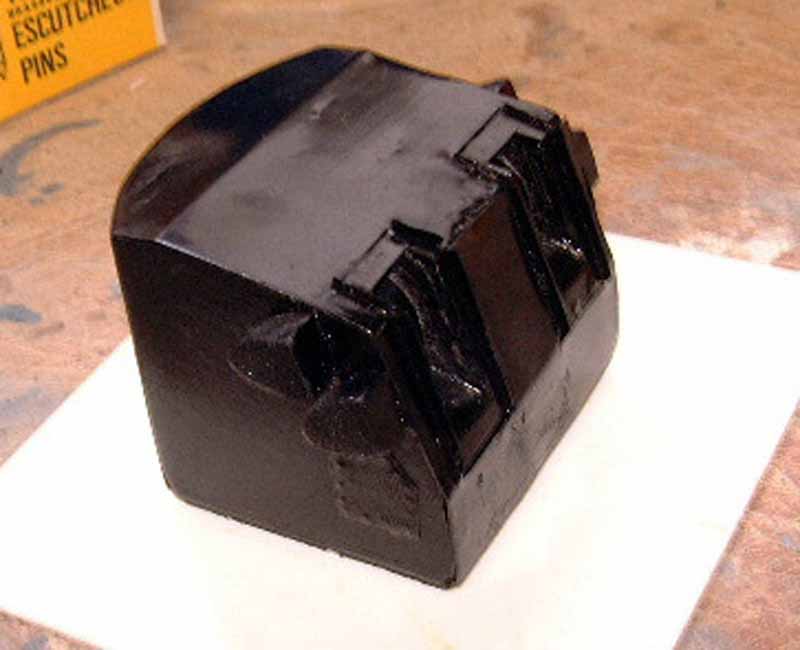
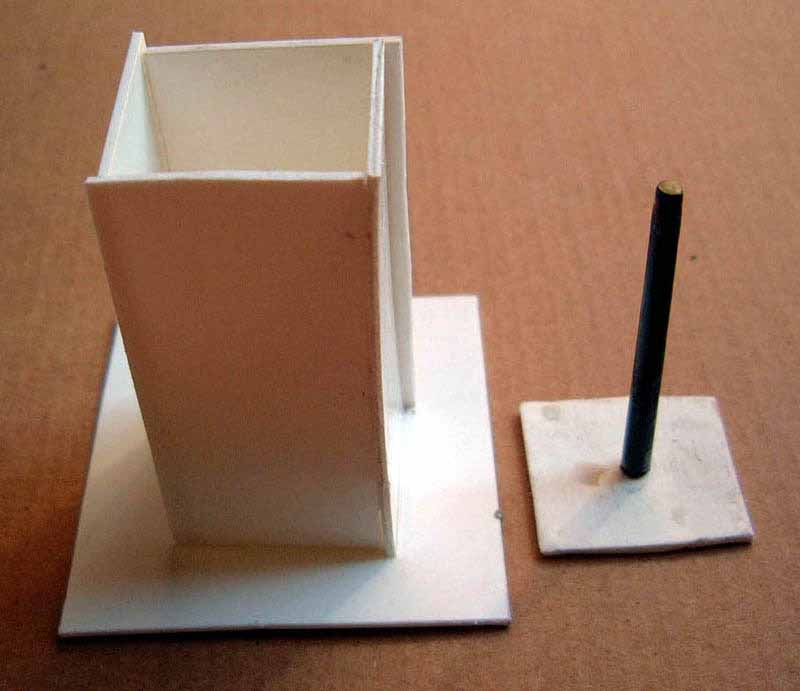
My first job was to mark out a paper template and transfer this to 80 thousands plastic card, with a sharp knife cut out all the parts and glue them together using liquid poly cement, I normally use Humbrol. Starting at the base I glued the two sides and the front together, then the top, warming the back section I bent this in to a curve and glued it in to position. To make the mold more solid I filled it though the two holes where the guns fit with plaster of Paris, and left to dry. Though the two openings in the front I carved the round sections of the gun mounts, then added some extra detail in the form of doors to the two sides and top, and an extra strengthening section to the front and top. When everything was set and dry I gave it a spray coat of black paint, this helps to give it a reasonable finish. |
 |
 |
 |
 |
|
 |
 |
|
 |
 |
|
|
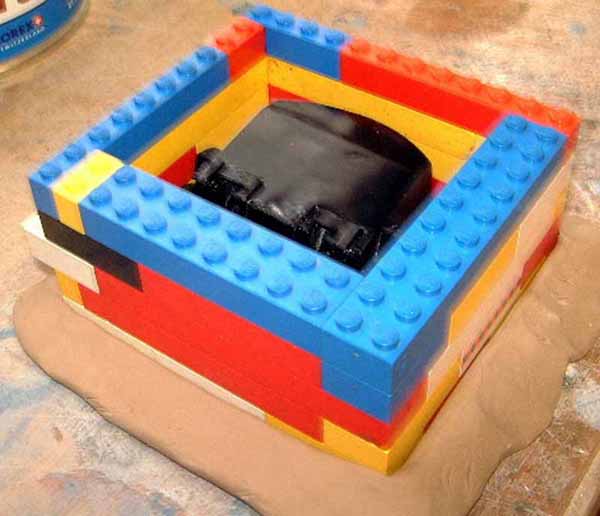
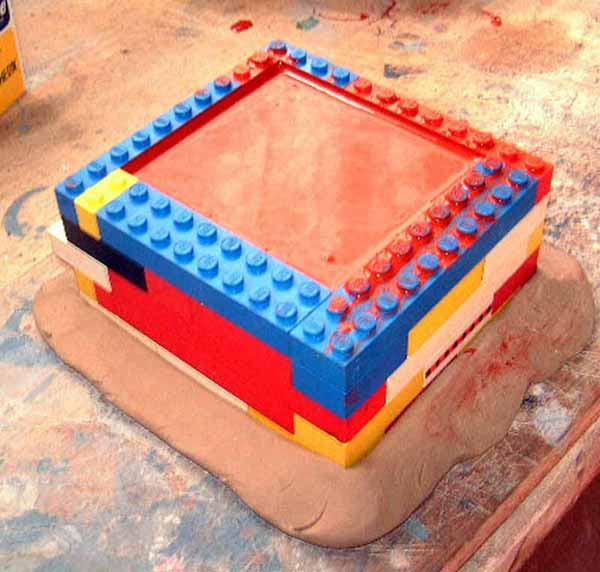
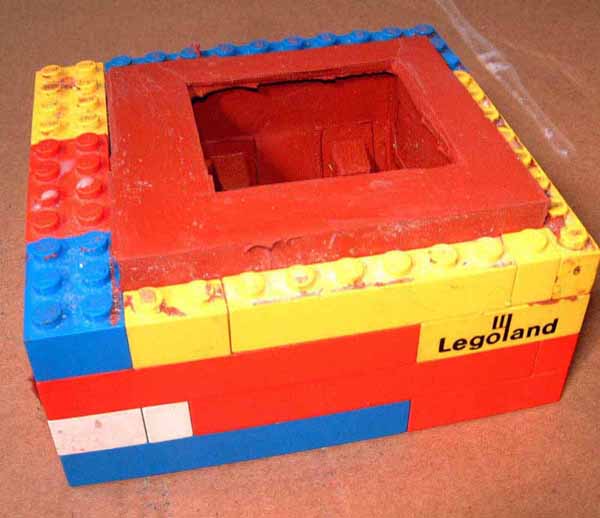
Making a box out of Lego bricks that use to belong to my son, I then put the gun mount on to a base of plastic card, larger than the Lego box, and placed the Lego box over the gun mount. I had purchased a mold material from my local model shop, this is a two-part silicon rubber compound made by GLOREX of Switzerland called Hobby Time, it can be used for resin or soft metal, after gauging about the right amount of silicon I added the catalyst and poured it over the gun mount and left it to dry for two days to harden off. Checking the mold on the top is not sticky, we can begin to take away the Lego bricks and release the cast from the molding compound, taking care not to damage the mold, otherwise it will show when you do your casting. I am now going to cast 10 gun mounts from clear resin and powder, adding a catalyst to set the resin, but first I put the Lego box back around the rubber mold this stops it bulging out at the sides under the weight of resin inside, having mixed the resin and powder together we can add the catalyst and pour it into the mold slowly, trying not to get to much air in to the mixture, just tap it a few times this will probably release what air is in the mixture, leave to set for an hour or two, you can then release the cast and start all over again on the next one till you have the number you require.. |
 |
|
 |
||
 |
||
 |
||
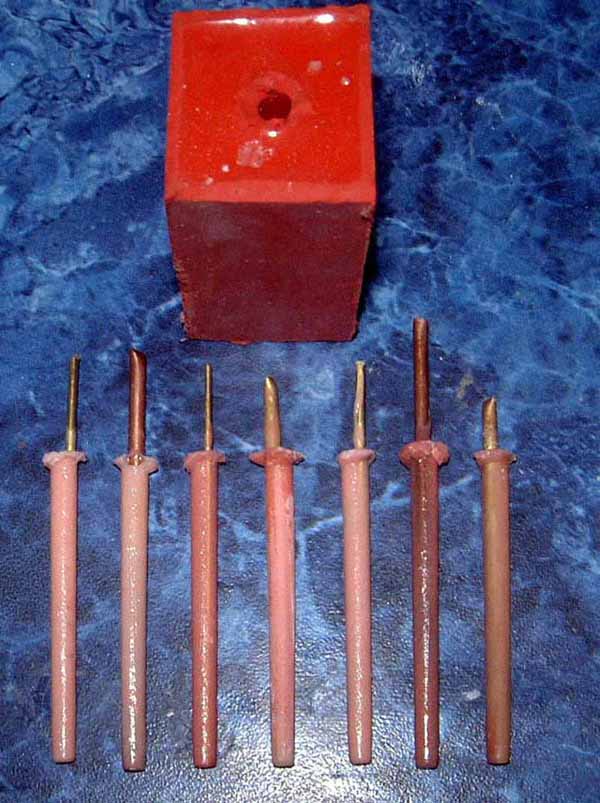
| Next we are going to make a mold for our gun
barrels, having first made the barrel out of the end of an old paint brush
and super glued it to a piece of plastic card, in the upright position,
then making a box out of plastic card and sealing one end, I now mix our
rubber compound and pour it in to the mold, leaving it just short of the
top, we now push the gun barrel on the card in to the rubber and put a
small weight on top to hold it down in the rubber, leave to harden for
a few days, then you can release the barrel and you have your mold.
I have been casting my small barrels in resin and putting a small brass rod down the middle to give them strength, make the rod about 1 inch longer than the mold, this helps when you have to pull it out of the mold, you can cut it off to length later. |
 |
|
 |
||
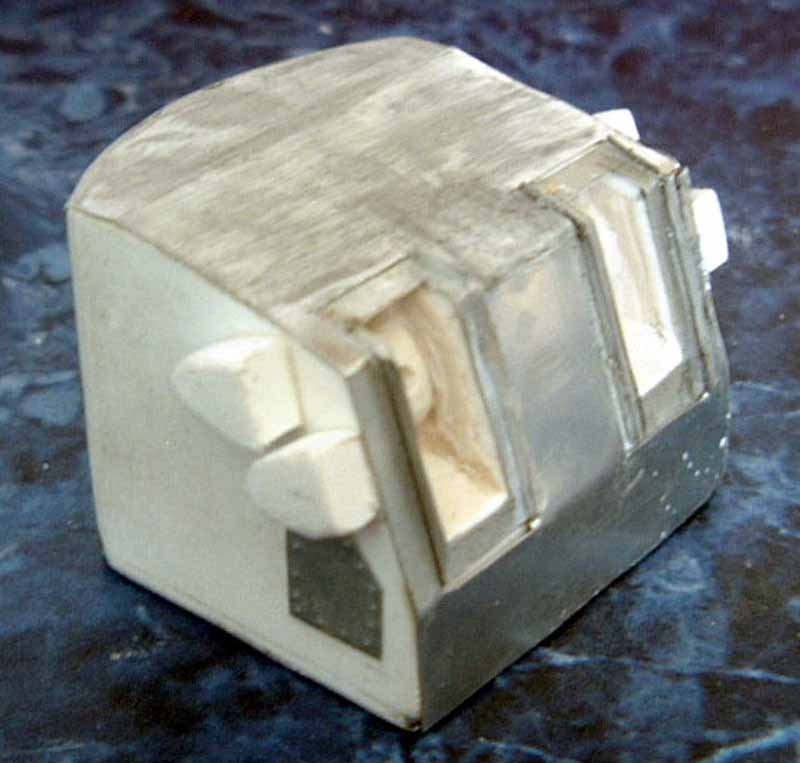
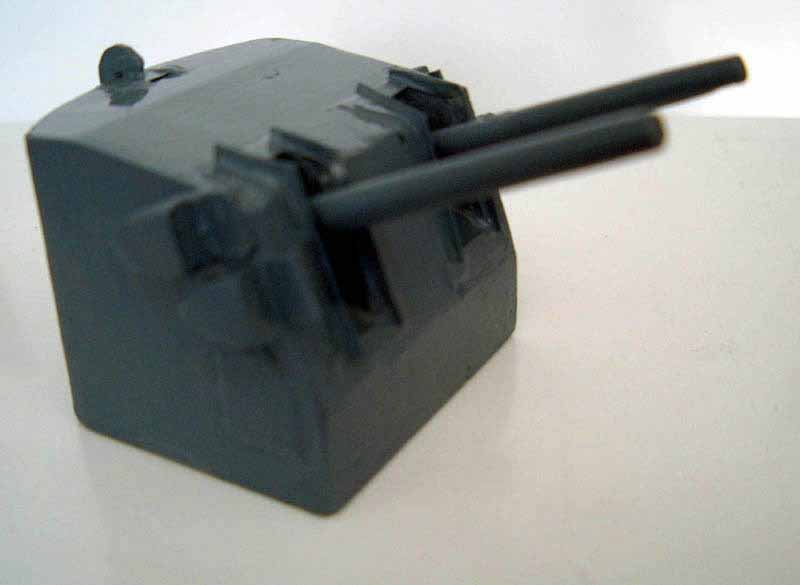
| Taking the gun mount to the stand up drill,
I drilled two holes in to the mount the same size diameter as the gun barrel,
and fit one barrel into each hole, next I cut four small lens covers and
fit two either side of the mount, the small hatch on top I put some hinges
on and a catch.
The base of the gun mount was made from filler paste in a small round plastic lid that had a ridged section in the middle of the edge; the base was drilled in the middle and painted before gluing to the deck in its correct position. |
 |
|
 |
||
 |
||
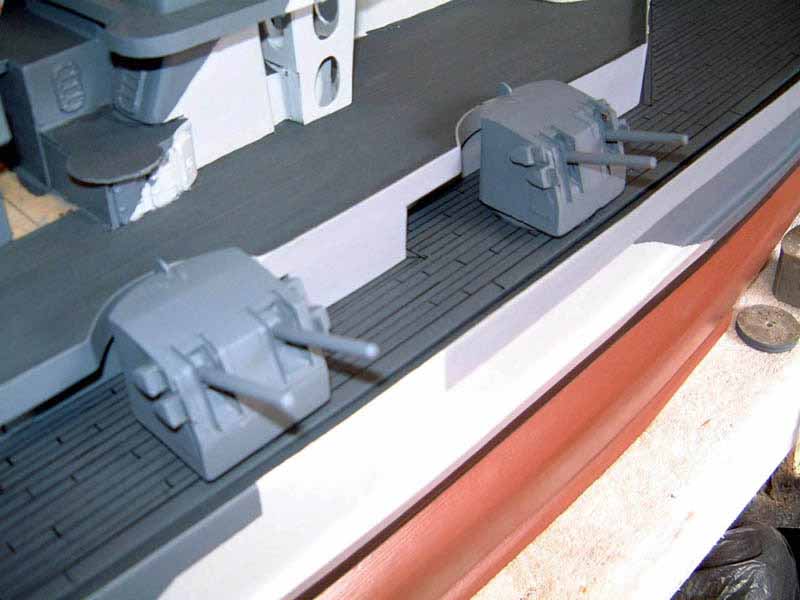
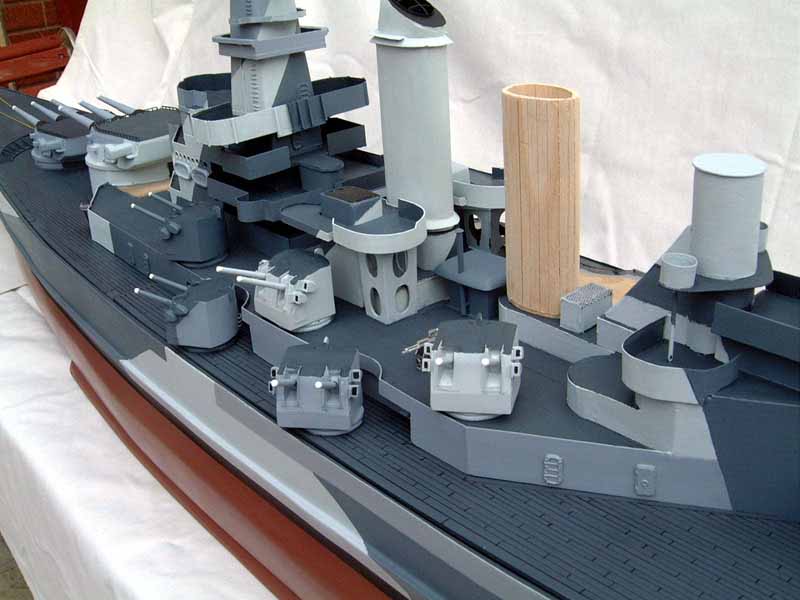
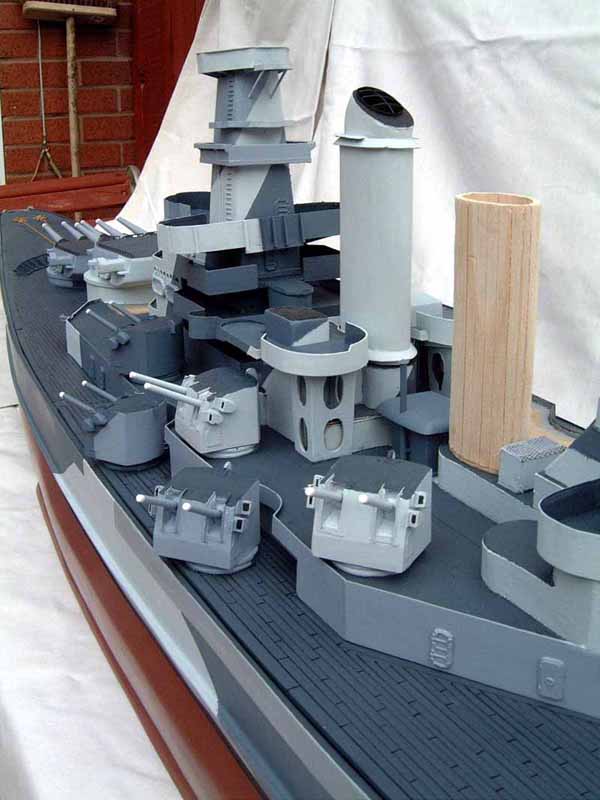
| The deck has to be drilled through, and a piece of brass rod fitted in to the base of the mount and glued in position and left to dry, before placing into the hole in the deck. | 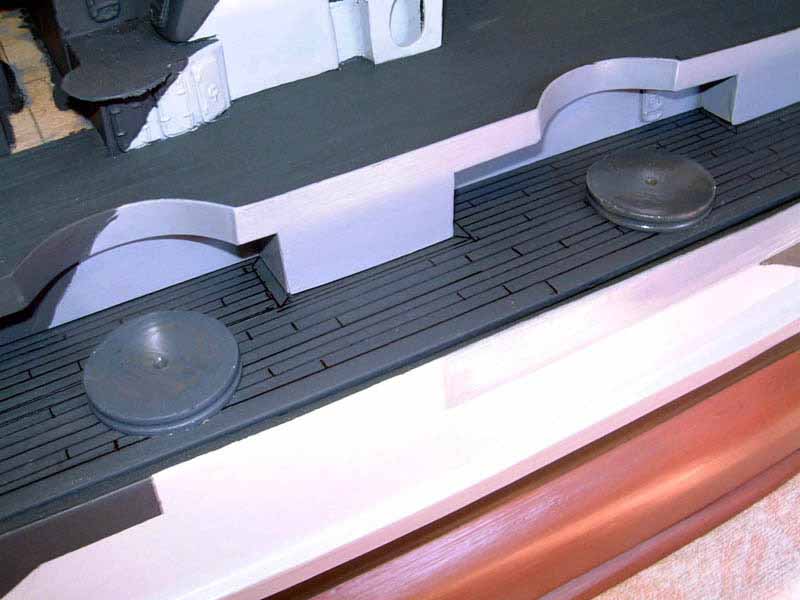 |
|
| The mount should be able to turn when fitted with radio gear, now we only have nine more to make, a little easier this time because we have our molds to do the job quicker. | 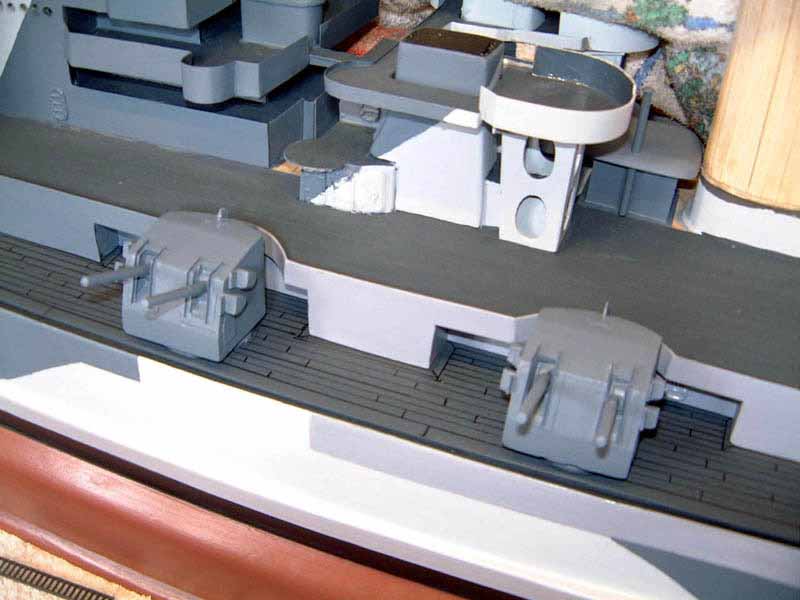 |
 |
 |
||
| The thing with scratch building is, you can not go to a box and
pick out a part, you have to think how do I make it, what do I make it
from, what is the easiest way to do it, that's the best part of the
challenge.
Happy modeling. RH |
 |
 |
|
on to part 7 |
||
