USS North Carolina BB 55

by Ron Horabin, Cheshire England
|
Part 11 Aircraft Recovery Crane, & P/E 1/96 |
||||||
|
Before we go into the build I have been looking for Photo etch parts, theres very little about in 1/96 scale so what I have found may be of use to a lot of modelers, first theres the ladders, stanchions, and the small steps set, #SLMF07 and #SLF060 this one is small square open mesh, for walkways, floater baskets, some types of radar and ventilators, made by SCALE LINK. |
click images
to enlarge |
|||||
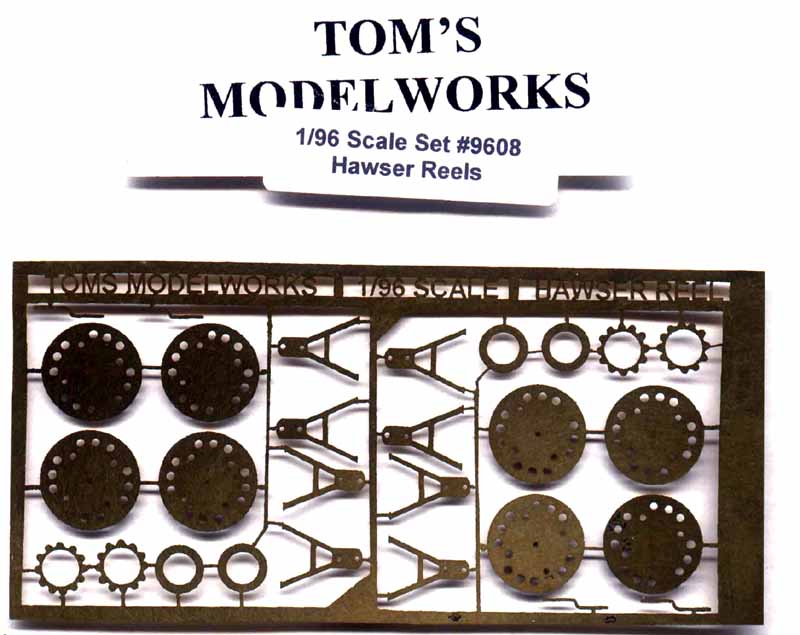
| Theres also TOM'S MODELWORKS. They do a nice range of PE in 1/96, including SK2 RADAR, HAWSER REELS, 12 &16 inch PORT HOLES, GUN SHIELDS, all so a big range of accessories for the ARIZONA 1941. | 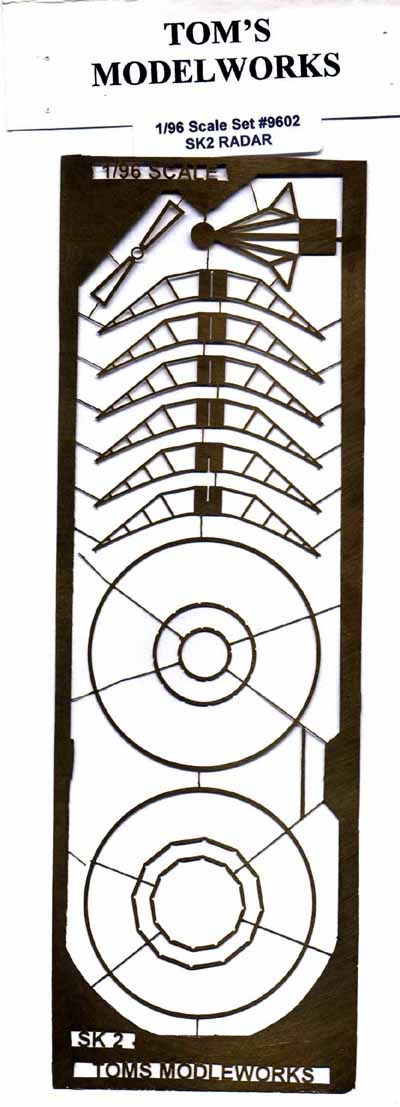 |
|||||
 |
||||||
| Propellers. I have now purchased all four for the ship, two left and two right handed, these came from Prop Shop in the u/k, 80$ pricey but well worth the money. | 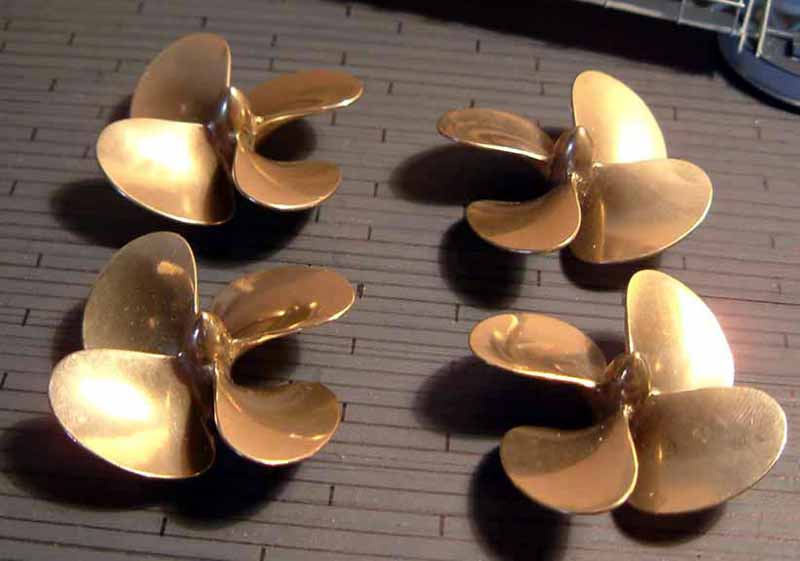 |
|||||
 |
||||||
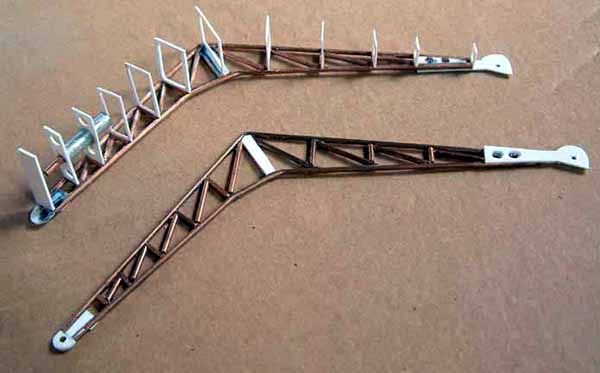
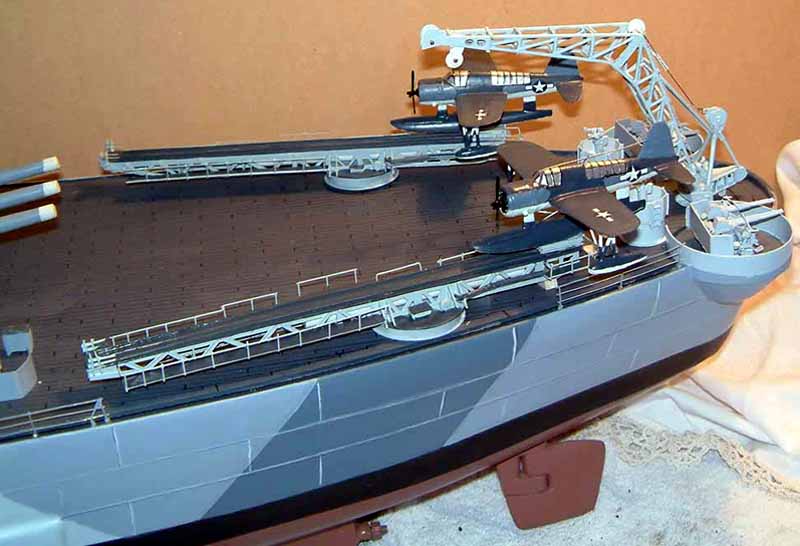
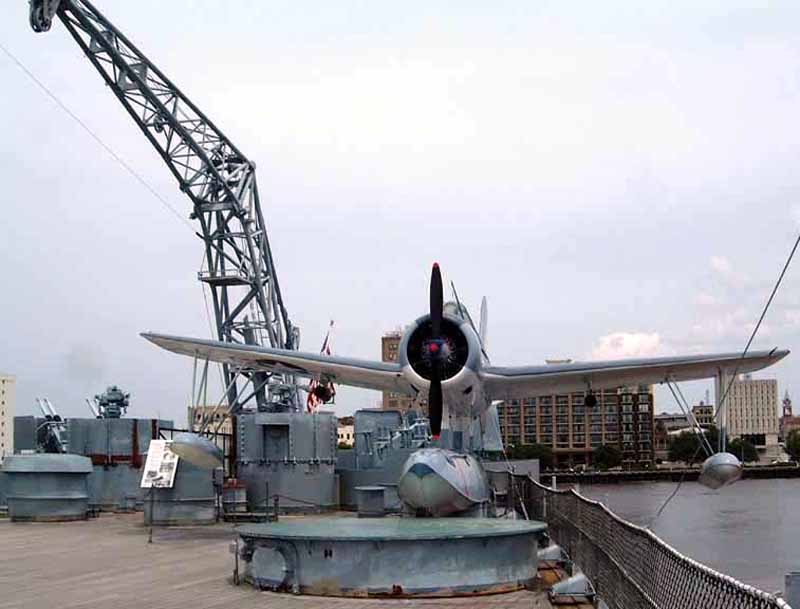
| This month we are still working on the stern but are building
the Aircraft Recovery Crane, as we did in the last article we have to scan
the drawings and get a copy of the crane, this time only three copies need
printing, one either side, and a spare. Pinning the drawing to our work
board we start to cut out and shape the top and bottom sections of brass
rod , I thought I would make the crane a little stronger with it being
on the stern, chances of getting it bashed.
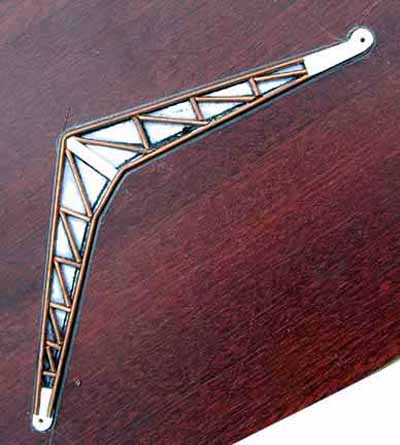
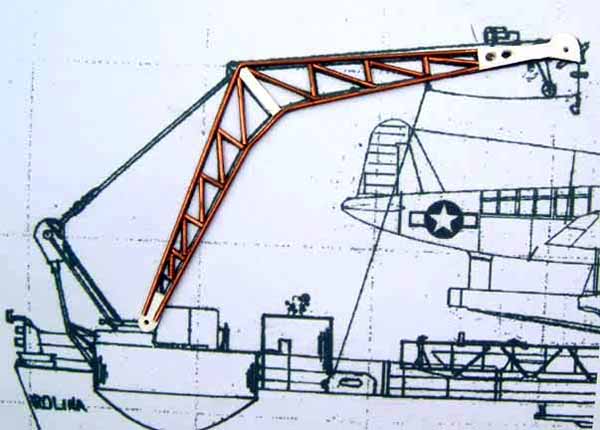
Next I cut out the bottom support, the middle support and the top end
of the crane, this I did in Evergreen sheet, all five pieces where super
glued in place, the lattice work was cut and glued in place, it was then
left to cure and harden, we now do the same thing again for the other side,
we now have the right and a left side of the crane.
|
 |
|||||
 |
||||||
 |
||||||
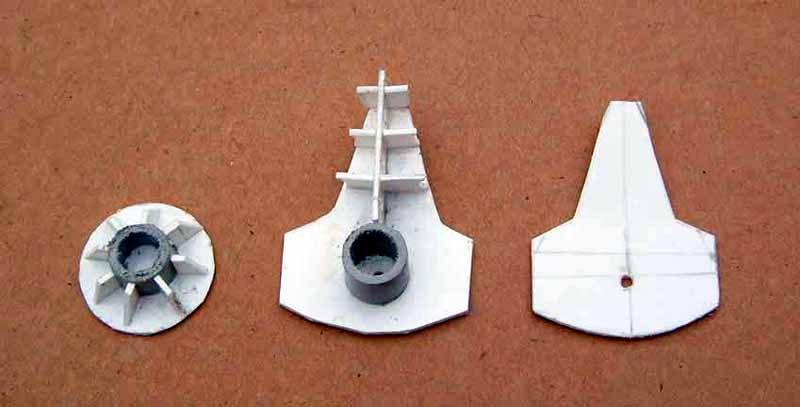
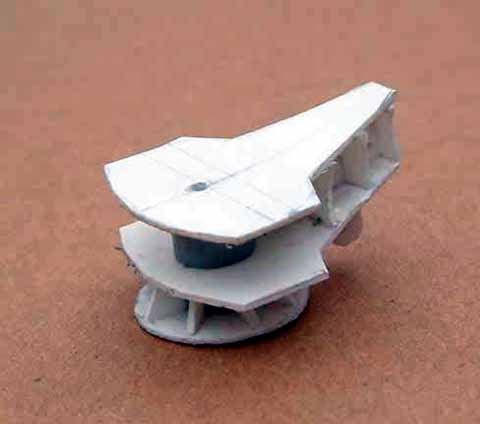
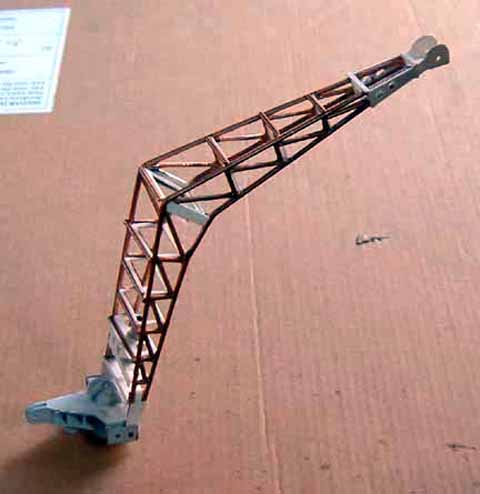
| The base for the crane looks complicated but when broken down in to sections it does not look too daunting, from flat card we cut the first two shapes, exactly the same, then bend them both up at one end, I drilled a hole in each and fit a spacing section of plastic piping around the hole, a curved section was cut and three bracing pieces were glued to it to give it strength, next the round base with small fins attached was made and the whole assembly was glued together. Either side of the base were the cranes pivoting points, I made these out of thin brass sheet and drilled two holes in each, one for the crane and one for the counter weight. The crane was attached to the base with small pins. | ||||||
|
||||||
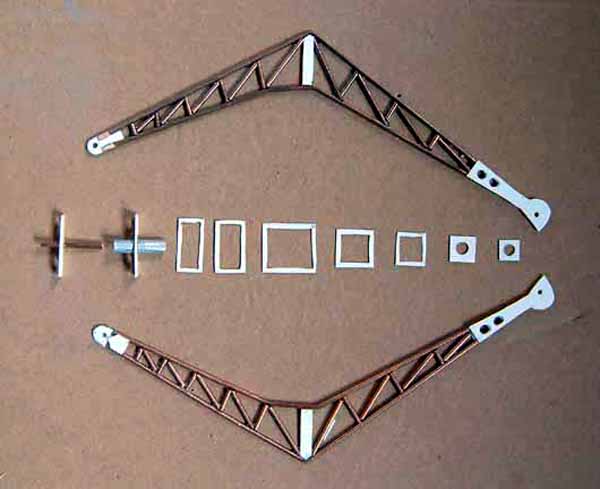
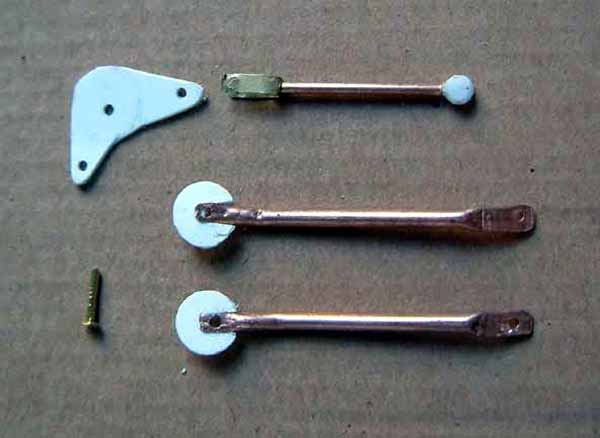
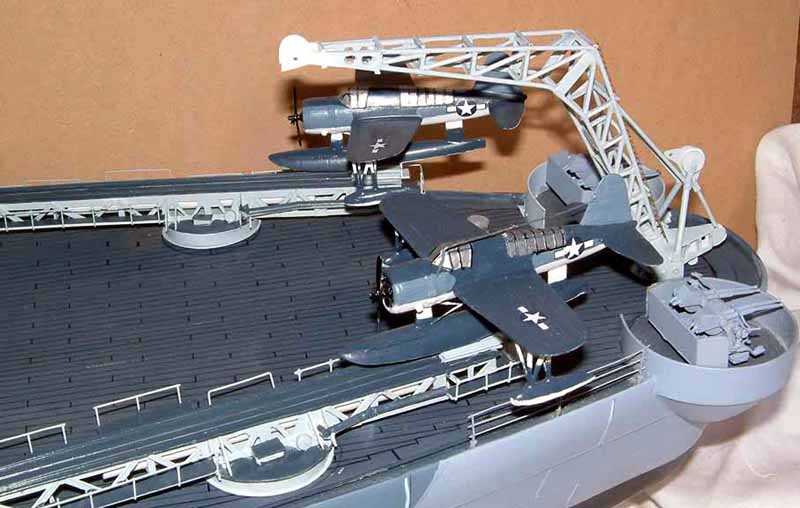
| With some small copper piping I first cut the pipe down its length about ¼ inch and opened it out to accept a 20 thousands (.020) piece of plastic, then drilled a hole near to the top in to it, the opposite end I flattened and bent at 40 degree angle, this again was drilled near to the end, I then made one for the opposite side. The third section which fits in the middle was made the same way, only one end has a small ball like piece on one end, the fourth piece is made from flat plastic card with three holes drilled in to it, this joins every thing up, all parts are assembled and pinned in place. We now have to put the P/E ladder in place and leave to set before we can spray paint. | ||||||
|
||||||
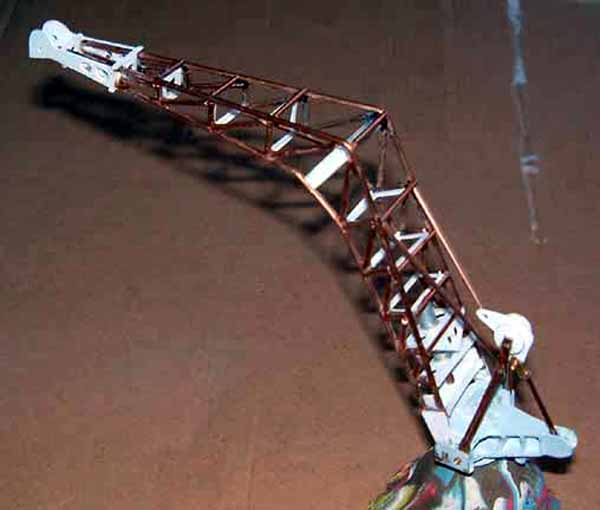
I have now to make some small wheels and attach some cables
and hooks to complete the build.
|
||||||
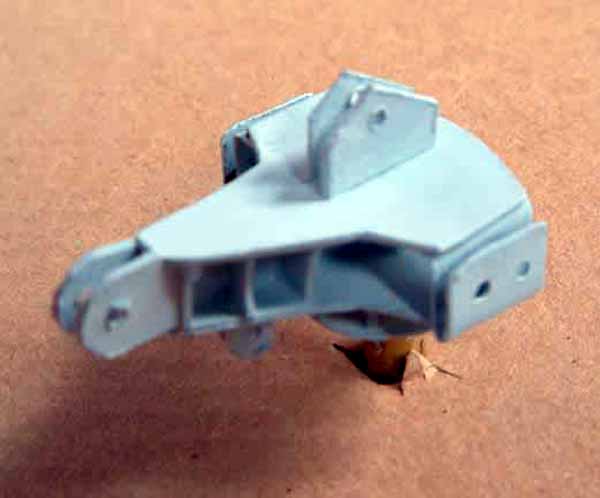
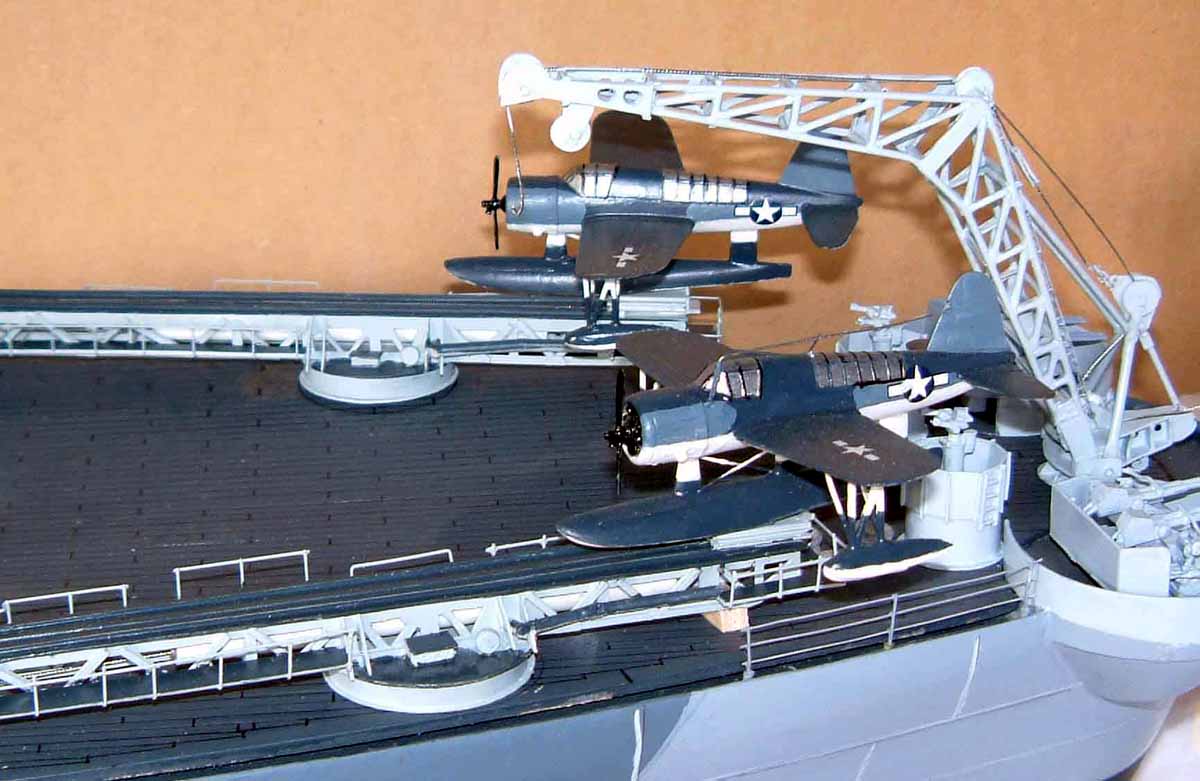
| To fit the crane on to the stern of NC I drilled a hole into the deck and fit a piece of hollow round plastic, the sleeve at the bottom of the crane fits into it and allows it to turn, if fit to a r/c servo. | 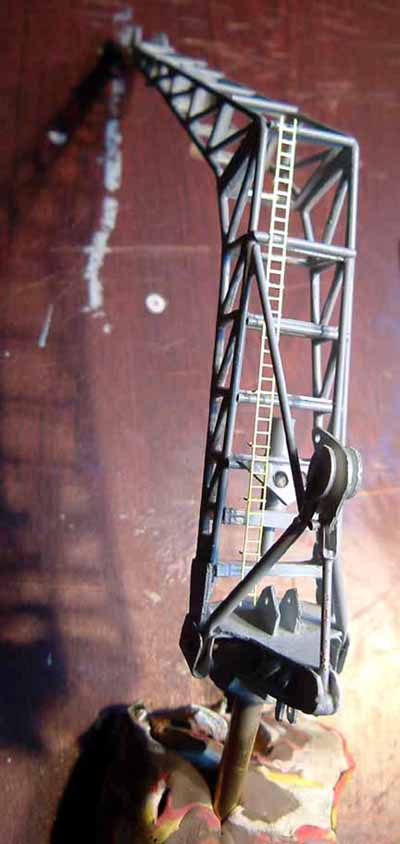 |
|||||
| A lot of the building of NC has been on the port side, now most of the work has been finished there I have turned the model round and I am building on the starboard side, a lot of stuff has been built so it should not take as long, the bow has been reshaped and the new mold for the 5 inch guns has been made, a lot of this will be in part 12, happy modeling. Ron h | ||||||
|
||||||
|
on to part 12 |
||||||