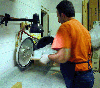
| While at the 2004 IPMS Nationals in Phoenix
I was fortunate to hook up with Steve Wiper. He was there with the other
ship modelers showing off the fruits of his new shop. It is finally finished
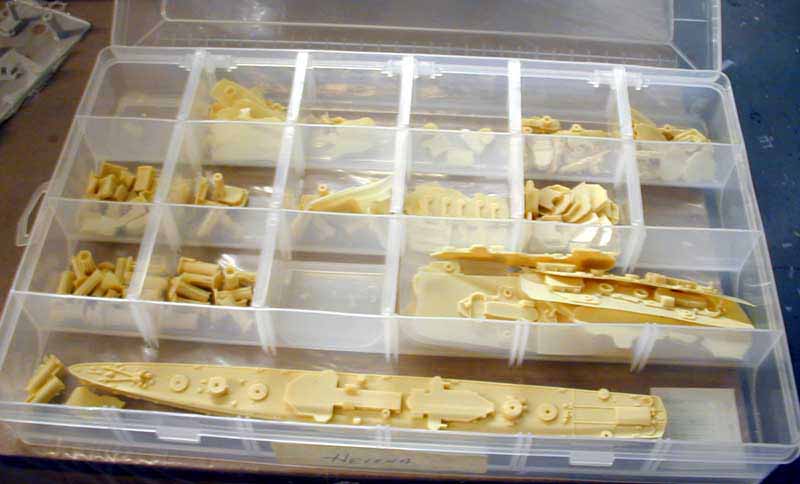
and Classic Warships is casting kits again. Like some of you I have been
waiting for a long time to get my hands on the new USS
Helena in 1/350 scale. Steve quickly sold what he brought to the show
and offered to cast me one. So we took off one morning heading south toward
the border. We arrived in Tuscon, Arizona and drove to a secret location. |
|
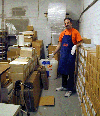
The Shop
|
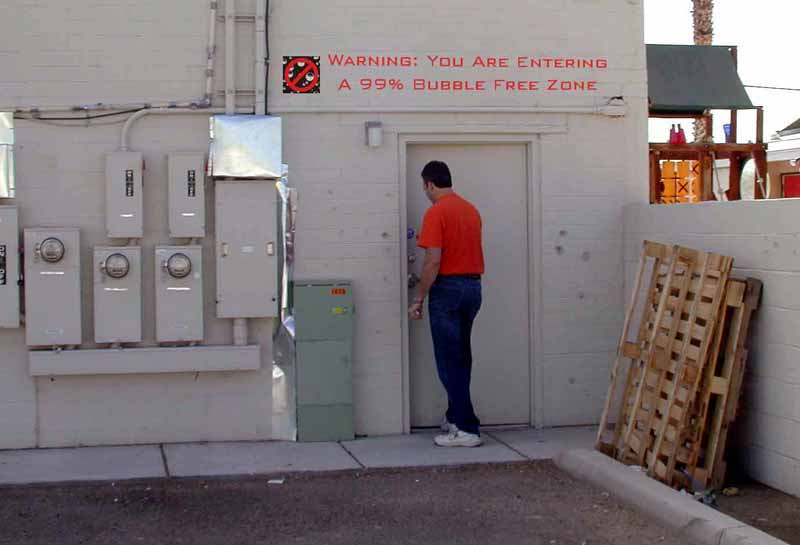
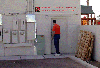
| As F-16's circled overhead we entered the secret production facility
where the sign above the door says it all. |
 |
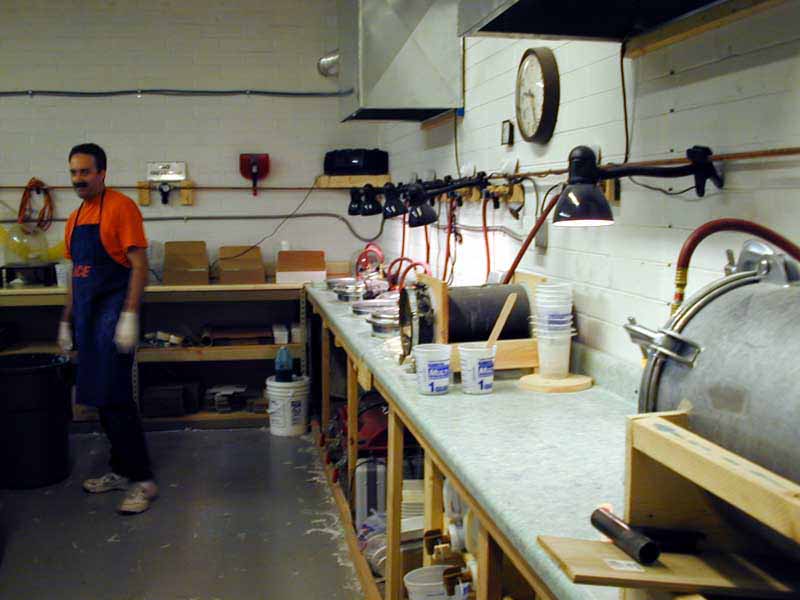
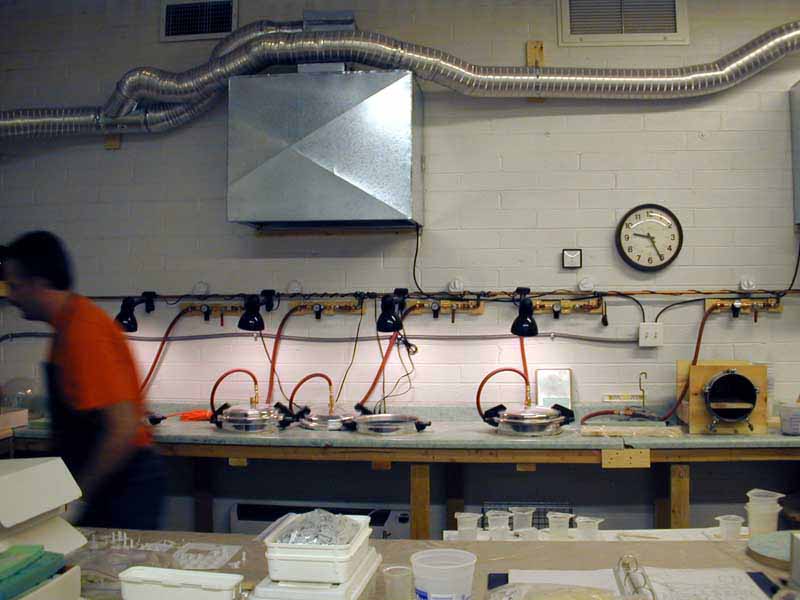
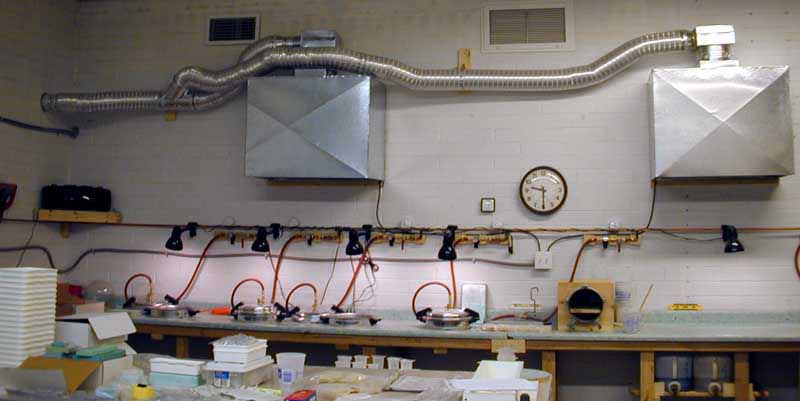
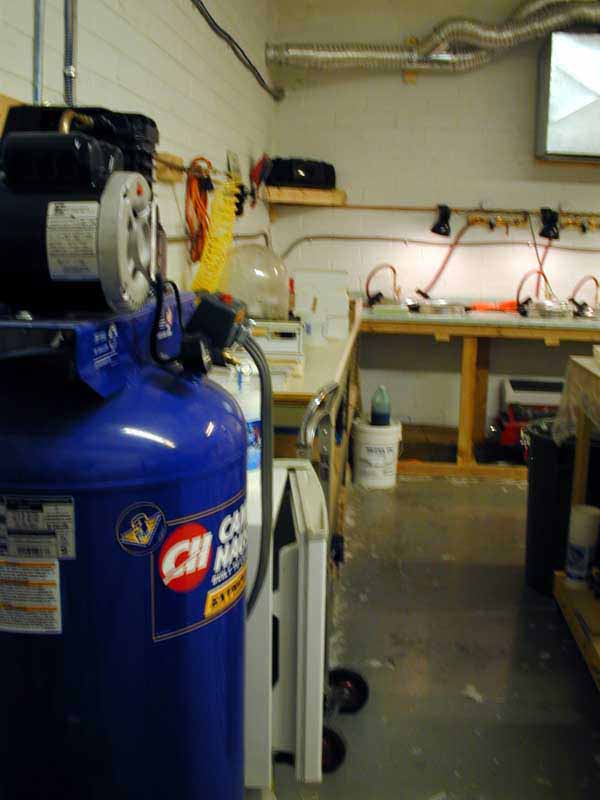
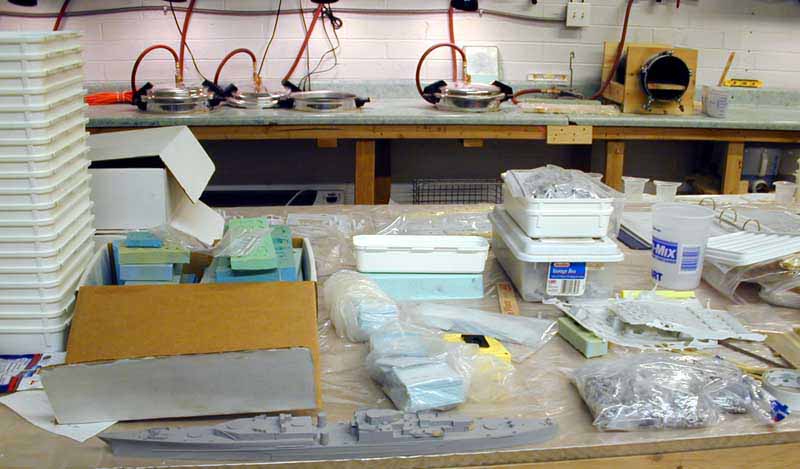
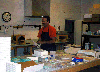
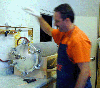
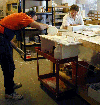
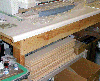
| Upon entry I was was impressed by how organised and clean
the shop was. Here is an overview of the casting portion of the shop. Note
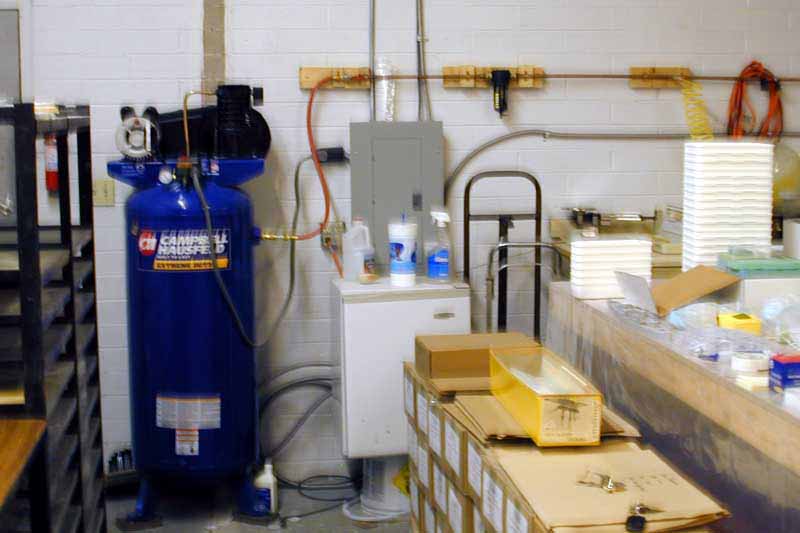
the air supply piping and the exhaust ductwork.
|
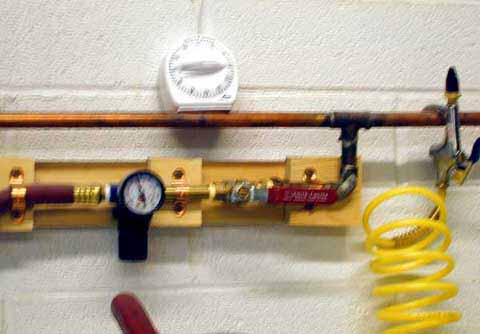
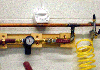
| These are the On-off valve, regulator and timing devices for each of
the six pressure casting stations. |
 |
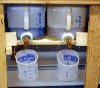
| The kits are cast with two part polyurethane resin. |
 |
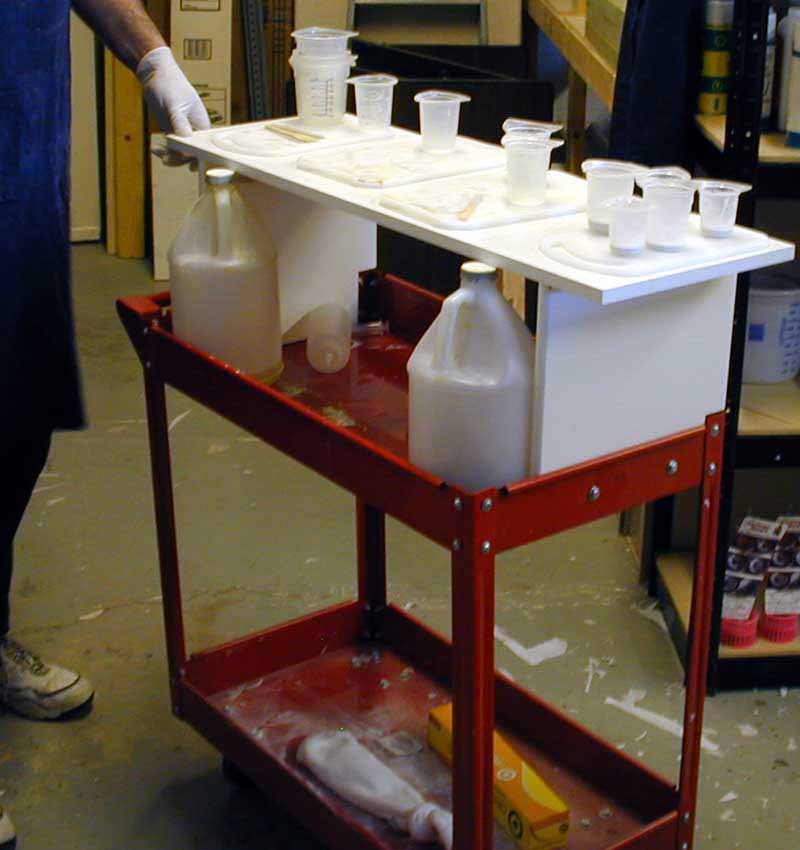
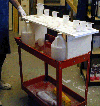
| The "Resin Cart" makes it easy to get the resin to where the action
is. |
 |
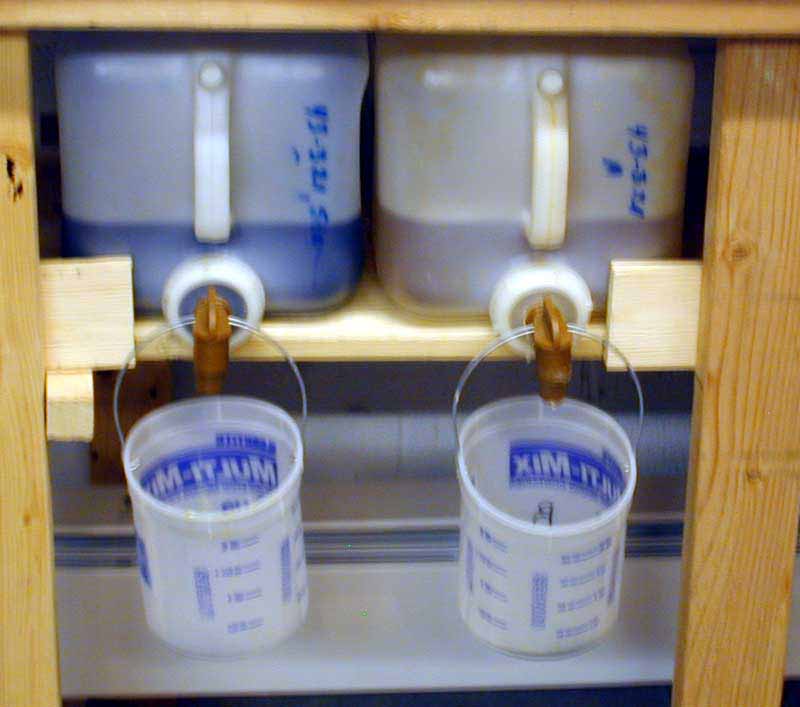
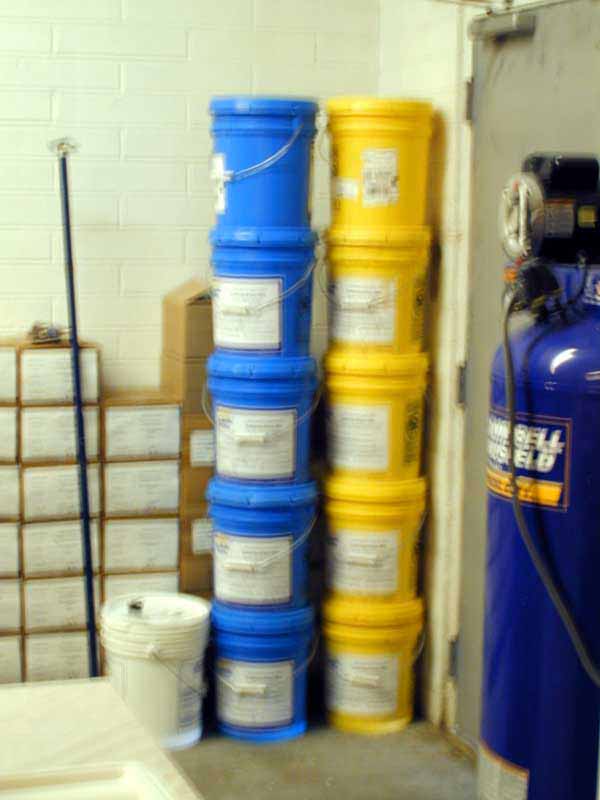
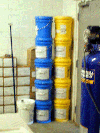
| Classic Warships has gone through a whole bunch of used resin buckets
filling backorders for their kits. |
 |
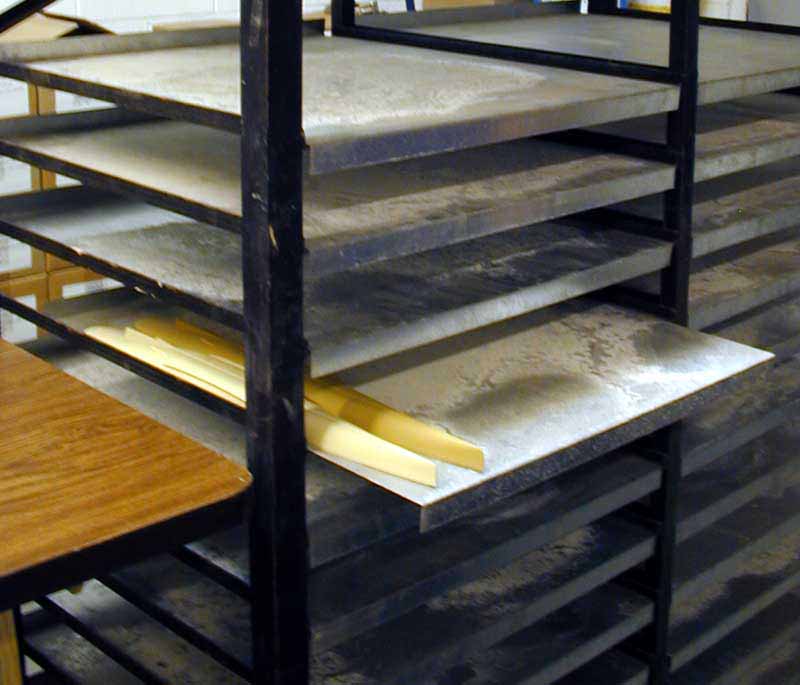
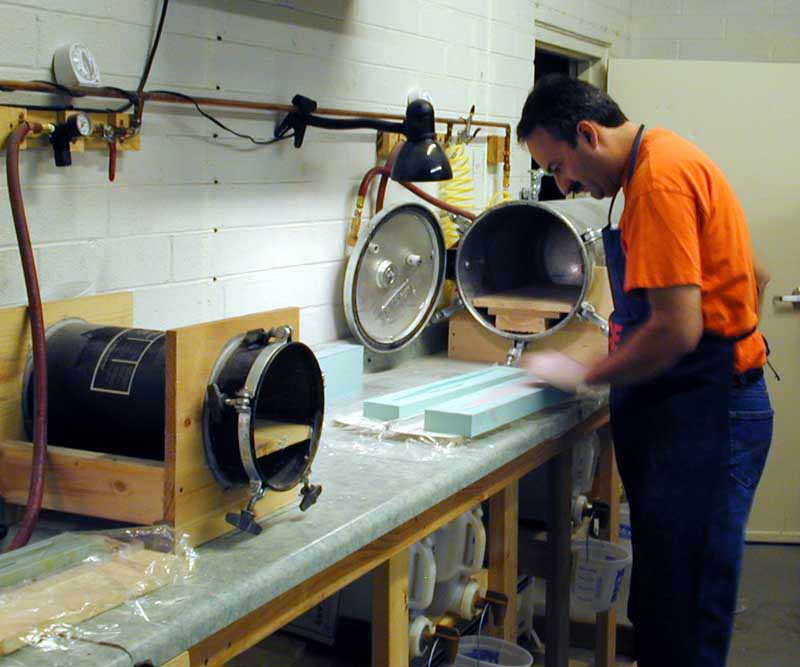
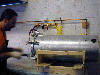
| Here are some Resin hull parts curing racks to allow the
resin to cure on a flat surface.
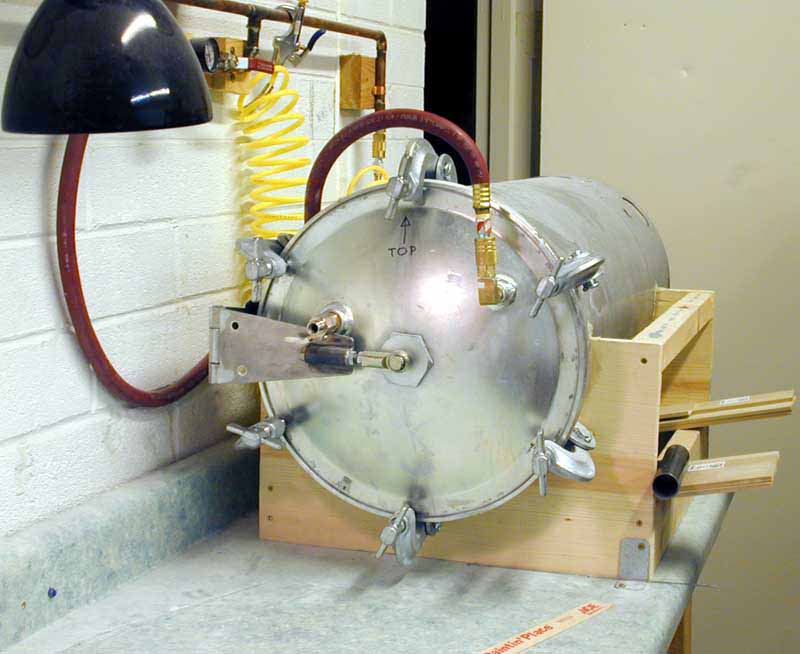
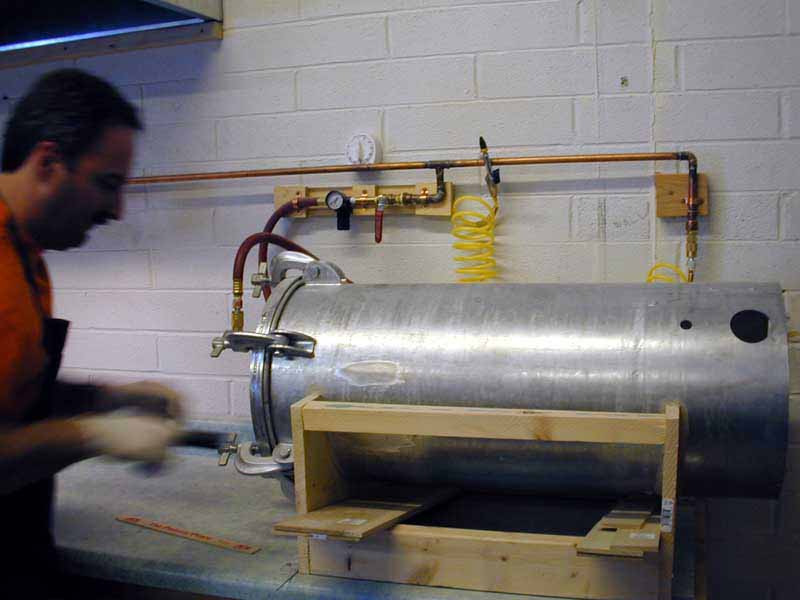
This is the "Big" pressure casting chamber for the large 1/350 scale
hulls. Note the "race car" suspension part used as part of the door
hinge. |
 |
 |
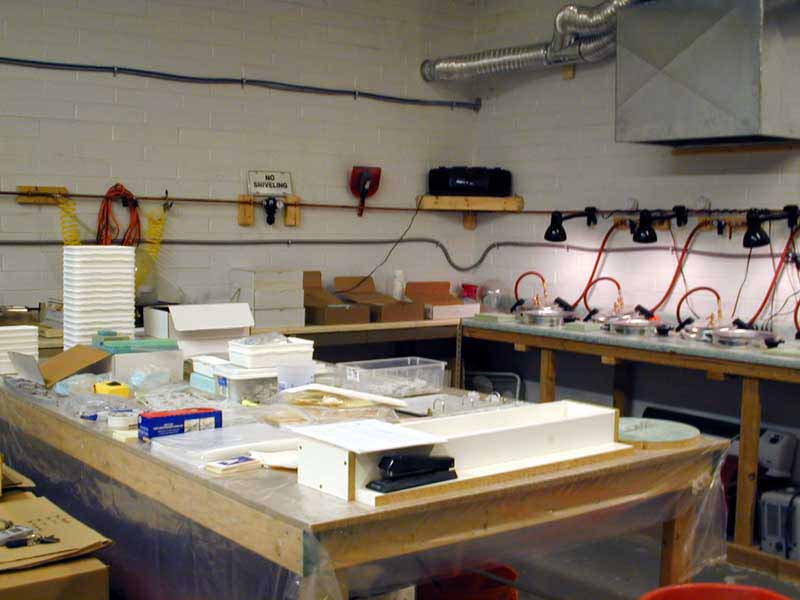
| The nearby supply rack is a convienient place for casting tools and
supplies. |
 |
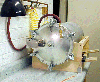
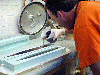
| Here is a Vacuum station for mold making. Note the hands are quicker
than the camera. |
 |
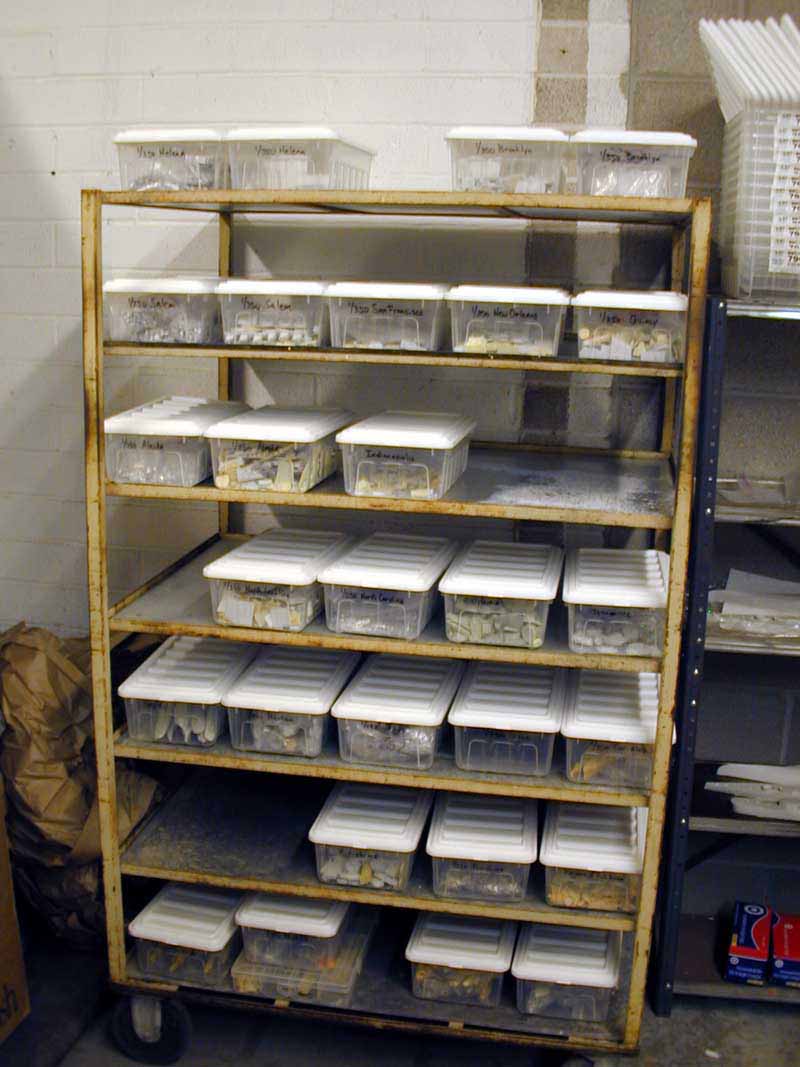
| Here we have one of the Mold storage racks. |
 |
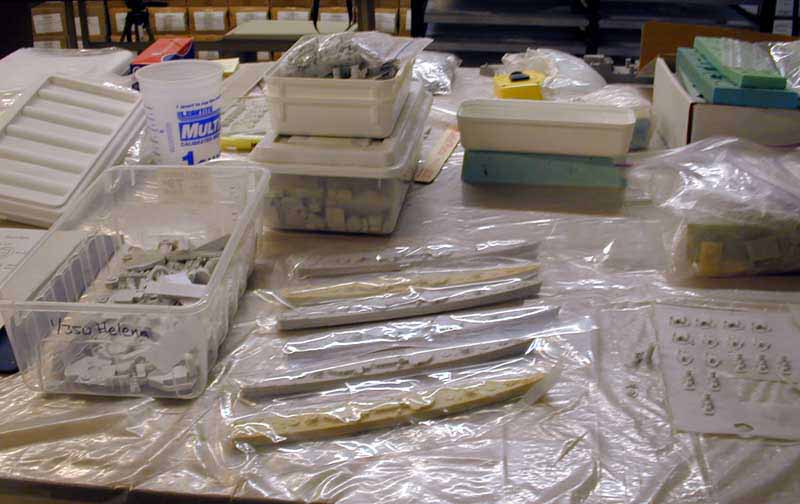
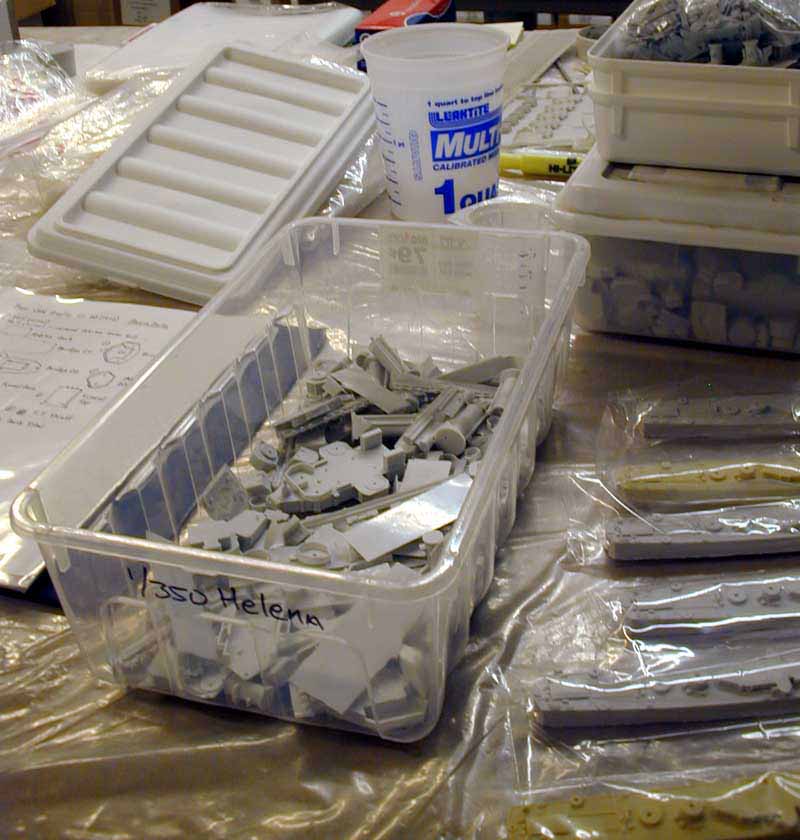
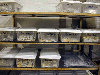
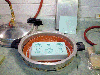
| Resin small parts curing table. This is where
many of the small parts are separated from the resin wafers and
readied for packing.
|
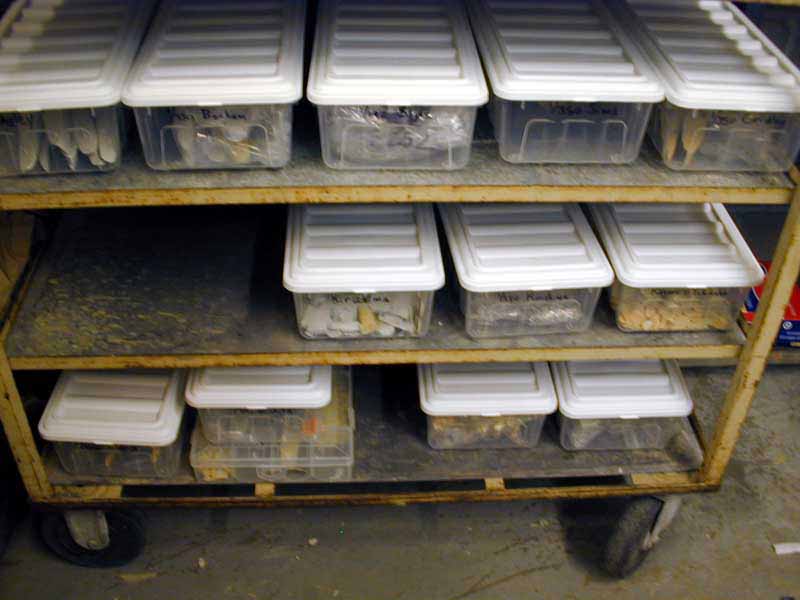
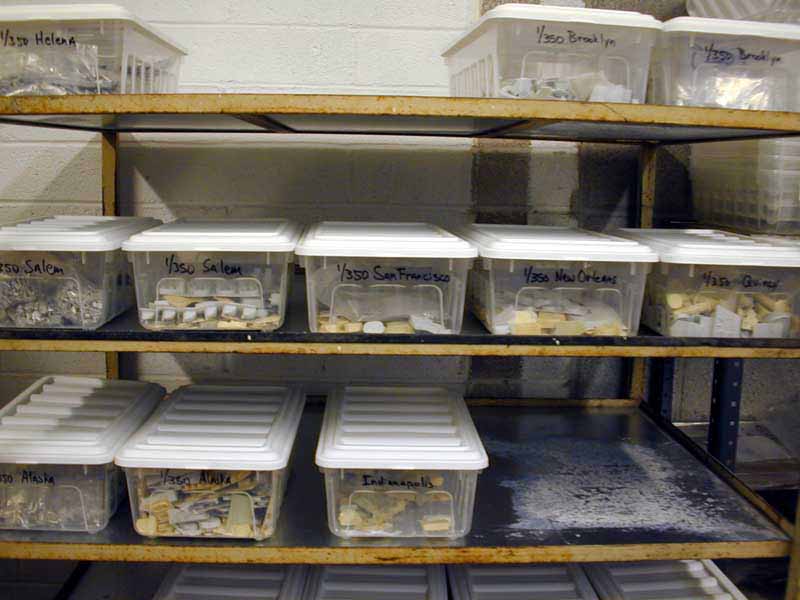
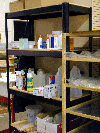
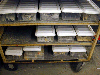
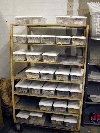
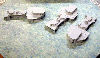
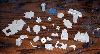
| Cured resin small parts and white metal storage rack. |
 |
 |
 |
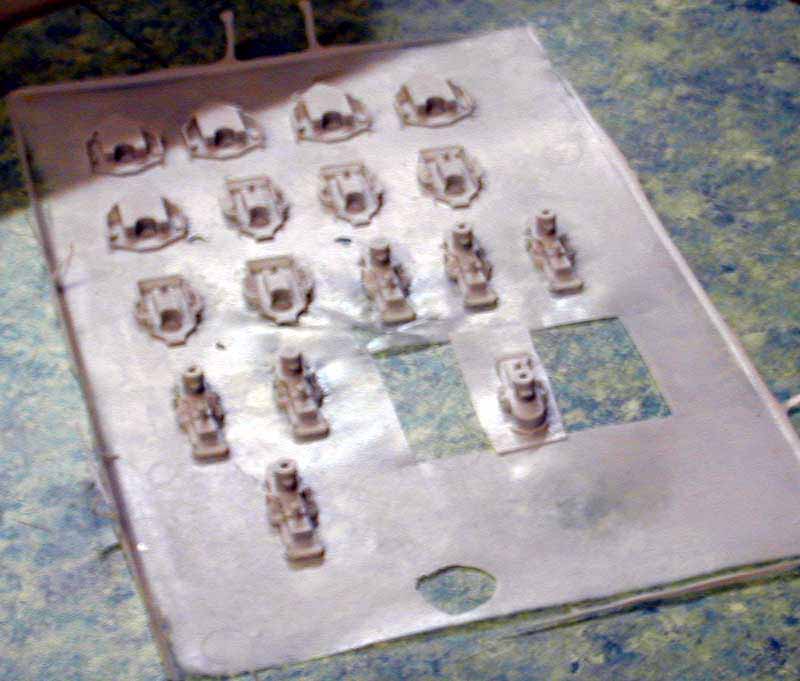
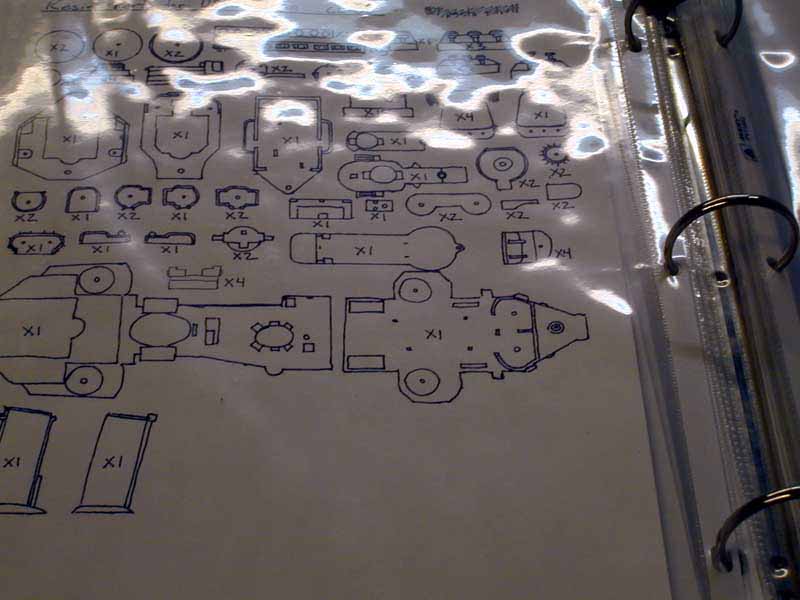
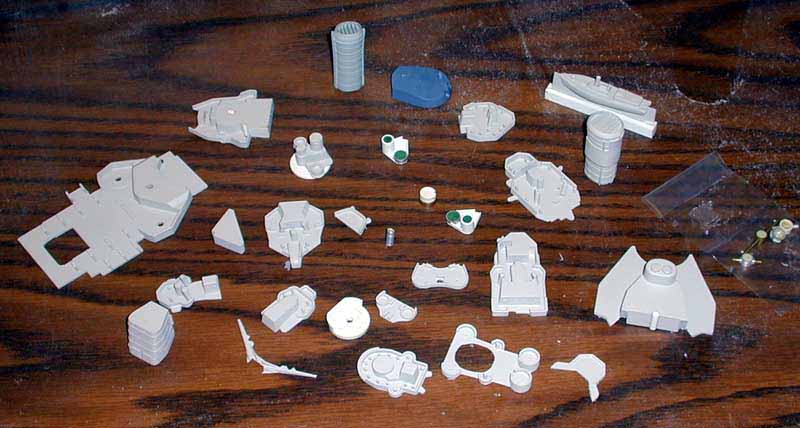
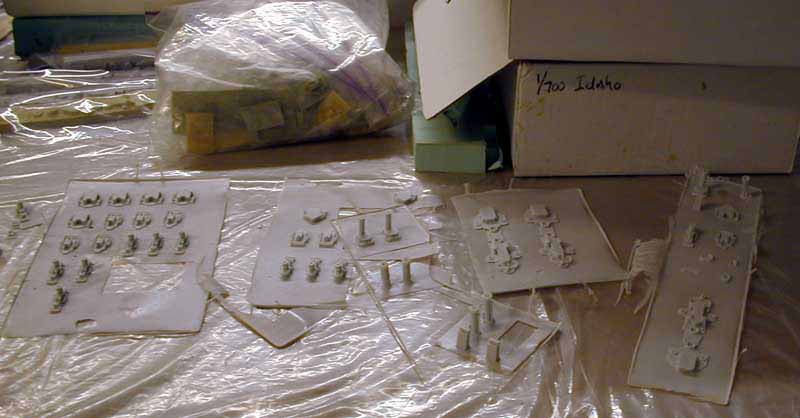
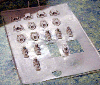
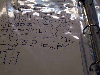
| Resin small parts with part list sheet from a 1/350 kit. |
 |
 |
 |
|
The Resin casting process.
|
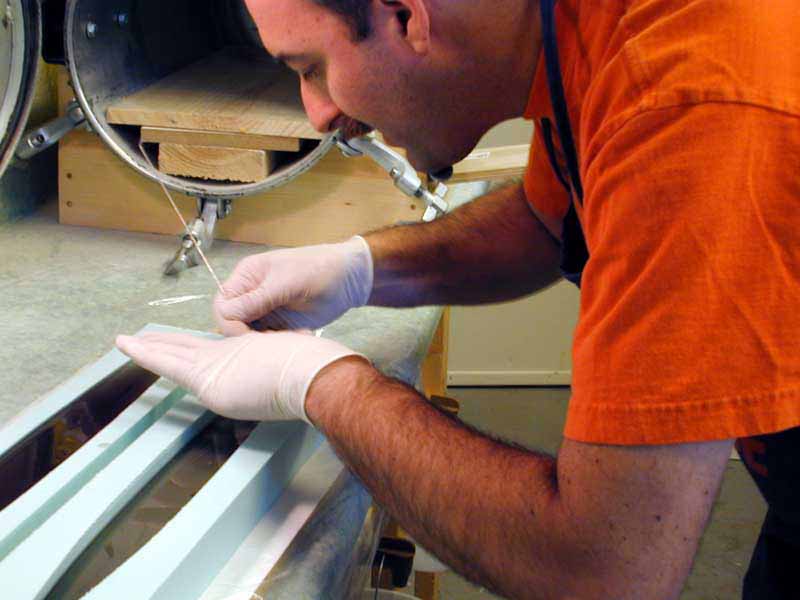
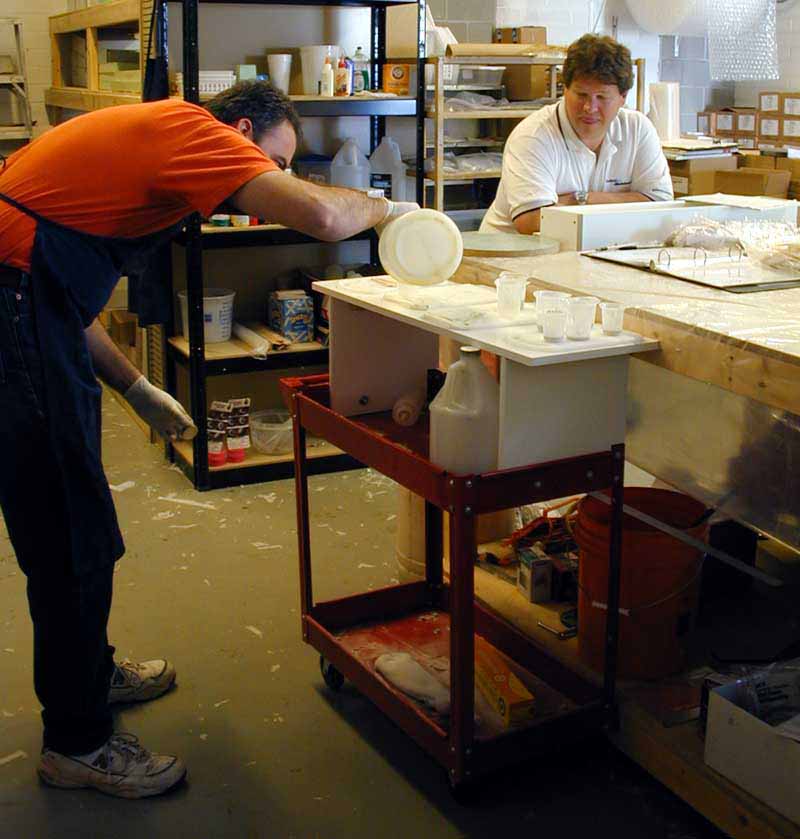
| Step 1, put on protective clothing - latex gloves and a good apron. |
 |
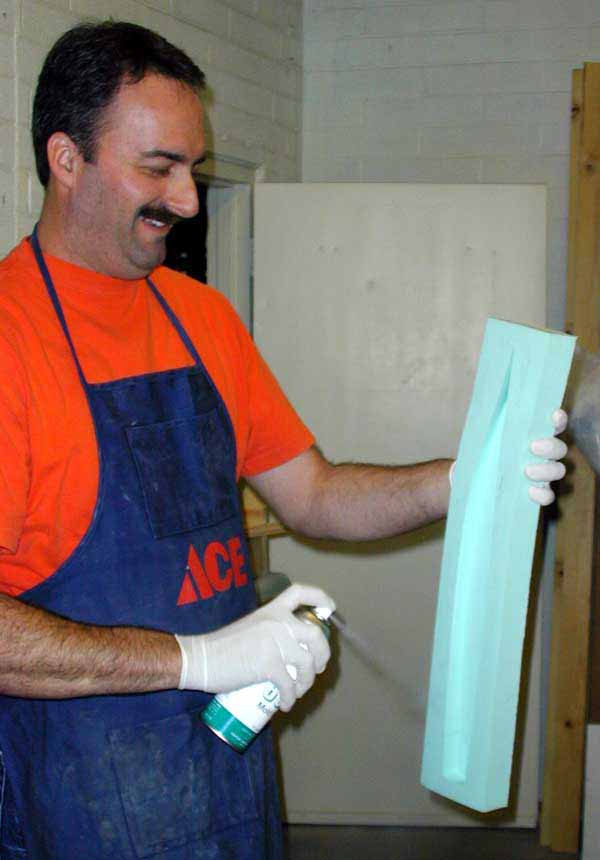
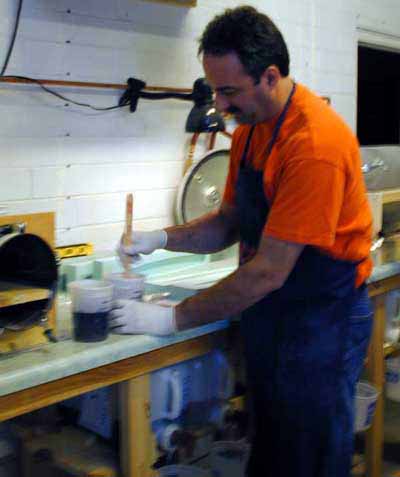
| Step 2, Spray mold release into mold cavity. |
 |
| Step 3, talcum powder dust on the molds helps. |
 |
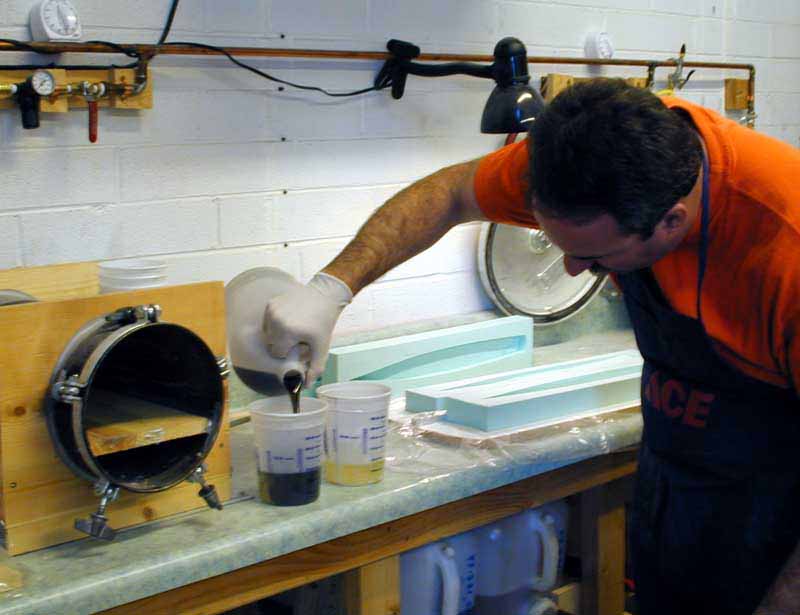
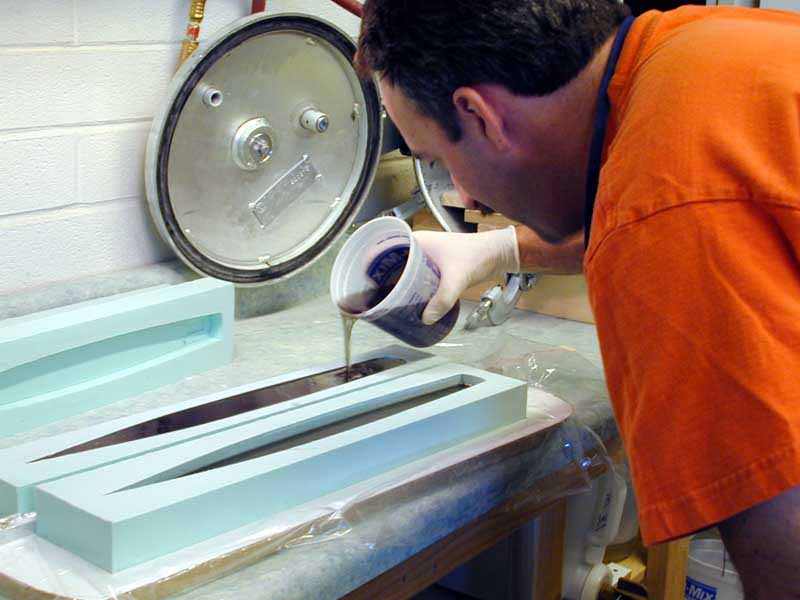
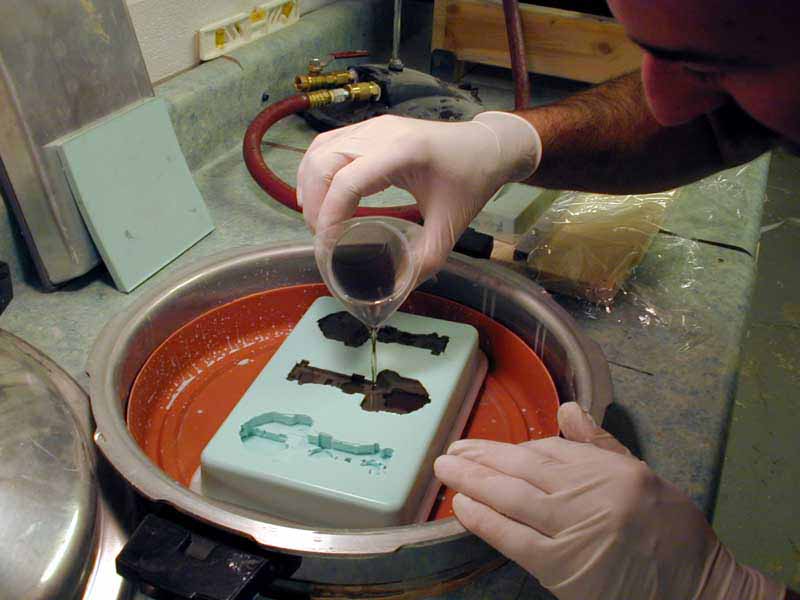
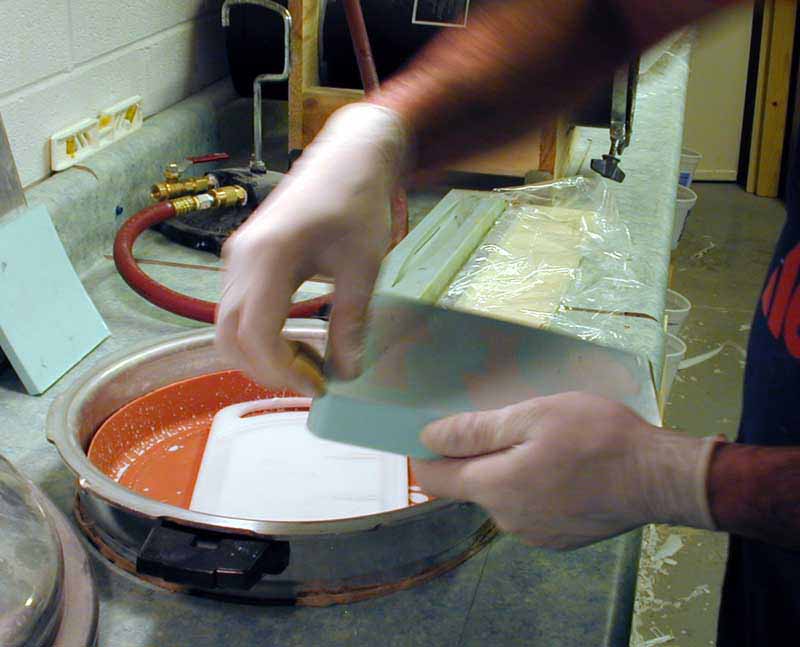
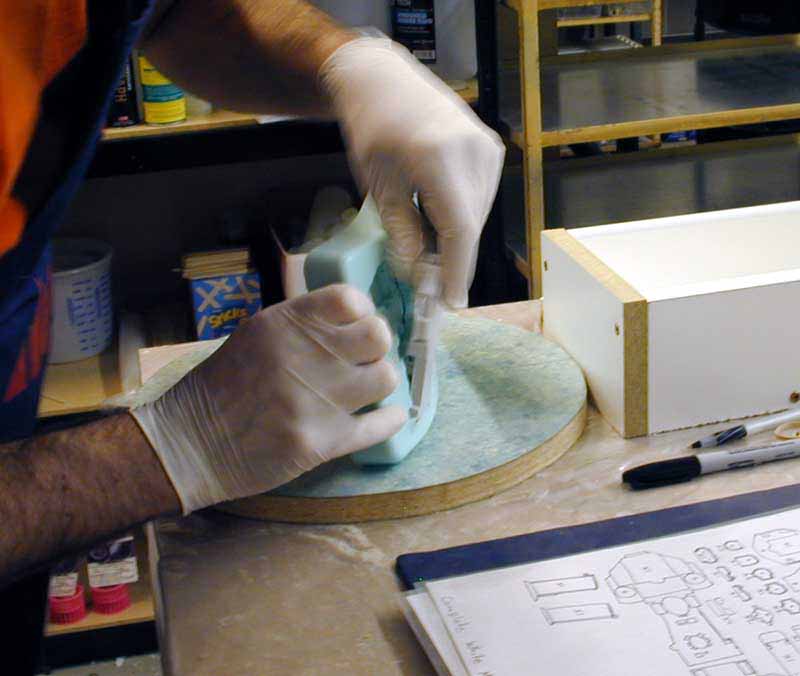
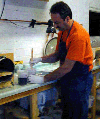
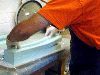
| Step 4, Mix and pour the resin into the molds. |
 |
 |
 |
 |
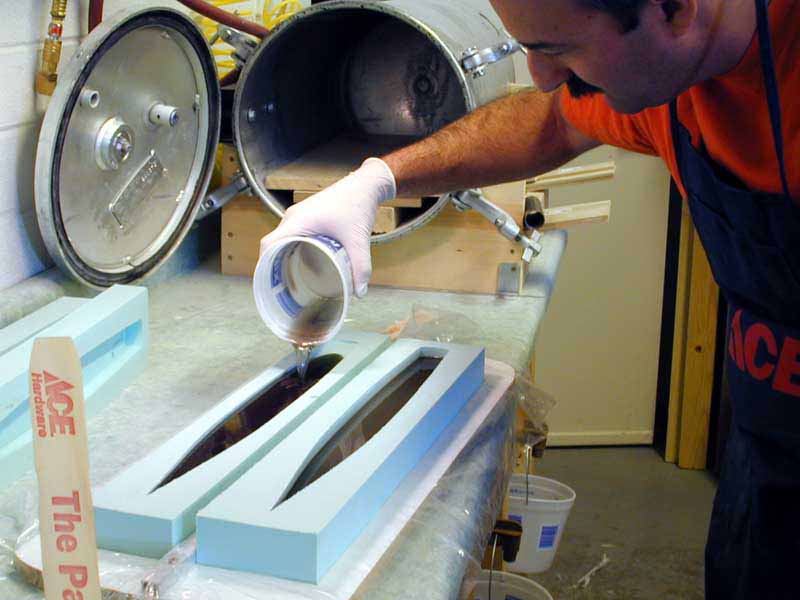
| Step 5, Pick out the larger air bubbles and finish pouring
in the resin. |
 |
 |
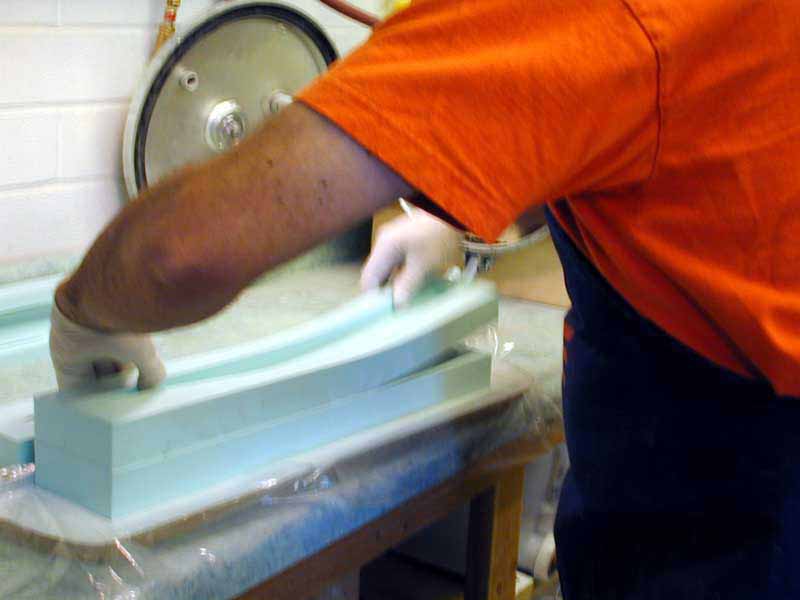
| Step 6, Place rubber flats on top and wrap up the plastic
under sheet. |
 |
 |
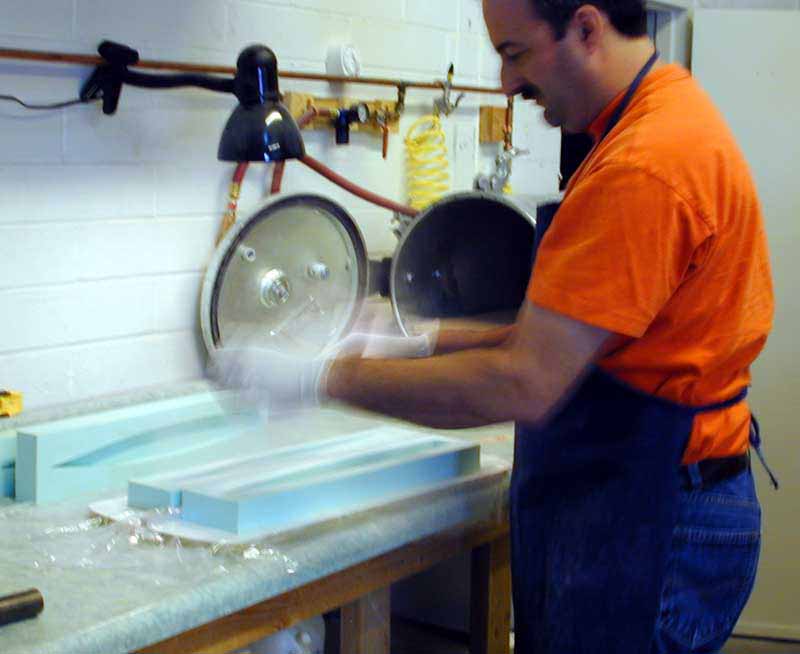
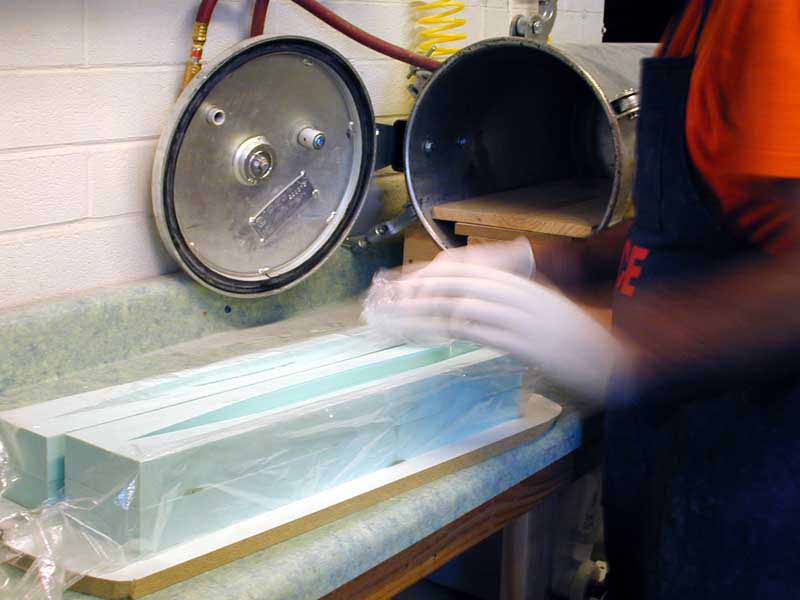
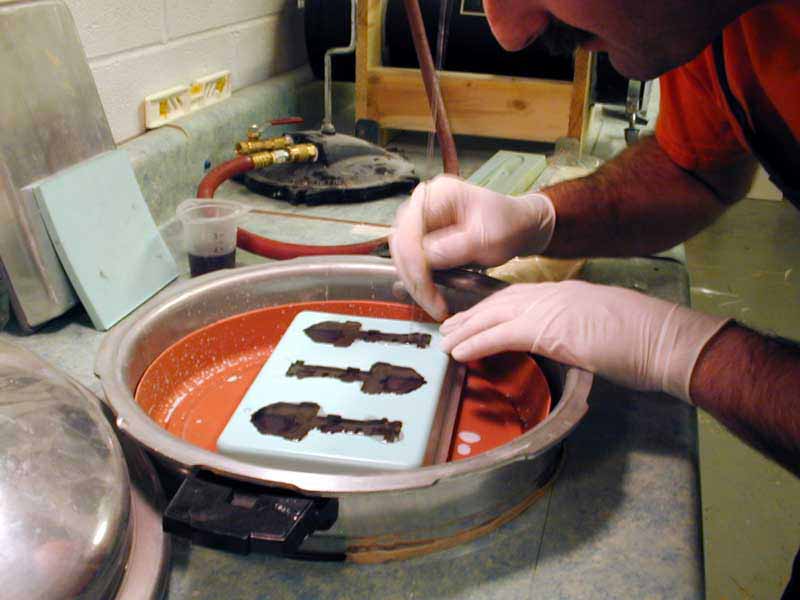
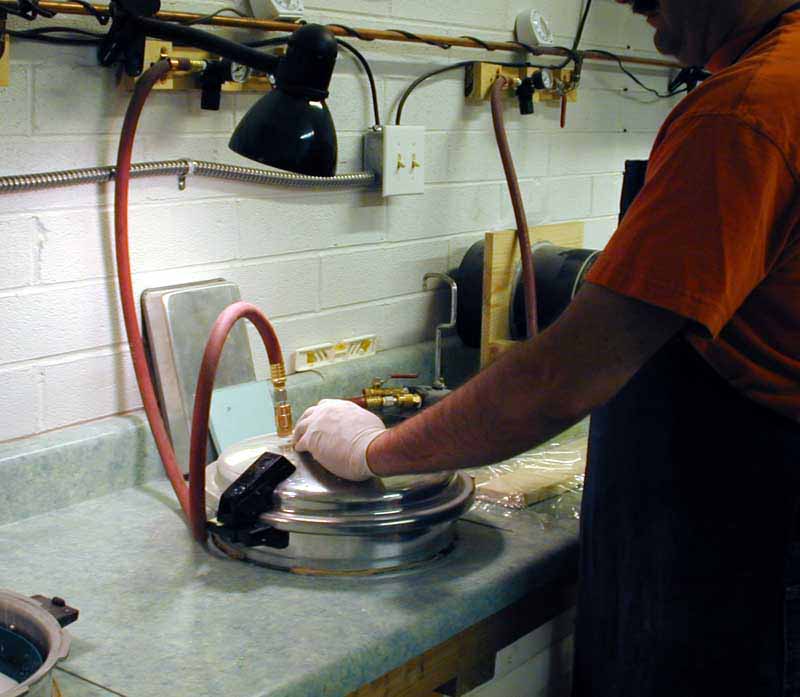
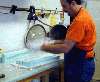
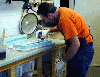
| Step 6, Carefully load both hulls into pressure chamber
and apply air pressure. |
 |
 |
| While those parts are in the chamber we can go about mixing resin for
a mold of small parts. |
 |
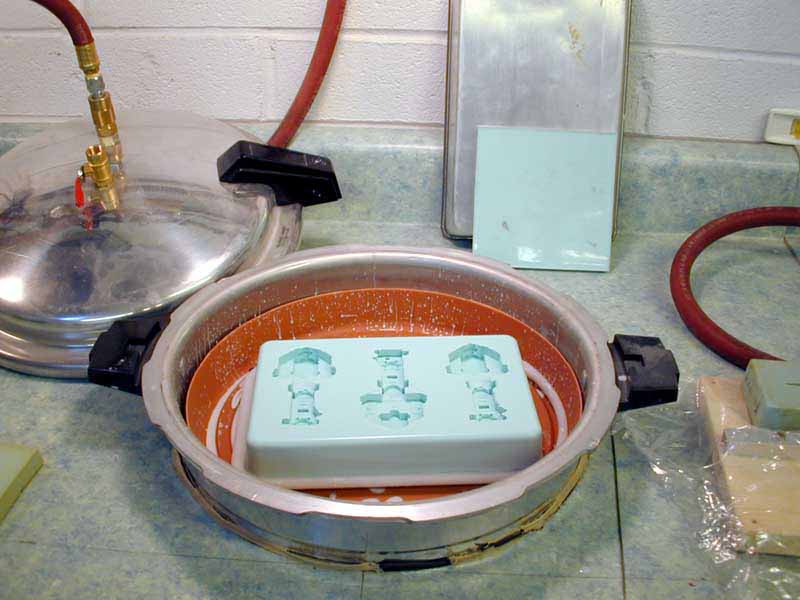
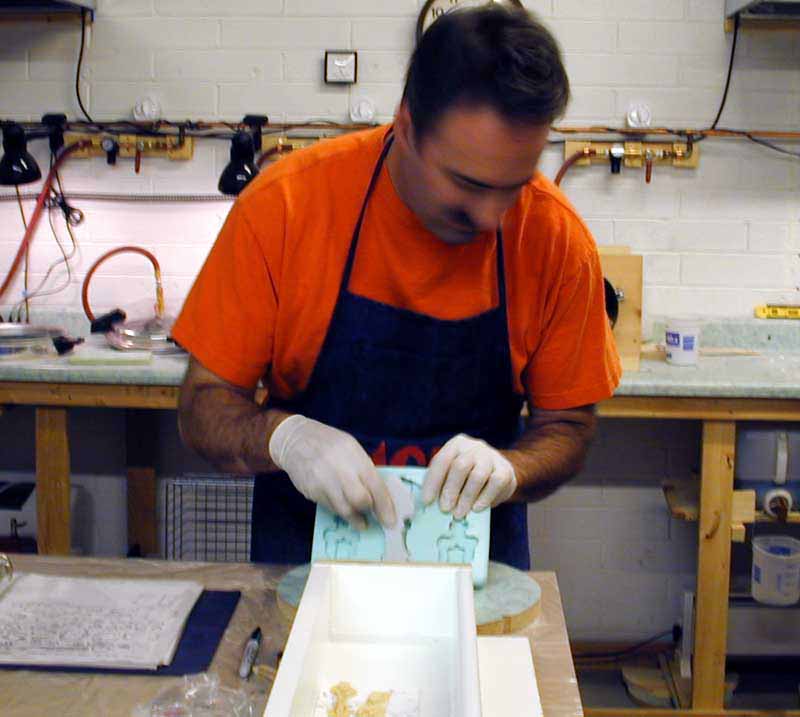
| Here is one of the small part mold in pressure chamber ready for resin. |
 |
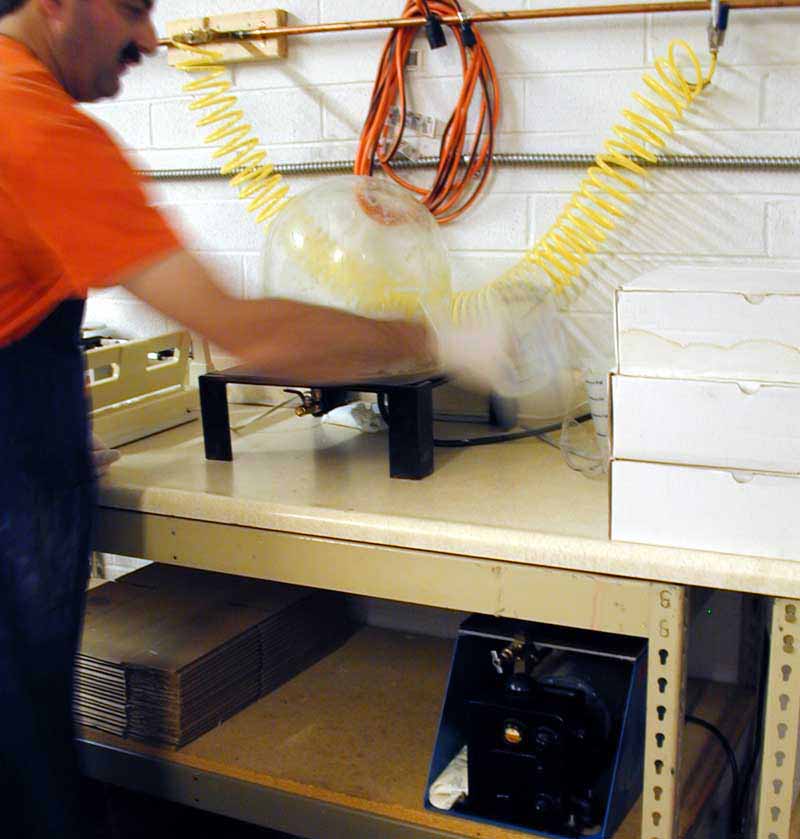
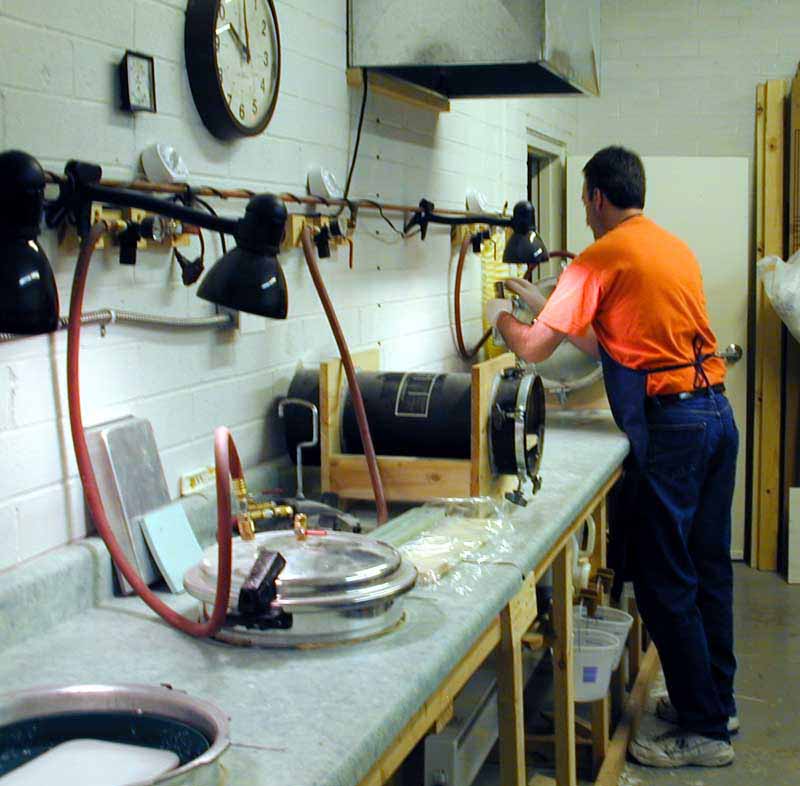
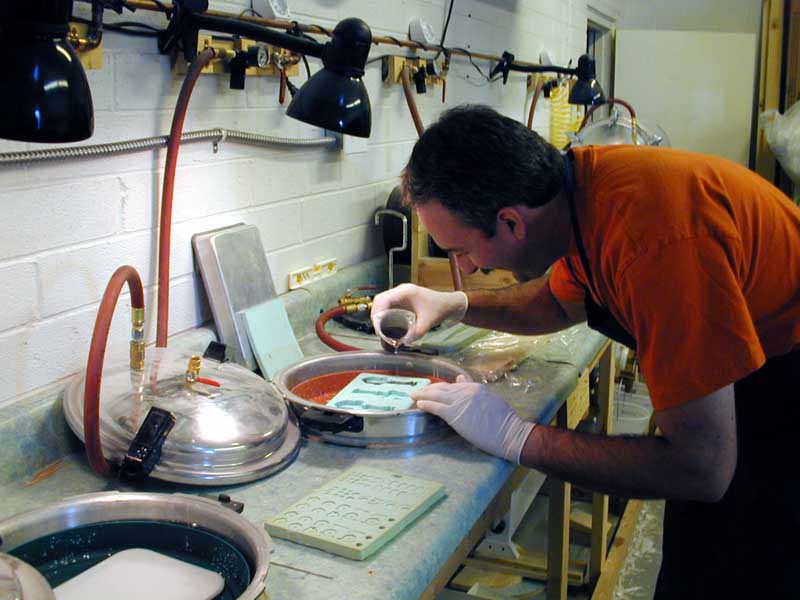
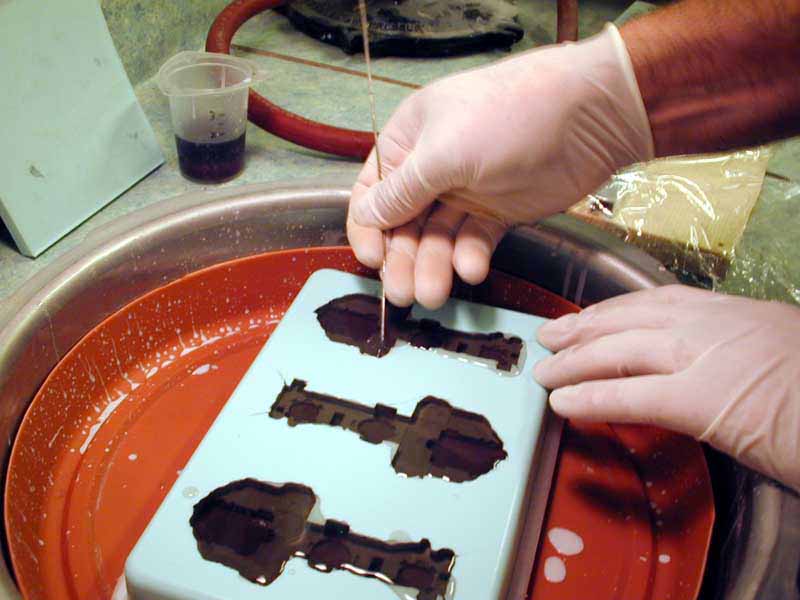
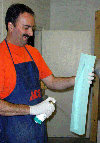
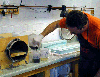
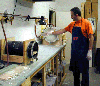
| Here we have Steve pouring resin into mold. It is important
to pick out the air bubbles before proceeding. Bubbles left in place here
will show up in the final part. Next we close lid, apply air pressure and
set timing device.
|
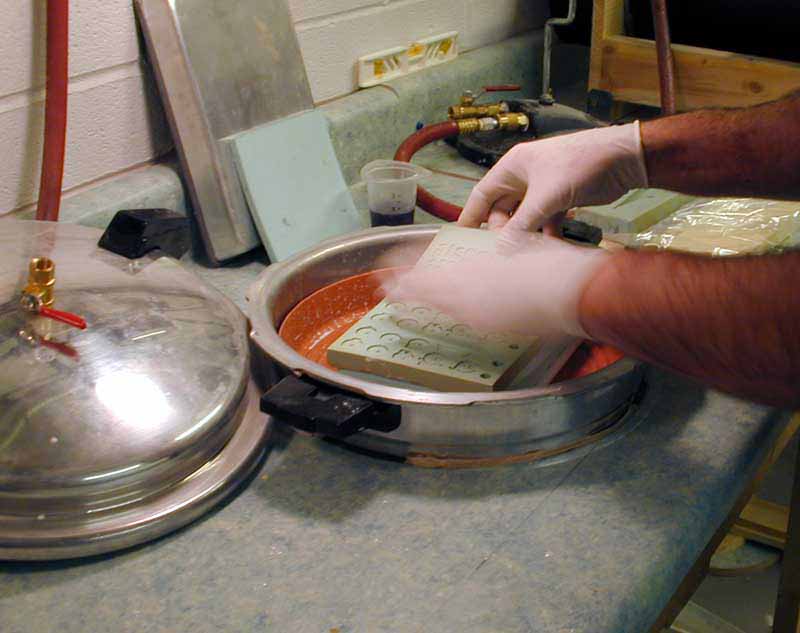
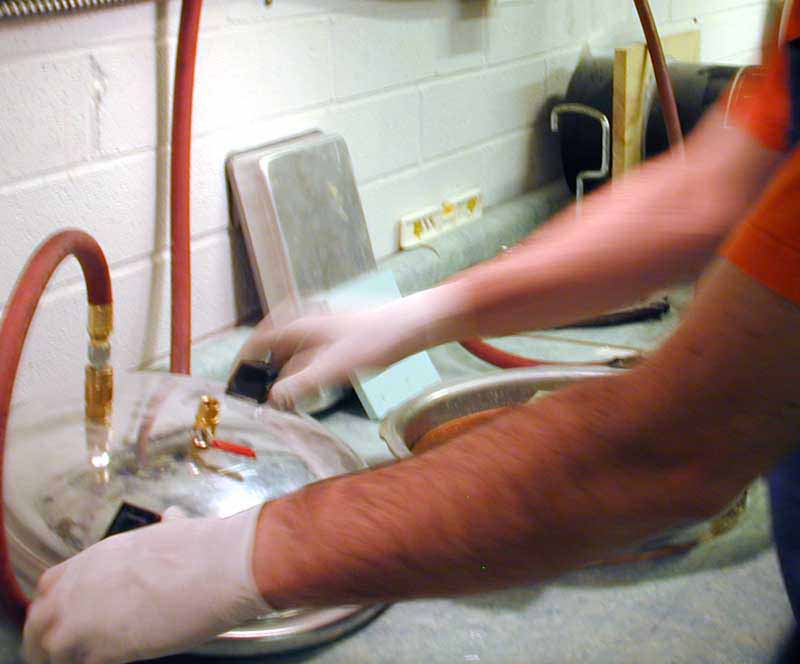
Times up for the main hull parts.
Release the air pressure after curing time in pressure chamber, and
remove molds from the chamber.
|
 |
 |
 |
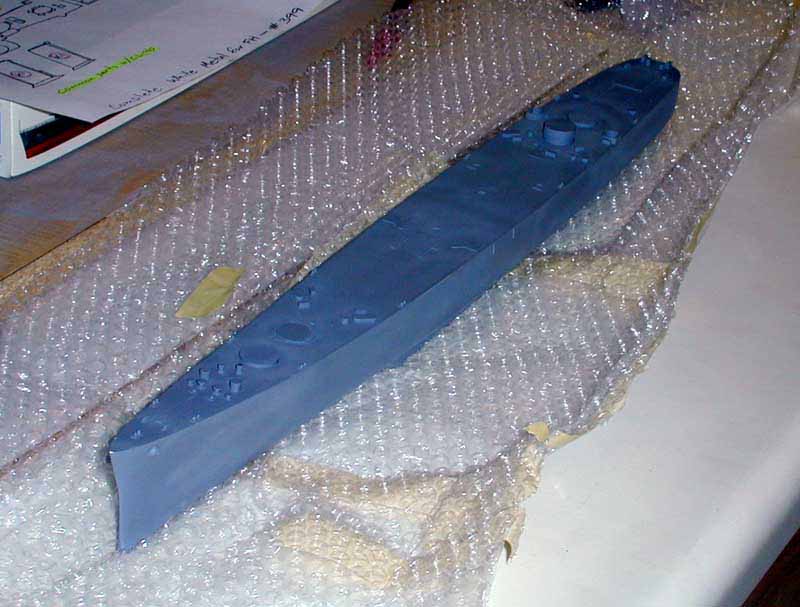
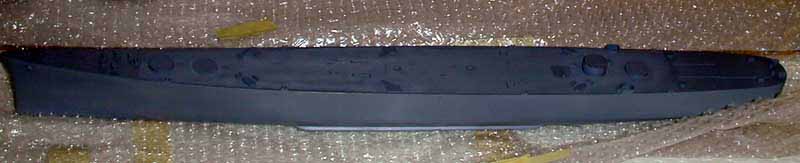
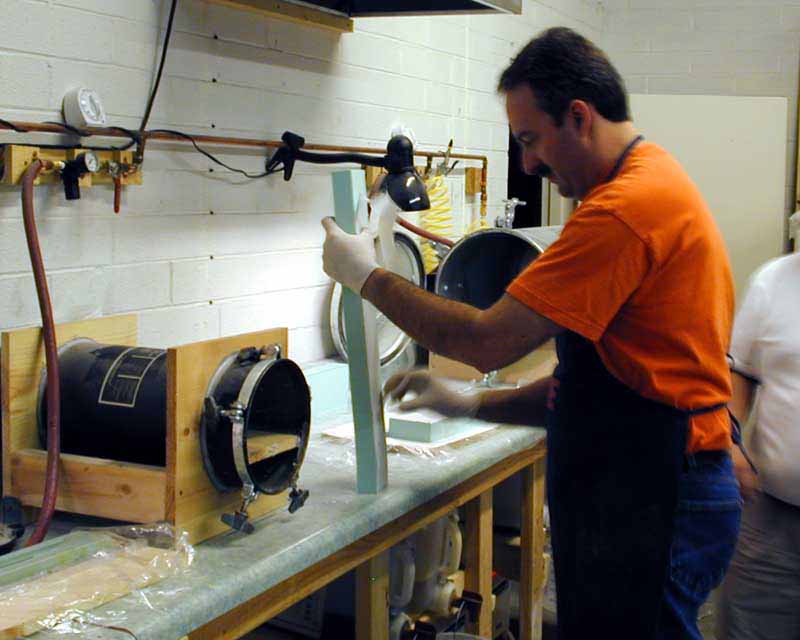
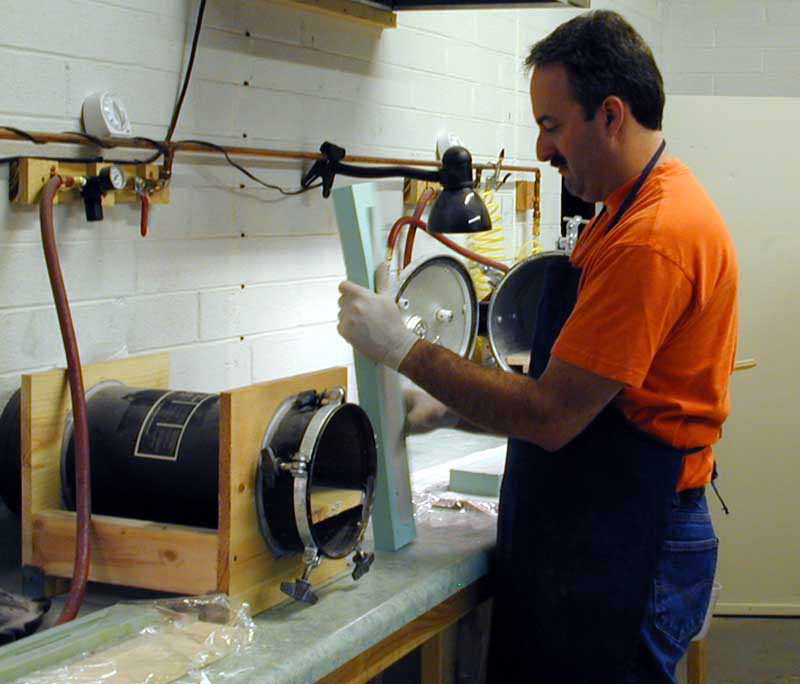
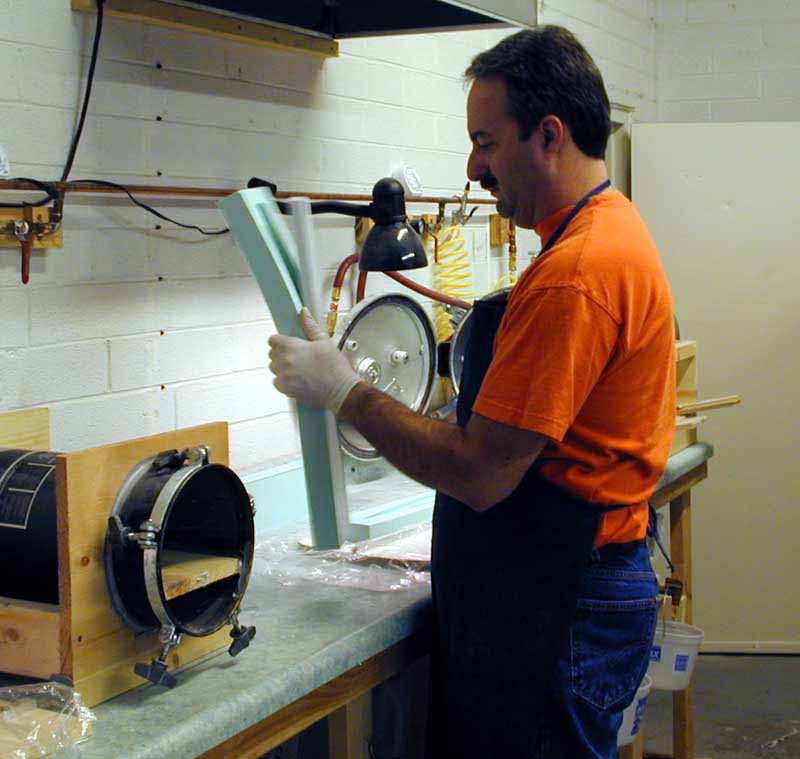
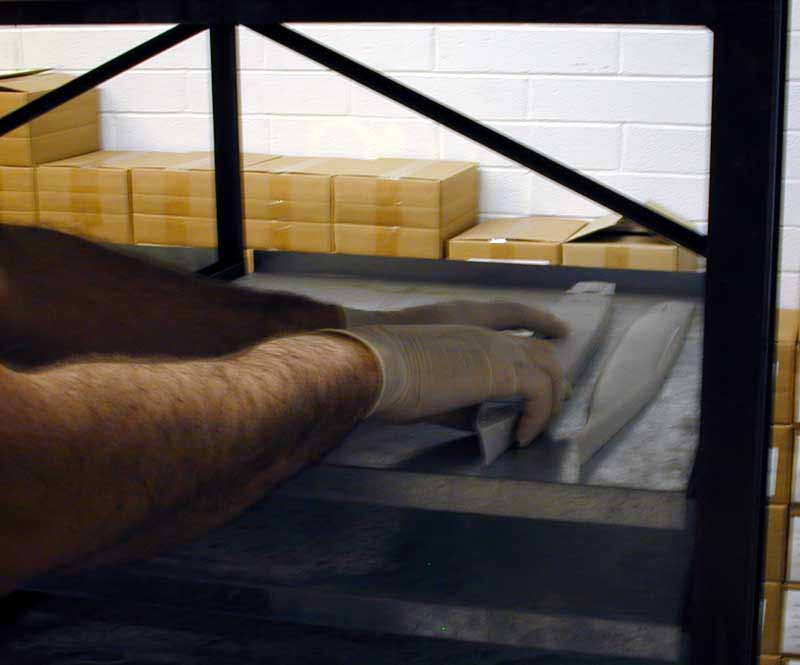
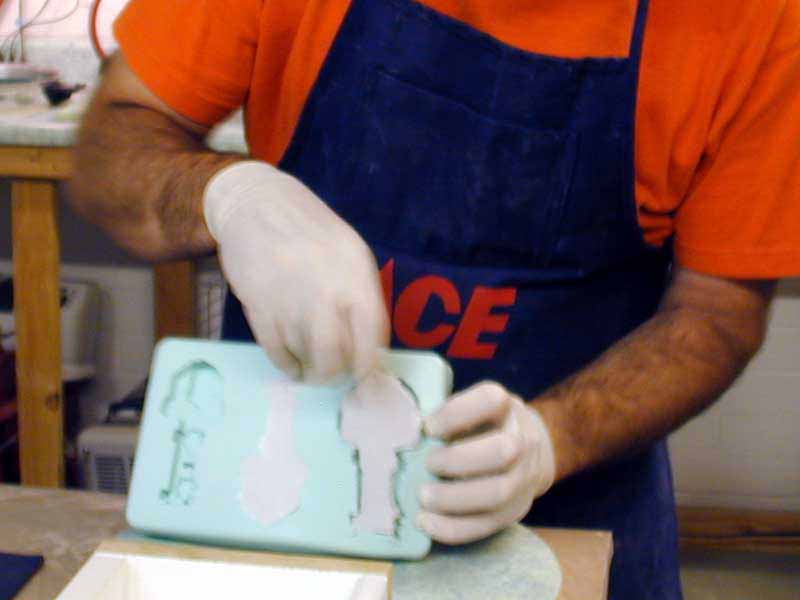
| Remove hull casting from mold and place on the hull curing
rack.
|
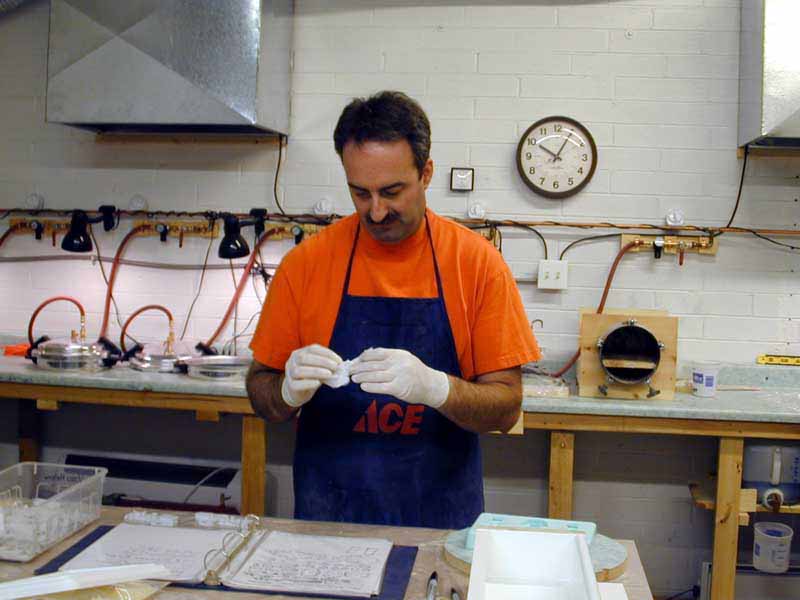
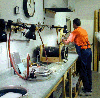
| Remove small part castings from mold and inspect for quality.
The parts that are well cast get sorted and become part of Classic Warships
kits.
Those that don't........ |
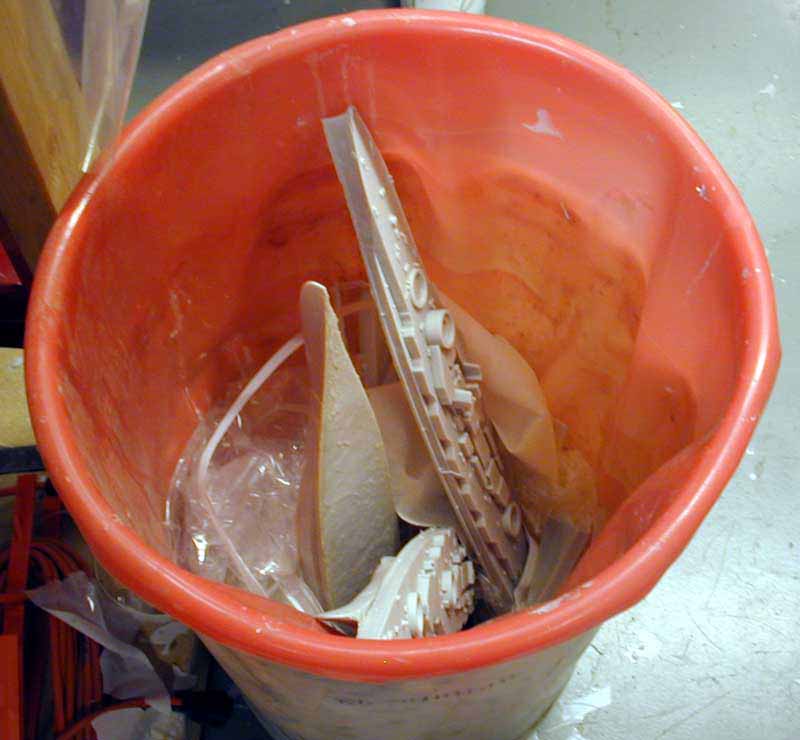
| ......end up in the Rejected castings file, also known as the "Circular
File". |
 |
|
Final Notes
|
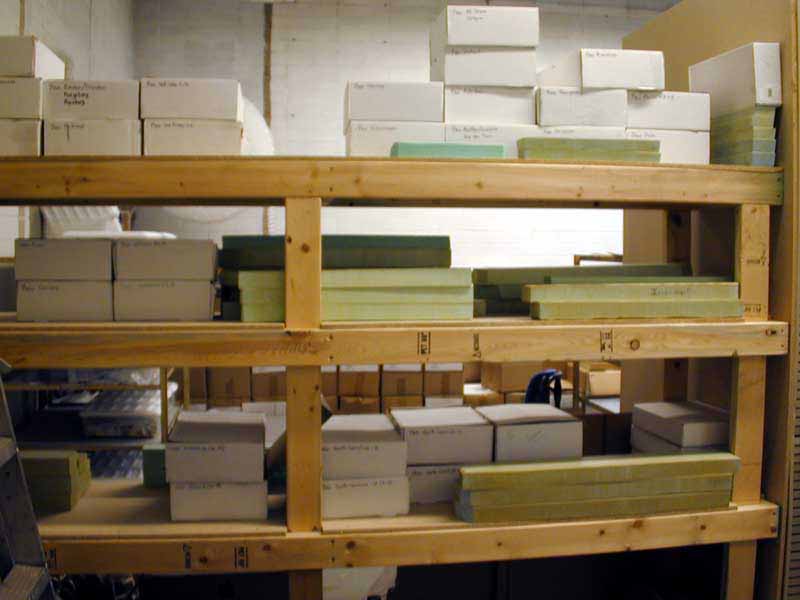
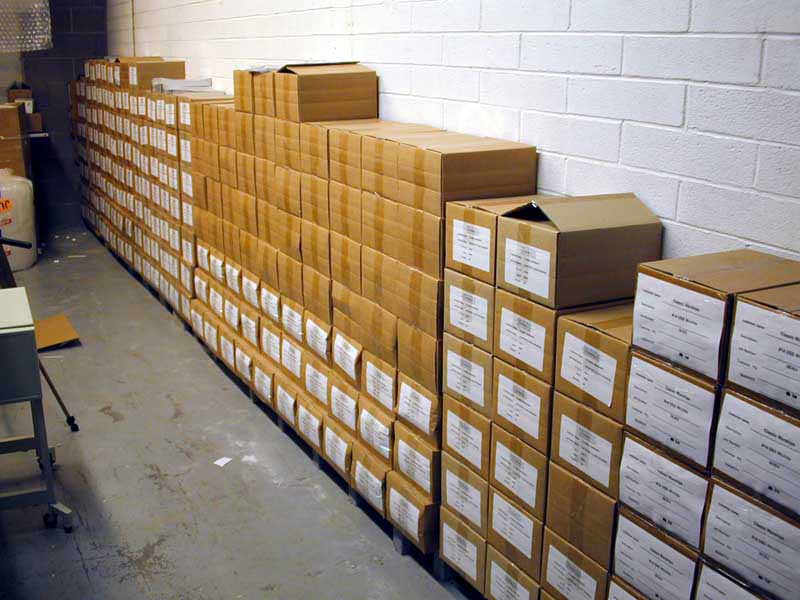
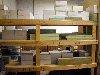
| These are what empty boxes look like! |
 |
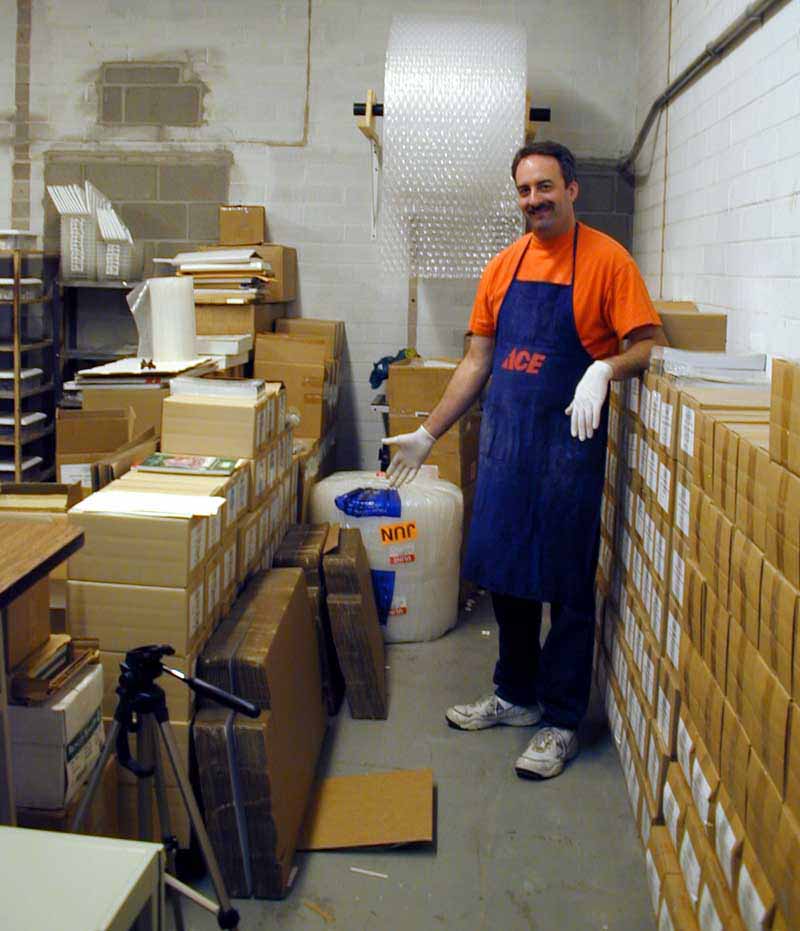
| In this business one needs to becareful about who is checking you out.
Here we spot John Sheridan spying and taking notes! |
 |
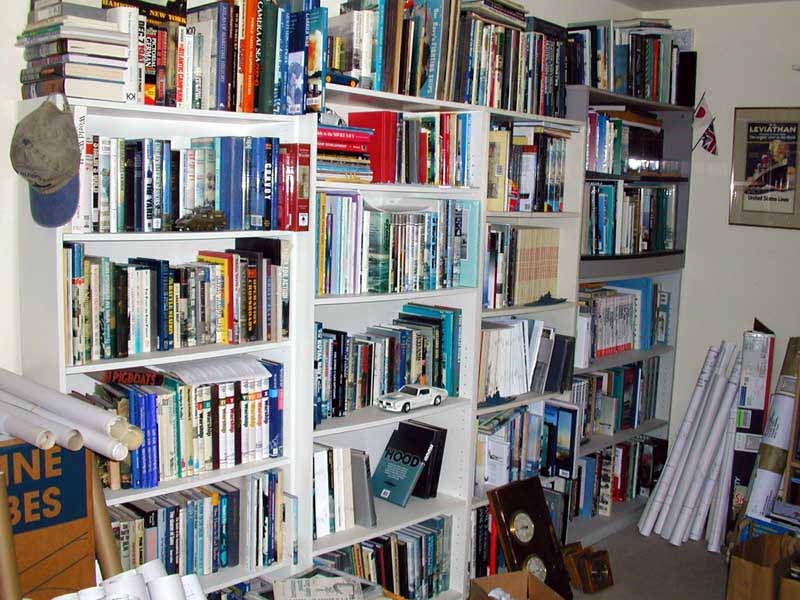
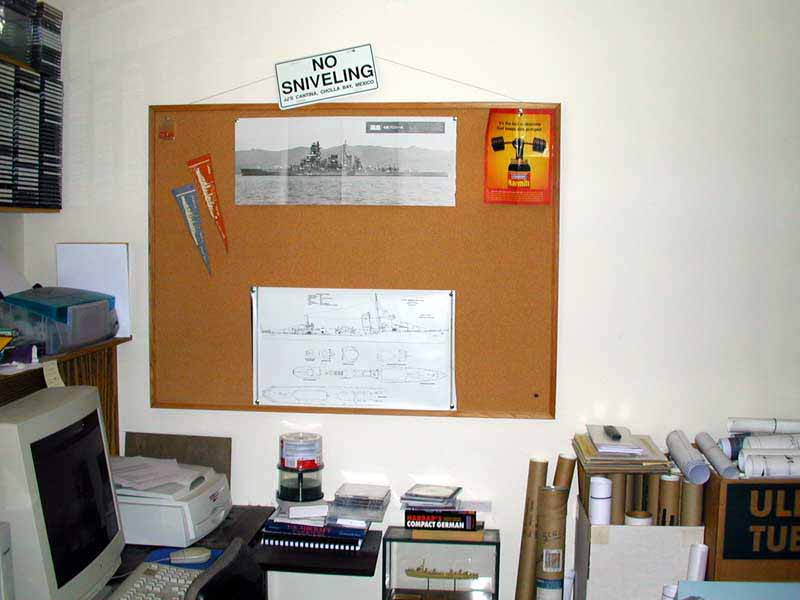
| The Classic Warships reference library. |
 |
 |
 |
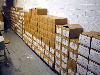
| The Warship Pictorial book inventory. |
 |
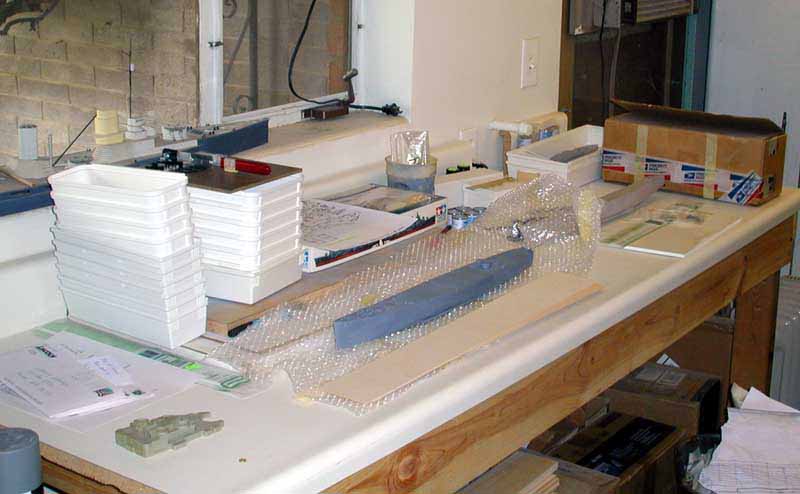
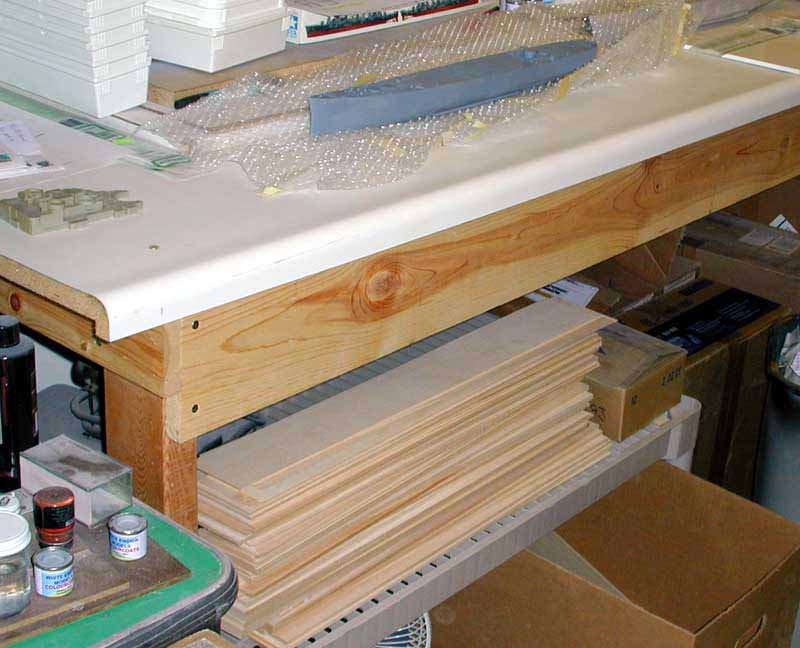
| Classic Warships design studio and pattern making shop.
Here are future kits in the making. |
 |
 |
 |
 |
 |
 Hope
you enjoyed the tour and see what is involved in serious resin kit production.
This tour was made on a "Banzai" run down to Tucson from Phoenix on the
Friday morning of the IPMS National Convention in Phoenix this past August
2004. The actual purpose was to retrieve a package for Yankee Modelworks. Hope
you enjoyed the tour and see what is involved in serious resin kit production.
This tour was made on a "Banzai" run down to Tucson from Phoenix on the
Friday morning of the IPMS National Convention in Phoenix this past August
2004. The actual purpose was to retrieve a package for Yankee Modelworks. |