Russian Armored Cruiser Monomkh

Reviewed by Vladimir Yakubov
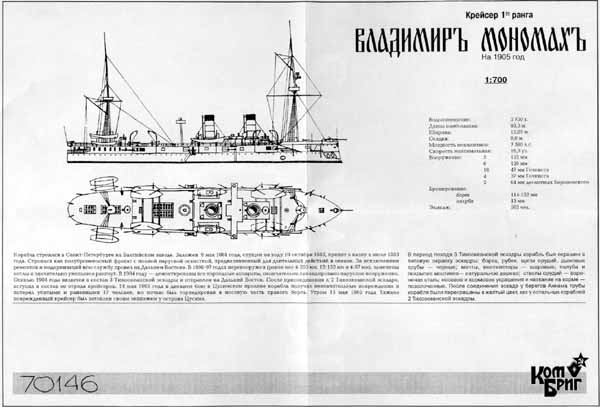
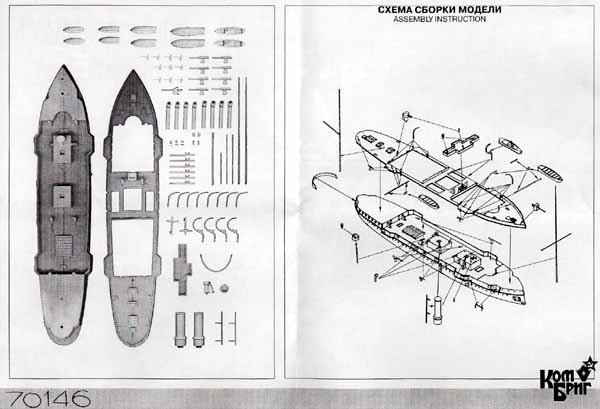
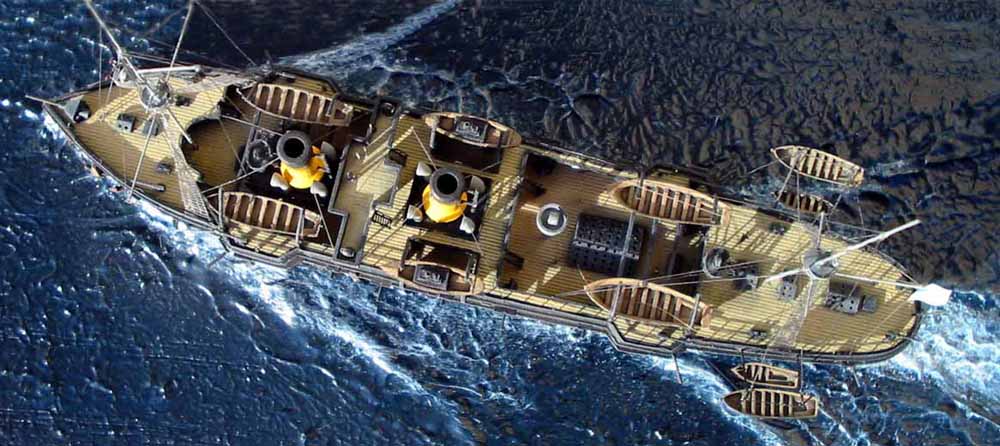
| The 1/700 scale kit of Vladimir Monomakh comes from a Russian company Kombrig. The kit consists of 93 resin parts. Parts are exquisitely molded, with sharp castings and no air bubbles. The ship reflects Vladimir Monomakh as she appeared at Tsushima in 1905. | |||
| Hull
The hull is excellently cast and as customary with other Kombrig kits there was no pour plug. Due to the interesting layout of the ship the upper deck is molded separately on a very thin carrier of resin, which was very easy to clean up. For some reason Kombrig still does the Aztec ladder instead of leaving them to be replaced with photo etch, so they need to be carefully cut off from the hull. When the hull was unpainted some irregularities were seen in her main deck, but they disappeared after paining. Due to the interesting layout of the ship I decided to open the gunports. The gunports are molded shut, but I judged that it will be easier to align all of the guns with them opened than to try to drill the holes for them and align them through the holes. Besides they look much more interesting this way (due to the top deck being separate Ive opened up the gunports in the solid part of the hull as well and since the aft 4.7 guns were placed in the captains saloon Ive opened up that whole area and in the fit of insanity scratchbuilt a table and some chairs J). Ive built the gunport covers from the 0.05 styrene sheet, through since then I found other material that works even better photo paper from Alps printer. |
to enlarge |
||
 |
|||
|
|||
| Painting
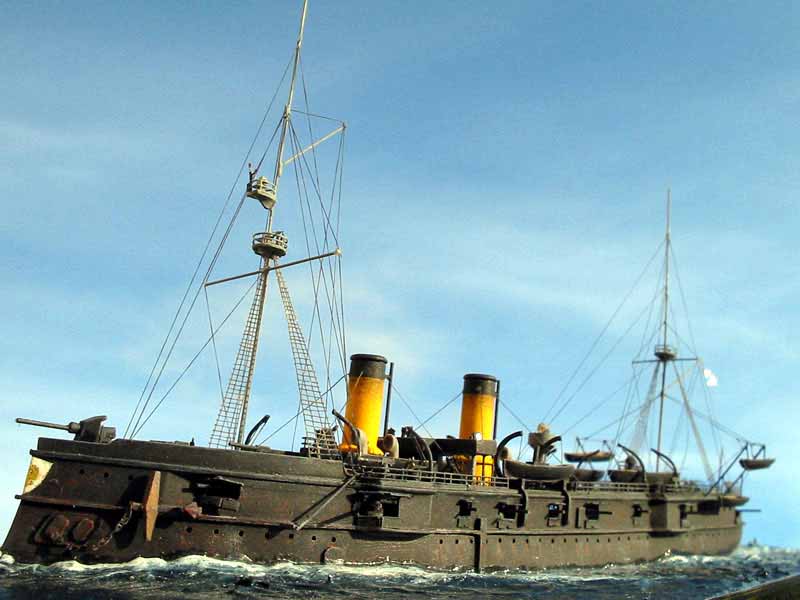
According to the text in my references, the middle mast was hacked off just before leaving for Tsushima, so the correct paint scheme in this configuration would be black with yellow funnels. If you want to do a white color scheme you will have to add the middle mast. I painted the hull with Model Master (MM) acrylic black diluted with white, so that it doesnt look like a black hole. Deck was painted with a custom mixed color. After painting I went over the deck with the stuff called Black-It-Out, which is water soluble black wash. It showed off the deck planking and other deck details. I cleaned up the excess with Q-tips after it dried. I dry brushed the deck with a lighter shade of tan to bring out the details and smooth over the wash. The black funnel tops were made from decals so that they were even and straight. |
|||
 |
|||
| Guns
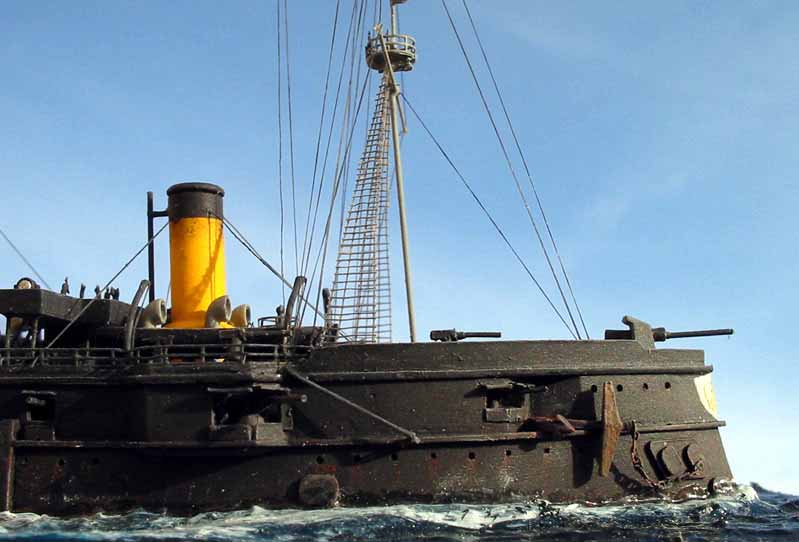
A word of caution, since the top deck covers portion of the gun deck, the guns on the main deck need to be installed before gluing on the top deck. Ive replaced all of the barrels on the 6 and 4.7 guns with hypodermic tubing. One of the drawbacks of the kit is that all of the guns provided are the same 6 guns, while the ship carried four 6 and four 4.7 guns on her gun deck. Since 4.7 guns were noticeably smaller Ive scratchbuilt them. There were sixteen 47mm guns on the real ship, but only twelve are provided by Kombrig, so I got four more from my spares box. The 47mm guns in the kit come with gun shields, but according to my references the guns on Monomakh didnt have them, so I removed them prior to installation. Six 37mm guns came from WEM PE set for the Russian Cruiser Askold. Masts and Rigging Ive scratchbuilt the masts from brass rod; through Ive used the too
thin rod. It was very hard not to over tighten the them and tilt
the mast and I actually had forward mast collapse under tension from the
rigging (at least I assume that that was the cause since everyone in the
house swears on their life that they didnt touch it J). The rigging
and ratlines were made from stretched pantyhose. Ratlines were made
on a jig. I cut out a square in a piece of styrene then glued the
vertical lines to it and then glued the horizontal lines to the sides of
the jig, not to the vertical lines. Once everything was dry a carefully
glued the vertical and horizontal lines to each other (being careful to
dab any excess superglue right away with a finger). Once they were
dry I cut them out as I would from the PE and glued them to the ship tightening
later with a match. Since then Ive found a much less labor intensive
alternative from Sami Arim, who makes PE Ratlines for 1/1250 scale ships,
but which can also be easily used in 1/700 scale (Navalis Models - http://navalismodels.com/).
|
|||
 |
|||
| Boats and Anchors
To complete her boat load out Ive used two of WEMs Russian 36 pinnaces. While the kit had boat davits, I didnt like them and scratchbuilt my own from brass rod. The boat skids over the main deck were not provided, so I used square styrene strips to make them. The smoke stacks on the steam launches were made from hypodermic tubing. The ship had 4 anchors, but only two were provided in the kit and I didnt feel like scratch building the other two so I just went with two. The anchor chain was made from the WEM PE chain (assembled link by link). The Imperial Eagle on the bow and the shield it is on, were printed on Alps printer. After everything was complete I sprayed the whole ship with MM Dullcote to get rid of any glue marks. |
|||
 |
|||
| Base
The water was made using Liquitex Acrylic Gel Medium (available at Arts and Crafts stores). Some people prefer to mount their model before they do the water, but I prefer to do the water first and then to mount the model as a very last step. To do that, I traced the shape of the hull of a piece of styrene and placed that cutout on the base and did water around it. I created the waves and bow wave first with copious applications of the gel medium and then after spreading a thin coating of it all around the base I used a stiff brush to do the ripples by stabbing it at the thin spots. After that, I painted the water blue and dry brushed with white where appropriate. After gluing the model to the base, I touched up the joint between the model and the water with Gel Medium. |
|||
Conclusion

Overall it is an excellent kit. The detail and fit on this kit is one of the best Ive ever seen. After suffering AMS with my aircraft kits, I dont go out of my way to measure the ship kits, so I dont know how good it is dimension wise, but it certainly looks right. I thoroughly enjoyed building this kit and I plan to build one more backdating it to the original layout with sails and full rigging. Links: |
|||