Building the Admiral Ushakov
Combrig's 1/700 scale battleship by Jeff Herne
Special Thanks to Pacific Front Hobbies for providing this kit for review
![]()
Building the Admiral Ushakov
Combrig's 1/700 scale battleship by Jeff Herne
Special Thanks to Pacific Front Hobbies for providing this kit for review
![]()
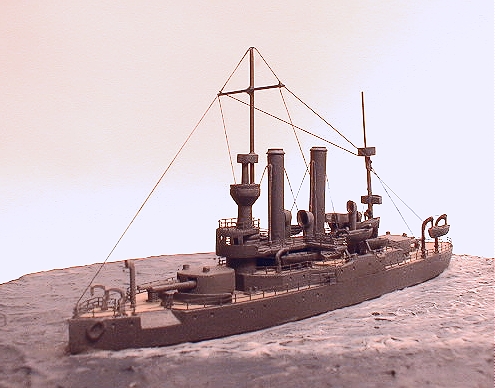
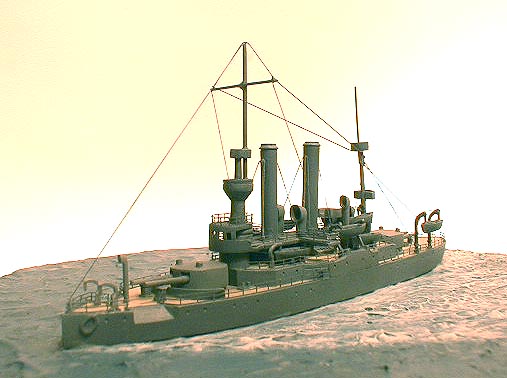
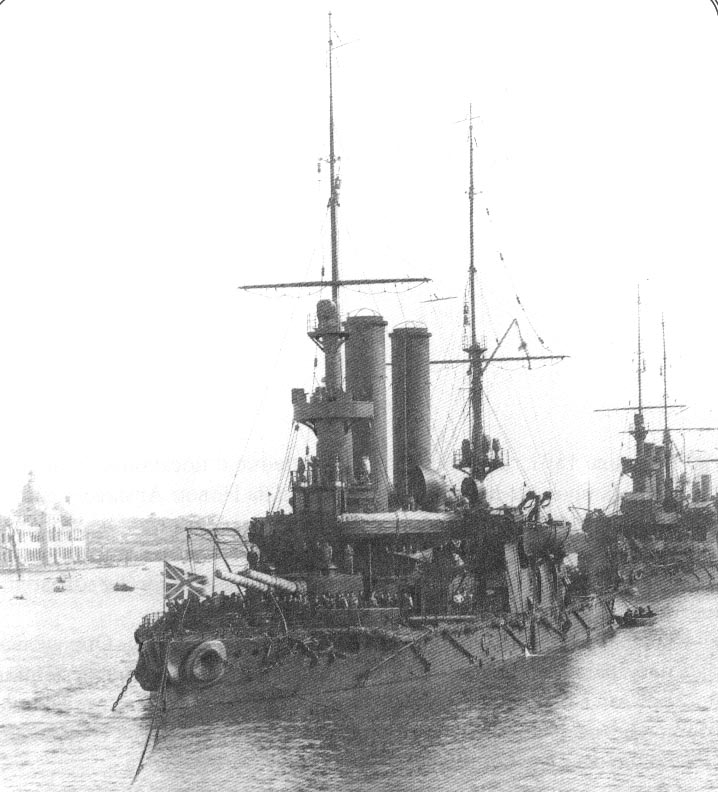
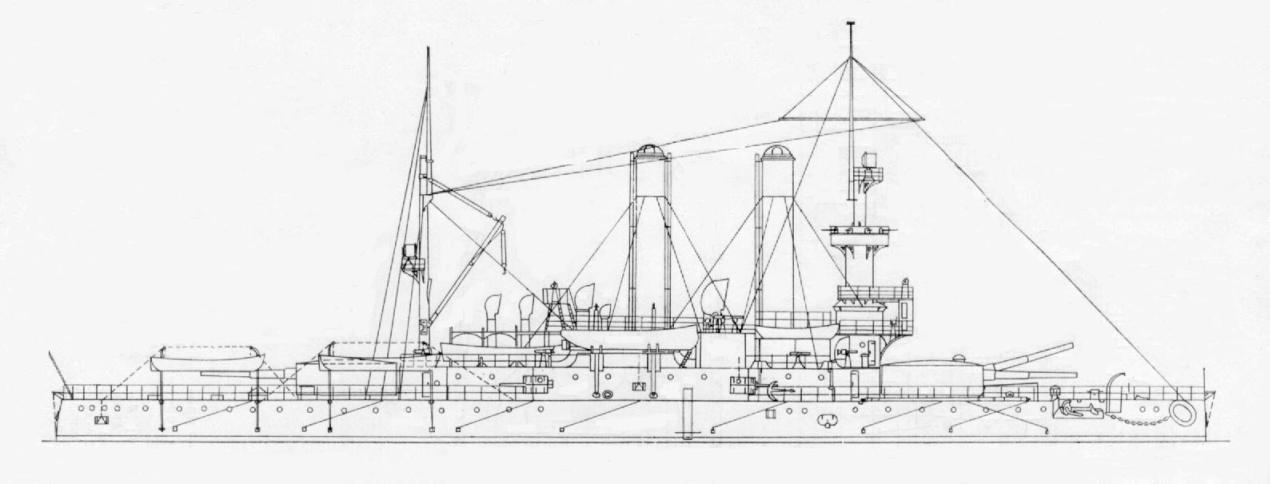
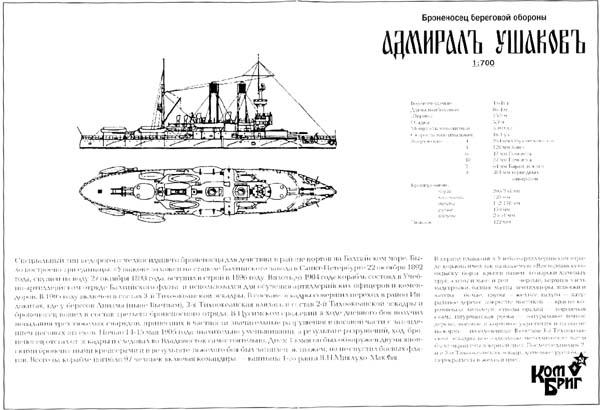
The Admiral Ushakov
was laid down in 1892 by New Admiralty, launched in November of 1893, and
completed in 1895. Combrigs1/700
offering of the 1897 Russian pre-dreadnought Admiral Ushakov is a splendid
little kit, and is unique in the respect that it can be an excellent beginner
kit, or can be superdetailed for the more advanced modelers.
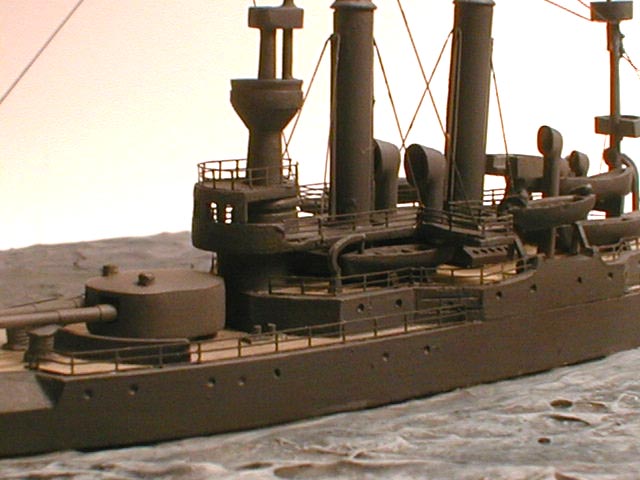
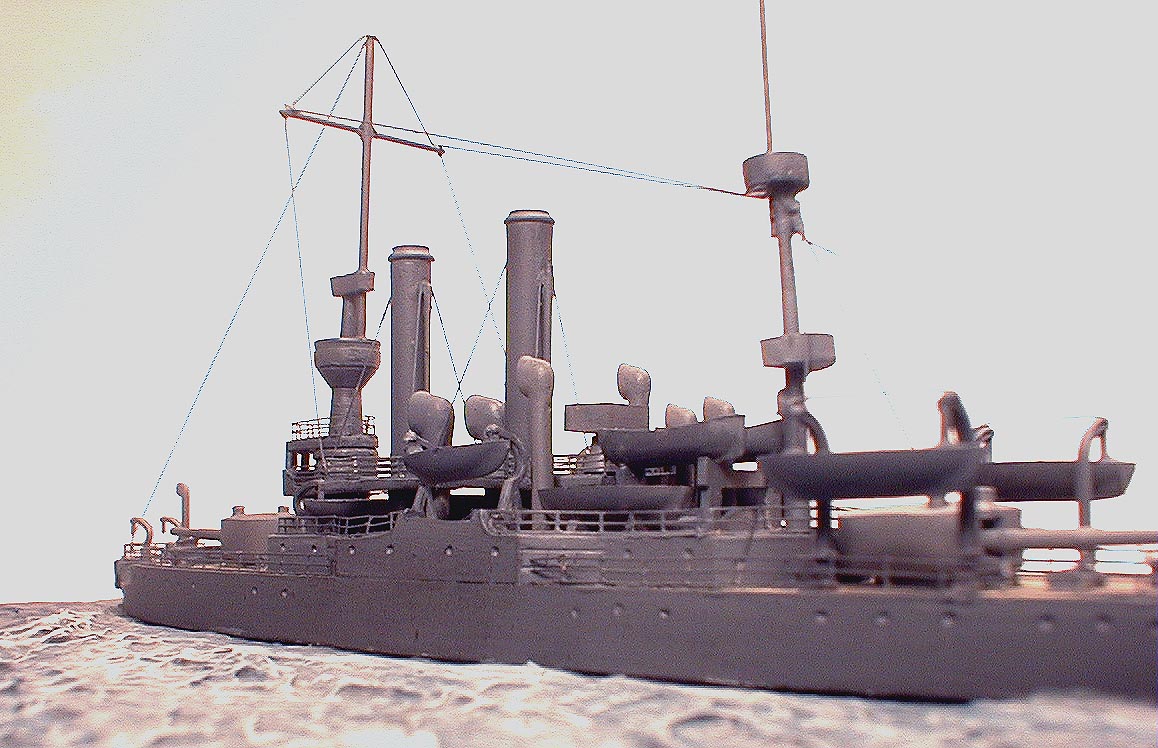
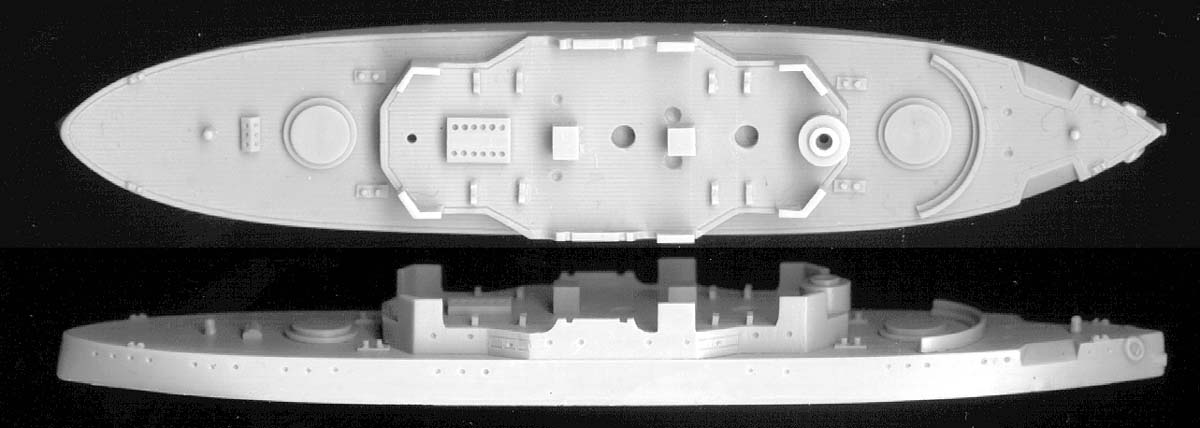
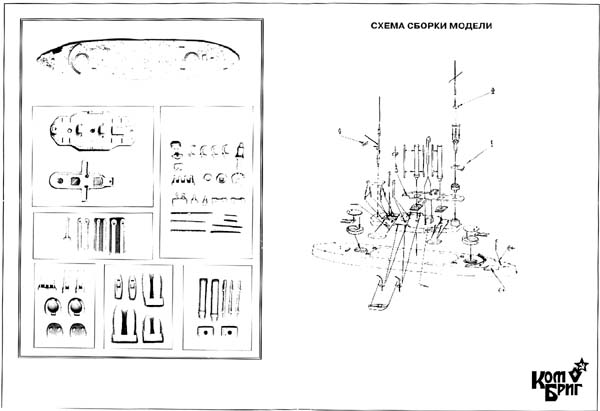
The hull is cast
integrally with the 01 deck level , although the instructions showed these
parts cast separately. Either way, its not tough to align the parts, since
the 01 level is flush with the hull at the widest point in the beam.
When building this
kit, you must determine the level of detail you intend to add, since Combrig
decided to mold walls to the bridge wings, and along the 01 level. Plans
and the few photos that are available clearly show these were, in fact,
2-bar railings. I removed the walls with a pair of Xuron flush cutters,
and sanded the areas smooth in preparation for the brass rails.
Since theres no
photoetched brass included in the kit, youll need to obtain 2-bar and
3-bar rails. The two bar rail has standard stanchion spacing, while the
3-bar rail has the much tighter stanchion spacing used for platforms and
small areas. A search through my surplus brass found more than enough 2-bar
and 3-bar rails to complete the job.
Ushakov is a very
small ship by WW2 standards, so youre not going to need vast amounts of
brass to complete the model. I used about 6 inches of 2-bar rail and about
4 inches of 3-bar rail to complete the entire model.
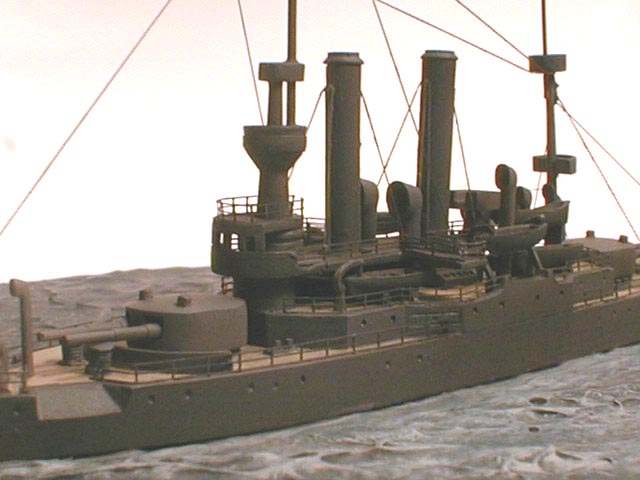
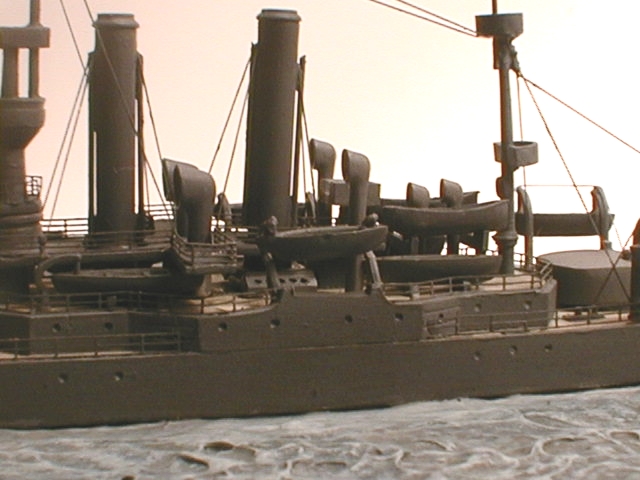
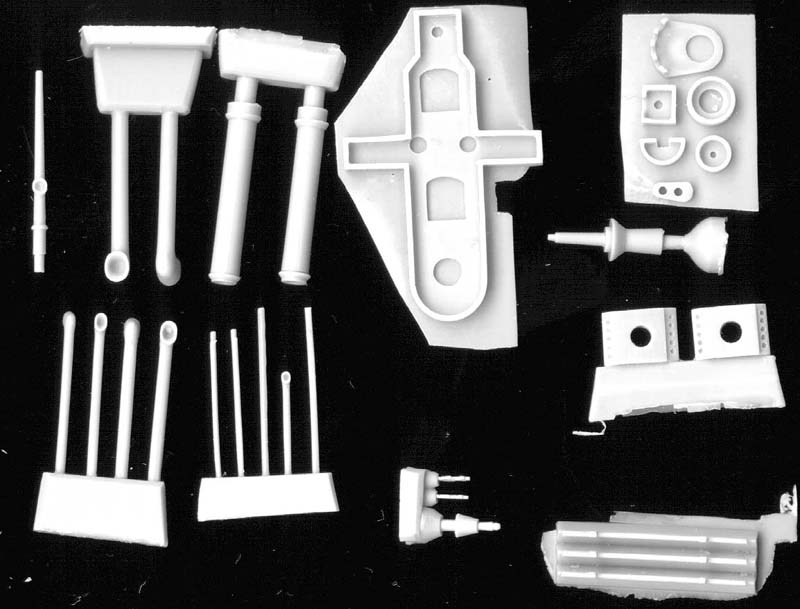
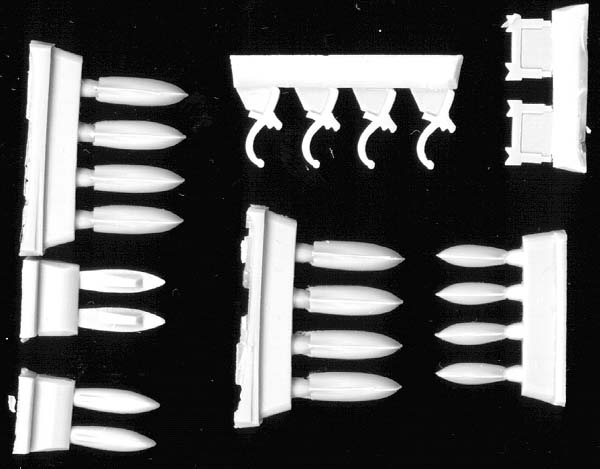
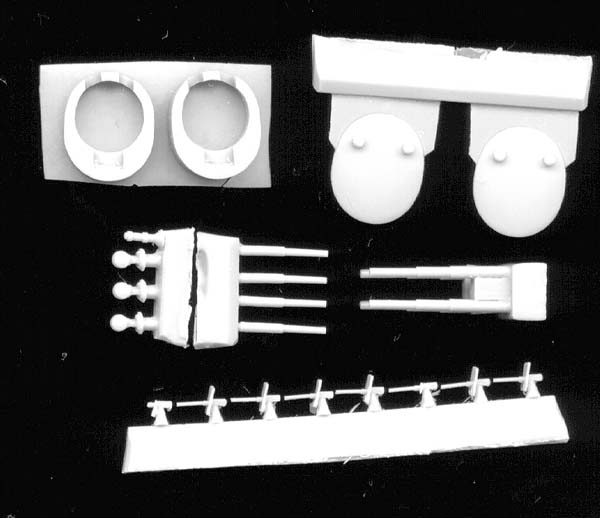
Since I decided
I was going to detail the ship as much as possible, I started looking for
additional parts to replace some of the kit parts. USN and IJN Skywave
weapons sets provided lifeboats, and a set of lifeboat davits that matched
the kit parts in shape, but were much finer in detail and not as heavy.
I replaced the kits crows nest with a fire control director tub, which
matched the shape and height, but wasnt as clunky as the kit part. I replaced
the masts with brass rod, and have ordered a fret of photo etched anchors
from Toms Modelworks.
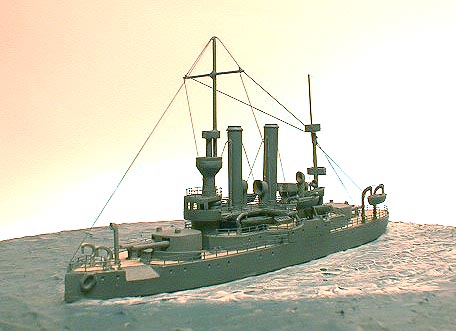
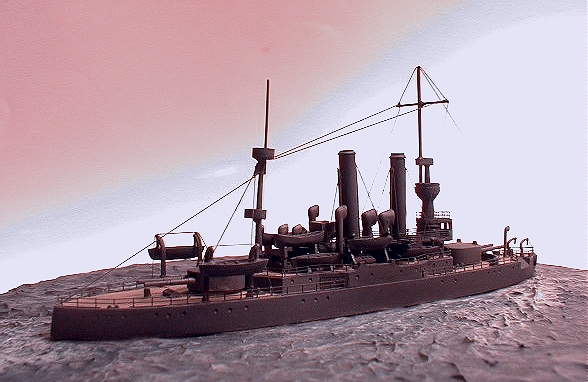
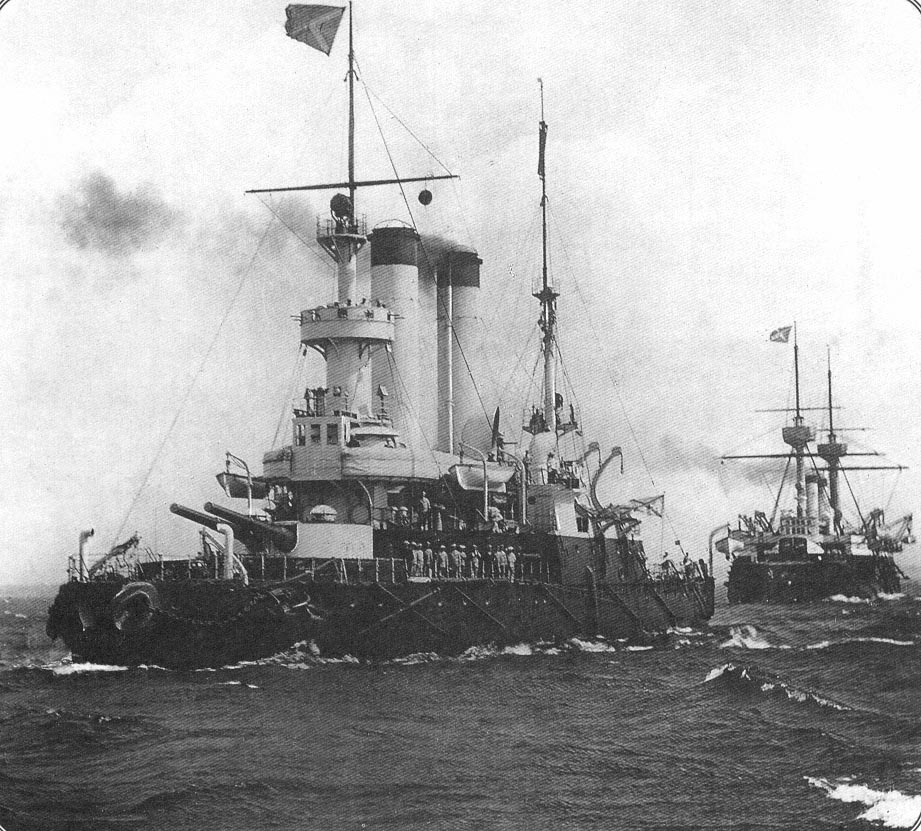
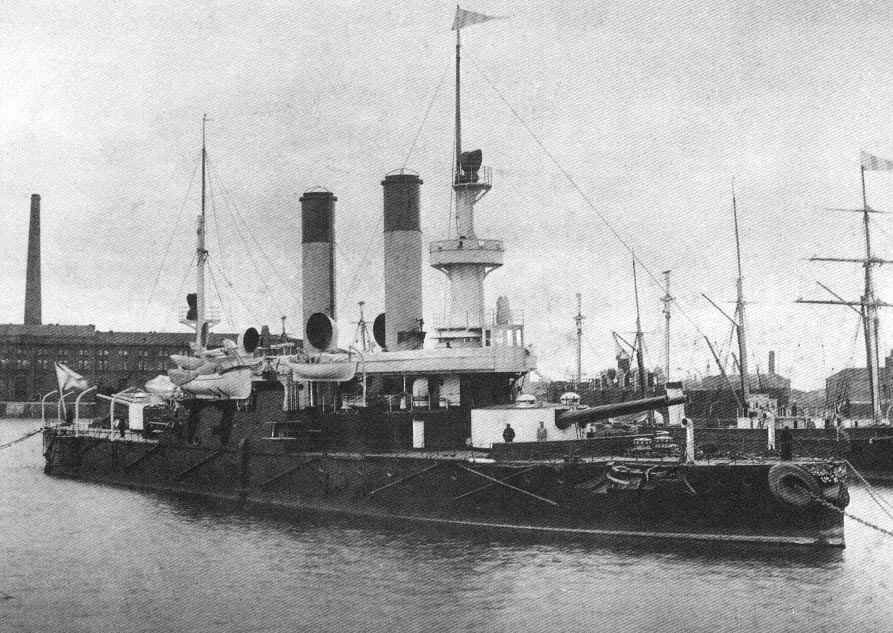
Once I gathered
all the additional parts, I starting looking photos of her paint schemes,
and settled on the overall gray she wore in the March 1905 picture of her
at Port Said, 2 months before her loss at the Battle of Tsushima. I wasnt
sure about her white and black scheme, it had too much contrast for my
liking, and the overall light gray of her early career didnt appeal either.
I used a mixture of Tamiya Dark Grey mixed with IJN Light Grey to get the
desired effect. The deck was painted with Polly-Scale Old Concrete, which
resembles teak that has been cared for, with a slight hint of grey.
Note: At the time I photographed the model, I was waiting on surgical tubing for the 4.7in secondary armaments, and photoetched anchors. As a result, the barrels and anchors are missing in these photos. Photos were taken with a variety of lighting and filters, none of which I'm overly pleased with.