1/700 Combrig Imperatrisa Maria
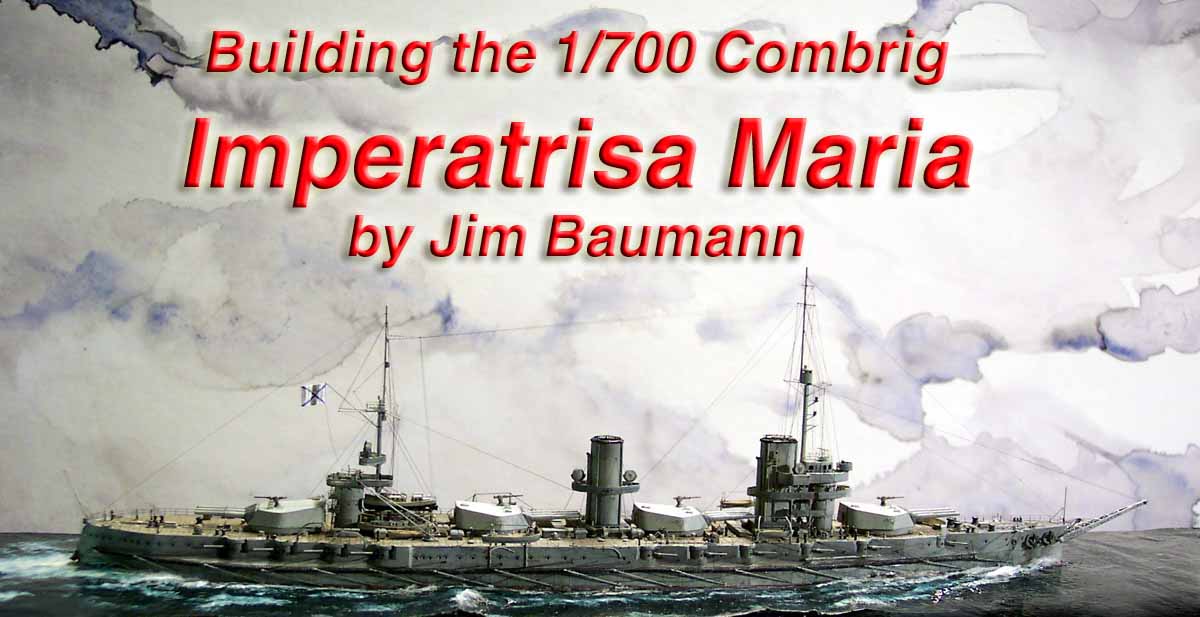
by Jim Baumann
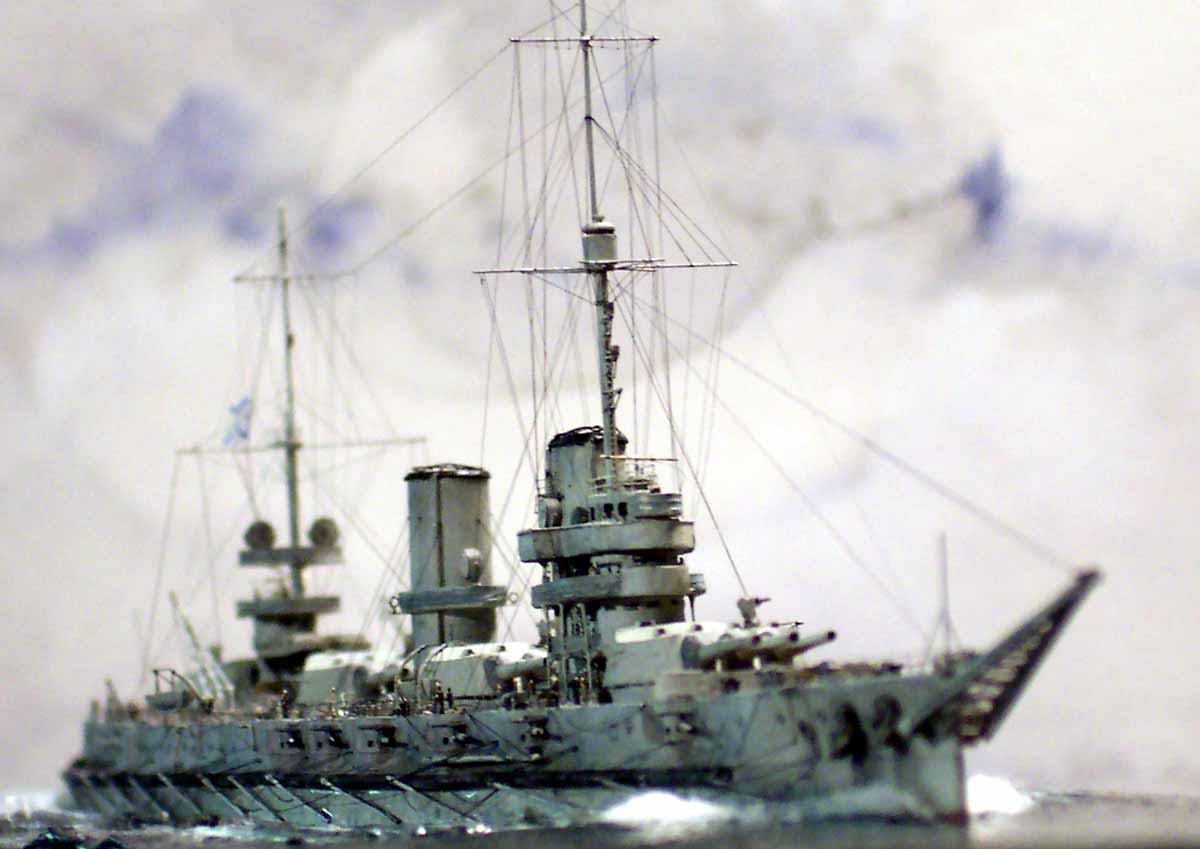
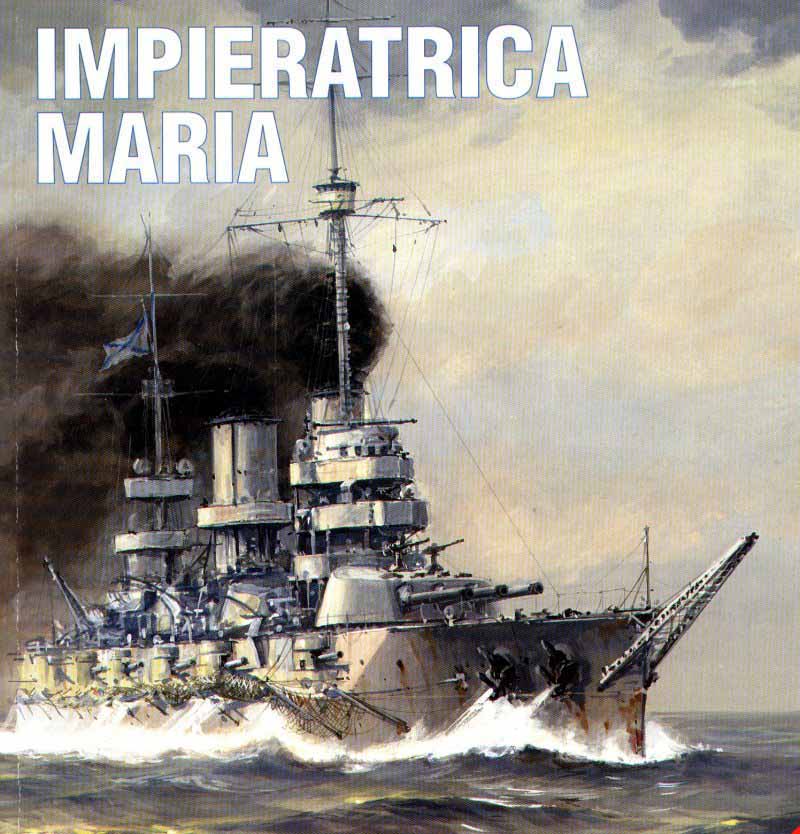
| The Black Sea Dreadnoughts were a class
of three units, with the Imp Maria being the name ship of the class
Financial and other constraints meant that they were not as fast as originally intended nor did they receive the 14in guns that were initially envisaged. Commissioning 2 Dreadnoughts moved the balance of power in the Black sea to the Russian side and enabled the fleet to bombard Turkish and Bulgarian shore installations. Imp Maria capsized at Sevastapol as a result of a huge internal explosion caused by unstable propellant. Imperatrisa Maria was launched in 1913, completed in 1915 and lost in October 1916..... armed with 12 x 12in and 20 x 5.1in as their main armament, and based on the externally basically similar Baltic dreadnoughts of the GANGUT class; the main immediate difference being that the centre fwd main turret points in the opposite direction to Imp M. |
|||||||
| I gleefully bought the Combrig kit of the Black Sea Dreadnought Imperatrisa Mariya and shortly thereafter aquired the Polish/English billungual version of the AJ press Encyklopedia Wojennych monograph dedicated to the ship complete with drawings and photos and so I thought this would be an easy and quick build.... | |||||||
 |
|||||||
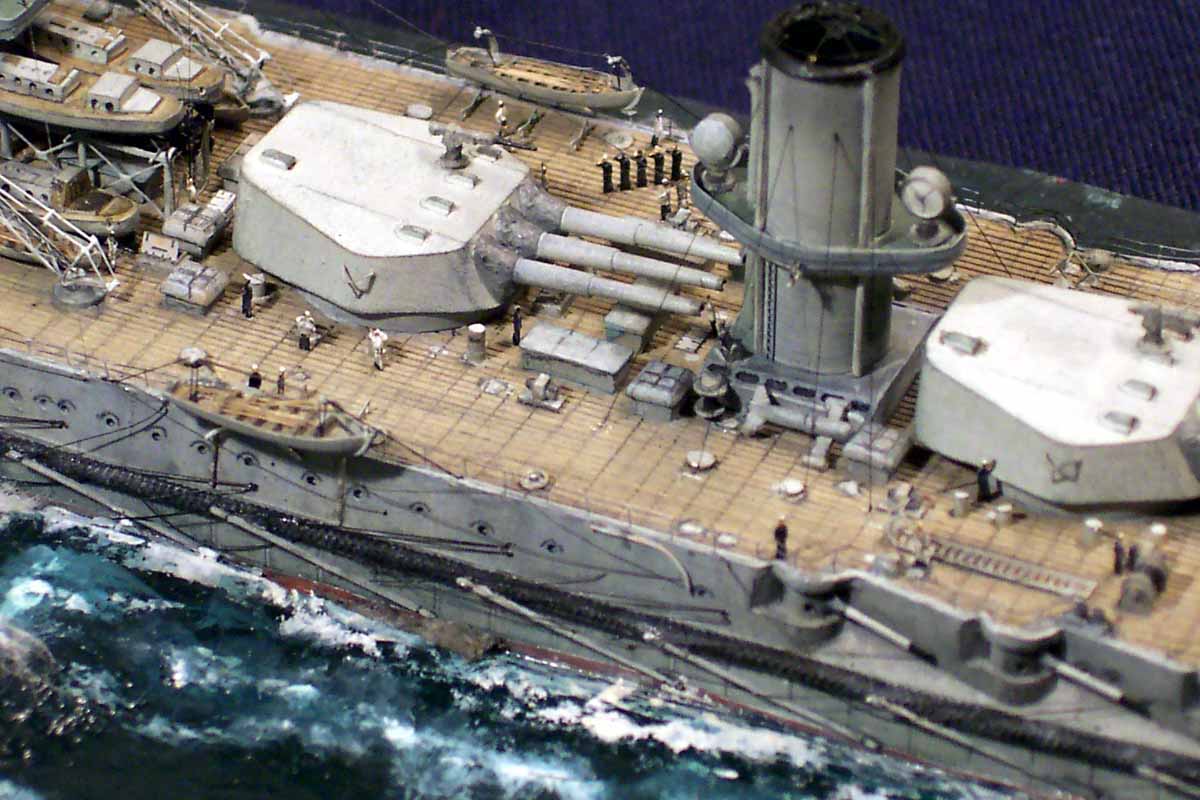
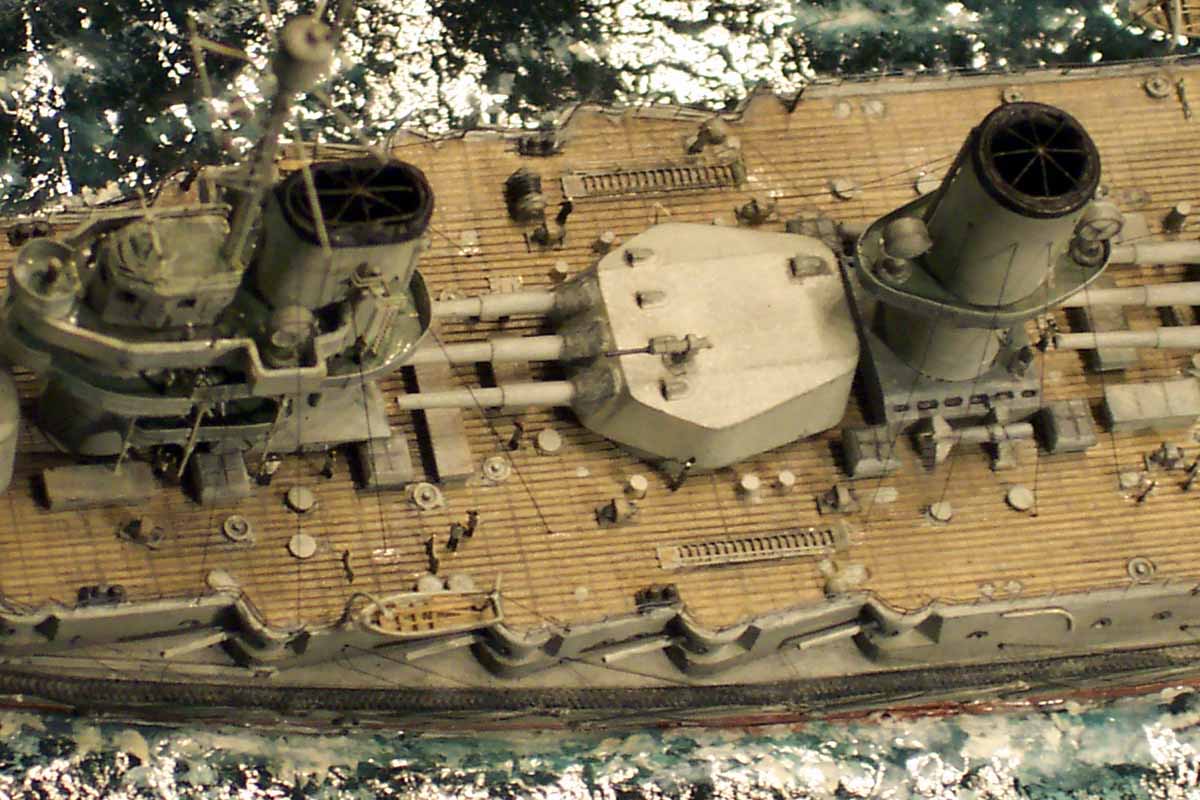
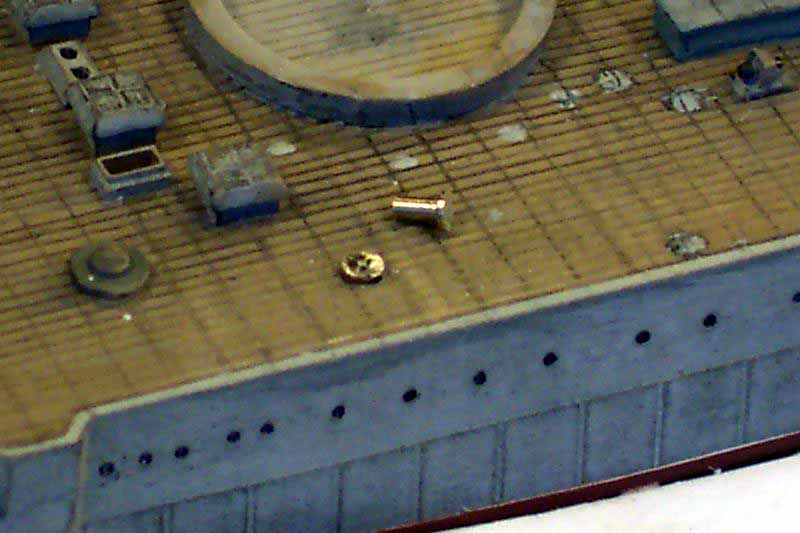
| On inspecting the kit the first thing that was apparent
was how empty and devoid of surface detail the deck seemed, no vents or
coal scuttles. In addition the decks were planked athwarships at intervals
in common with many ships of the RIN. This was pencilled in lightly so
as not to overwhelm the fore and aft planking; this would be easy if one
started with a totally flat deck without vents and barbettes...however...!
I used the original design drawings printed in the AJ Press book and photos as a guide to placing the flat circular vents, these were made from Model railroad 'tubular rivets ,small' and 'washout plugs'. for the vents I simply drilled a hole, installed the shaft of the rivet (but not quiet flush to the deck) and put a small dab of white glue to give a convex top. For coal scuttles a dab of white glue on the deck, painted grey and ringed in pencil was sufficient. |
click images
to enlarge 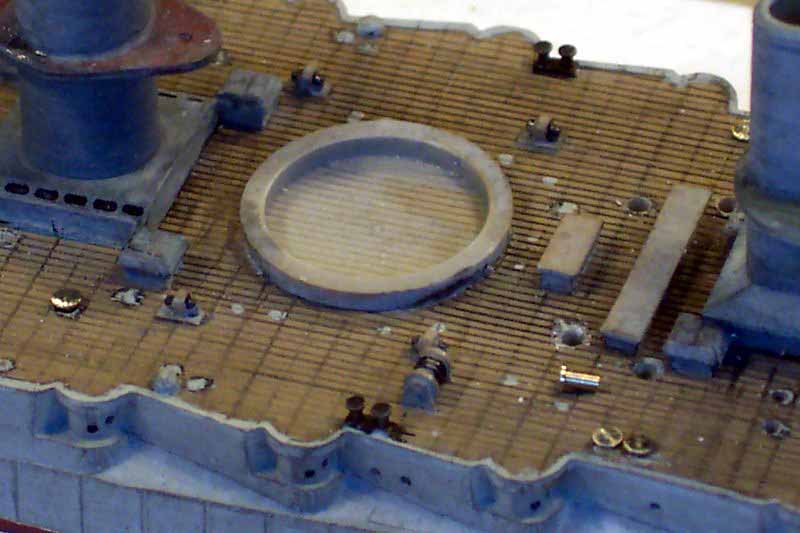 |
||||||
 |
|||||||
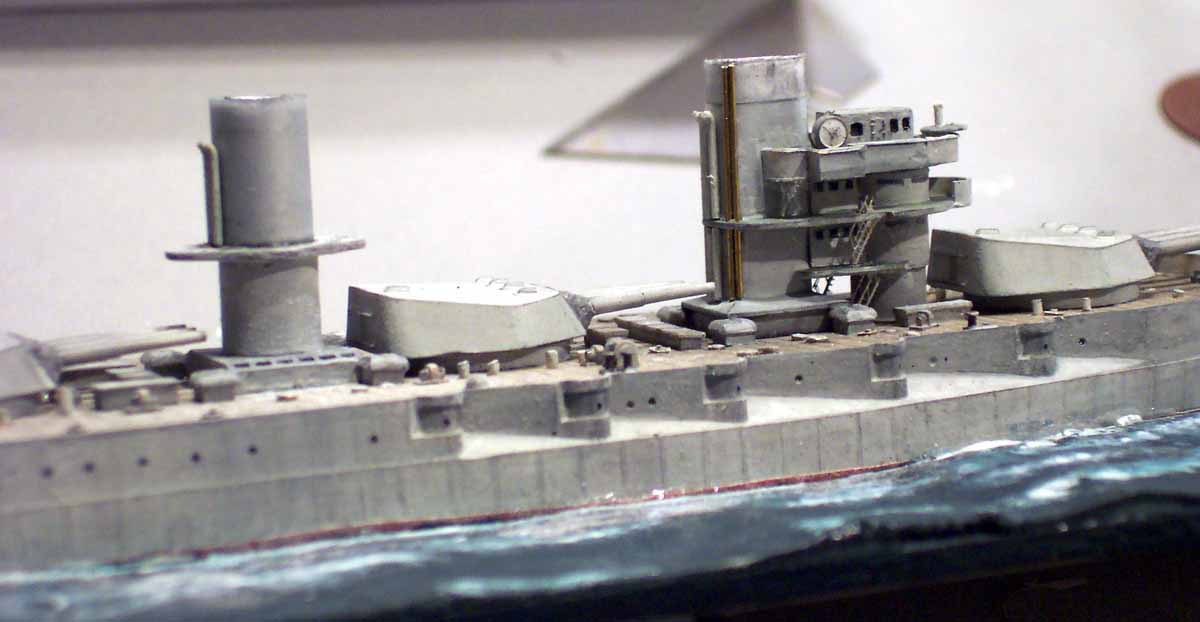
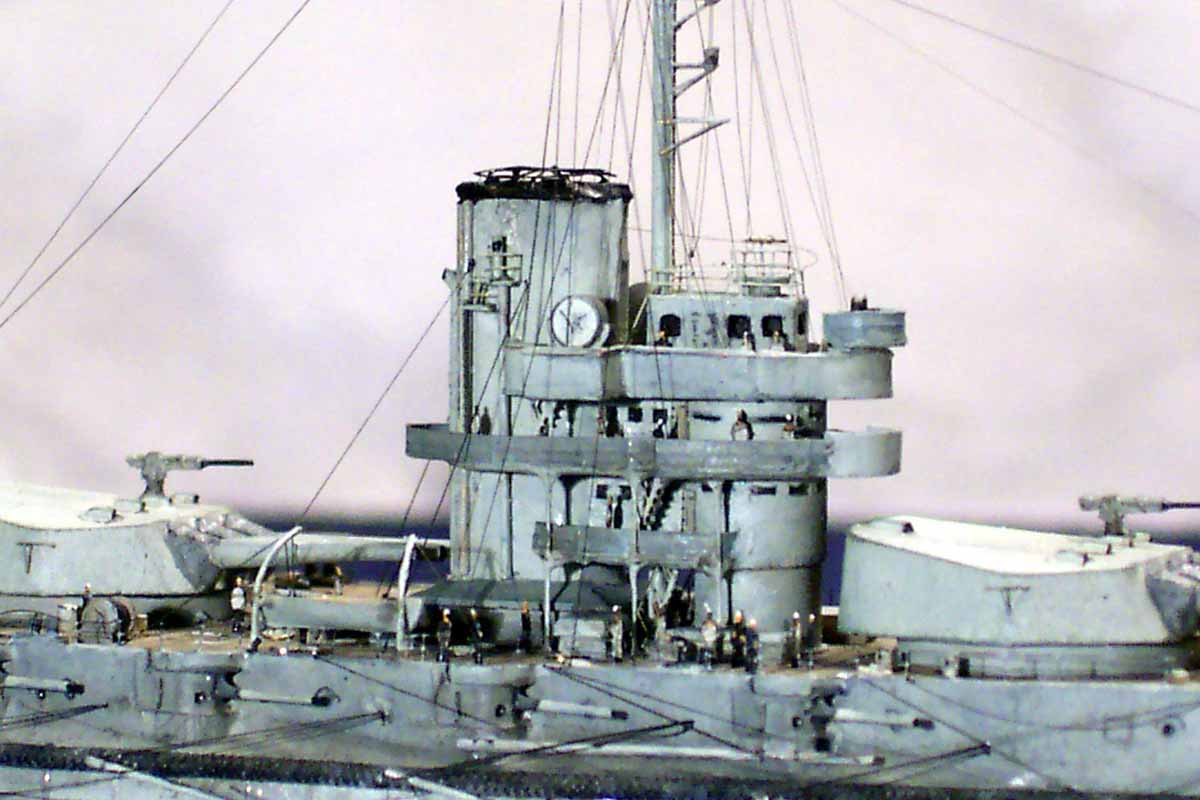
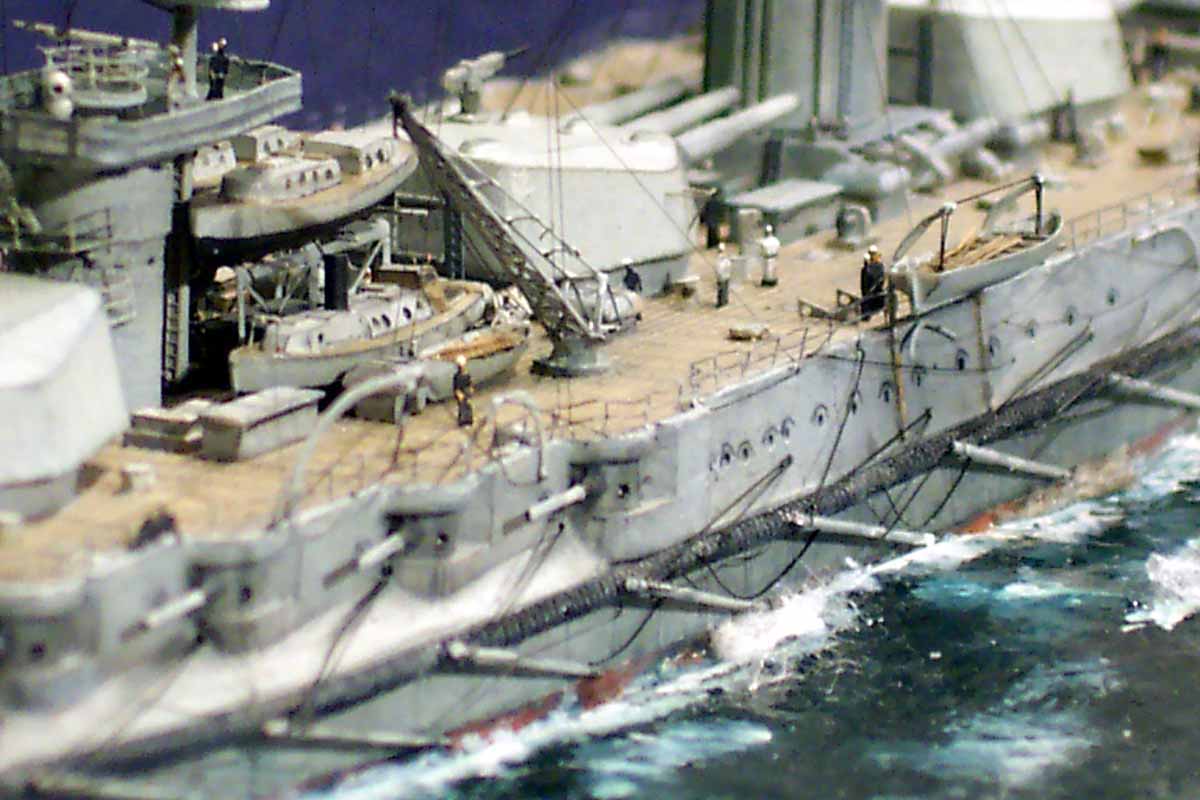
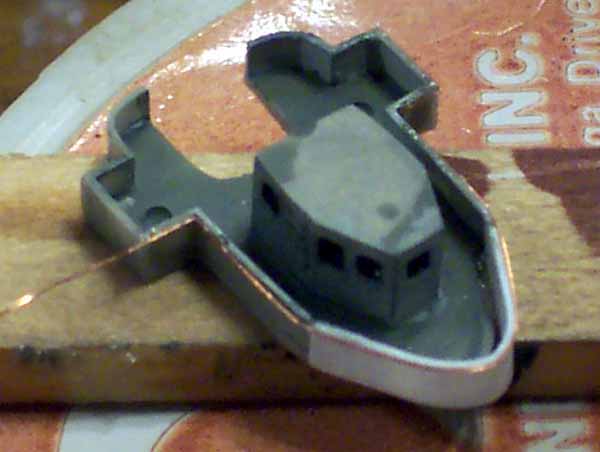
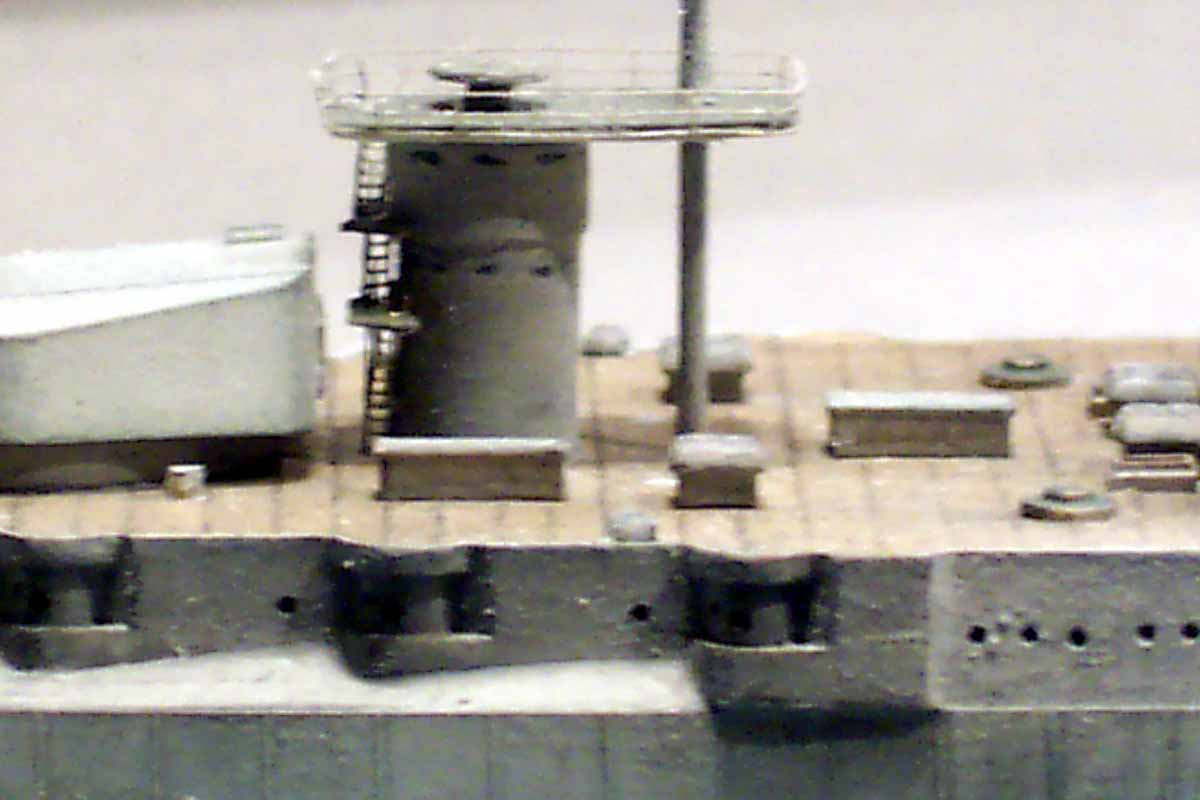
| I next turned my attention to the fwd and aft bridge structures. All solid splinter shields were removed and replaced with brass or railing with canvas dodgers as appropriate. The upper bridge platform did not extend sufficiently far fwd so the side splintershields were extended and a new floor made. The 'lip' at the top edge was added in thin brass wire. The second platform did not appear to extend far enough aft around the funnel so this was also enlarged with a new floor .All the stairway apertures were cut and the stairs installed. The vertical stanchions on the fwd bridge twixt the decks were cut from brass PE 1/350 pulley sets with the gusset plates being white glue painted.The aft towerstructure had numerous stair levels, these were very fiddly to make and install but add greatly to the overall effect. New larger aft platform was made to allow mast to be set the correct distance from the aft tower. | 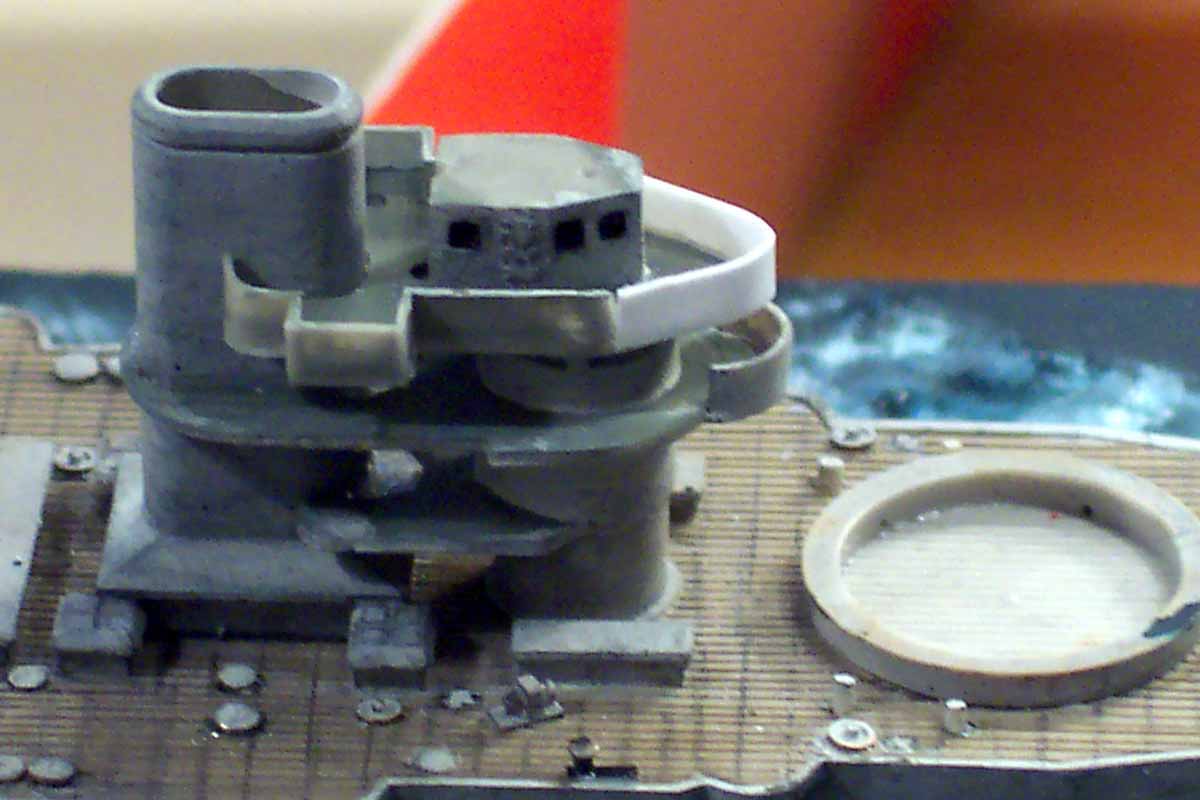 |
||||||
 |
|||||||
 |
|||||||
 |
|||||||
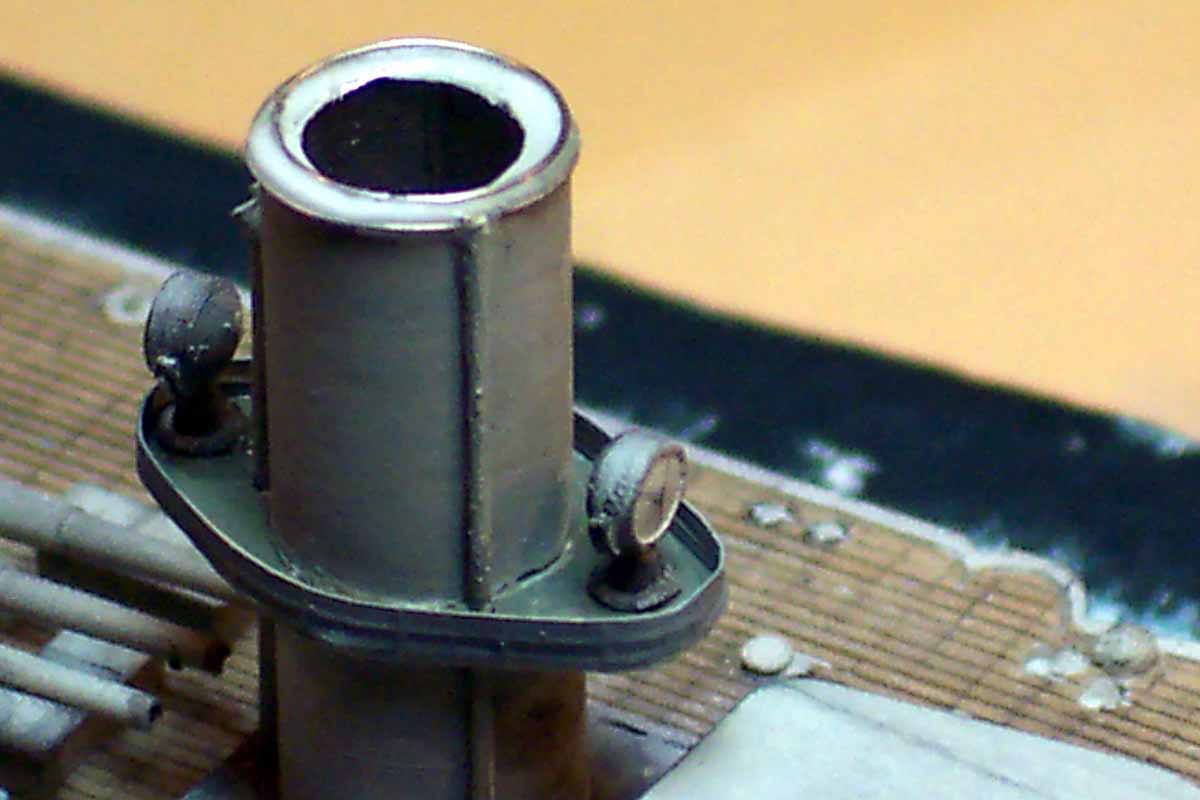
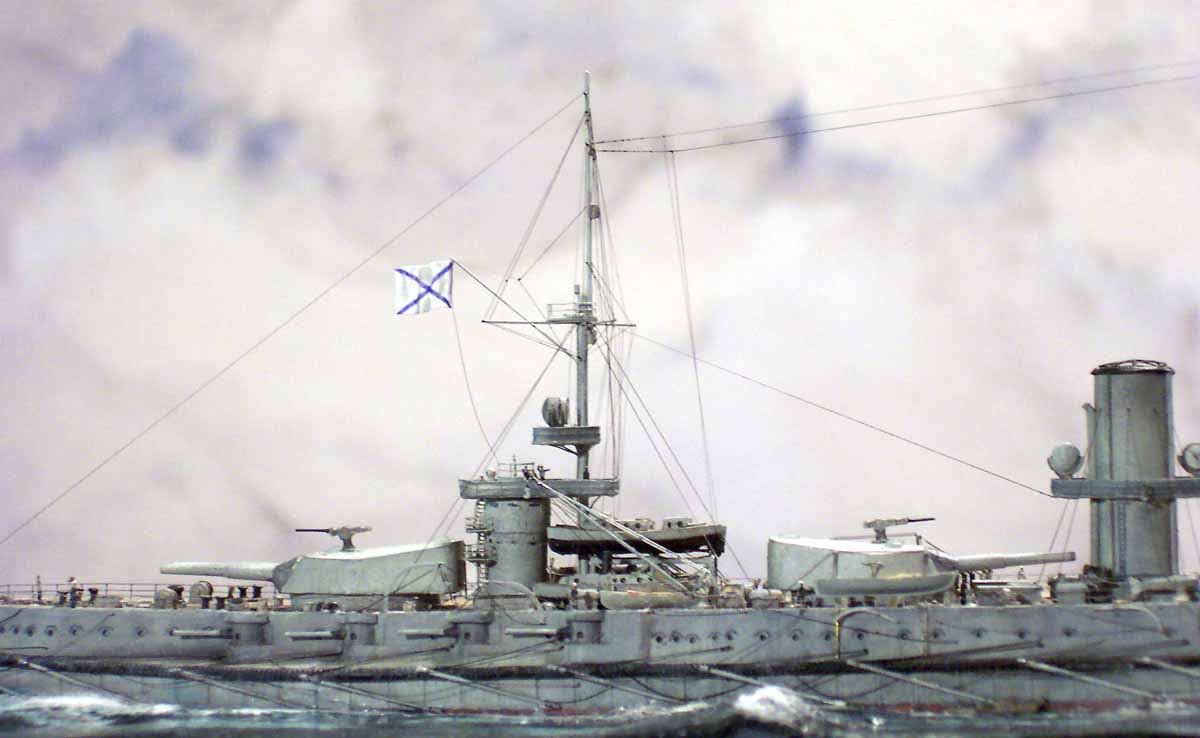
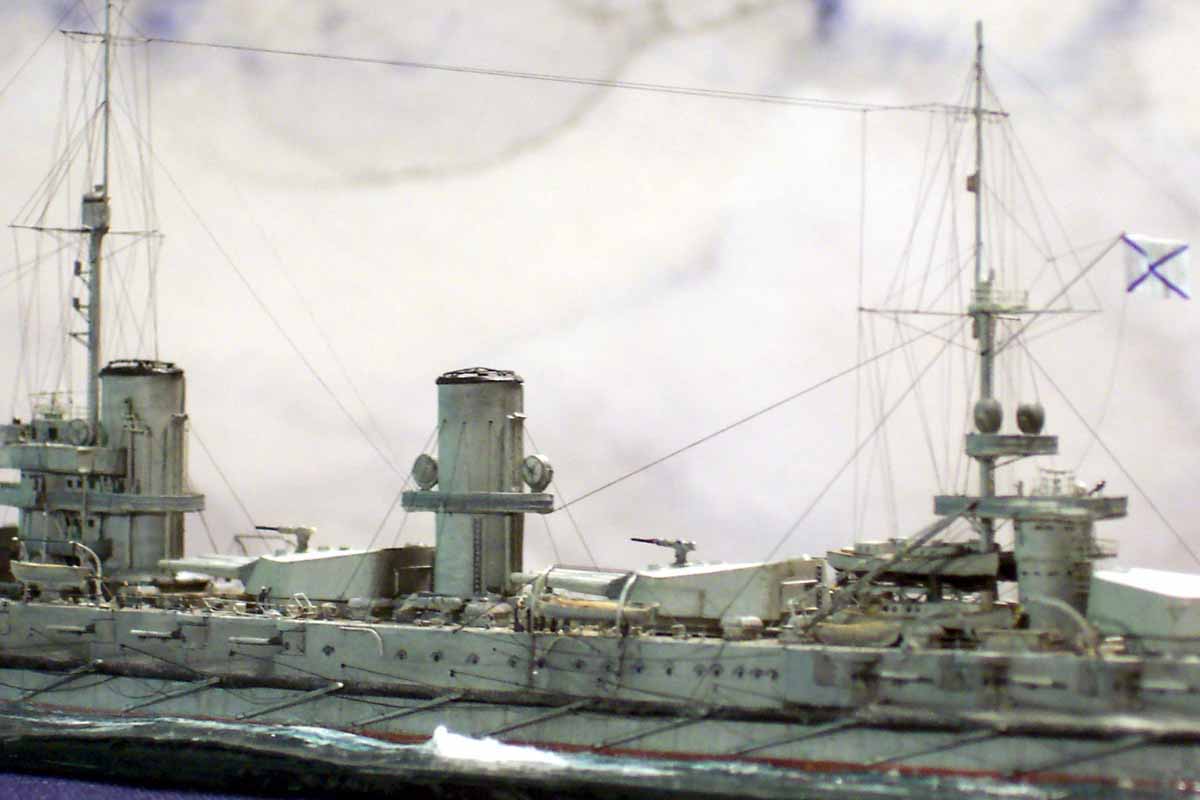
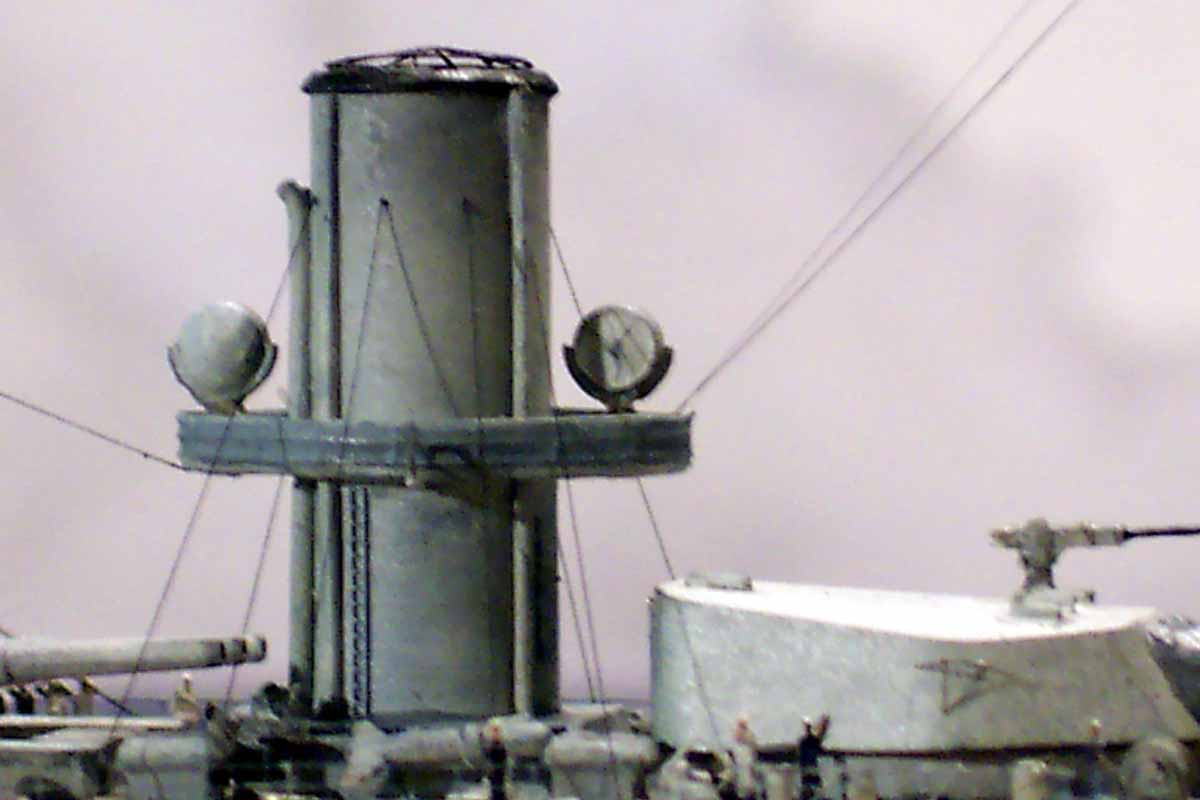
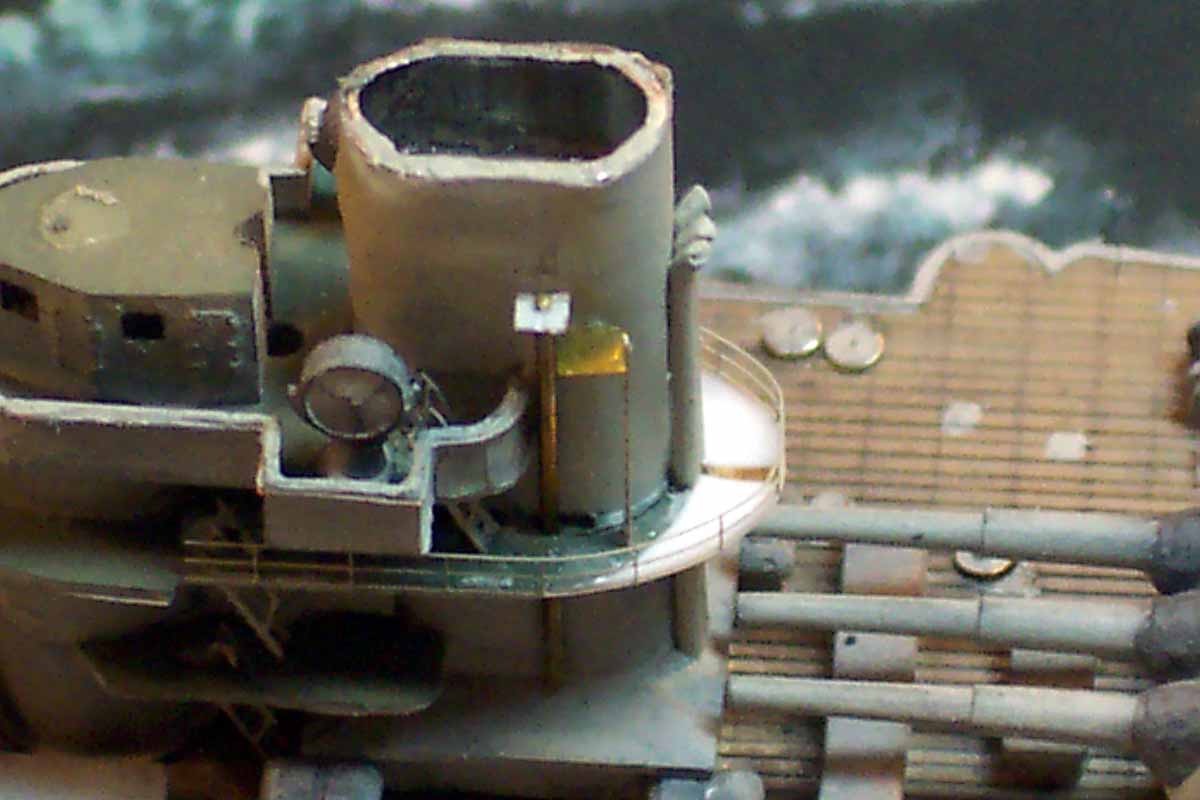
It was while assembling the fwd tower structure I realised
that in comparison to photos the fwd and centre funnels were too short
in relation to the towers... once again I SHOULD have planned ahead...
(and spotted it at the dry fit!?!) But nevertheless decided to extend the
funnels in situ as they were now inextricably attached to the deck and
fwd Bridge tower. With the motor tool I ground off the two funnel tops
and extended them with alloy tube wrapped in gummed paper to bring the
diameter up correctly.... the photos how how I madethe new funnel
top flanges with wire circles and white glue.
|
|||||||
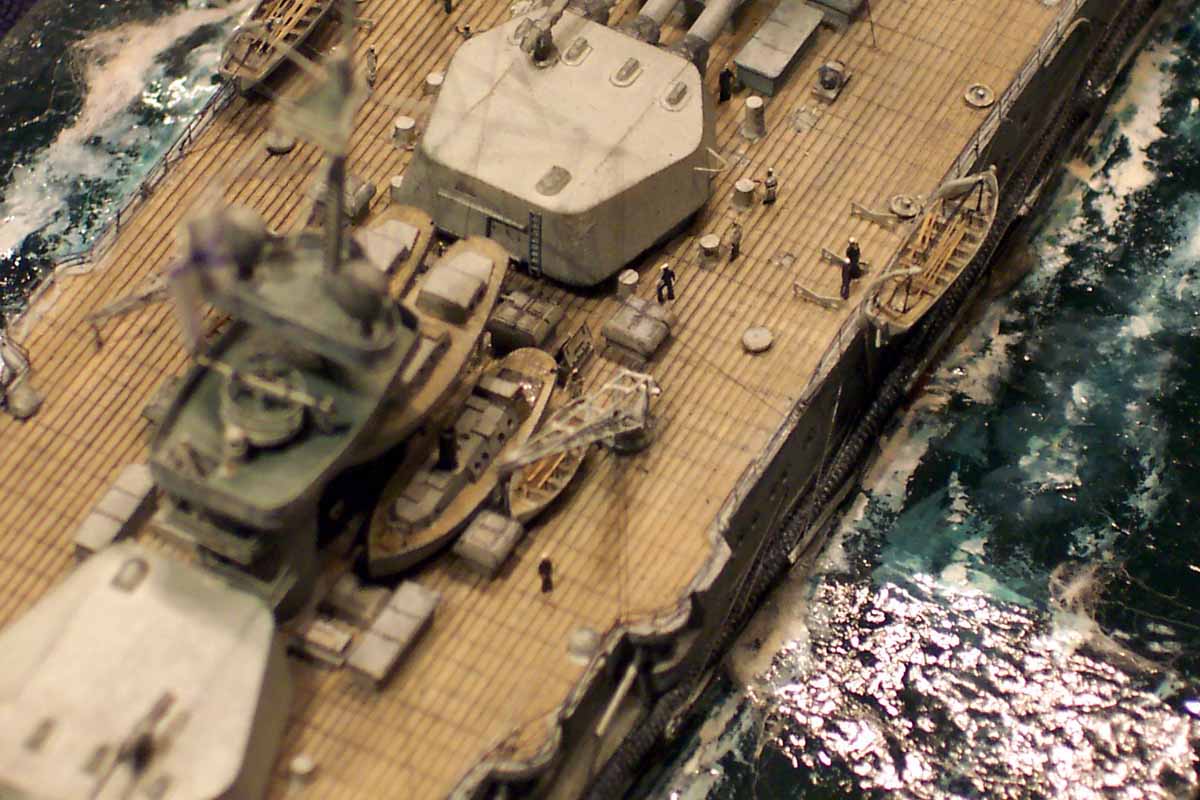
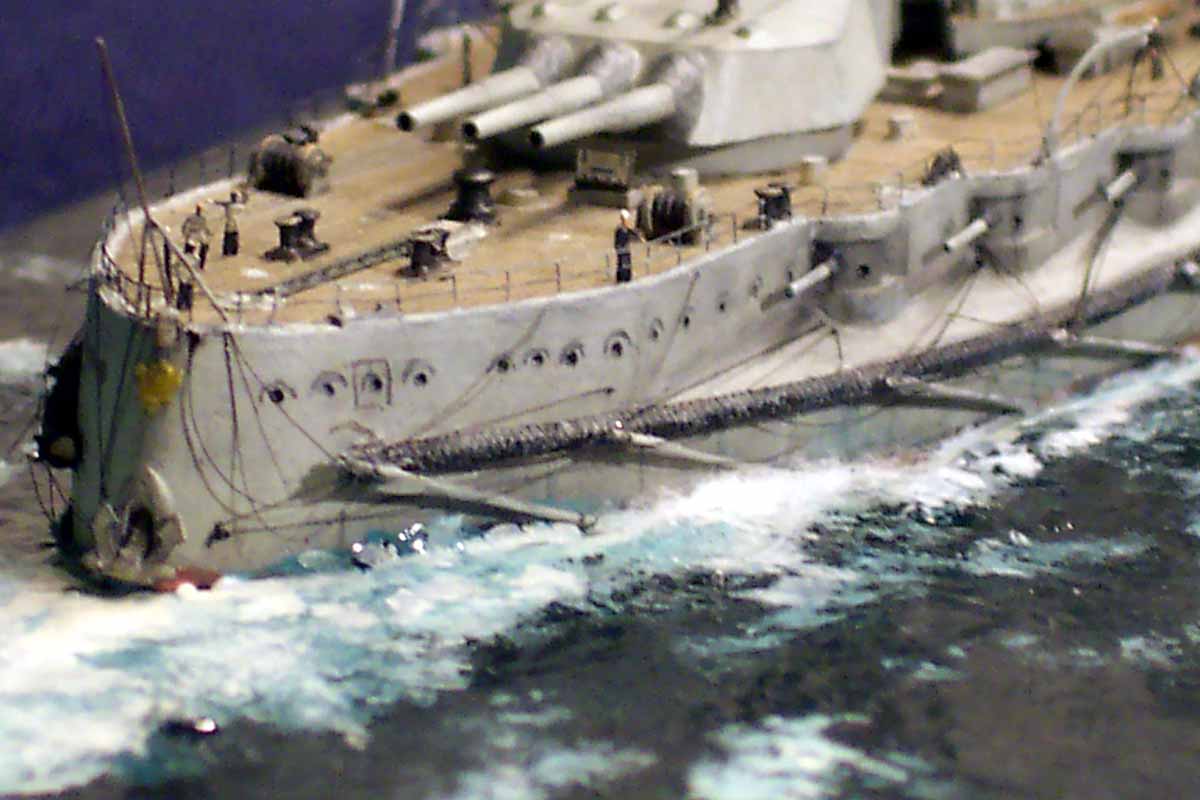
| The kit came complete with a small etched fret containg among rails(clunky) the distinctive Bow crane used I believe in Paravane operations... at first sight it seemed great, checking with photos showed it neede work. The side members were supplied as solid,the photos show a fine lattice work... I cut down the existing top and bottom and added lattice sides cut from GMM Chiyoda crane set and labouriously fiddled them to shape. I scratchbuilt the pullet gantrey on the bow as the supplied was overscale(photo 1276).This added greatly to the delicacy of the bow. | 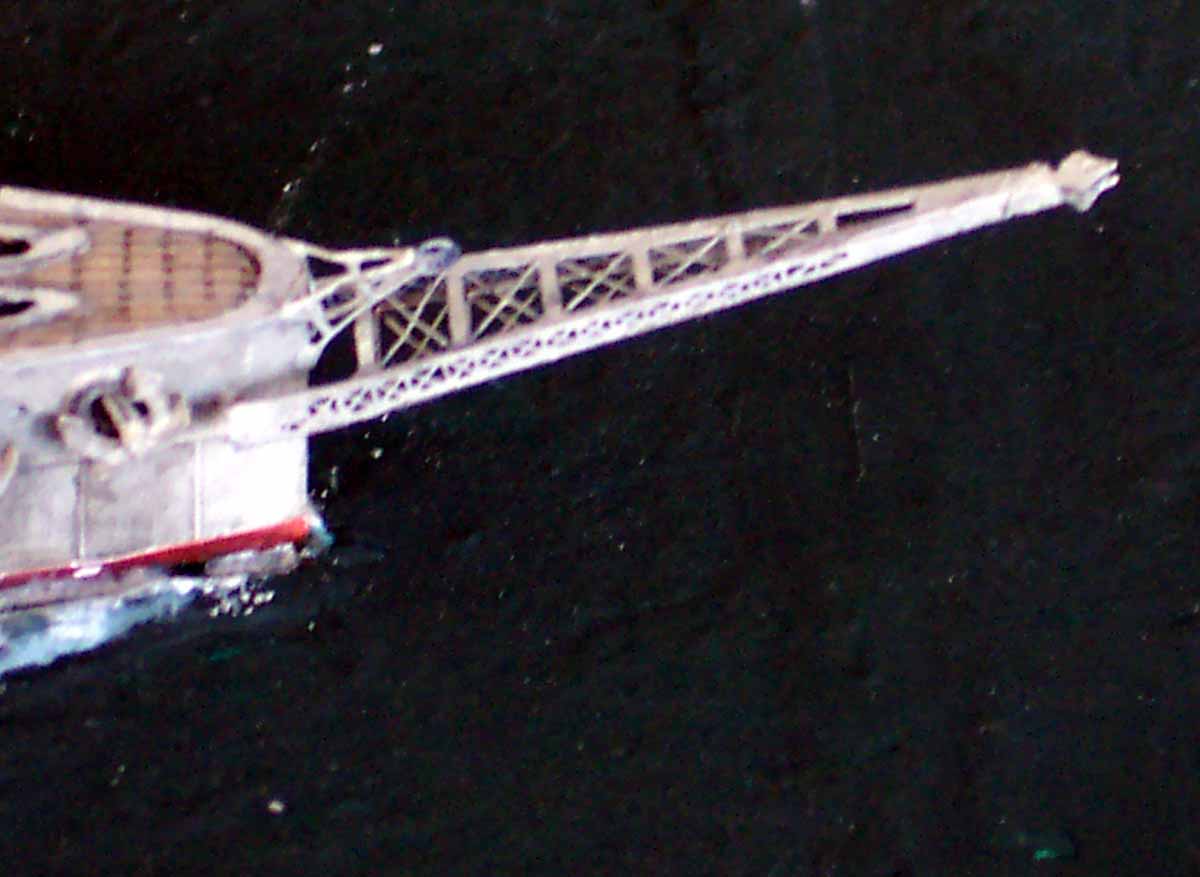 |
||||||
|
|||||||
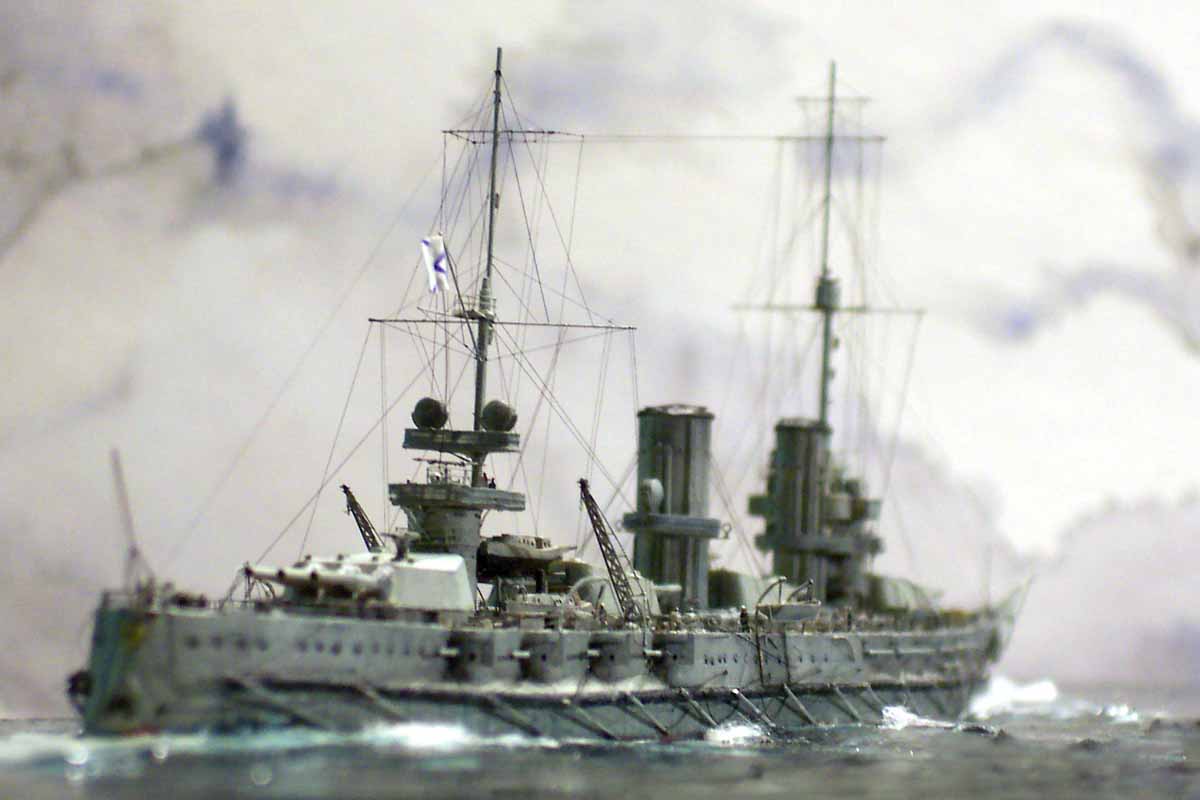
| The etched boat cranes as supplied were overscale and did not have enough lattice work according to photos, I used some Toms Modelworks IJN carrier radio masts doubled to give depth. The fwd mast lookout was used from the kit, but was cut open to give see thru effect and installed on new metal masts The torpedo net was thin elastic cord drybrushed to bring out the weave, this worked quite well once the booms were installed and rigged. | |||||||
|
|||||||
| The model was painted in WEM colourcoats and weathered using ground pencil lead dust applied with a stiff paintbrush and worked well (the ship never got old, just sooty!) | |||||||
|
|||||||
|
|
|||||||