| FLAGSHIP MODELS has recently purchased
a number of molds from LONESTAR MODELS, including their line of 1/192 ships,
which mostly specialized in Civil-War era craft.
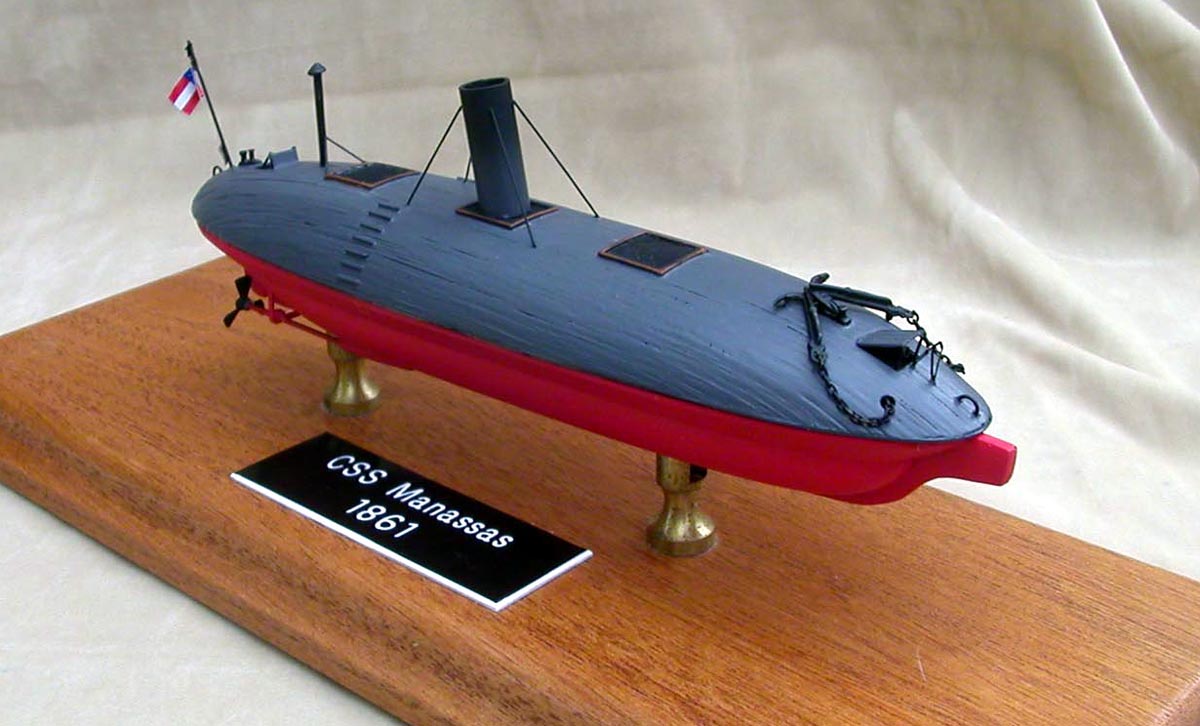
Lonestar always had interesting subjects which were usually unavailable anyplace else except in gaming scales. The kits themselves, however, could be described as gems in the rough, requiring a fair amount of work to get the best results. Flagship has cleaned up the molds and added a number of products which improved the kits significantly. I was very pleased with my CSS Manassas, a Confederate ram that was converted from a steam screw tugboat. The original tugboat, the ENOCH TRAIN, was cut down and the topside replaced with a curved armored turtleback, which looks decidedly odd, but which reportedly was quite good at deflecting shot. The armor was made from railway track hammered flat and attached to a thick wood backing. An oak ram was the main weapon, but there was also a recessed 32-pound gun mounted in the bow. |
||||||||||
| HULL | ||||||||||
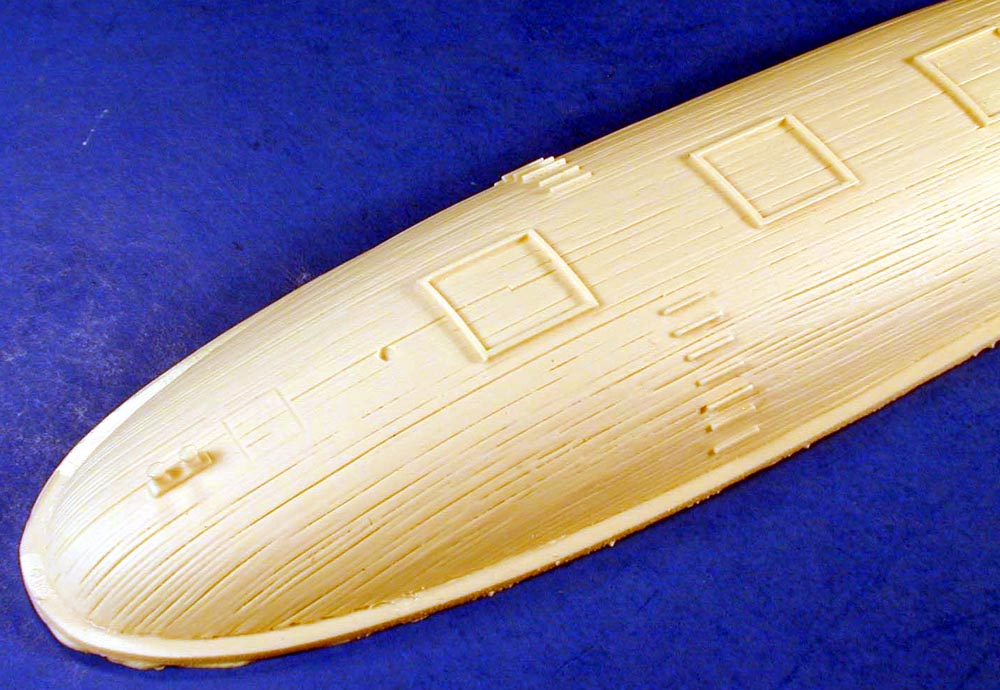
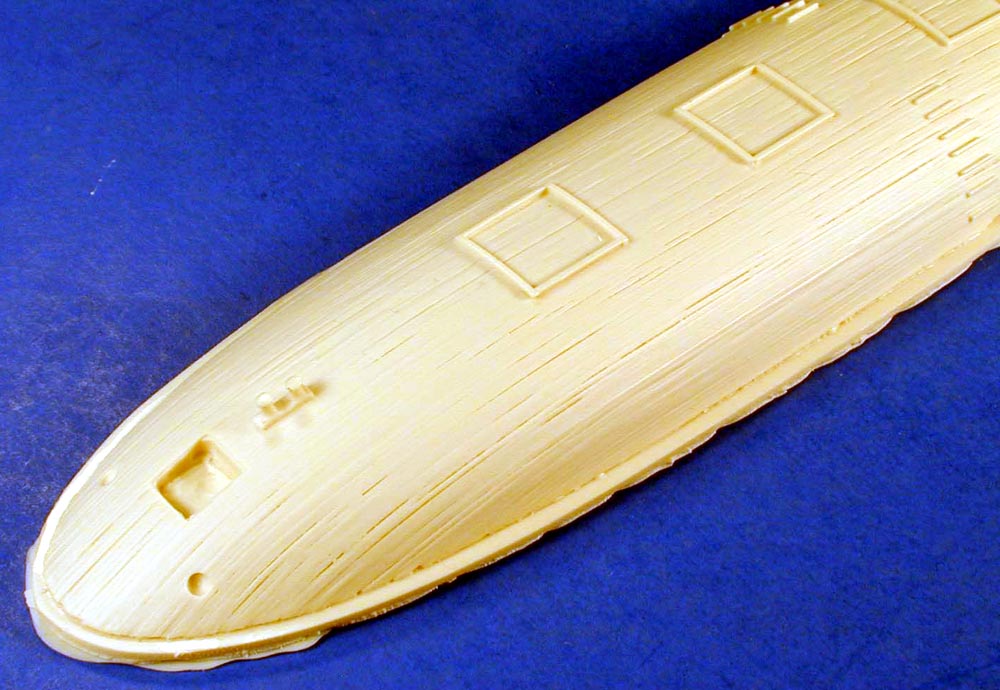
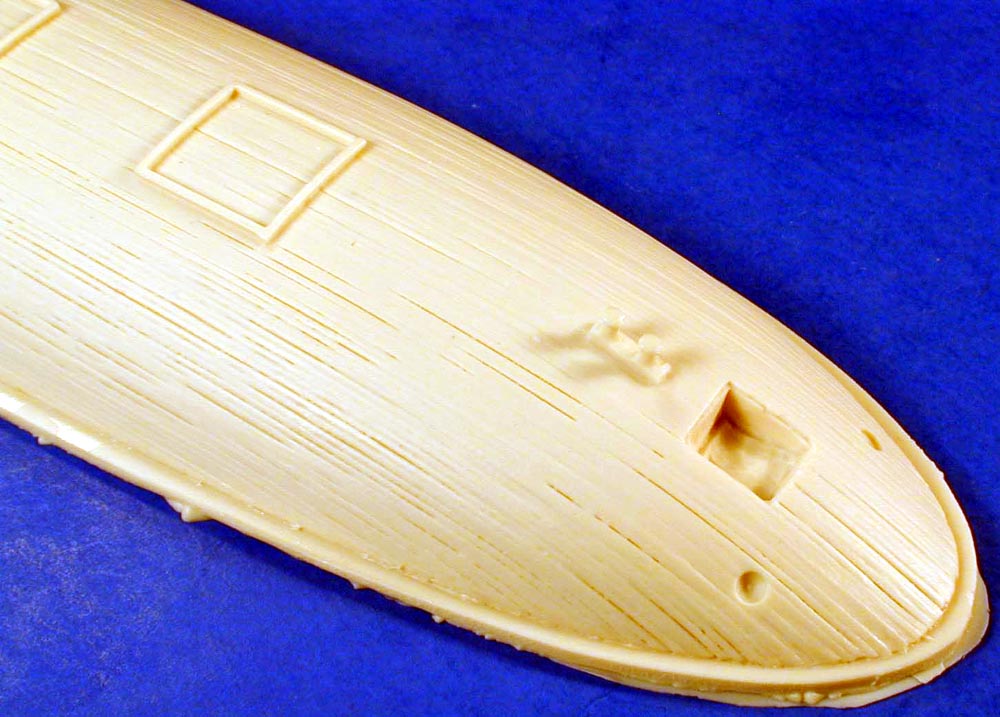
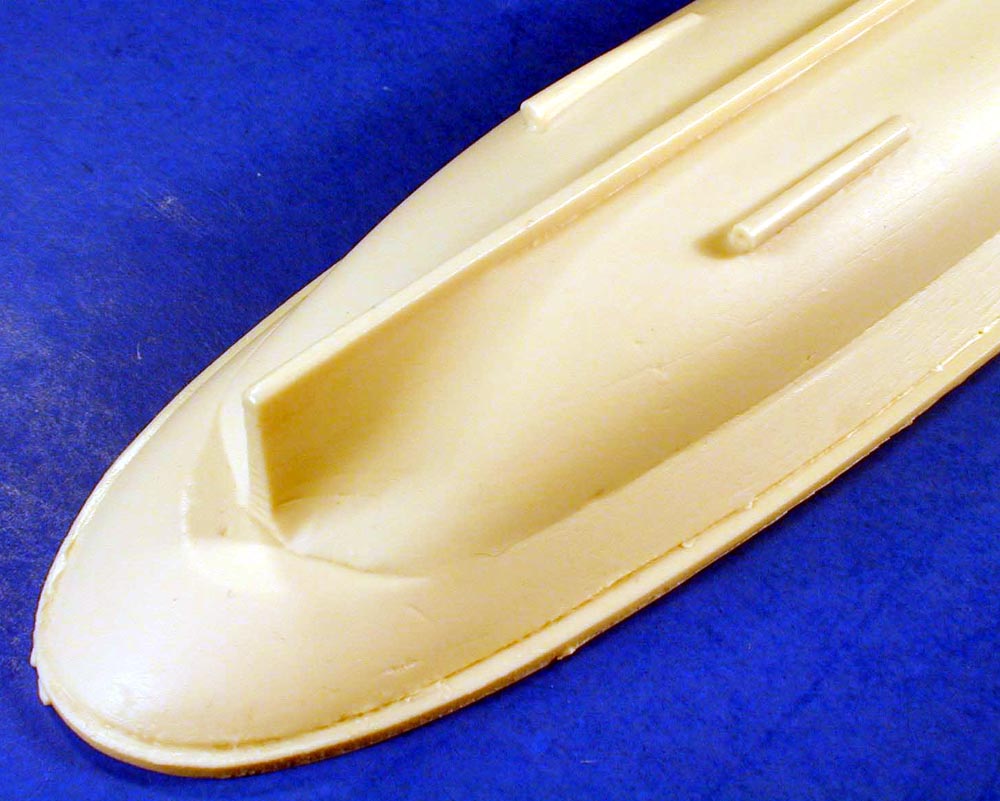
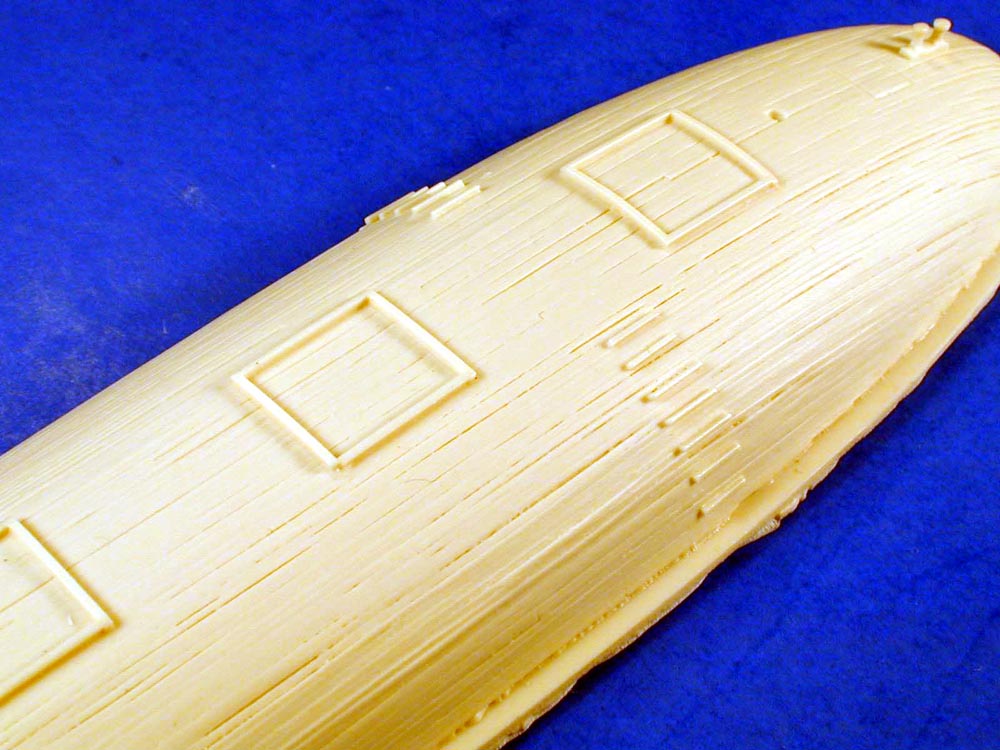
| The upper and lower hulls are crisply cast, and need little cleanup. The only problem is the hulls are cast in an open mold, and there is about a sixteenth of an inch of resin that must be removed from the mating surfaces. A power sander will make quick work of this. I used a wood rasp, which kept the noise and dust down, but took me two days to finish. |
to enlarge 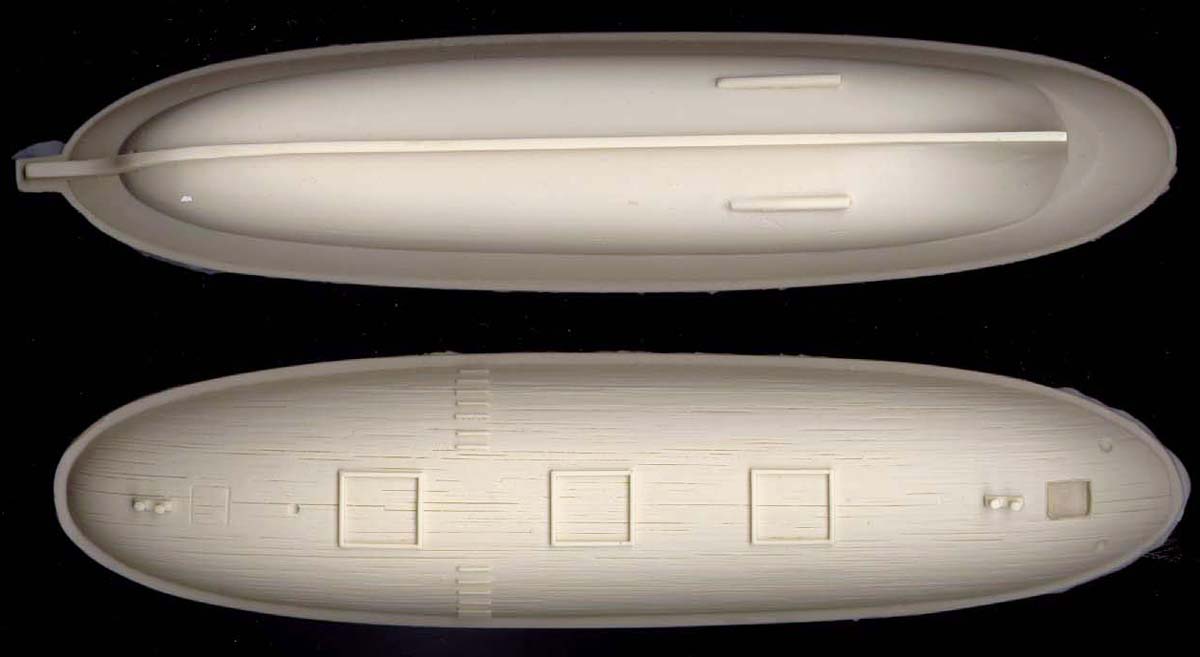 |
|||||||||
|
||||||||||
| RESIN AND METAL DETAILS | ||||||||||
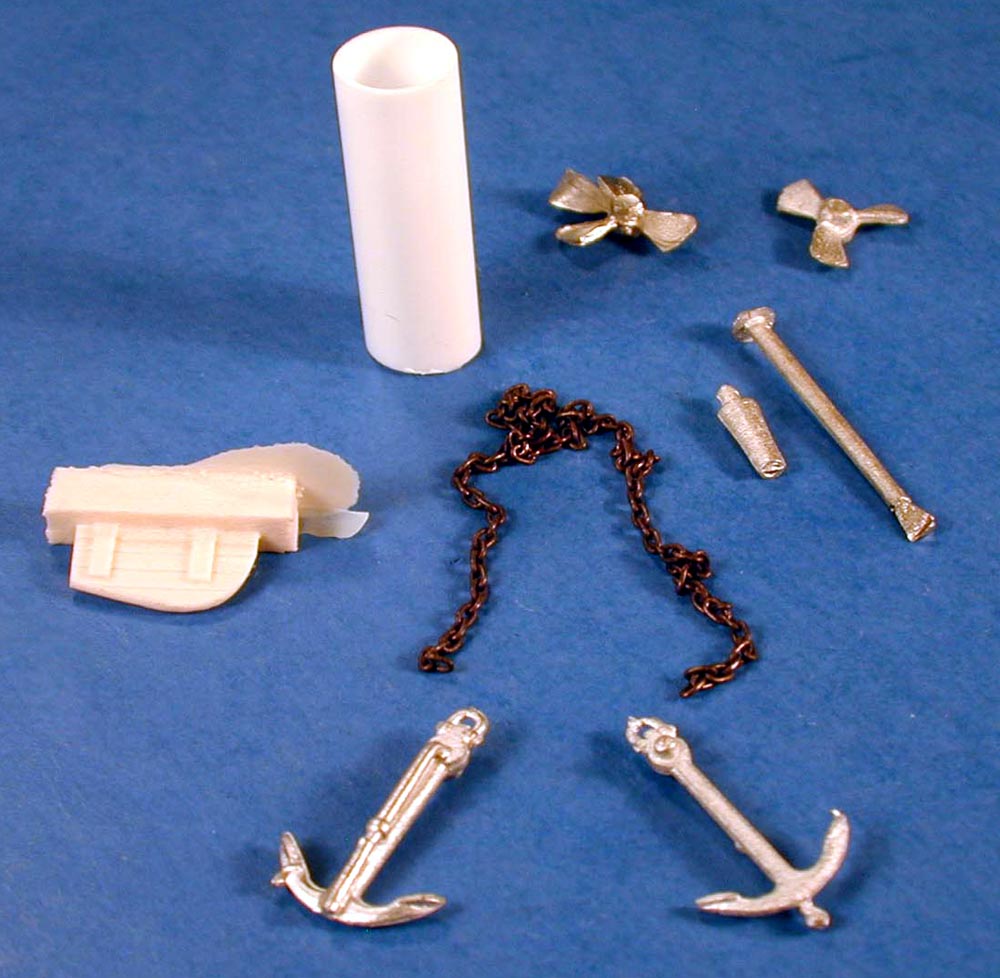
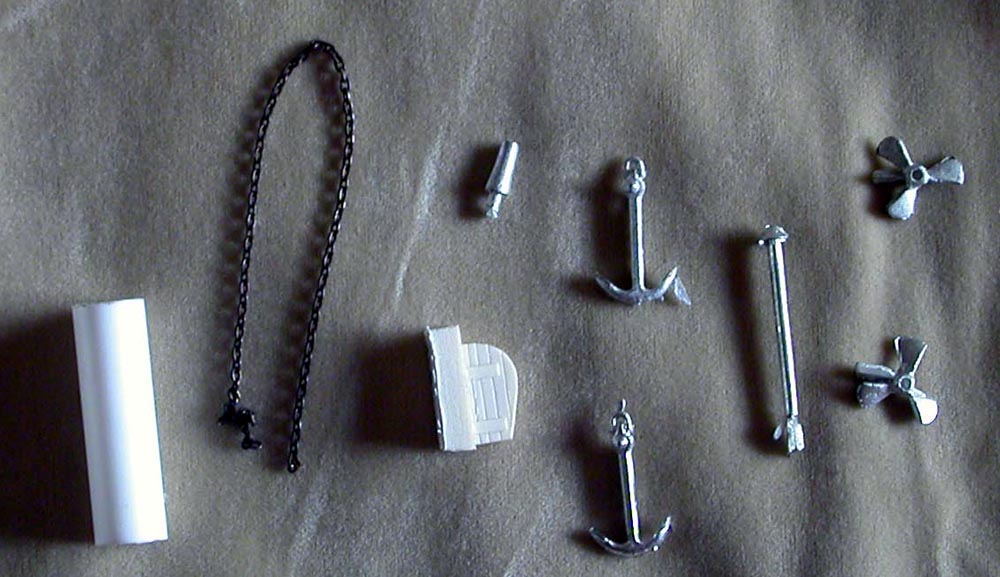
Screw propellers, a gun barrel, anchor chain and anchors
(molded in the stowed manner, with the crossbar folded back along the stock),
and a tall vent pipe are included. There is some flash, but it is cleaned
easily with a small file and a sanding stick.
|
||||||||||
| PHOTO ETCH | ||||||||||
| The most obvious improvement is the inclusion of a photo-etch fret. This looks intended to be part of a larger standardized fret, to be included in all kits, as the fret includes different styles of gunport cover and davits, none of which are needed for the Manassas. All you will need from the fret is some mesh, the anchor davit, and depending on how detailed you want to get, some of the provided tackle. The rest will make excellent additions to your spare parts pile. | 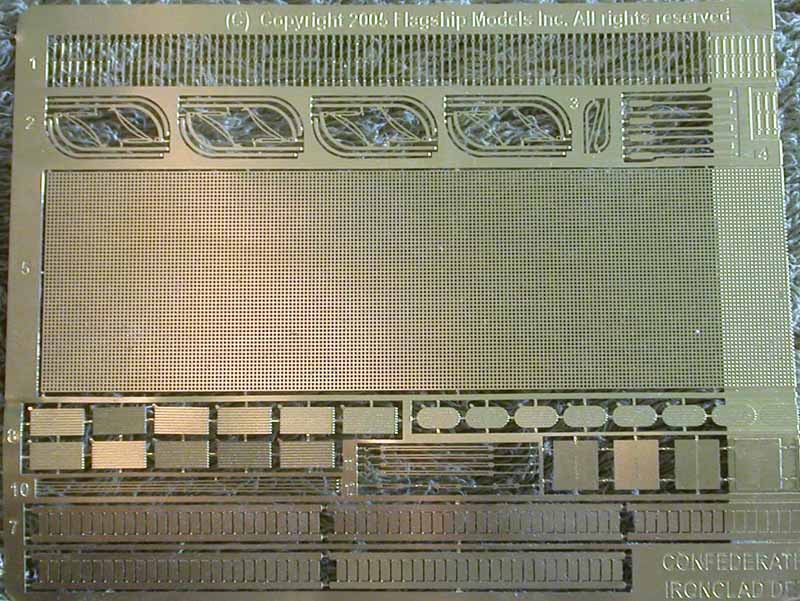 |
|||||||||
| DECALS | ||||||||||
| A decal sheet with various Civil-War era flags is included, with descriptions as to which time frame is appropriate for a particular ensign. | 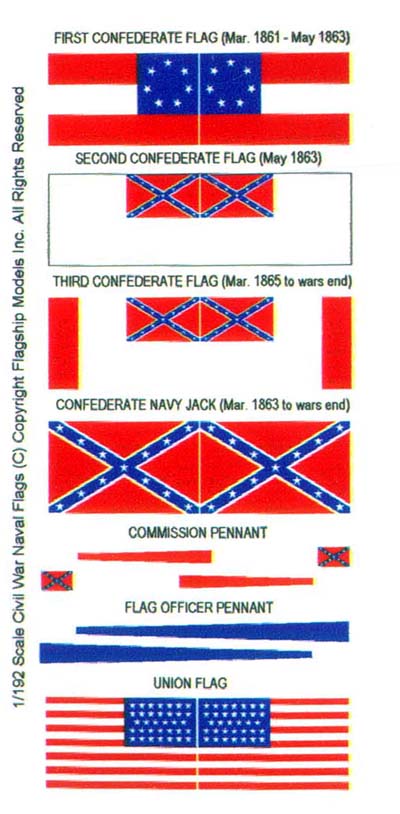 |
|||||||||
| INSTRUCTIONS | ||||||||||
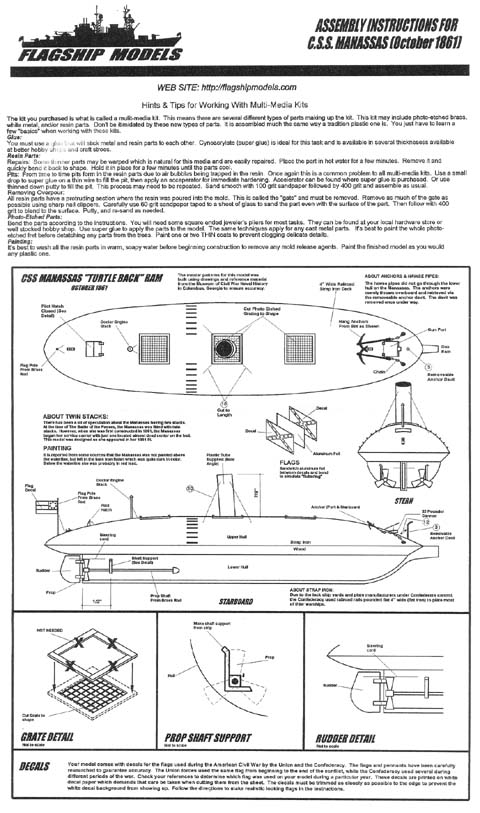
Lone Stars instruction sheets consisted of a large line
drawing with notes regarding placement of various items. Flagships sheets
are much more detailed, and include which references were used to determine
layout.
|
||||||||||
| THE BUILD | ||||||||||
After removing the resin overpour, the lower hull went
together quickly. The rudder was attached and short lengths of fine brass
rod were used to make steering cords. You must provide your own rod for
the screw shafts, and braces must be scratchbuilt from strip. Fortunately,
a detailed drawing of how the shaft braces should look is provided. The
entire lower hull was shot with Model Masters Flat Red from a can. The
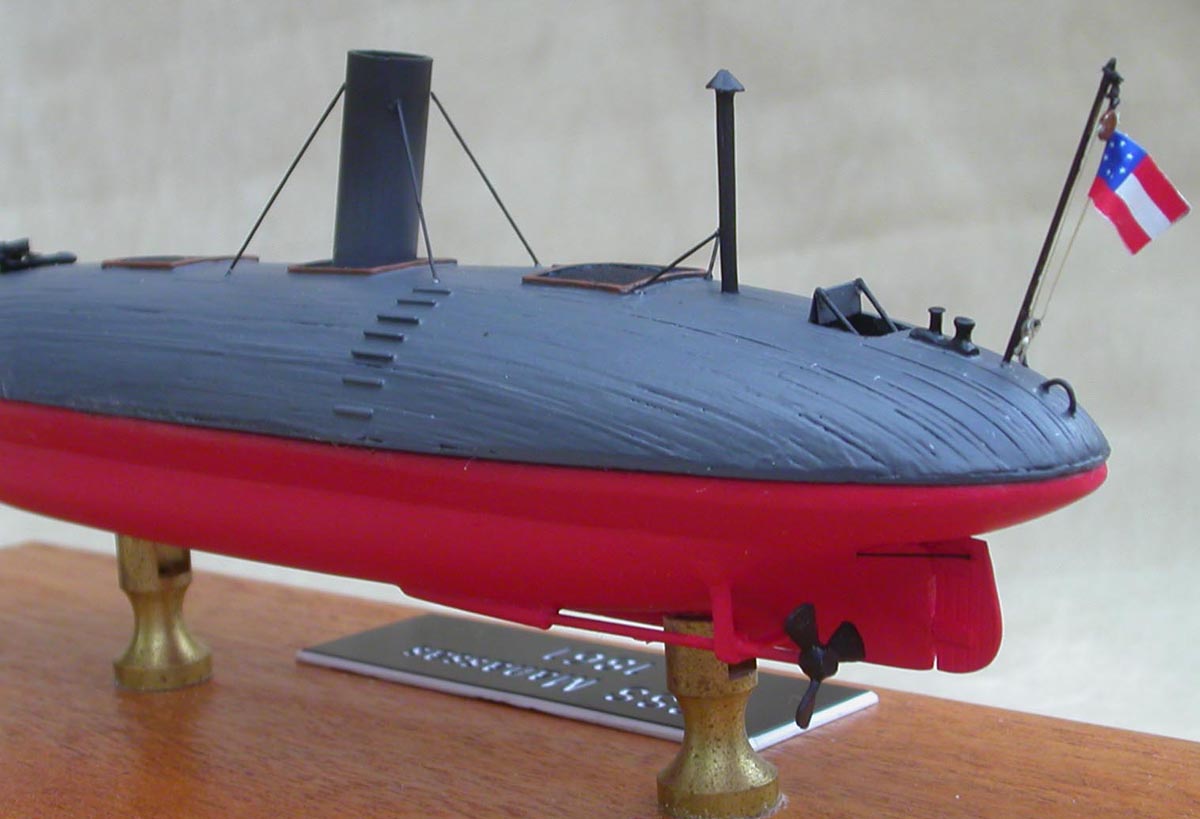
screws were cleaned up, brushpainted flat black, and attached. The lower
hull was then set aside.
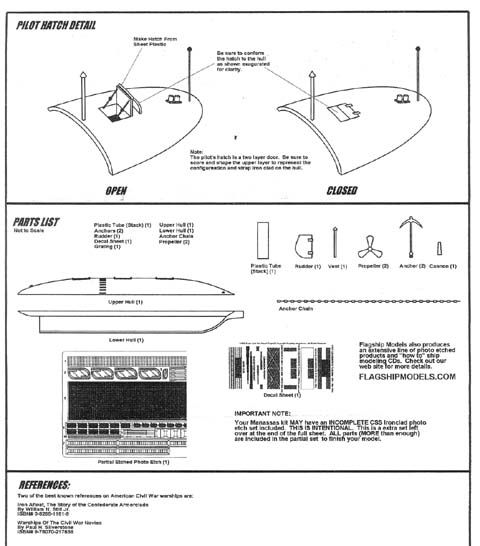
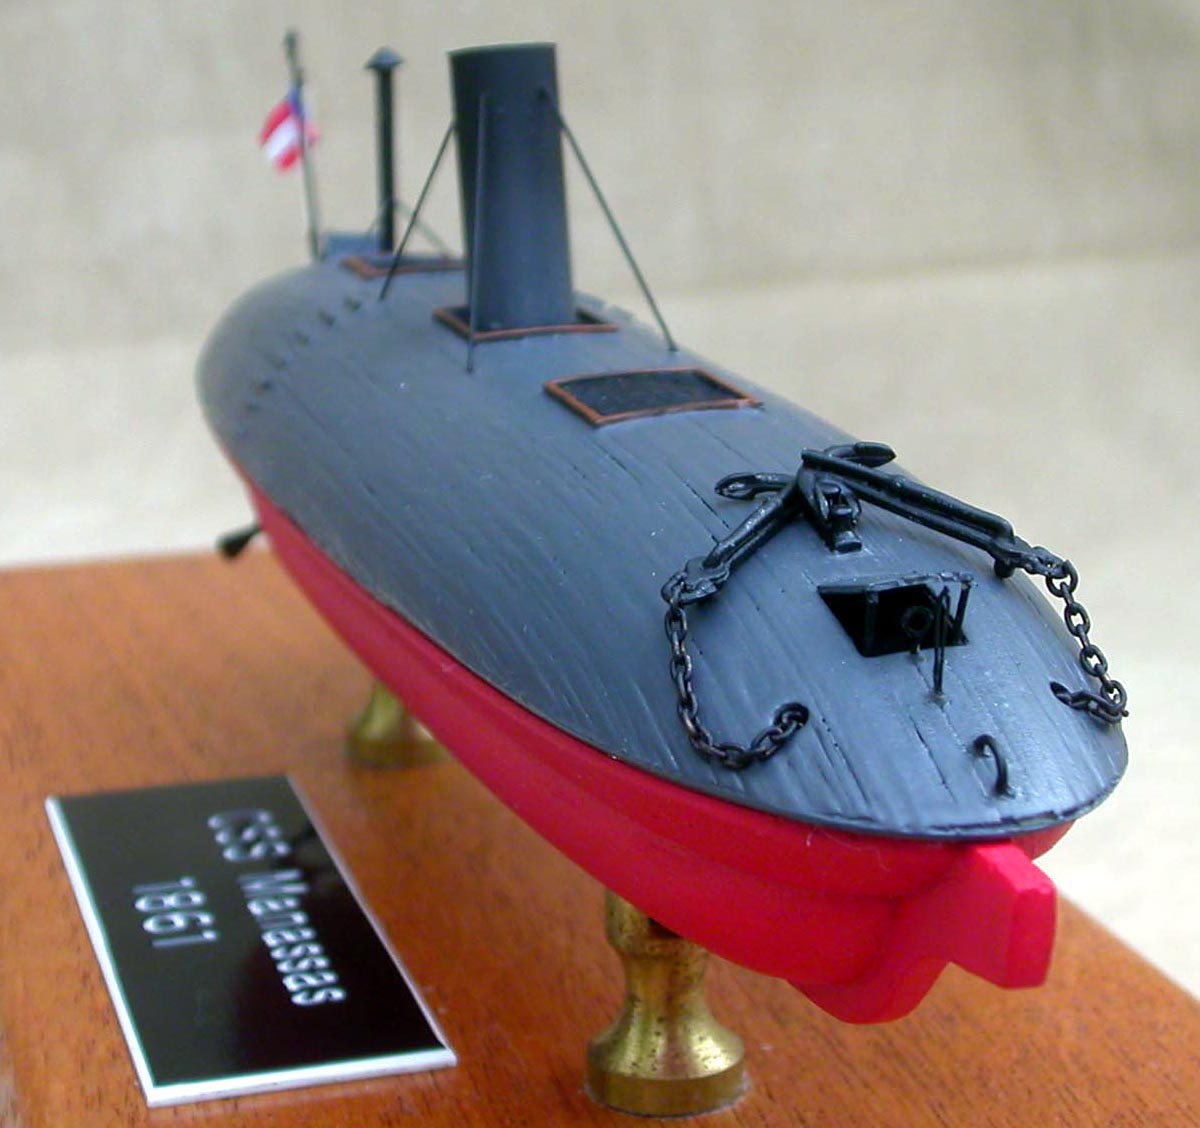
I scratchbuilt a flagstaff from rod. Deciding to take advantage of the hatch covers provided with the metal fret, I drilled out and squared the pilots access hatch, then attached a folding hatch cover with brass rod bracing it open. The attachment point for the vent pipe is indicated by a shallow depression, which I drilled out a little bit to provide a more secure placement. The brass mesh was cut and glued into the topside ventilation ports. The plastic pipe was cut to the appropriate length and angle, then glued into place. Rod was used for the stack braces. The gun barrel was attached and a piece of plastic card, scored along the top to match the armoring and bent to match the hull curvature, made an armored hatch cover. The anchor davit, anchors and chains were then attached. The two hulls were glued together and placed on a base.
|
||||||||||
| CONCLUSIONS | ||||||||||

This would be an excellent first resin kit for somebody new to the media. It took a little over two weeks for me to build the kit, but I am notoriously slow and my job takes me away from home for a couple of days every week. I believe an experienced builder could easily do a superior job of this kit over a weekend. This is kit #FM19201 1/192 CSS Manassas with a price of $55.00 US. You can even buy it online at the Flagship website using a secure server powered by Paypal. |
||||||||||