 |
|
|
| Back to Menu | |
|
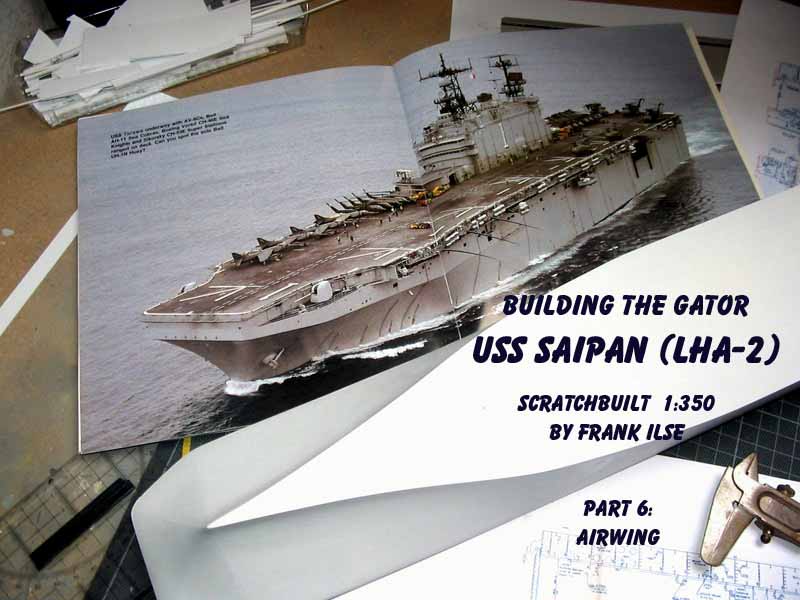
It was a helicopter kit that made me think about this project. A few years ago Kelly Quirk reviewed the Sea Knight in 350 scale from Corsair Armada on modelwarships and I instantly thought: Must be great to have a Tarawa or Wasp class with all those goodies on deck. I knew there were Stallions from White Ensign and I thought of scratchbuilding the Cobras and Harriers necessary to complete the airwing and set to work with the ship. Commander models came up with Harriers an Cobras a while ago and completed my airwing, but did not keep me from scratchbuilding.... |
click images
to enlarge |
 |
|
|
I purchased six Sea Knights from Corsair Armada, four Sea Stallions from White Ensign, a package of three Cobras and one Huey and four Harriers from Commander models. In addition I ordered four sheets of their Marine Corps helicopter markings in 350 scale, a really excellent decal sheet with markings in high viz and two various low viz schemes. You also get decals for the cockpits and side windows as well as non skid areas for the Sea Knights and Stallions. |
 |
|
All helicopters and the Harriers are resin cast, but of very different quality. The Sea Knights are cast in a fine grey resin with delicate engraved details. You have to add the rotor heads and the undercarriage but there is no photoetch for the rotors. I have to cut them from a very thin plastic sheet, 36 blades in all, work that still lies ahead.... |
 |
|
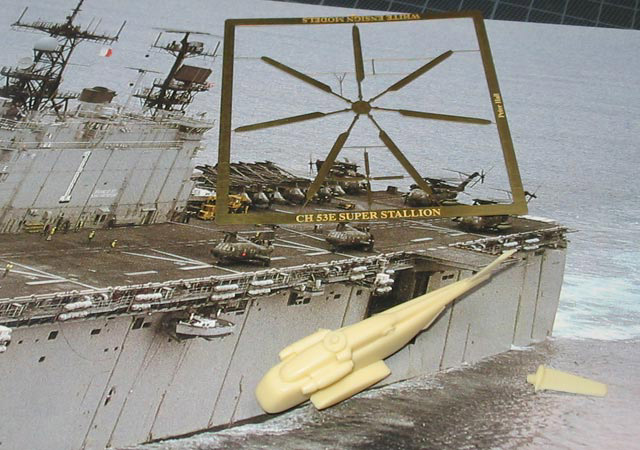
The Stallions come in a creamy colored resin, very fine cast, but with no details. And you get etched rotors. The Cobras and the Huey are cast in a greenish resin. The casting is poor, but you get photoetch rotors as well. The Harriers are of an equally poor quality. They are basic and had to be reworked. |
 |
|
I cleaned all kits and primed and coated the Knights and Stallions first, adding some detail like refuelling probes and side tanks to the Stallions before. Then I airbrushed them using light ghost grey on the sides and dark ghost grey from atop, lighted with white in a 50:50 rate before. After a coat of gloss varnish (White Ensign colorcoats) I applied the decals and sealed everything with a coat of matte varnish. |
 |
|
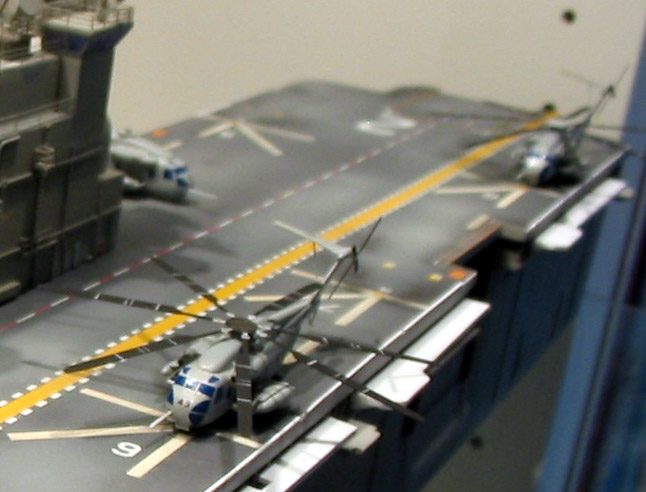
As for the Stallions I decided to present two with unfolded rotors and two with folded blades, one of them in the hangar and one will be maintained on the flightdeck. The fotoetch rotors go on the kits without problems. I added a main-rotor-cap from styrene so far for the big ones on deck. |
 |
|
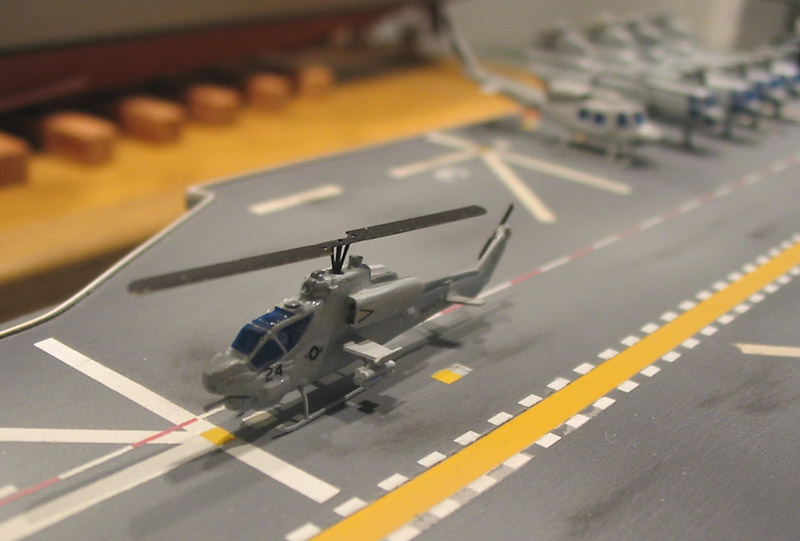
The Cobras and Harriers are a different story. First I cleaned up the Cobras and repaired the sink holes and bubble holes with putty. I cut off the small wings and stabilizers and sanded everything to shape. Then I added new stabs and wings from 0,25mm styrene sheet, followed by small Hellfire racks, made from photoetch leftovers and 0,5mm styrene round. Then everything was primed and painted and decaled. The photoetch rotors go on without problem and were added as the last step. |
 |
|
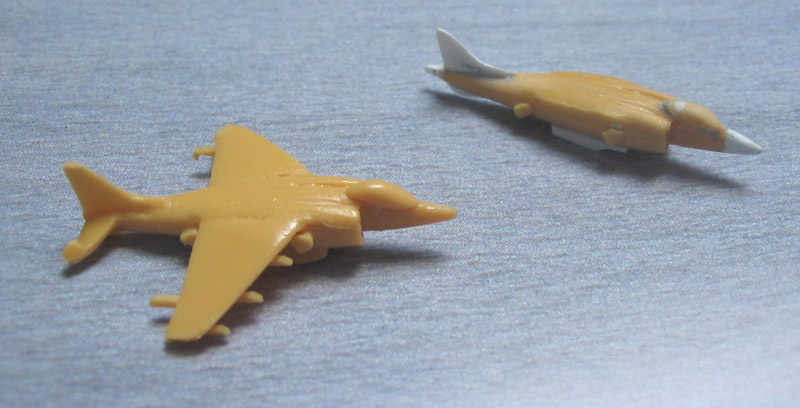
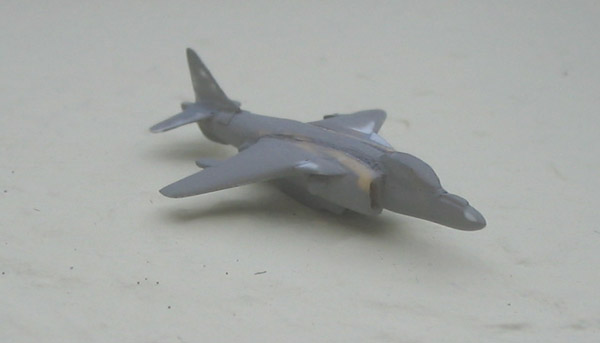
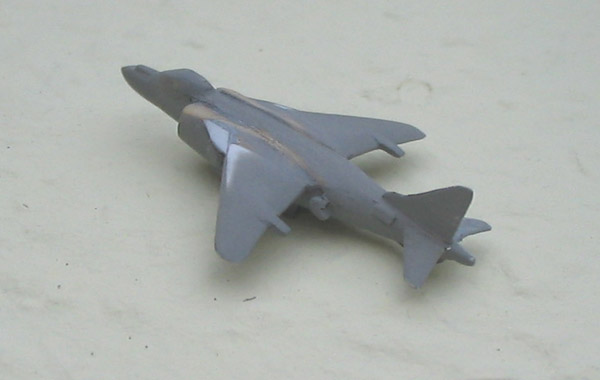
The Harrier for my model is a Commander fuselage with new nose, new rudders and new wings scratchbuilt from styrene. As you can see in the pictures what you get differs strongly from what you have to do to make it look like a Harrier II. I primed my conversion and right now it is with Dirk Mennigke who will cast a few of them using my kitbash as a master. The new Harriers will be ourfitted with fotoetch racks, droptanks and a new undercarriage. |
|
|
Part 6 the last one will be on touchups, final arrangements and yes the crew. |
|
 |
|

© ModelWarships.com