Imperial Japanese Navy Destroyer Yukikaze 1940
Snowy Wind

In-box Review by Tracy White
In-box Review by Tracy White
| FIRST IMPRESSIONS
I'm a big fan of box art and box design. I still have fond memories of Lindberg's old Bismarck kit because of the box art, even though the kit was a dog. The Yukikaze lives up to this with an excellent painting of Yukikaze in a clean box with little clutter. If it weren't for the "Bonus Kit" blurb concerning the Emily flying boat the box itself would be as suitable for display as the built up kit. The box is the side-opening type, which I'm not a fan of, but inside is another cardboard tray type such as you get as the bottom of most model boxes. Well packaged polystyrene encased plastic trees greet you, neither packed so loose that you feel you spent a lot of money on air, nor so tightly packed that you're afraid to start on it lest you aren't able to get all the parts back into the box short of breaking out your old suitcase-sitting packing skills. Inside are twelve plastic sprues, two trees of soft poly caps, a section of chain, decals, and instructions. Engineering looks superb and detail is fine and crisp. Sprue attach points are secure yet small enough that the builder won't destroy parts removing or cleaning them up (although Parts A14 and A15, the flag jack staffs will be a little more difficult than the rest). Details are raised with fine lines. Parts are well molded with minimal flash or clean up. Knocking pin marks are on the inside surfaces where they won't damage or destroy detail, and are cleaner than Trumpeter's, so there should be less clean-up and test fitting for parts. Overall the kit is comparable to Tamiya's 1/350th Fletcher class kit in out-of-the-box quality. |
||||||||
| SPRUES | ||||||||
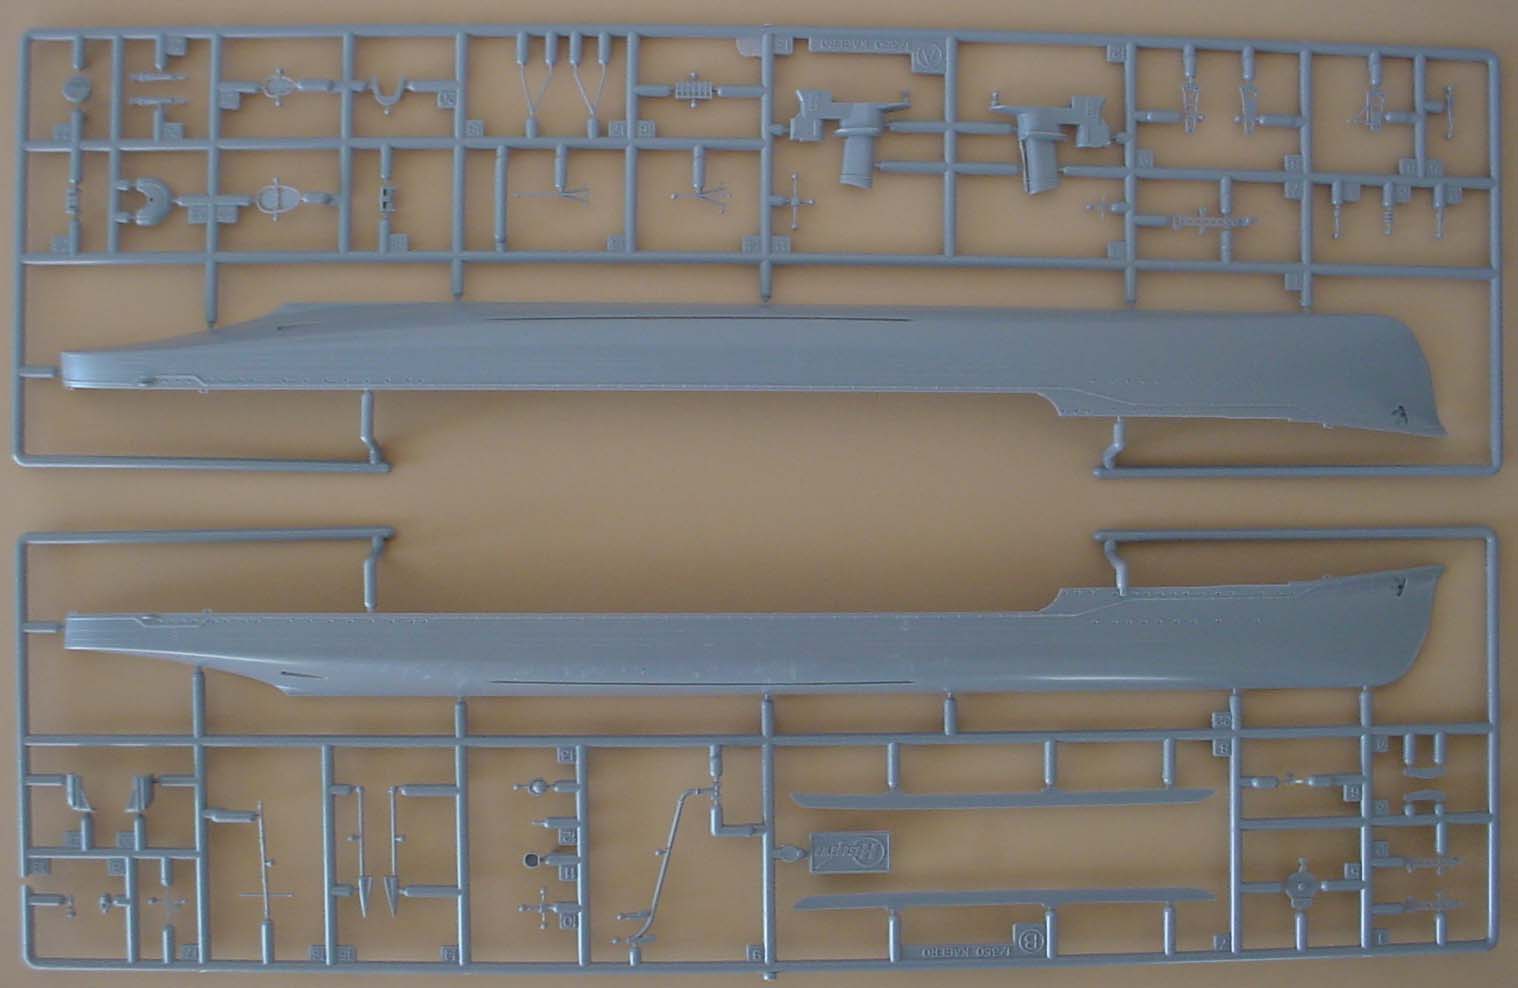
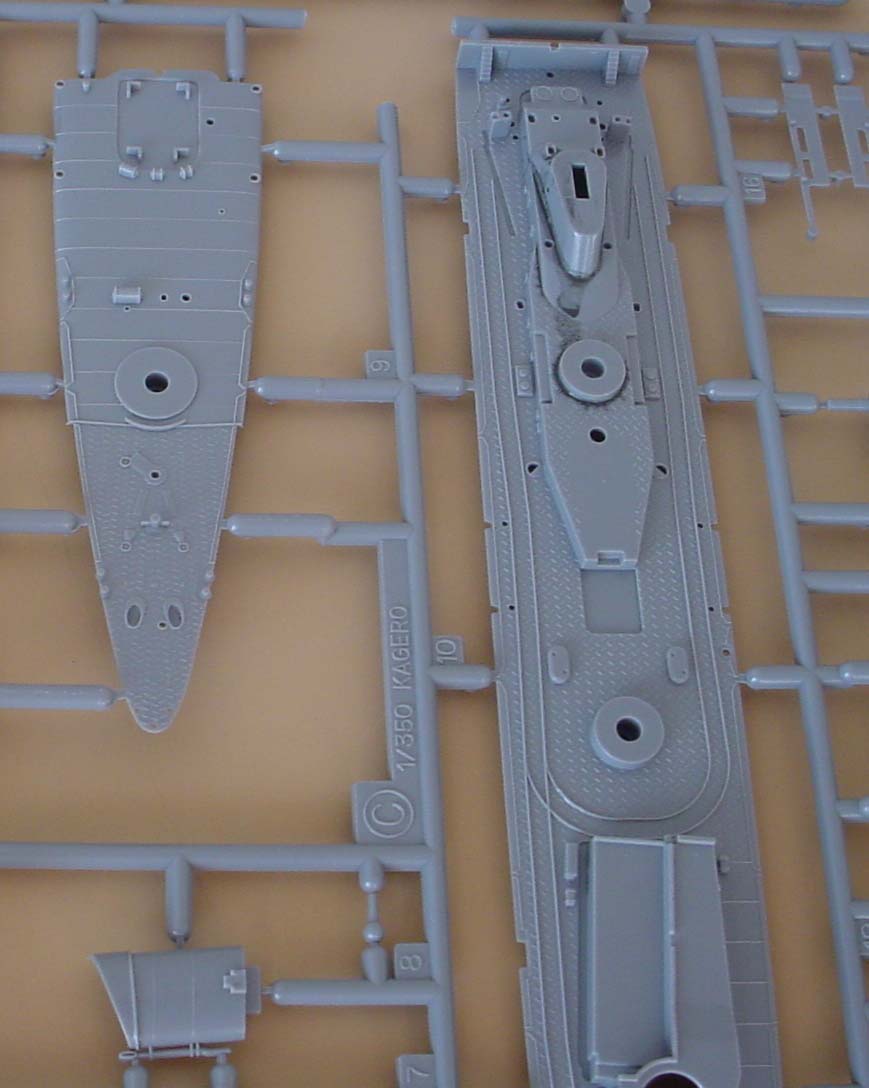
| Tree A contains the port hull side and some of the superstructure and
deck details. The hull itself is not engineered to easily convert the kit
from full hull to waterline... a shortcoming for some but really the only
drawback I can see in this area. The funnel caps are well molded and would
serve well even if whatever photo-etch set you might wind up with has a
replacement set, which themselves would be quite fiddley given the arrangement.
Tree B contains the starboard hull side and some deck fittings as well as the shafts, masts, and bilge keels. |
||||||||
|
||||||||
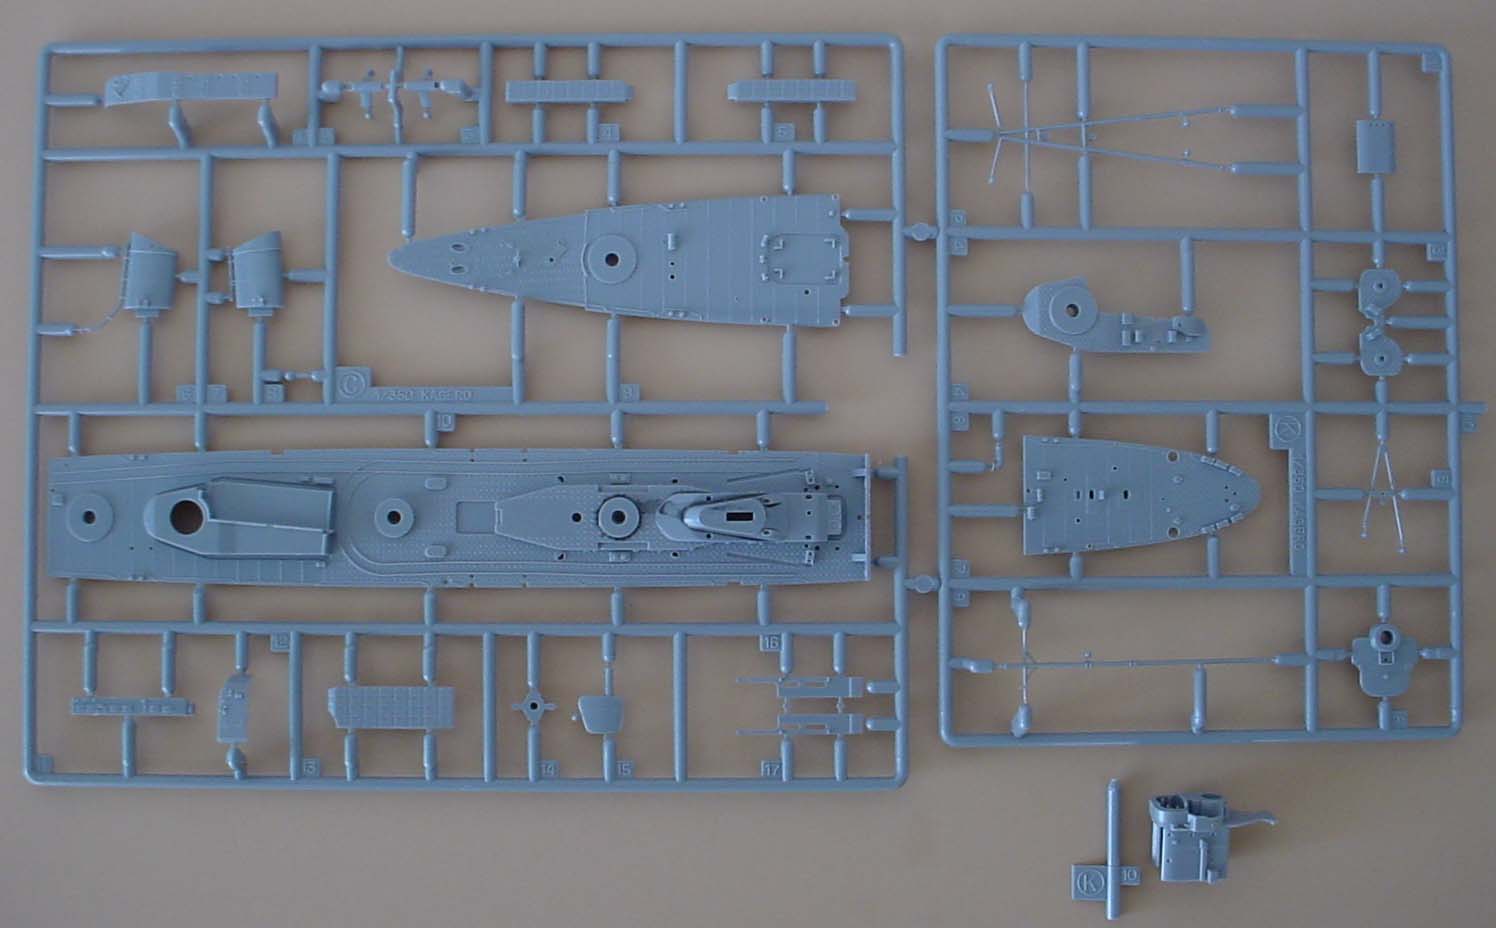
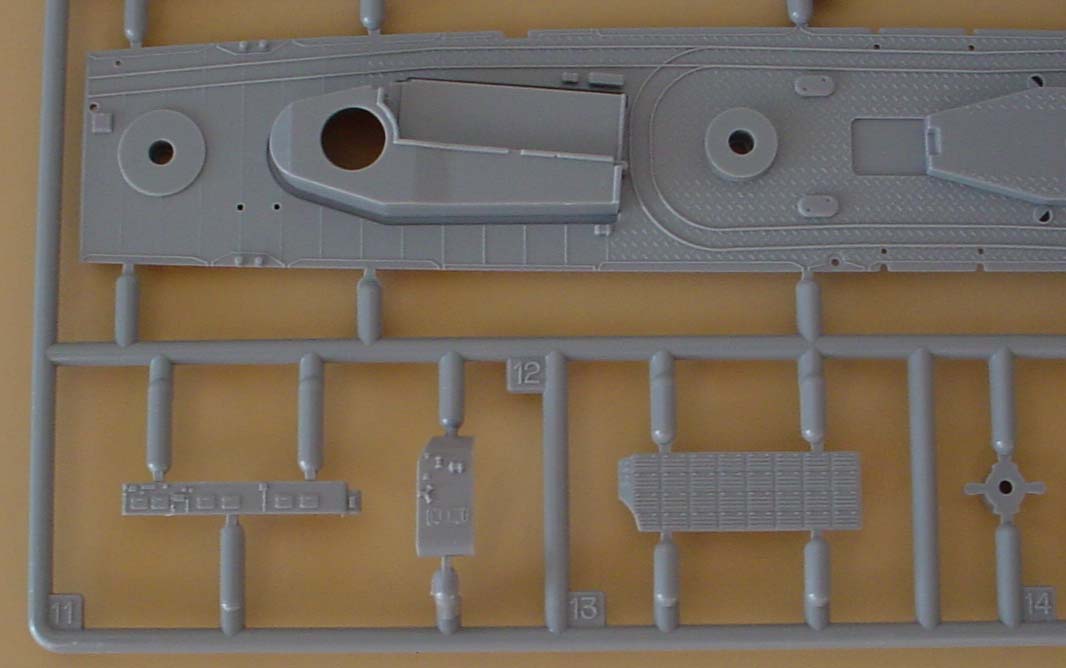
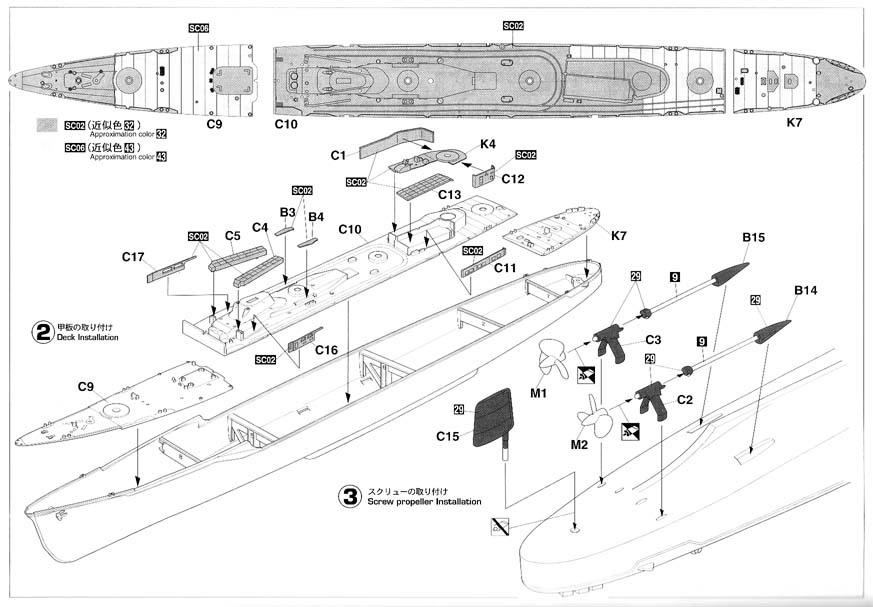
| Trees C and K are joined and contain most of the deck and deck fittings
for the kit. The time and effort Hasegawa put into this kit really shows
here. The watertight doors appear to be raised lines instead of raised
panels with raised lines; this will be welcome for those that like to shave
off their doors and replace them with PE sets, but will be a bit of a hurdle
to those used to just slapping a wash around them to pop them out. Some
of the watertight doors on the main deck superstructure have no detail
due to the molding process and will benefit from PE replacements. The deck
detail itself may be over scale but not overly so. There was a heavy drip
of oil on my C tree (look on this photo)
so you may want to be extra carefull to wash parts before priming and painting.
The forecastle deck area is going to be interesting as for some of the length of it the deck edge curves down to the hull. I haven't found any clear photos of how this area looked in 1940 (it was changed on the ship later) but it could be an interesting area to photoetch. |
||||||||
|
||||||||
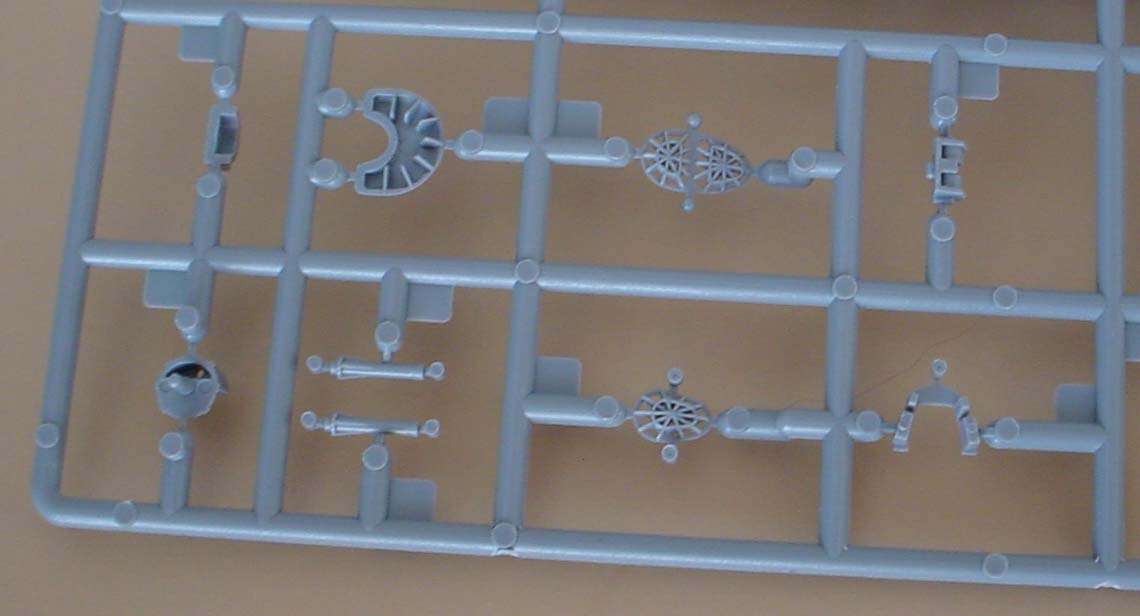
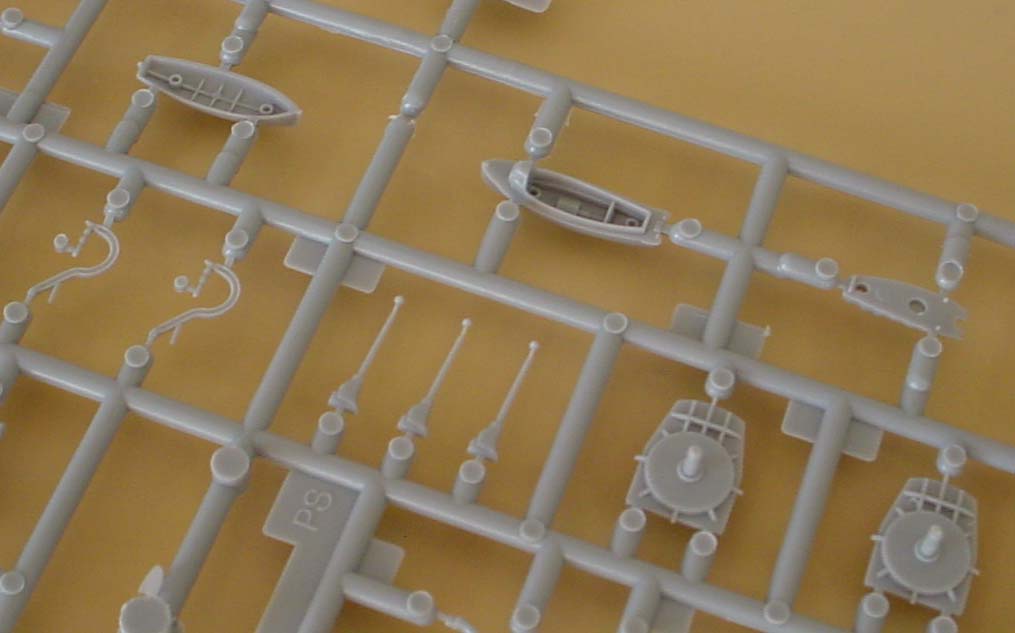
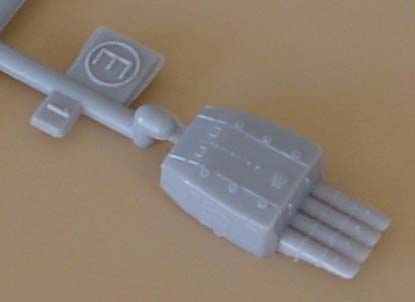
| The below pictures are of some of the smaller trees, D, E, F, N, S.
My first reaction to this was a sudden desire to go watch the Michael Douglas
movie "Falling Down," but I digress. My only real comment on these trees
is that once again you can see that Hasegawa put some effort in to ensure
that parts removal would not guarantee destruction of same! The detail
on the torpedo tubes, depth charge Y-launchers, and boats is exquisite.
Tree S contains parts for the base and no less than five lateral braces which are provided for the hull halves to strengthen the assembly. While I don't recommend playing whack-a-mole with the assembled hull, you should be safe with anything other than gross mishandling. |
||||||||
|
||||||||
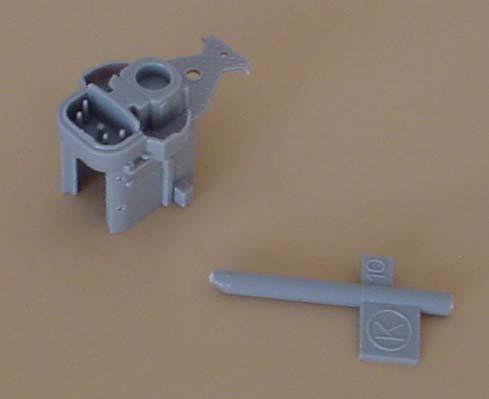
| Tree K included a separate piece; a slide-molded portion of the forward
superstructure that is impressive in complexity. The area immediately aft
the bridge at the top level has two shapes that I believe are watertight
doors on either side that are free of details because of the breakdown
of the slide, but I believe that most of the non-Hasegawa photo-etch sets
will include watertight doors that will help with this. Once again, I don't
have plans so this is a guess based on looks. Also included is a length
of fine anchor chain.
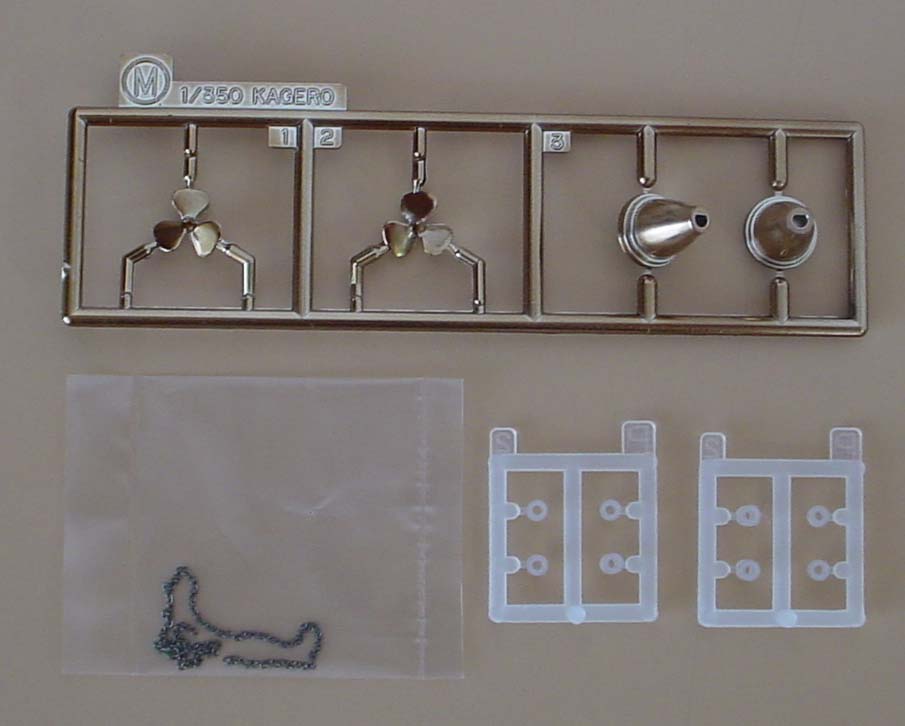
Tree M is a "chromed" set that includes the ship's propellers and two pedestals for mounting, a different touch that is nicely executed. The coating isn't as brass looking as my mental paradigm but is not bad looking as most propellers are bronze, which is darker in tone than brass. The sprue touches each propeller blade so there will be some loss of the bronze-ish looking chrome and re-painting, but there was really no way around that. The pedestals, however, have their sprue attachment points arranged such that removal won't damage the surface unless one is a total clutz. |
||||||||
|
||||||||
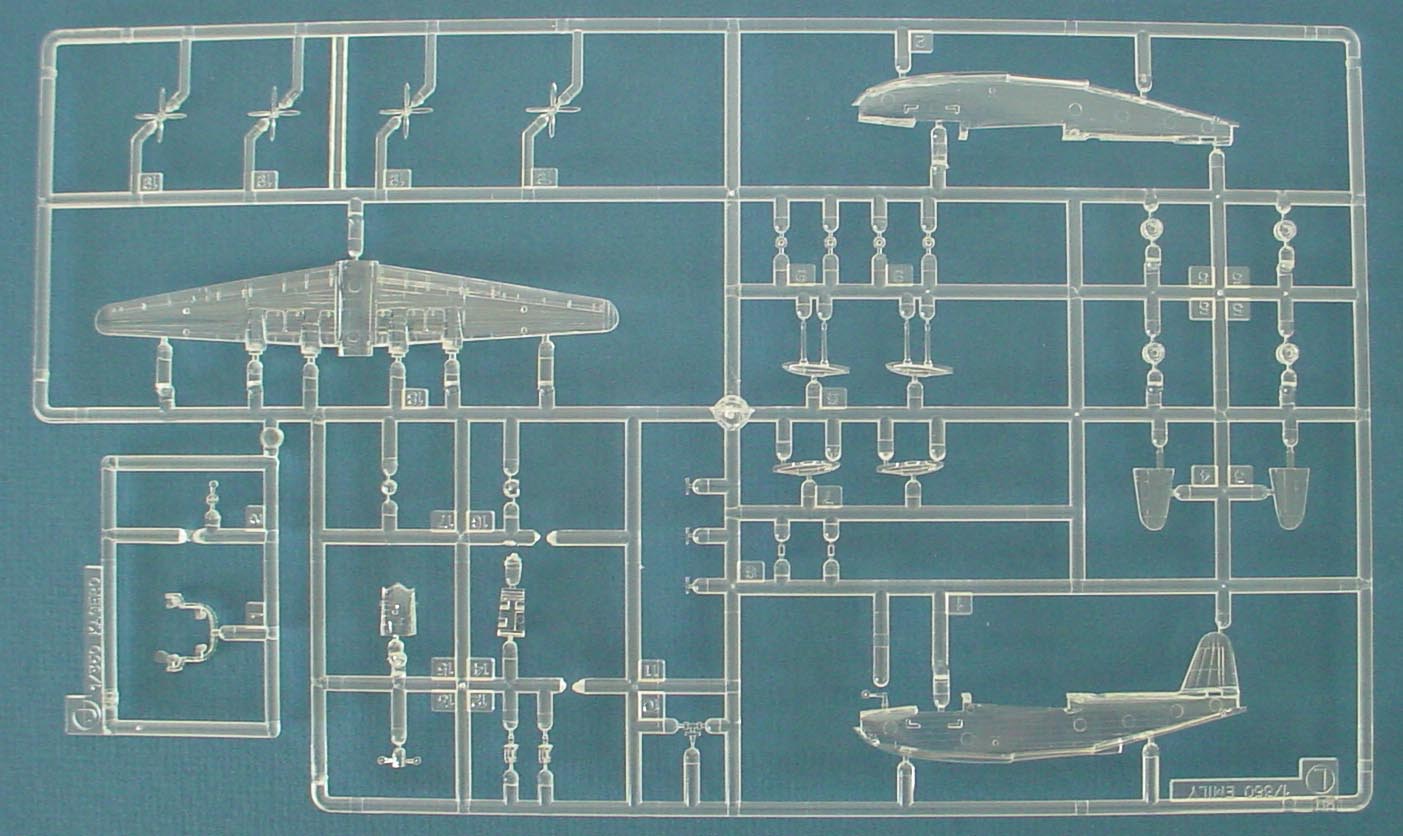
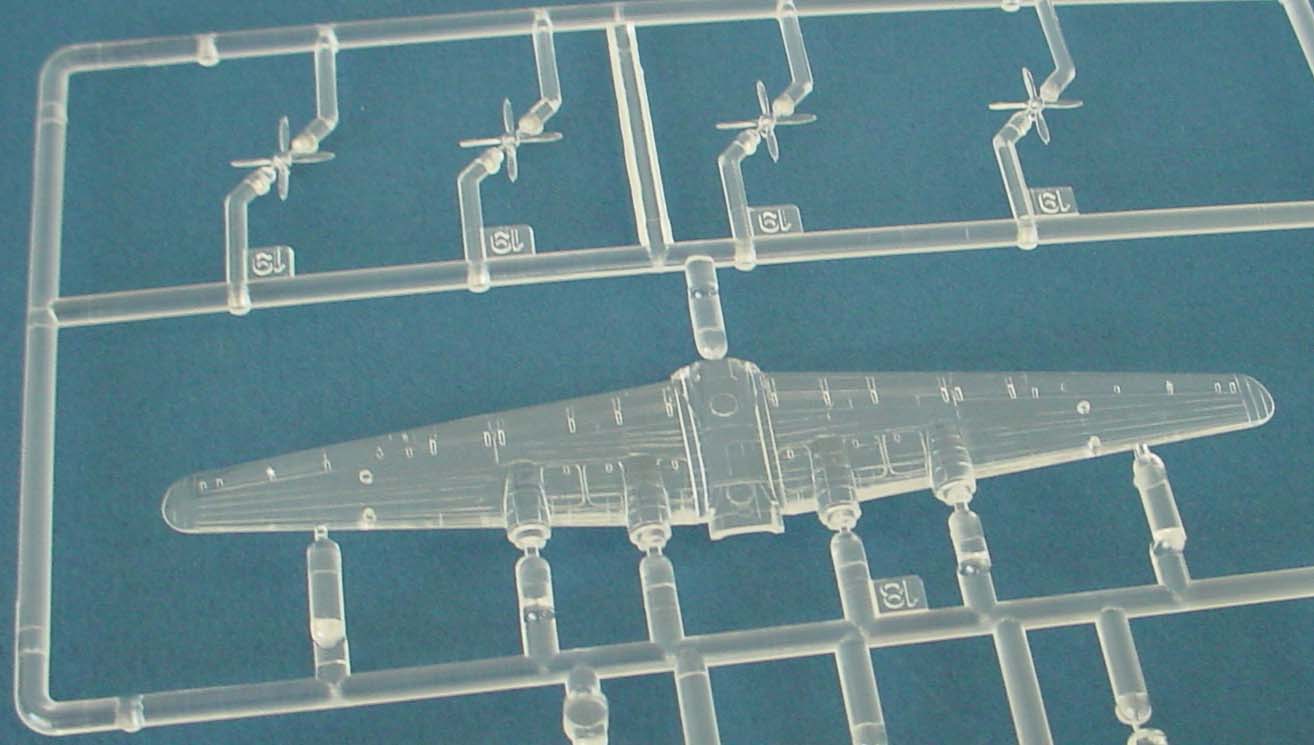
| H8K Emily Patrol Plane | ||||||||
| As it is clear plastic it was hard to get photos of the kit that really
do it justice. The fact that I tried three different background colors
to find one that worked to get these shots should tell you how good I think
this looks. There is an amazing amount of panel line scribing for a 1/350th
airplane, and it's very finely done.
While Hasegawa again took care to keep the nub attachments to the spues small, one should still exercise care with the details (such as the amazing propellers!) as clear styrene is extremely brittle. Even those that sneer at "wingy things" should be impressed with this little add-on. The only quibble I have is that given the 1940 time frame of the model, a Mavis would have been more appropriate (The Emily wasn't put into production until 1941 and the markings in the kit are for a 1943 aircraft). |
||||||||
|
||||||||
| INSTRUCTIONS AND DECALS | ||||||||
| The instructions are extremely well done. While primarily focused to
their Japanese audience, Hasegawa does include english, albeit sometimes
"engrish" is a better description (For example, "Yukikaze is known as
existance with most fall of glory an IJN war vessel."). In addition
to a blurb of history on the front, the inside contains information about
the ship and a calendar of actions in her history.. The instructions are
well laid out and sequenced well; the beginning focuses on major assemblies
and details are added later, in contrast to some of the airplane kits I've
built where landing gear is covered early on, leaving the builder with
a build they have to be more carefull of. The normal isometric drawings
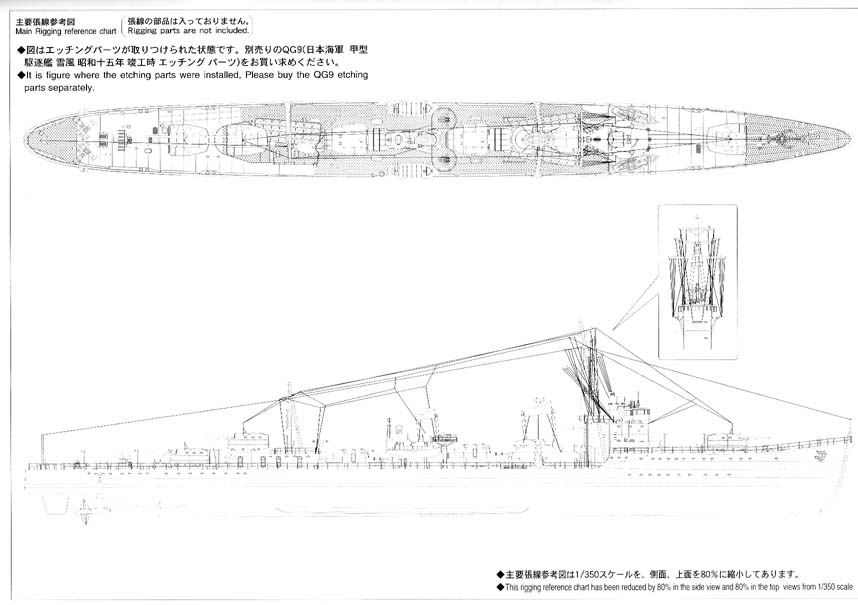
are used, with side views given for painting, and as a nice bonus, rigging.
Paint colors are given in Gunze Sanyo numbers, but as near equivalents to the IJN paints used on the ship. If one is working with White Ensign Colourcoats or Model Master Marine paints, the colors are a direct match; Sasebo gray and Linoleum (although the later is not offered in the Model Masters line). The decal sheet provides markings for both the ship and the Emily flying boat. Printing is well done with a moderate amount of decal film, but not a gross amount, and what's there is very thin in appearance. The white on my sheet seemed a bit yellowed; but some time in the sun should fix this. The decals provided are for the ship and the Emily; included with the airplane markings are windows, which will be a welcome aid to those who don't wish to mask canopies in 1/350th! |
||||||||
|
||||||||
| GENERAL FIT | ||||||||
| Fit appears to be consistent with most hasegawa kits; that is, generally good but sometimes a bit fiddley. The alignment pins on the hull halves were a tad too long, keeping the two surfaces from meeting perfectly flush. Literally, one pass from a sanding stick fixed this problem. The forecastle deck piece C9 should be carefully test fit and worked around as it is a complex fit due to the complex shapes involved in this area. I would say that the flash on this kit can be as subtle as the detail, so pay close attention to joining surfaces and clean accordingly. | ||||||||
| Conclusions: | ||||||||
| I can say with full confidence that this is one of the best injection molded destroyers I've seen. I would certainly tie it at least with the Tamiya 1/350th Fletcher kit and any placing otherwise would be subjective, based on preference, and not technical excellence or glaring differences. The Tamiya kit will still get the nod as a good first build for new ship modelers over this kit, but only because of the higher retail price this kit currently has. I can only hope that Hasegawa continues to put out ship models. | ||||||||
| Kit via Skyway Model Shop, Seattle and my wallet. | ||||||||