IJN Soryu

in 1/144 Scale
By Bill Waldorf
| Hello again fellow Ship Builders. Well, I am back again with a new update on my attempt to build the IJN Soryu from scratch in 1/144 scale.Things are going along well., albeit slow.In Pt. 3, I discussed the bow and stern deck areas. Having done those I'll now move on to the starboard side Superstructure. Port side has not yet been started, but the construction procedure is the same for both sides of the ship. The port side has a little different layout and I'll go over that in Pt. 5 of the article. Lets go to the photos! | |||||
| Since the waterline is an important reference point on
the sides of the hull I decided to go ahead and do the paintwork on it.Here
you can see we are taped off and ready to paint in hull red. Note that
I have not yet added the bilge keels.
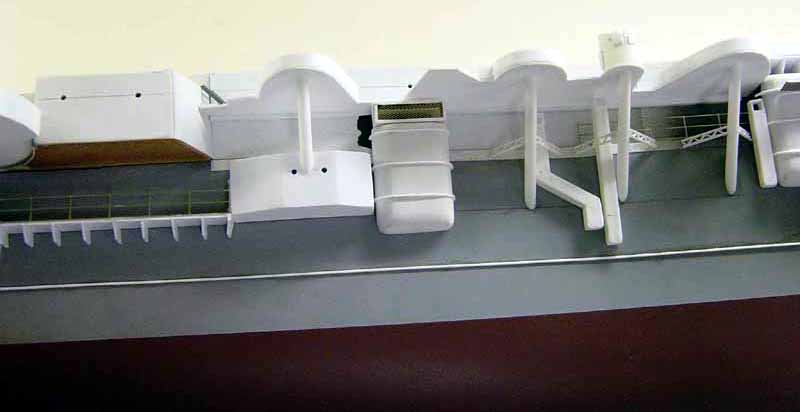
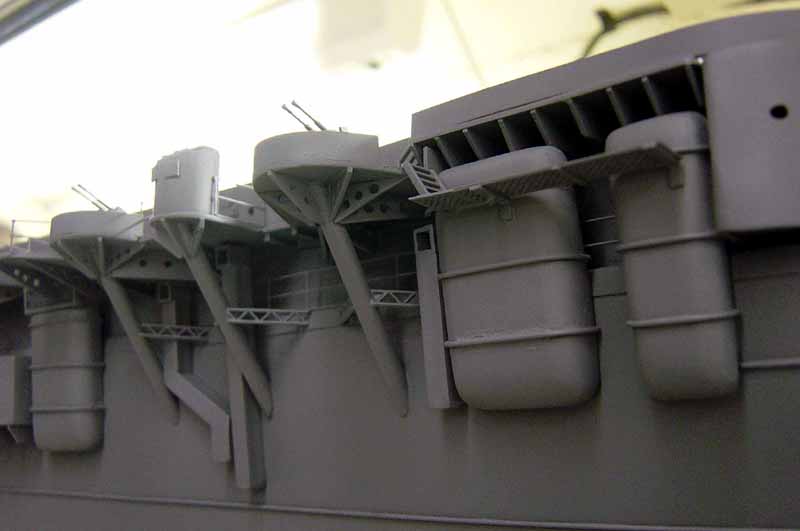
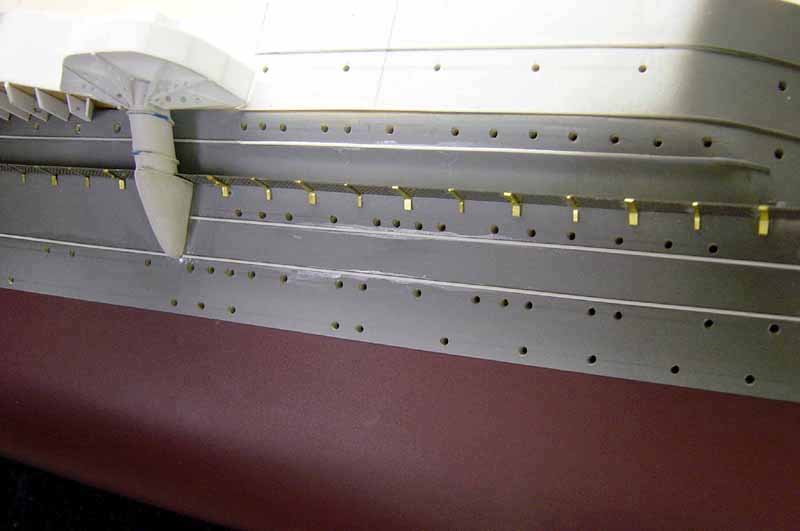
Fwd section of the starboard side just ahead of the fwd. 12.7 cm gun platform assys.Portholes were drilled out with a Dremel Tool at 1/16" dia. Note the catwalk. This is actually an HO Railroad car roof walk. Works well here I think. There are a lot of model RR fittings that will work for ships. I'm always searching for new stuff. |
to enlarge 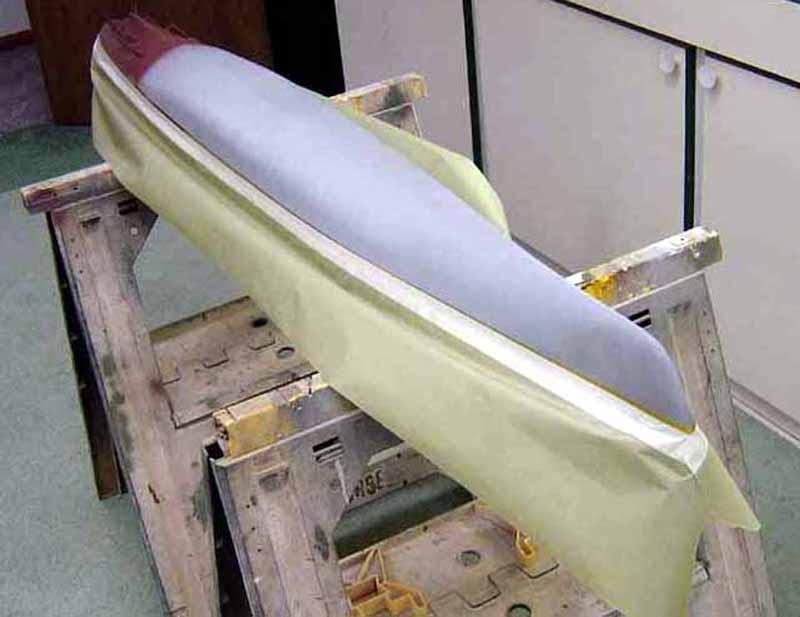 |
||||
 |
|||||
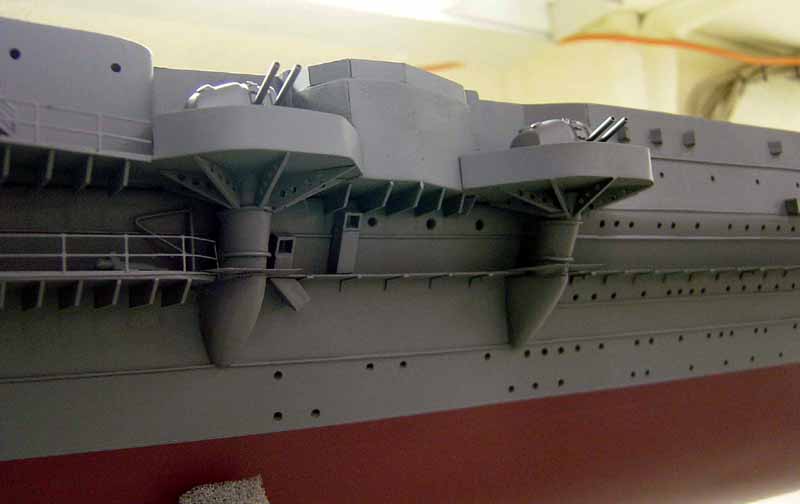
| Another shot of the fwd. 12.7 cm AA gun platforms. More details to add yet, this is the "rough in stage". | 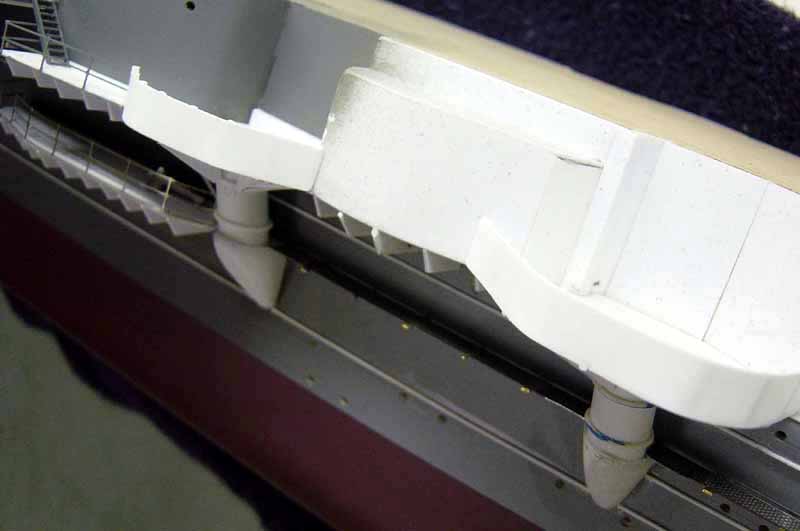 |
||||
| Fwd. section of stb. side. Note I have added the anchor hause and grab rails. The rails are .025" styrene rod. Bottom of hull has now been painted as you can see. | 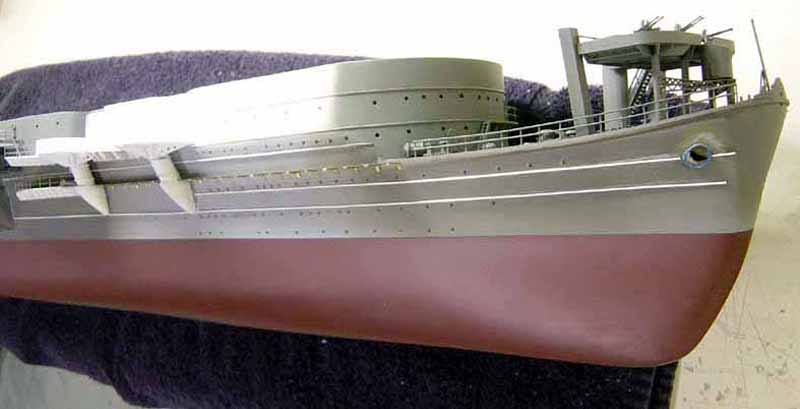 |
||||
| 5Photo # 5 : Here's a shot of the underdeck bracing just below the bridge area. All areas of the ships platforms are braced along these lines. I went over the procedure in Pt.3. This is not really difficult but rather tedious and time consuming and tends to get boring after a while. However, the end result will be worth it I hope! | 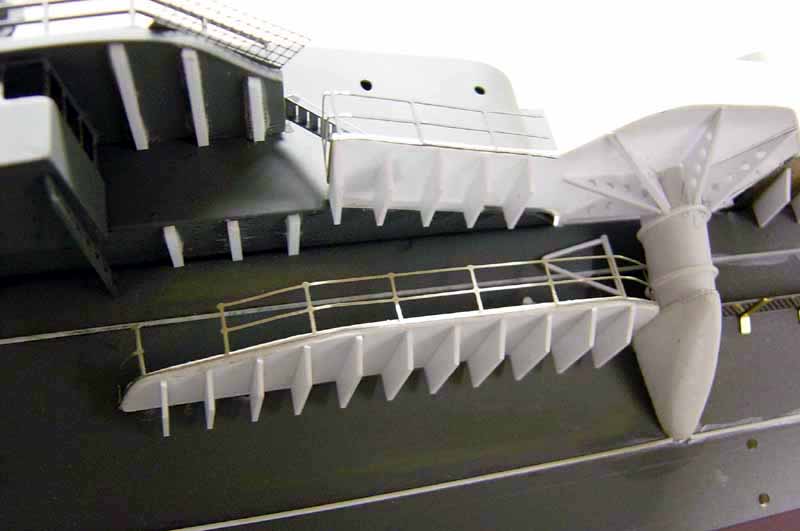 |
||||
| Another shot of the same area. | 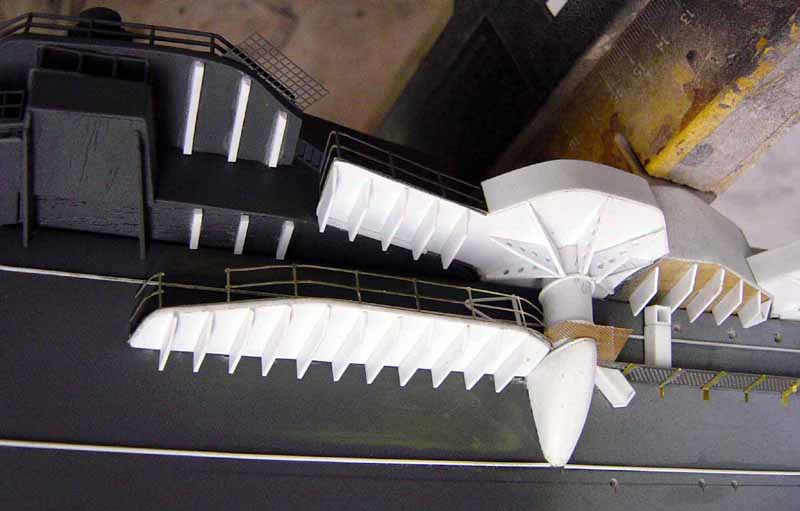 |
||||
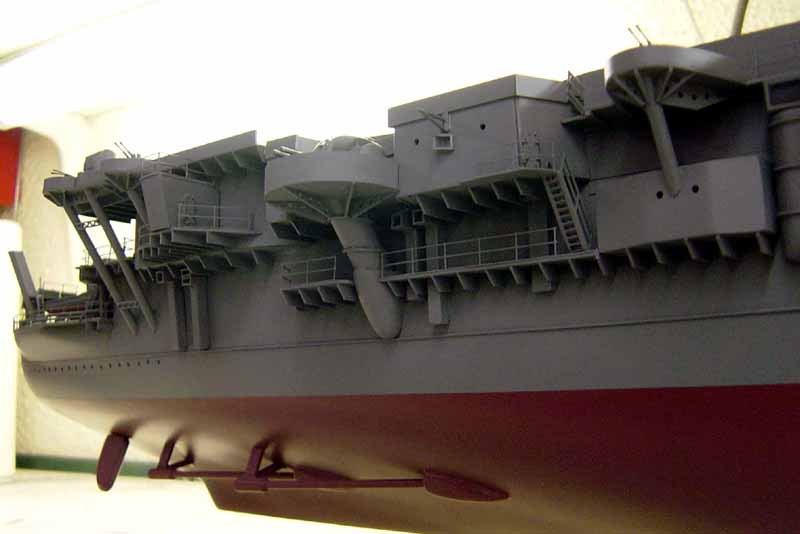
| A good shot of the fwd main AA platforms. The lower part of the support is made from carved balsa wood, the next section up is styrene tube.Note ventilators, also styrene product. You can also see the catwalk a little better here.The part of the catwalk that goes around the lower support is made from fine brass p/e mesh, available from Special Shapes.com. Some of the portholes are a little rough as you can see but we will clean 'em up as we go along. | 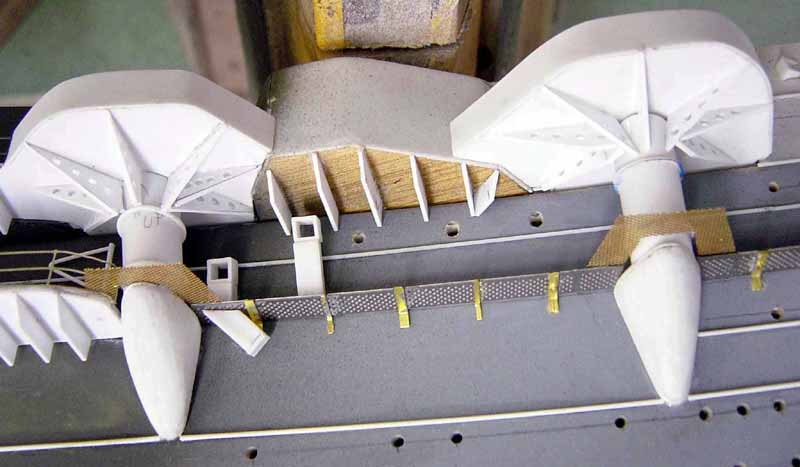 |
||||
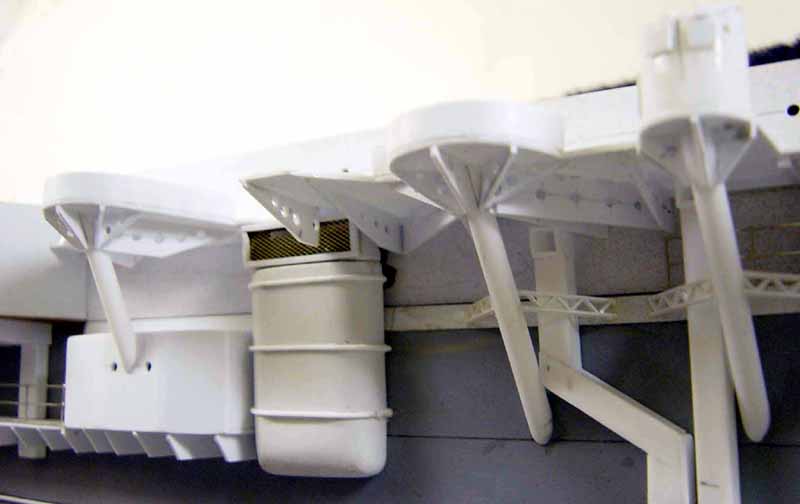
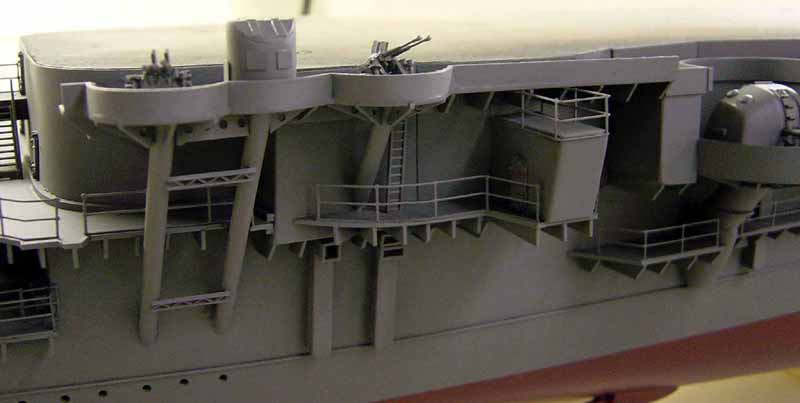
| Roughly midships on stb.side. Note the three 25mm AA gun platforms.The bracing underneath has not yet been added. I do all the platforms first then flip the ship upside down and do all the bracing. Note machine gun control tower, one of three around the ship.The larger ventilators are fabricated from balsa, grab rails are styrene rod.Keeping things all level is important here and on the port side as well. I mount each platform one at a time making sure its true and then move on to the next one. | 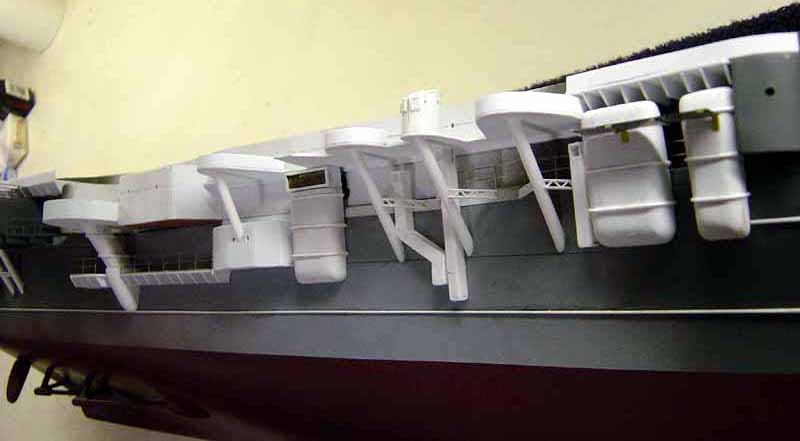 |
||||
| Here's the same area only at a slightly overhead view. |  |
||||
| The aft 25mm AA gun position. There are two here.Note the stern deck almost completed. | |||||
| An overhead view of the work in progress. | 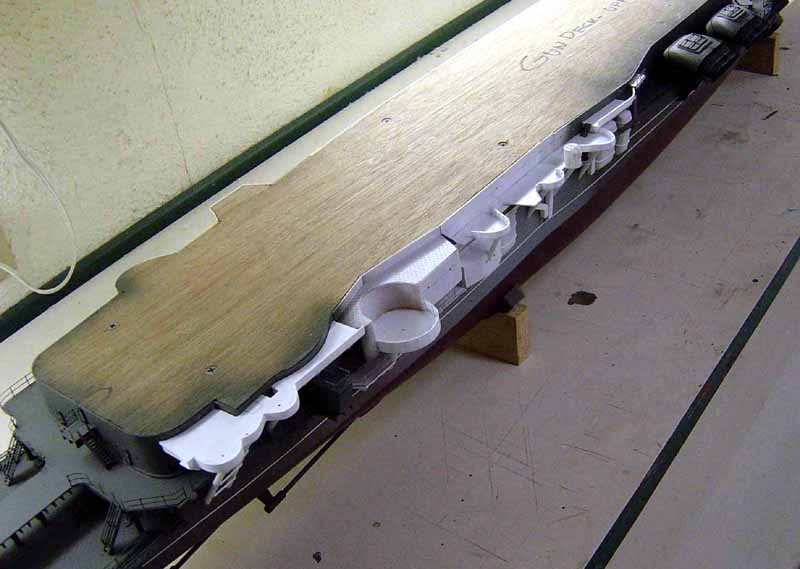 |
||||
| A good view of the starboard side. Bracing is about halfway complete here. | |||||
Another look at the midships 25 mm AA platform area. Again
note the large ventilator. After I carved the main part from balsa and
prepped it, I then add the "cap " which is just a rectangular box with
p/e mesh over the front of it. All the large ventilator are done in the
same manner. Aft 25mm AA position looking from beneath.Bracing work still
in progress.
|
|||||
| Close up of the catwalk detail fwd. end of the ship. | 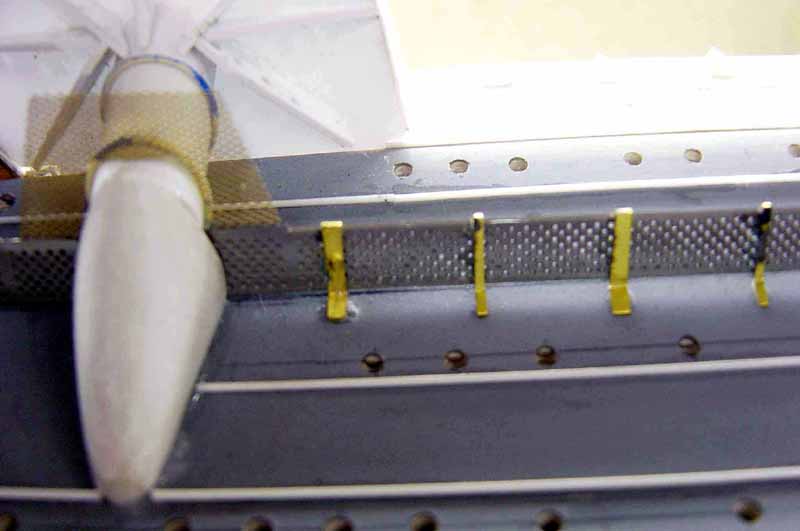 |
||||
| Aft 12.7 cm AA platform. Bracing is now finished here, also. Note that this bracing adds a lot of interest to the model. Without it things would be rather uninteresting I feel. | 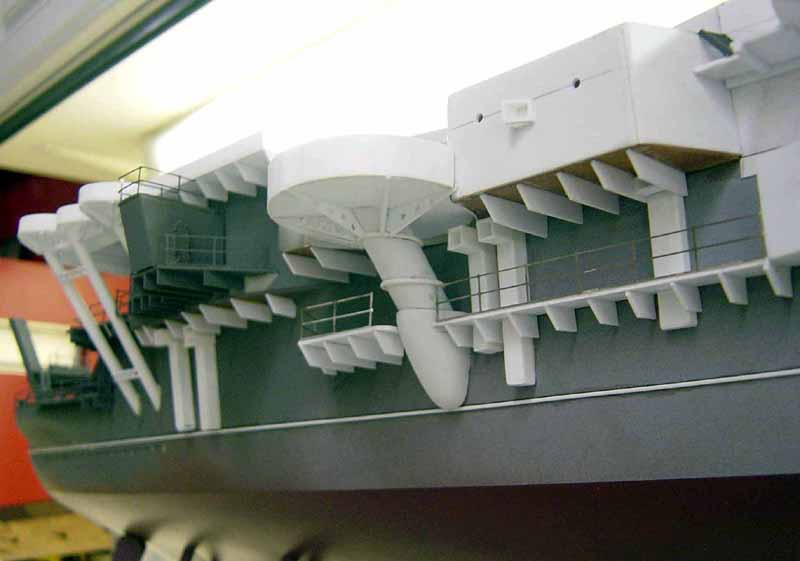 |
||||
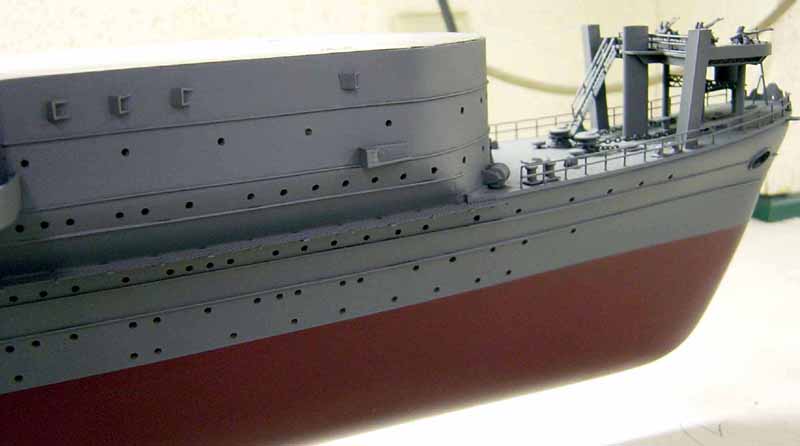
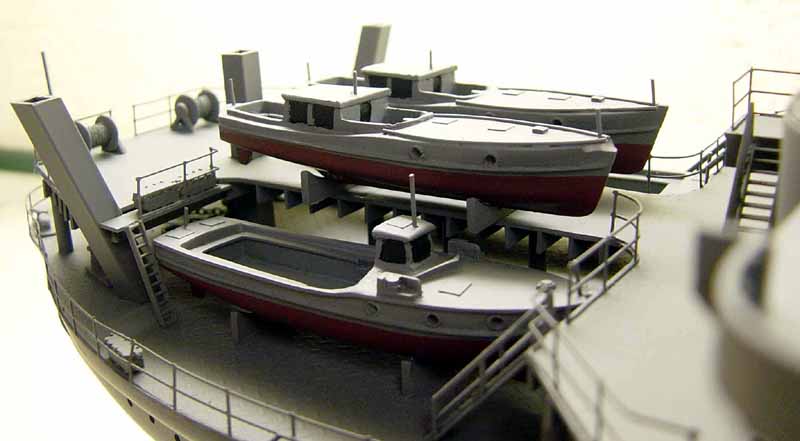
| Here we have the stern or boat deck area. As you can see, I have added the ships boats. These are from Quaycraft of England ( available thru Loyalhanna Dockyard) and are actually German boats in 1/128 scale. Interestingly enough, they look pretty close to the Japanese boats and are the correct size even though in a different scale. They are cast resin and are of good quality. I added a few small details for the heck of it. | 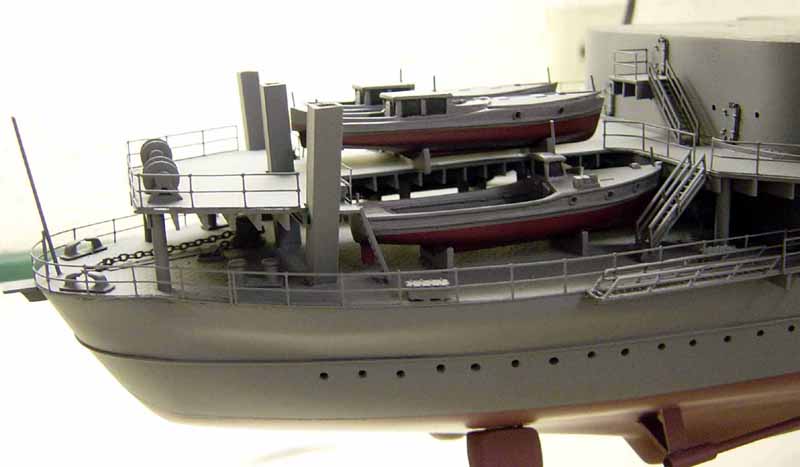 |
||||
 |
|||||
|
|||||
|
|||||
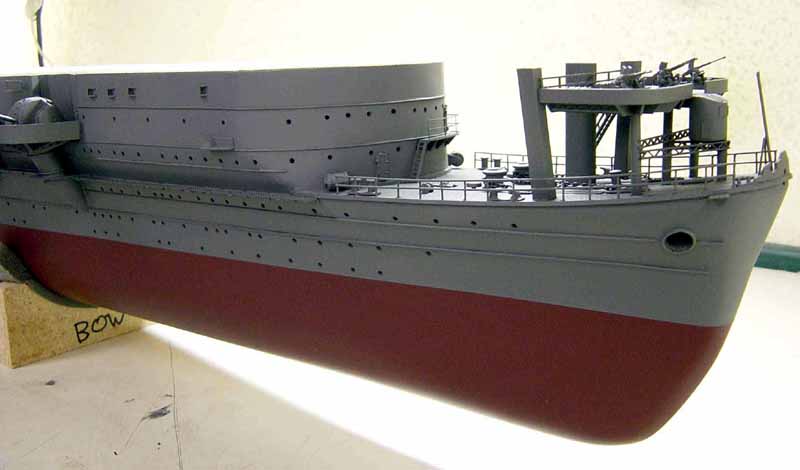
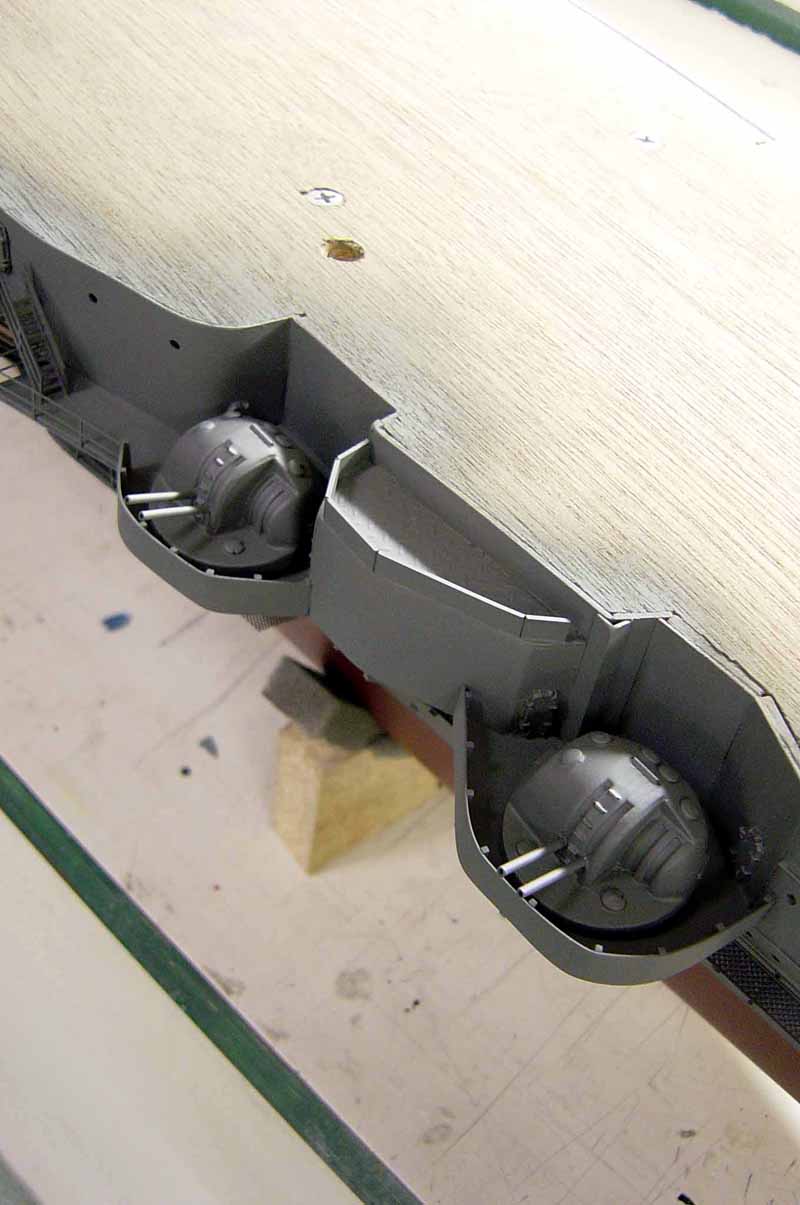
| The foreward 12.7 cm AA Turrents. I made these from casting resin using
Ron
Horabins method on his build of the USS North Carolina. Worked out
really well and was fun, too!!
Well, thats it for now folks!! On to the port side of the ship which will be Pt. 5 of this series. I am anxious to get to the flightdeck areas!! |
 |
||||
| Hope you all enjoyed.As always, thanks to the staff
at Modelwarships.com. Stay tuned!!! Any questions anyone has or if I can
be of any assistance, please feel free to e-mail me at bjsww@earthlink.net.
Bill
Waldorf
|
|||||

© ModelWarships.com