IJN Soryu

in 1/144 Scale
By Bill Waldorf
| Hello again fellow modelers! Well, I am back again with a progress report on the build of the IJN Soryu in 1/144 scale. In pt. 1, I discussed the hull construction. In this second series, I'll add the gun deck and the island and funnel areas. Let's go to the photos! | ||||||
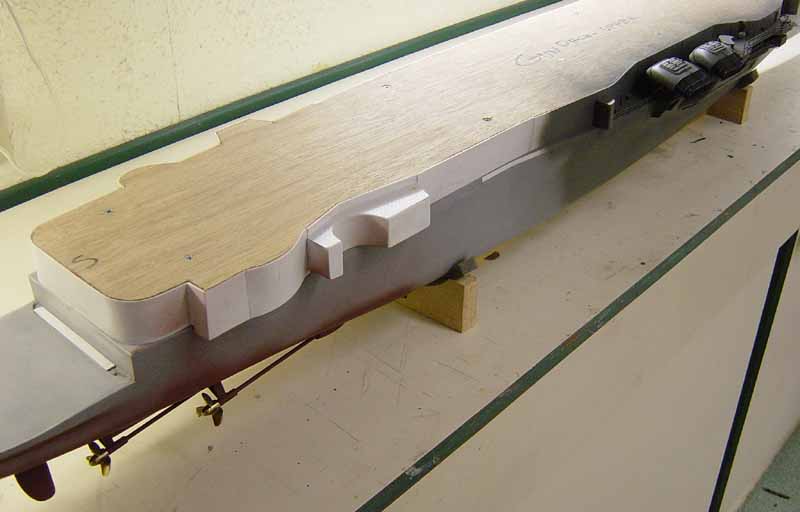
| Here is the fwd. end of the gun deck looking from the stb.
side. The deck is constructed from two pieces of 3/16" plywood. The supports
between the two deck pieces are 1/8"x 1/2" balsa wood.
Aft end of the gun deck, again from stb. side. Note that the lower part of the deck differs slightly from the upper portion in that I have formed the bases of the sponsons which stick out from the sides of the gun deck vertical walls. |
to enlarge 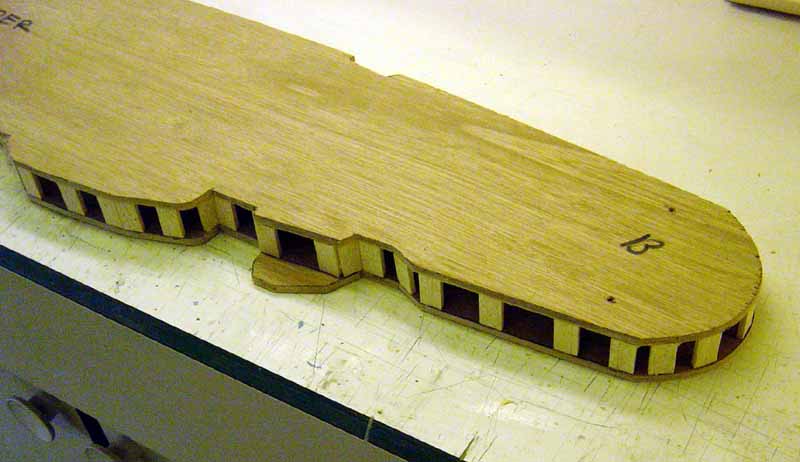 |
|||||
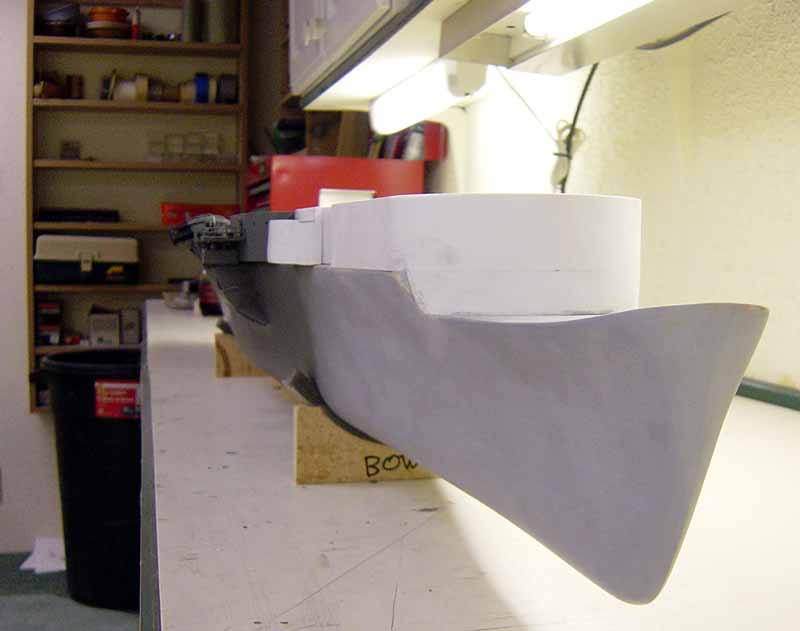
| Stb. side fwd. Here you can see the gun deck placed on top of the Forcastle deck. It is not yet attached permanently. | 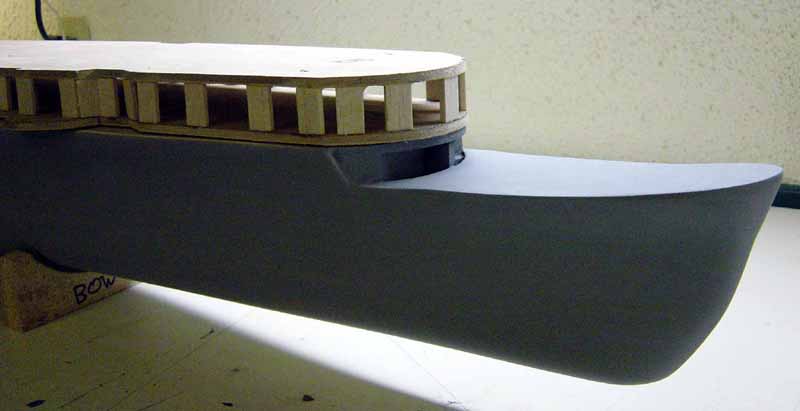 |
|||||
| Stb. side aft view. | 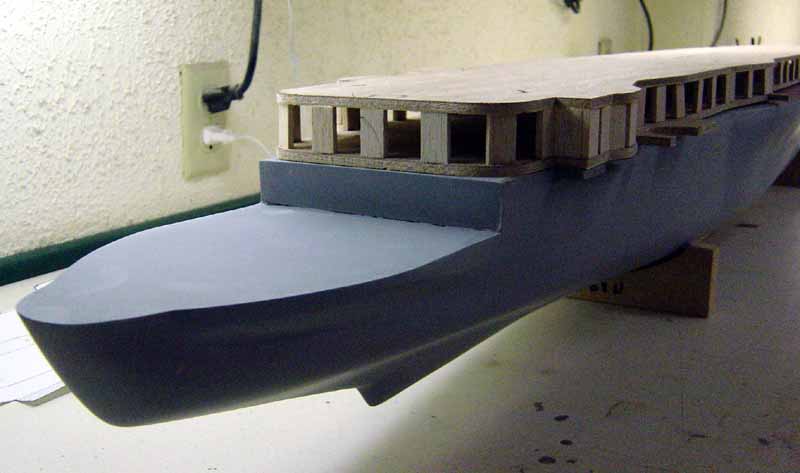 |
|||||
| Stb. side again. Here you can see the general arrangement a little better. After some further alignment, I'll permanently attach the gun deck to the forcastle deck using carpenters wood glue and 8 - 1 1/2" screws. | ||||||
| Port side view of the bow area. Here you can see I have begun to add the sides of the gun deck. I am using .040" sheet styrene here with balsa wood sheeting behind it to shim where needed so as to be flush as possible with the sides of the hull. I'll do this procedure all around the gun deck. | 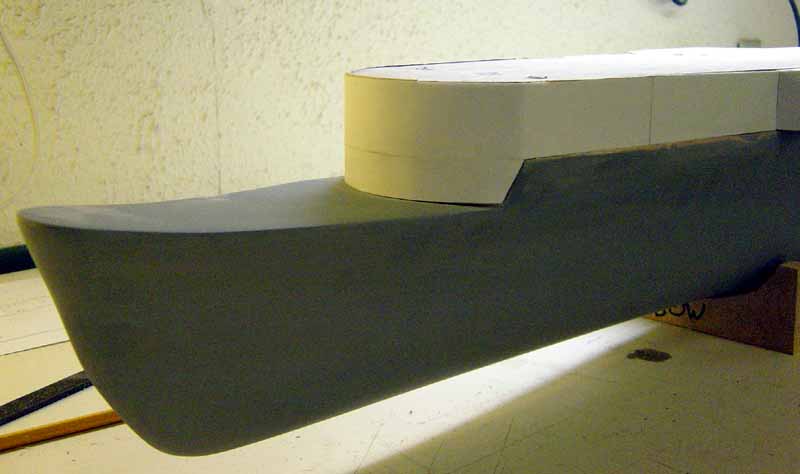 |
|||||
| Port side amidships. Note I am proceeding along carefully aligning the gun deck walls flush with the rest of the hull. Any bad spots will be cleaned up later. | 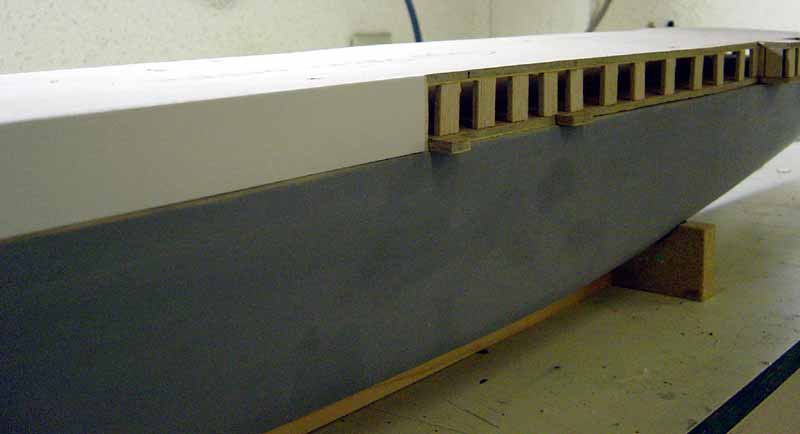 |
|||||
| Port side aft, getting ready to add the sides here. | 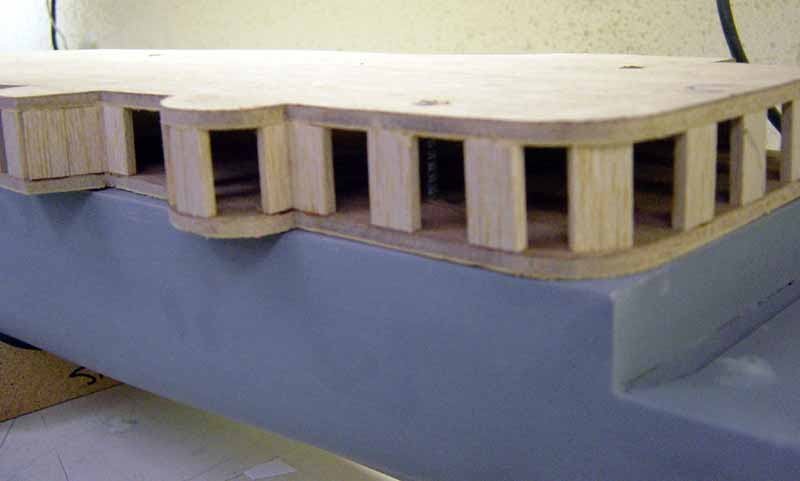 |
|||||
| Stb. side aft. I have now completed the walls of the gun deck, roughly
that is. I'll clean things up as I continue on with the addition of the
various gun platforms and other small decks and catwalks that attach to
the sides of the gun deck.
|
 |
|||||
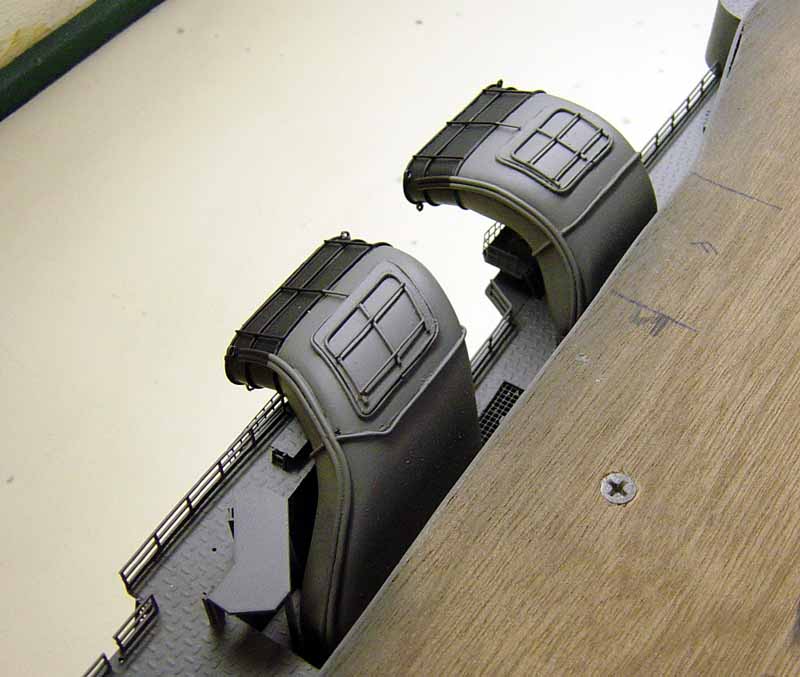
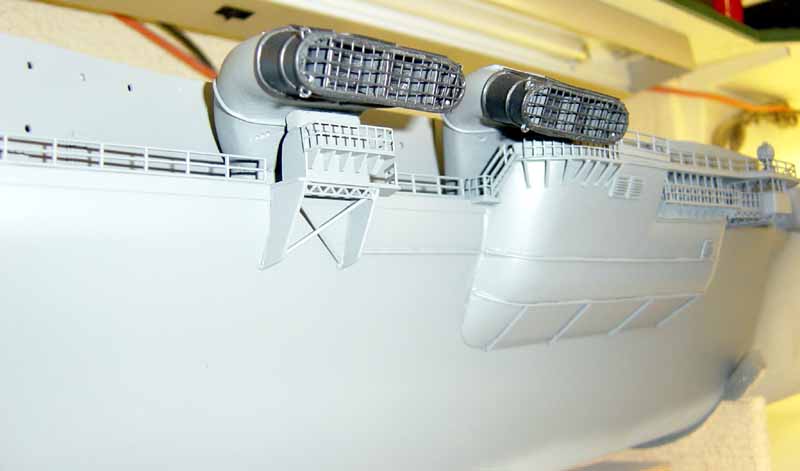
Having completed the walls of the gun deck, I decided it
was time to fabricate one of the more difficult areas of the model, the
island and the funnel areas. The next few photos show that this has been
pretty much completed. I started by rough cutting the funnels and the island
assemblies. out of solid balsa blocks. This was done with a scroll saw
and a hand coping saw and a couple of cut fingers!! I then shaped these
parts with sandpaper. After I got the shaping correct I applied 3 or 4
coats of thick latex paint to the parts, sanding in between each coat.
Balsa wood is very soft material. No matter how much you sand it, it still
has a fuzz on it. The latex paint is a real good sealer for curing this
problem. After a few coats and lots of sanding, the parts come out real
smooth and are ready for detailing and paint work. Having prepared these
assemblies., I then proceeded with the details using styrene, telephone
wire, photo etch brass screen, etc.
|
||||||
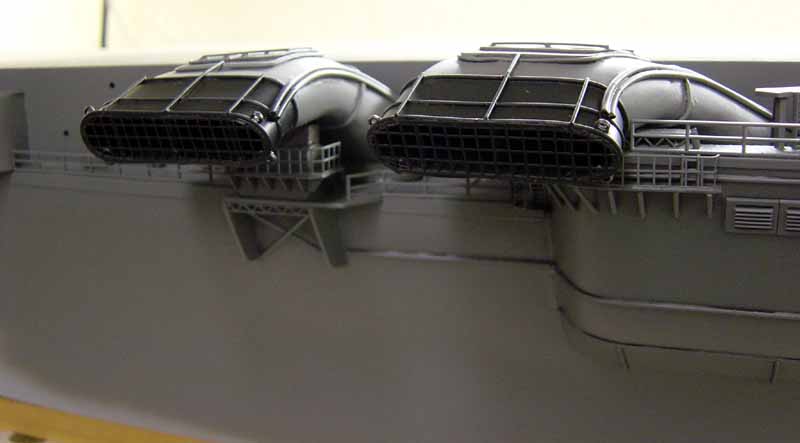
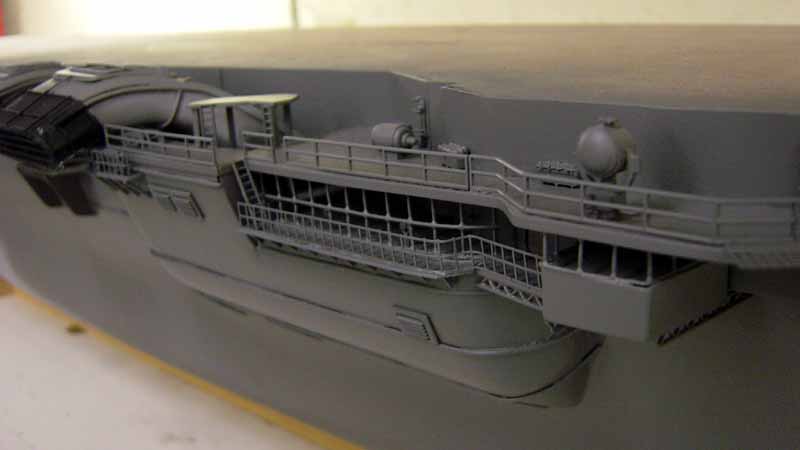
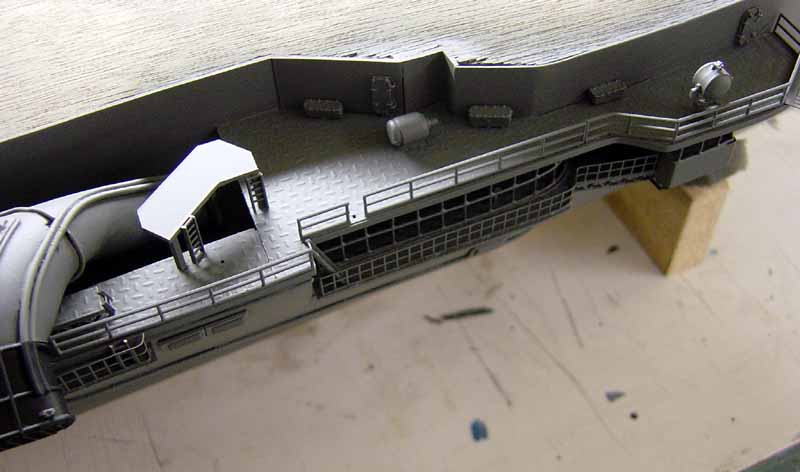
Other details are cast metal fittings from HR Products,
railings and diamond plate decking as well as some of the ladders are from
Plastruct Co. Louvers on the side of the island are model RR engine parts.
It took me almost 80 hours to complete this one area of the ship, and I
have a long way to go!!
|
||||||
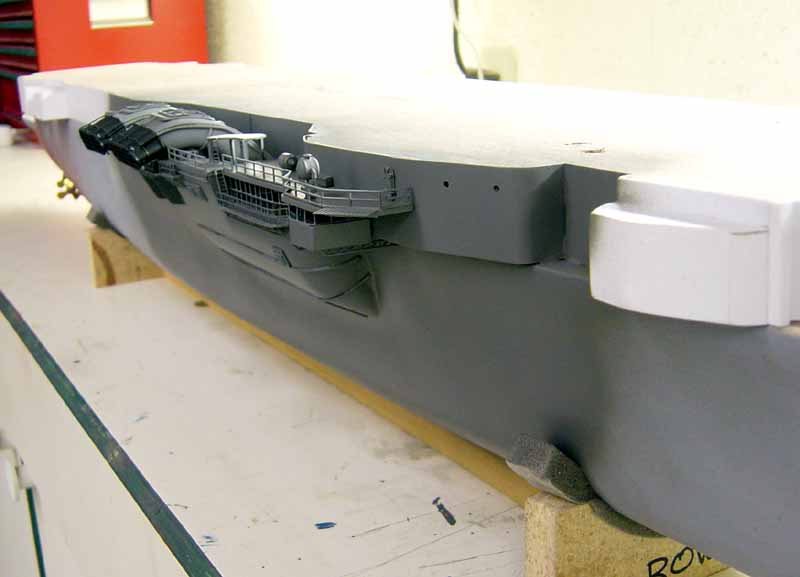
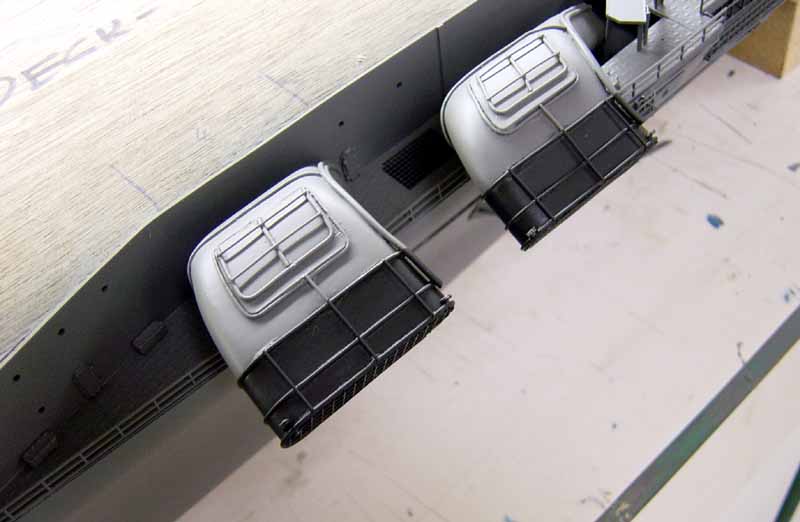
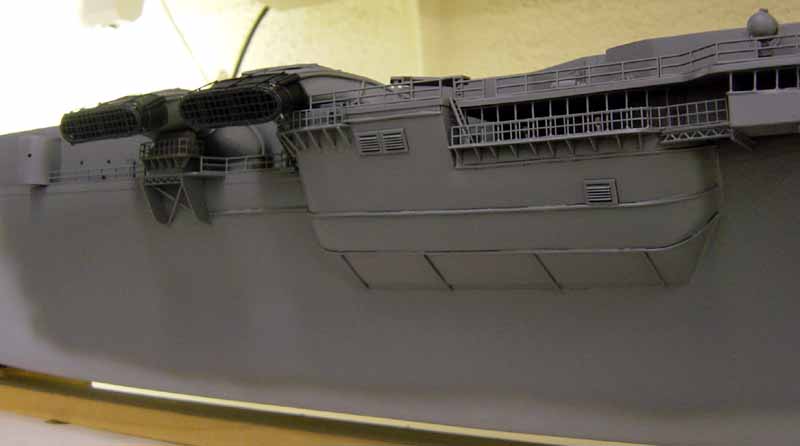
These next three photos show all the gun deck walls done
and the island/funnel areas completed. In pt. 3, I will start to add the
details on the bow and stern decks as well as the myriad of platforms and
other decks. A long way to go yet!
|
||||||
| Another shot of the funnel / island area. | 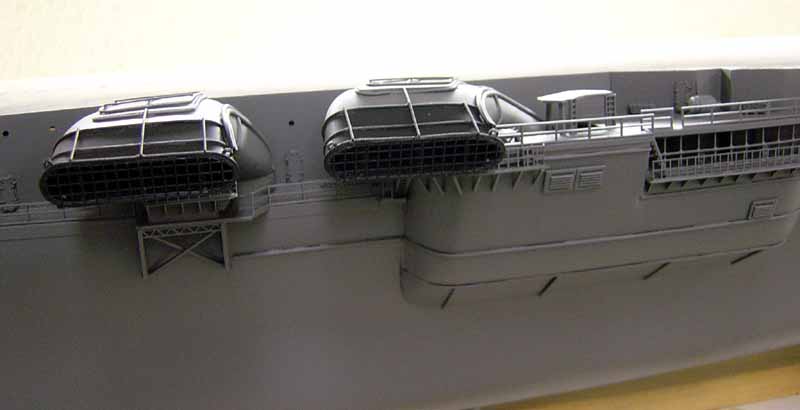 |
|||||
|
||||||
|
Epilog: Well that's it for now folks. As you can see things are coming along and it's starting to look like a carrier. Again, I have a long way to go but I'll keep plugging along. Many thanks to Tim Dike, Jeff Herne and the rest of the staff at Modelwarships.com. Also thanks to Loyalhanna Dockyard whose assistance in obtaining parts and fittings is invaluable. Stay tuned!!! |
 |
|||||
| Any questions anyone has or if I can be of any assistance,
please feel free to e-mail me at bjsww@earthlink.net.
Bill
Waldorf
|
||||||

© ModelWarships.com