By Len Roberto |
|
| CONSTRUCTION
Assembly is basically split into three areas:
|
to enlarge
|
| PAINTING
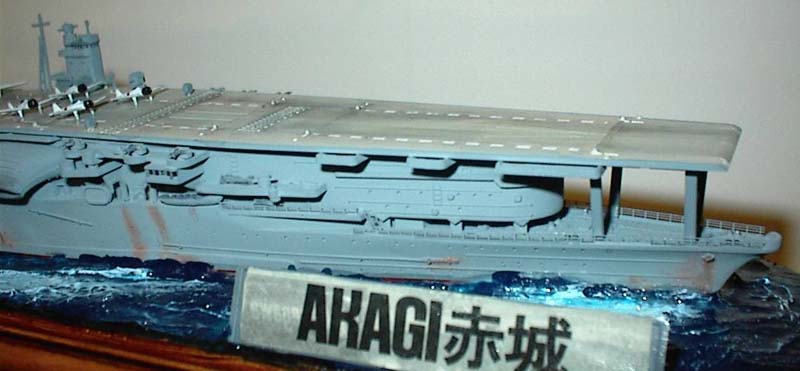
I airbrushed Tamiya Light Grey overall which is actually a dark enough grey for the ship and scale. The flight deck was painted using Tamiya Deck Tan and was heavily weathered with earthy toned pastel chalks followed by black pastel dust to simulate rubber, oil, and exhaust stains. I also tried for the first time using colored pencils along with the pastels to give a bit more texture to the weathering. I used a metallic silver pencil to simulate bare metal on high wear surfaces like ladders, deck details, and anti-aircraft guns. I then used a reddish brown pencil for the running rust on the hull and then went over the rust again with pastel dust to smudge it around. I'm very pleased with this technique and look forward to practicing it further. The Air Wing was painted using an old bottle of Testors Light Grey
(which is much lighter than Tamiya Light Grey!) I then painted the noses
flat black. I had a set of 1/700 decals with most of the red meatballs
I needed for the markings and the rest were dabbed on with red paint.
The instructions indicated a camo scheme on the dive bombers so I added
a mottled green color to a few of the planes to break up the grey.
|
 |
| CONSTRUCTION CONTINUES
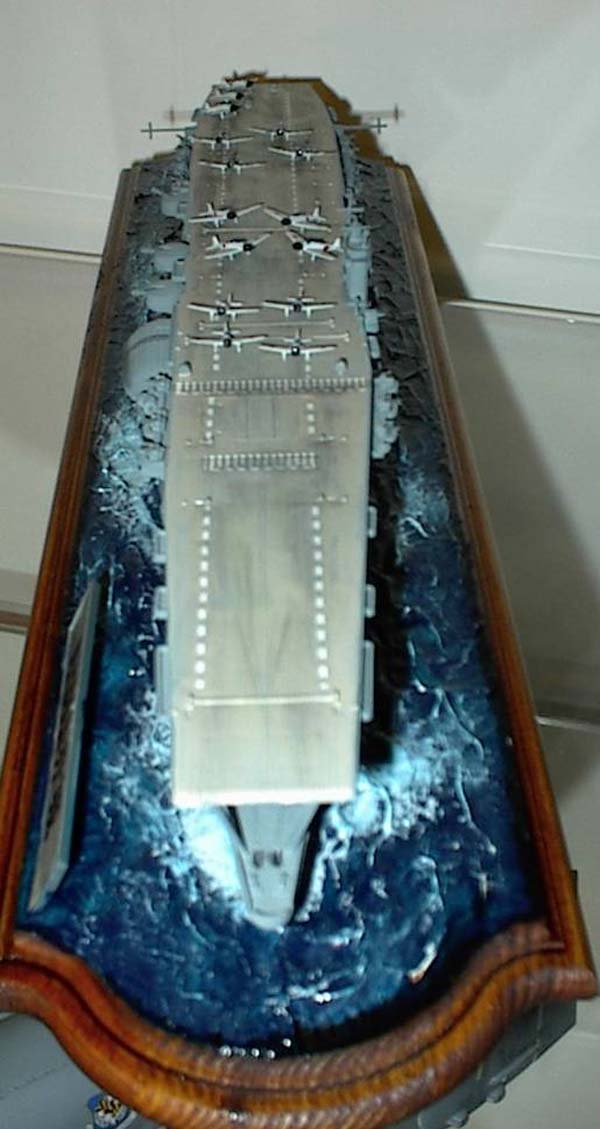
The water base was created using gel medium and acrylic Liquitex Blue,
Green and White colors. Future floor polish provides the sheen.
Mounted on a sign board, the ship appears to be moving along at a stately
pace prior to flight ops. A spray of dullcote and a quick mahogany
stain on the base completed the project.
|
|
| CONCLUSION
This was the first Japanese warship I have ever built. It was a nice change of pace, was an easy build and offered a good platform to practice weathering techniques on a ship underway. The kit has been around a long time but is an inexpensive kit of a ship with a long record of service. Even the brass railings were fairly easy to attach with minimal bending required to fit the edges. I can recommend it to all ship modelers. References: |
|
| Editors note: Len writes the Naval Corner column over on Modeling Madness, a great general modeling site that is definitely worth a look. | |
