|
back to menu
Part 9
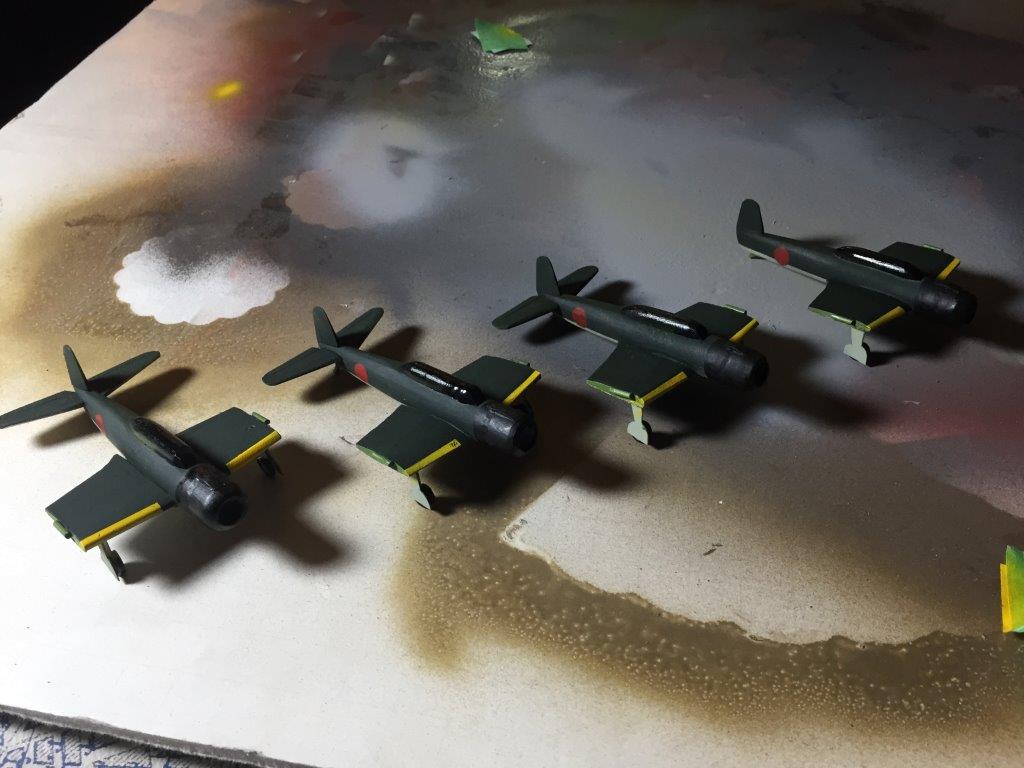
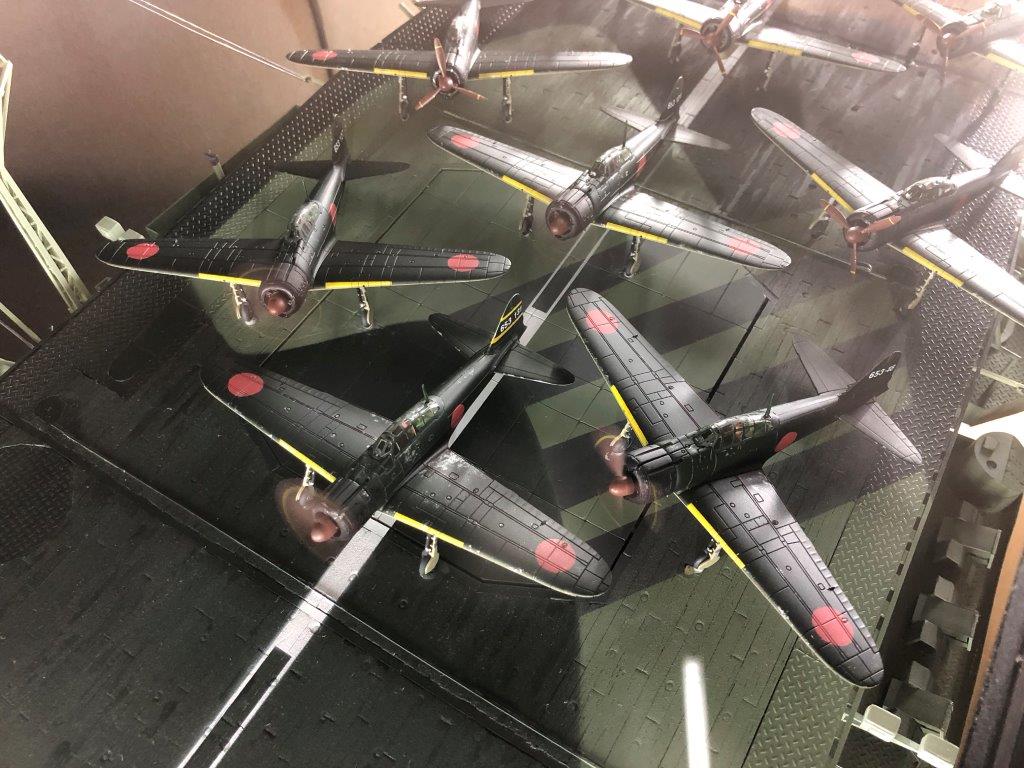
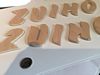
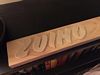
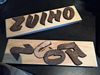
When I repainted the 12 Zeros fighters IJN Green I needed to apply the correct tail numbers to reflect the Zuiho air group (the painted over originals were of the Akagi air group in 1941,
and would have had to be replaced anyway). The numbers are SMALL: 3/32" (3.5mm) tall in the 1/100 scale. I was contemplating the forbidding option of cutting a template out of tape and paper
and then happened upon the discovery that I could buy decal sheets of numbers in the exact size I needed. I sprayed all 12 aircraft with Future to provide an easier surface to glide the decals on to.
I then sprayed the entire ship down with Tamiya Dullcoat spray paint to protect the ship and remove any sheen left over from the application of the Future coats. I added the clear styrene to
the bridge windows and to the windows of the smaller of the aft two motor launches.
The decal delivery was a bone of contention during the final stage of the build. They were ordered from a company in Atlanta. They were ordered on the same day that I ordered the propellers
from a company in the UK. Two week later the propellers were delivered, but still no decals. Another two weeks and still no decals: I had many things to do on the ship, but I was anxious to
complete the planes because so many things could not be done until the decals were in place: apply the decals, dull coat the planes, attach their canopies, affix the planes to the flight deck,
run the wiring for the motorized planes, glue the deck to the ship, attach the ship rigging, attach the aircraft beam-side catch nets. I could not finish the build for lack of decals. I went
so far as to place another order for decals from a local hobby shop in the nearby mall. With my luck they will all show up on the same day and I will enough have gothic number decal sheets to
last me until the day I die!
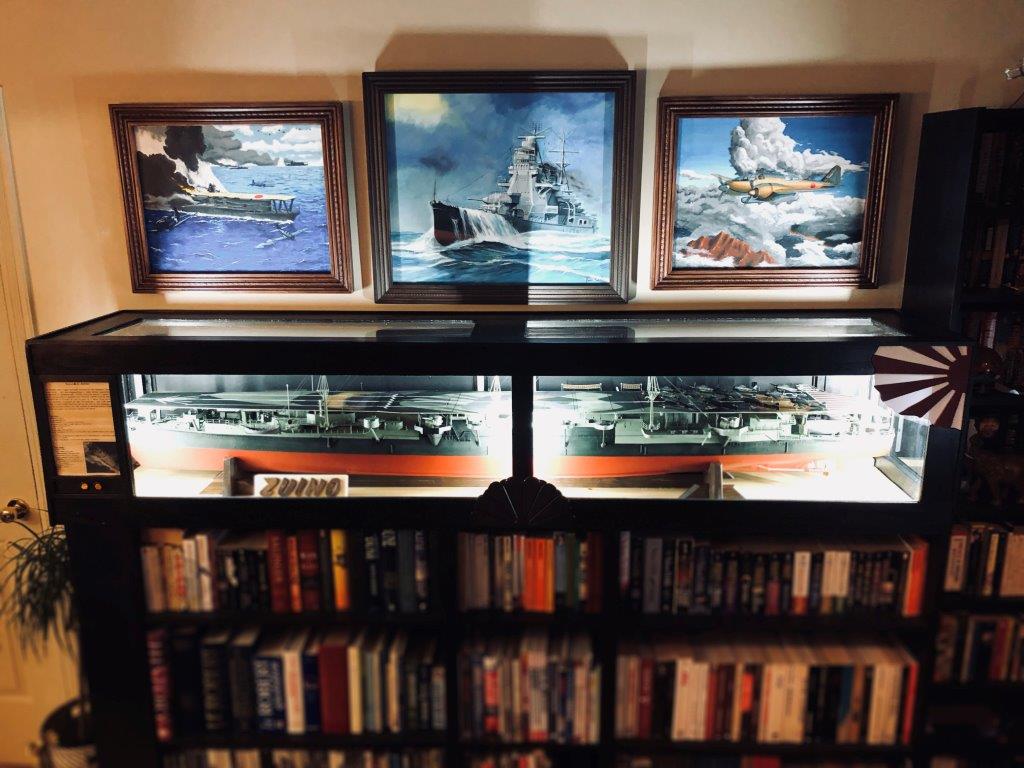
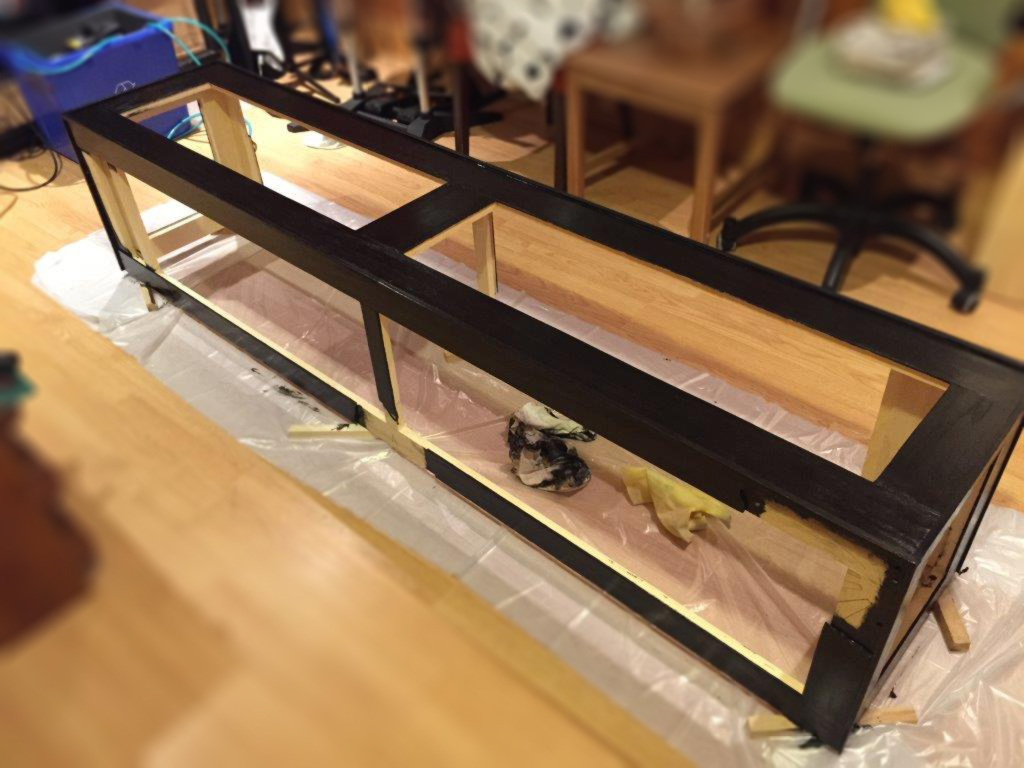
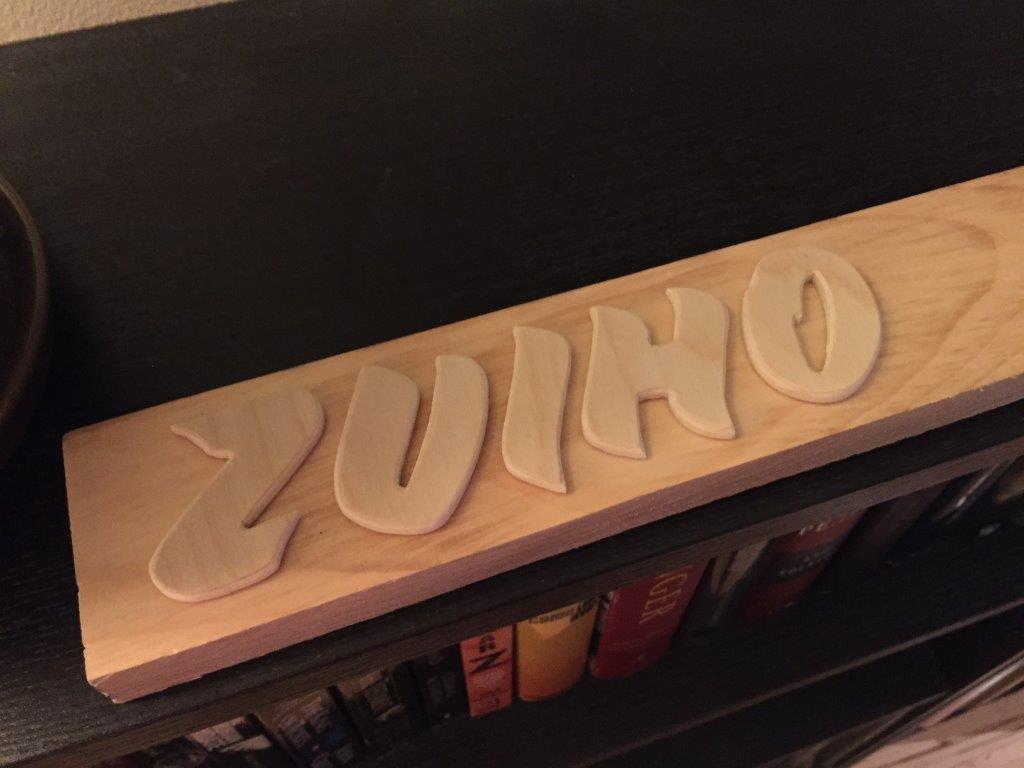
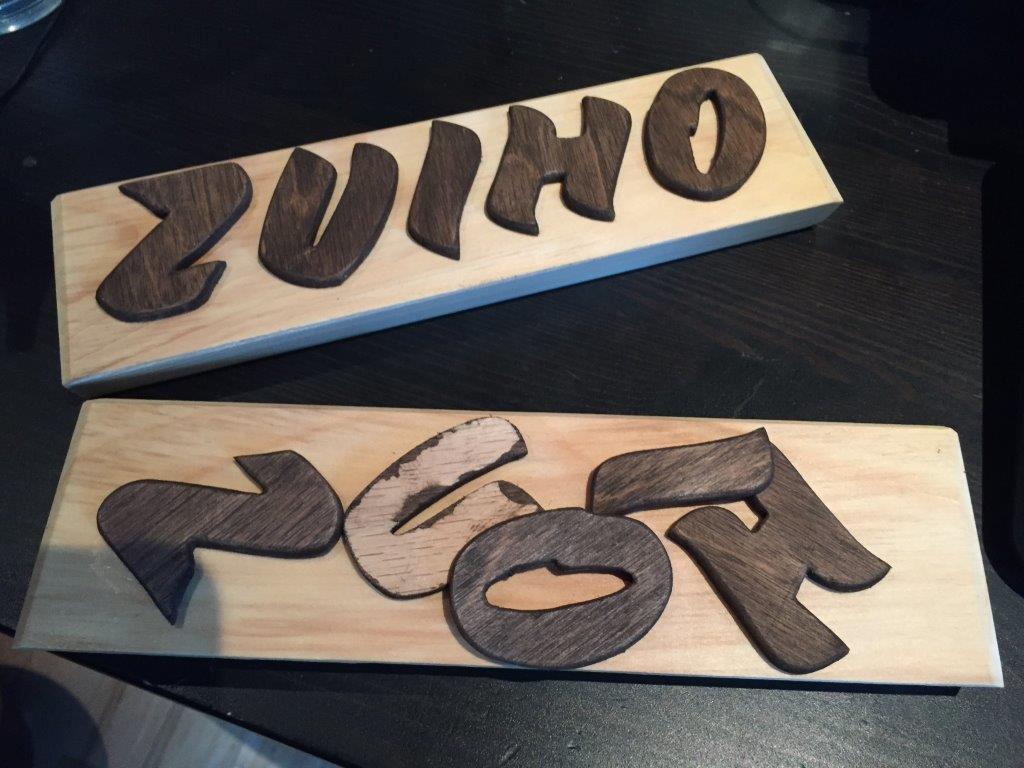
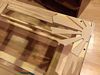
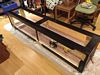
At this point, the only thing I could do was move onto building the display case for the ship. I opted for wood and glass and had decided long ago to put my woodworking skills to work and really
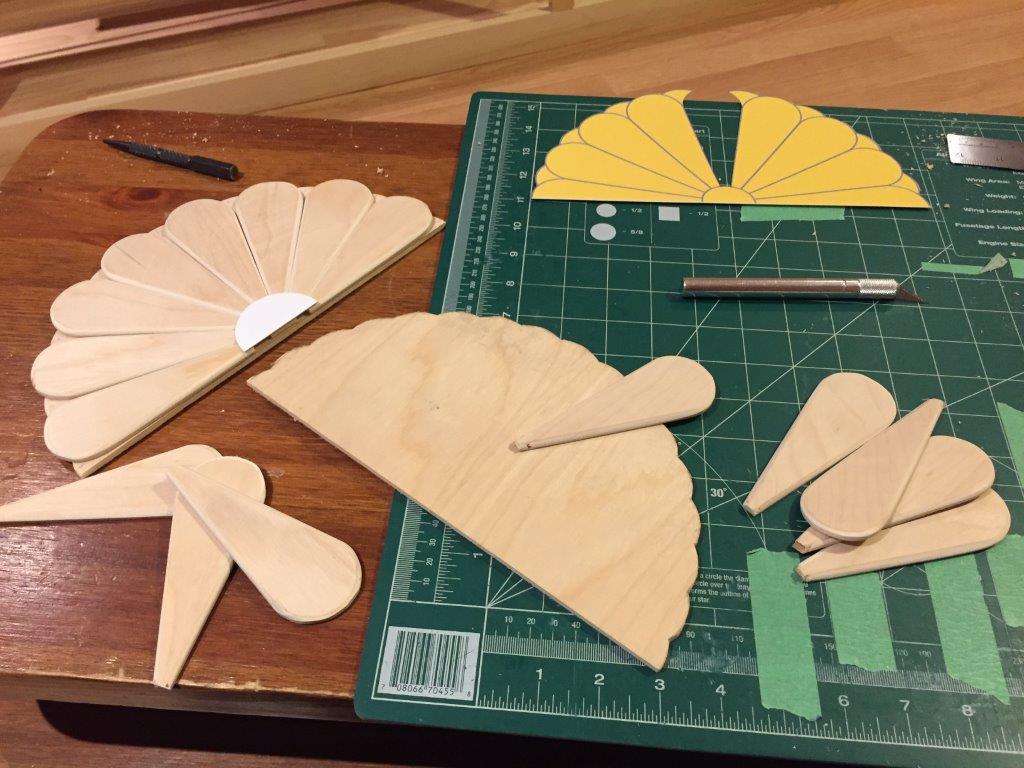
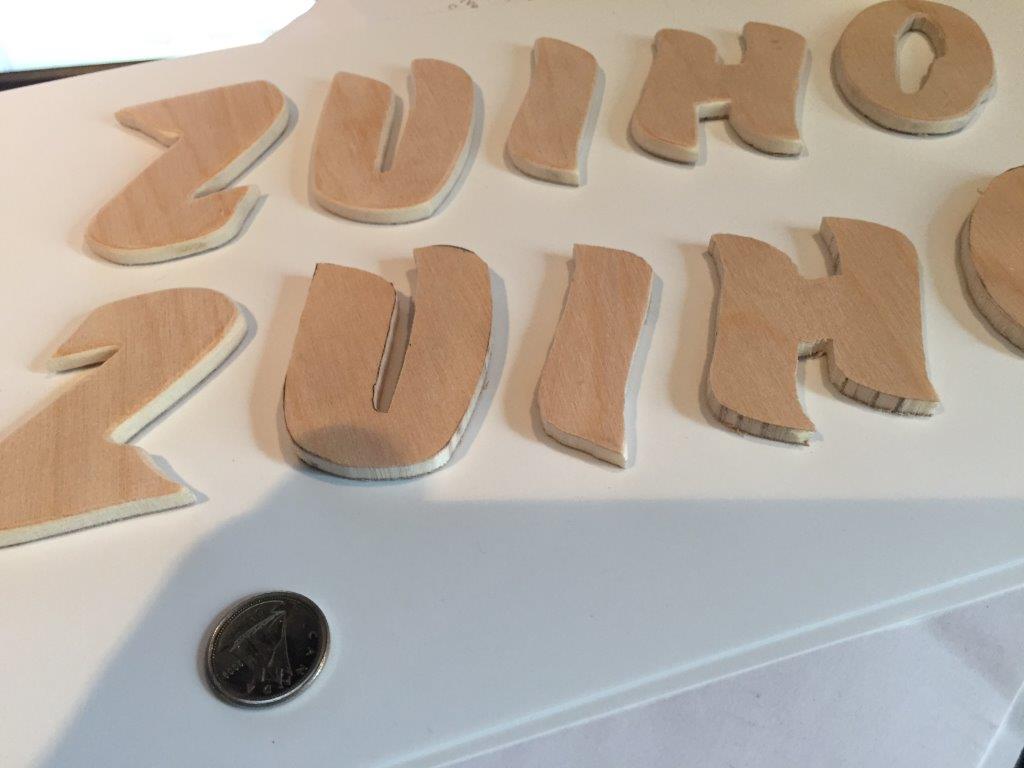
decorate the box: with a rising sun, chrysanthemum, the ship's name in English plus a little write up on the ship. I ran LED light strips (three per side) with two switches to turn on one side
or the other or both. The case was stained black, but so the brown of the wood would still show through. This allowed the display case to match the rest of bookcases in my office.
Click images to enlarge
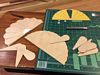
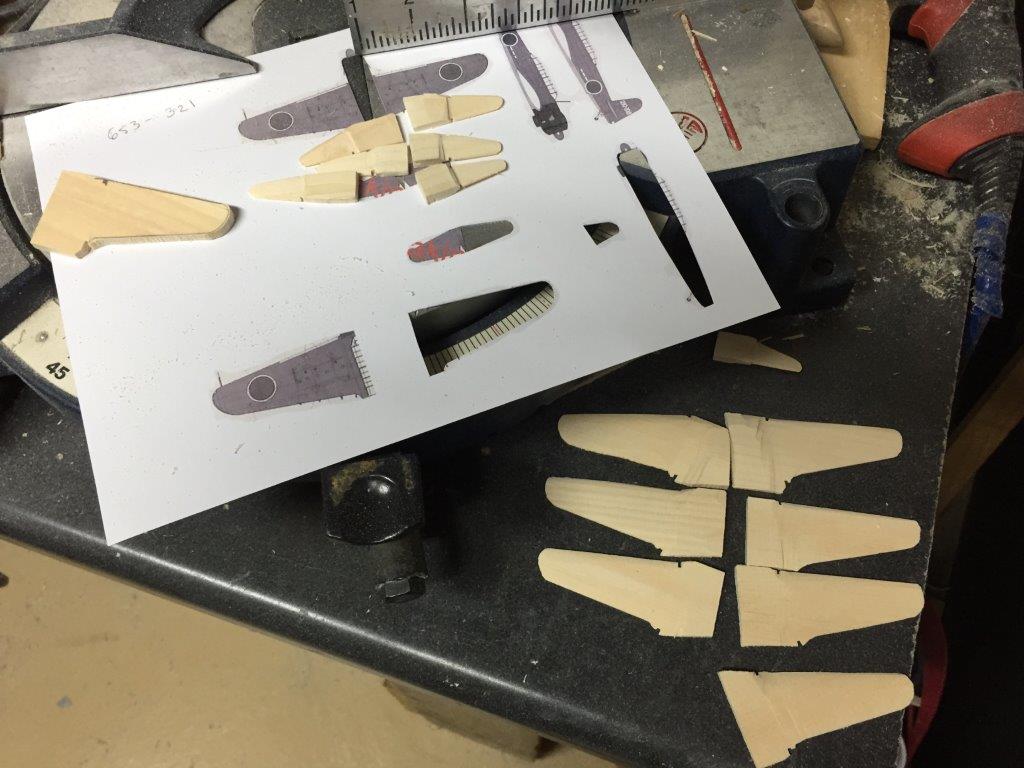
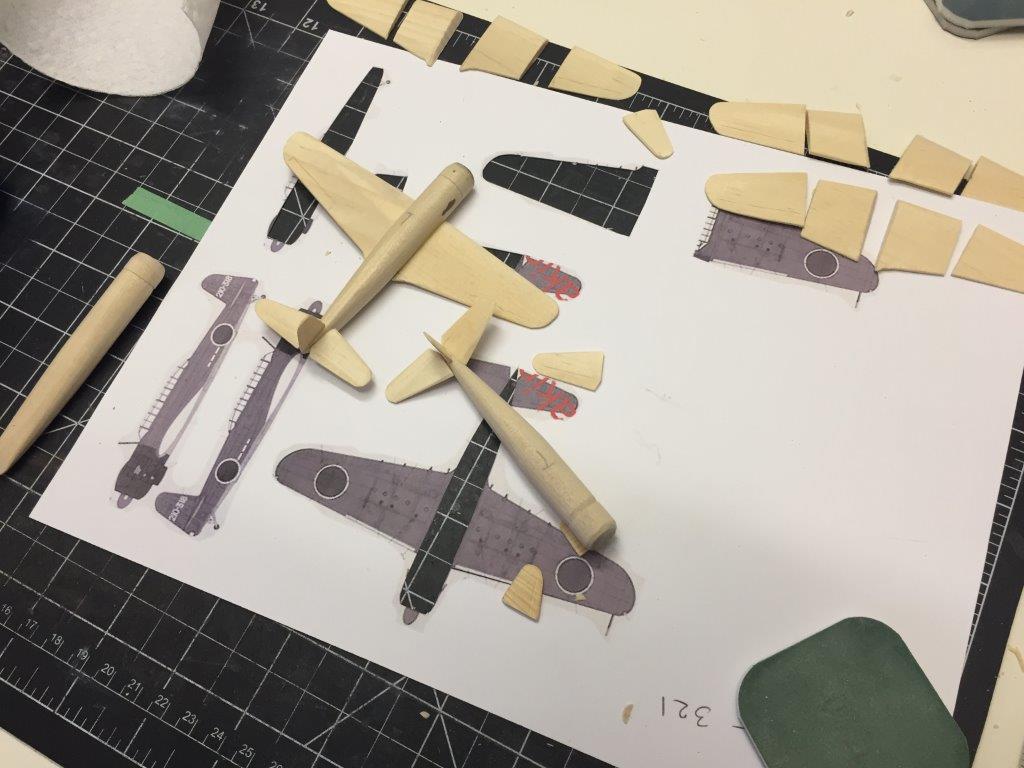
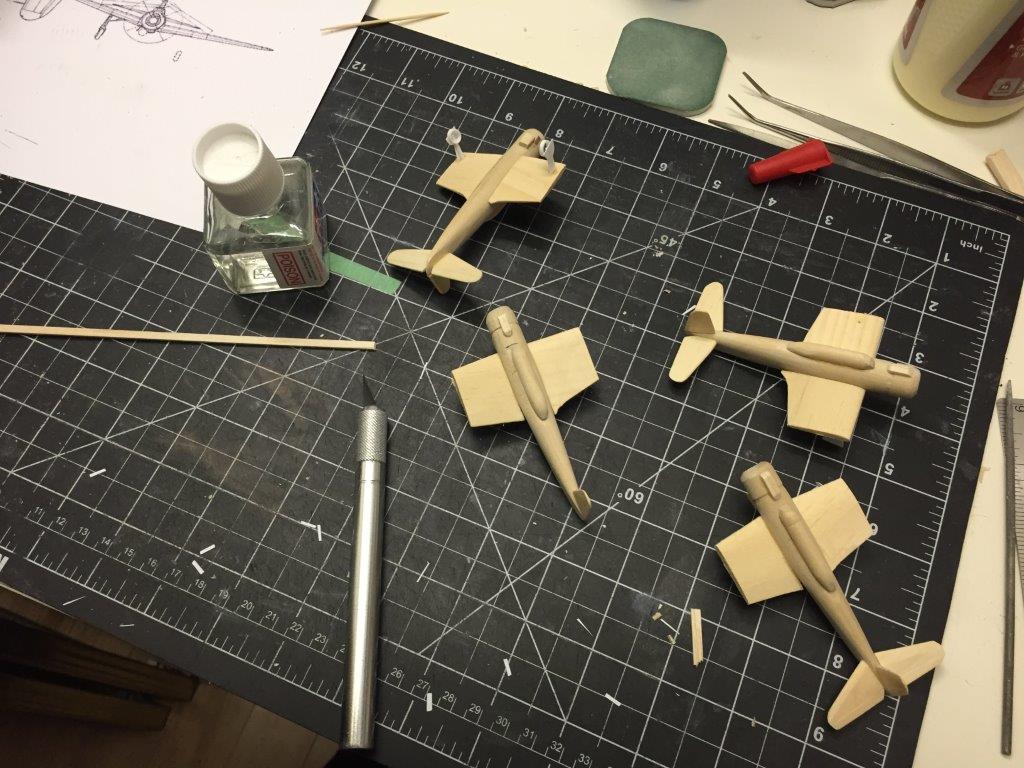
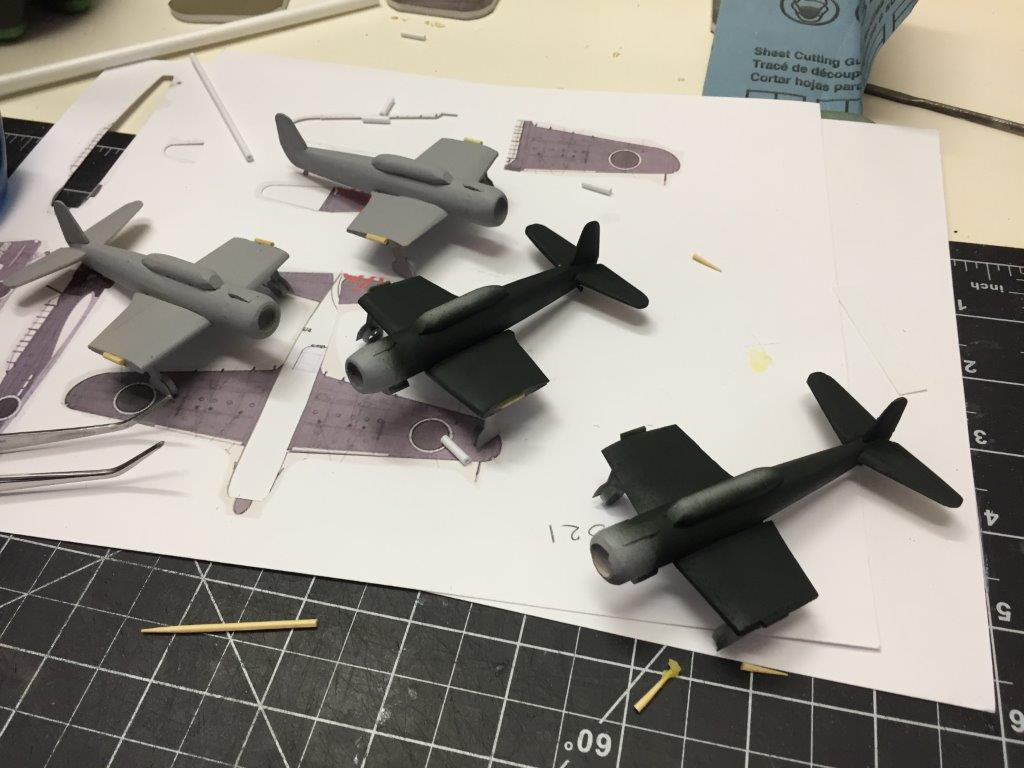
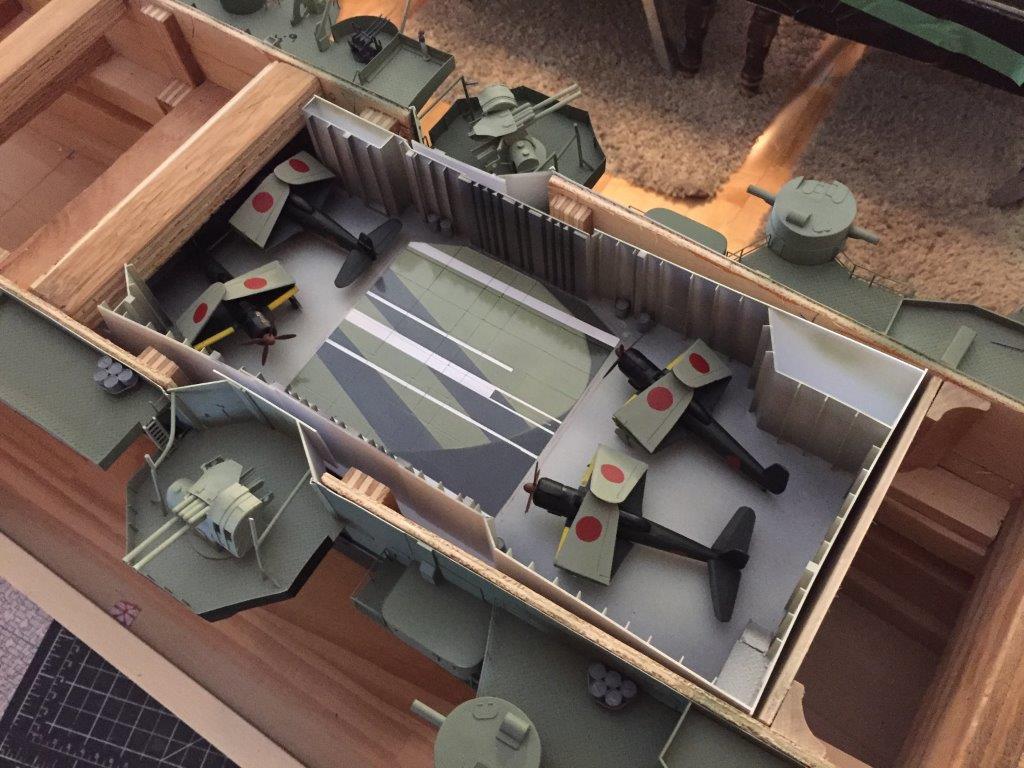
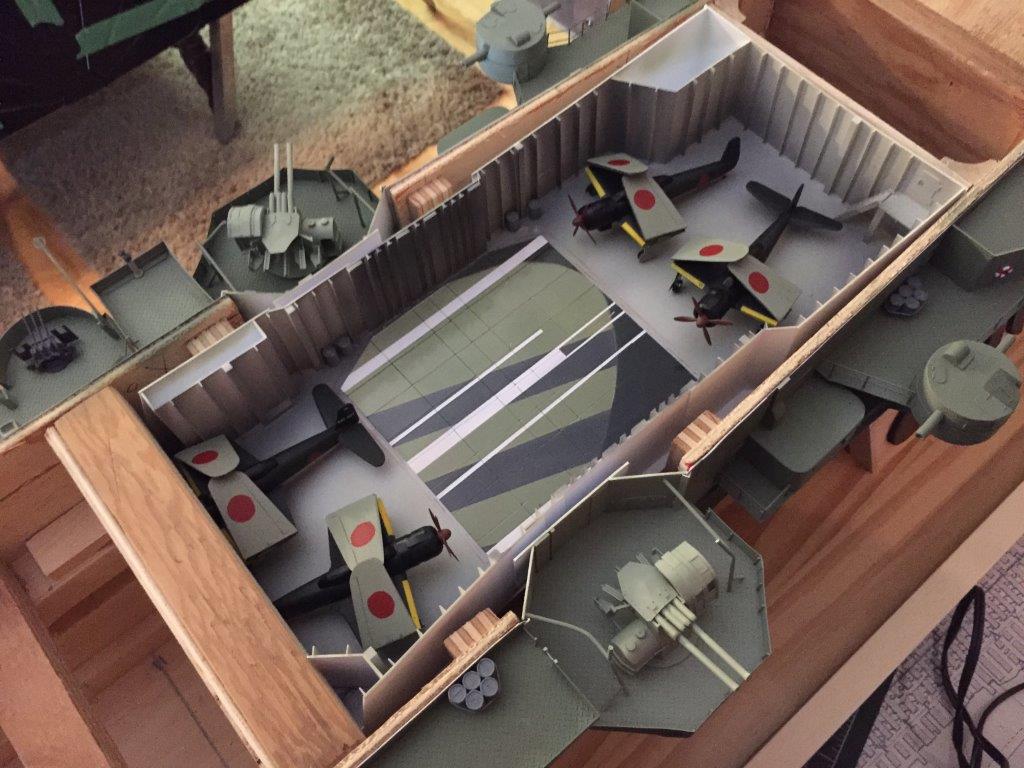
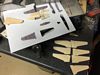
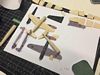
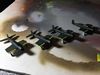
While still waiting for the decals I decided to scratch build four Jill torpedo bombers for the hangar deck (to be seen when the elevator is in the down position). I figured they wouldn't have to
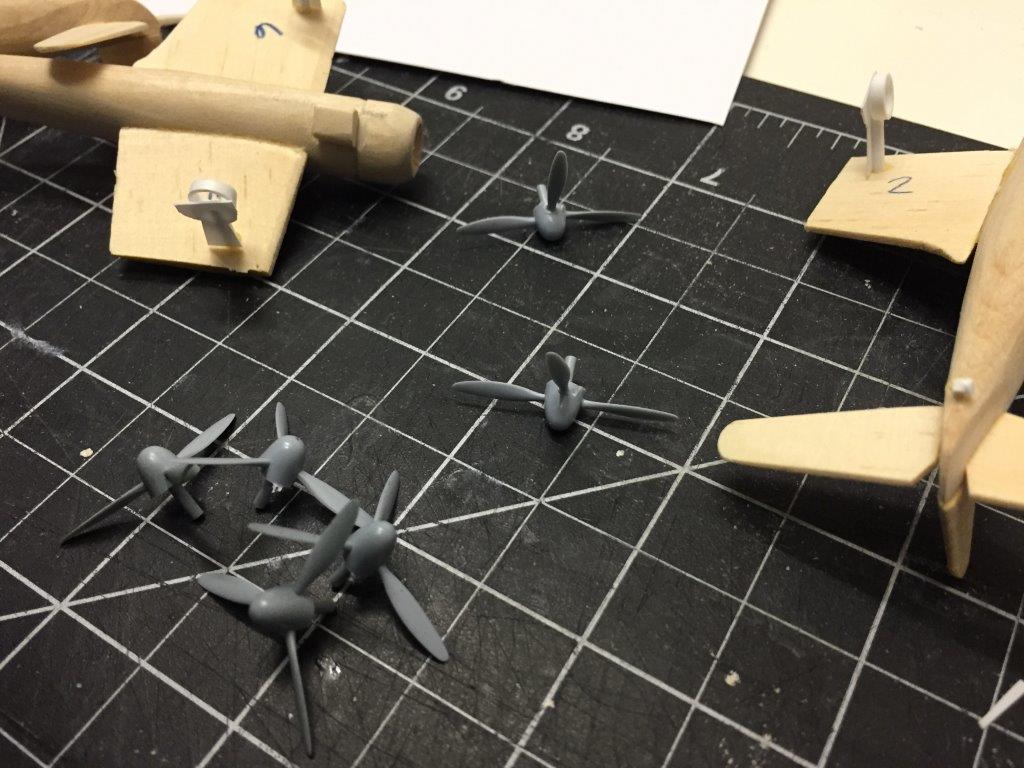
be super detailed as they would be partially obscured within the hangar. My band saw and table sander came in quite handy on these planes. The two Doyusha kits that furnished me with the twelve
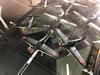
Zero fighters provided an unexpected bonus I could use for the four B6N bombers I was scratch building: Each Zero came with three propellers, so I effectively had twenty four spare propellers. It
took about 20 minutes to cut six of these up and convert four of them into the four bladed propellers I needed for the "Jills". After paint and some details they are ready to go!


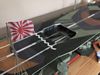
Finally! The decals arrived 2 days shy of a month since they had been shipped. They were dry transfer decals and were applied with some necessary patience and expected frustration, but
done they are! All the aircraft were given a coat of dull coat and the canopies were affixed to the Zeros.
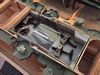
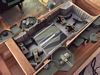
I ran the wiring for the four motorized Zeros through the flight deck, through the hull and through the ship stand. The batteries and the switches would be located on the display case with
the ability to access them easily while making them as invisible as possible.
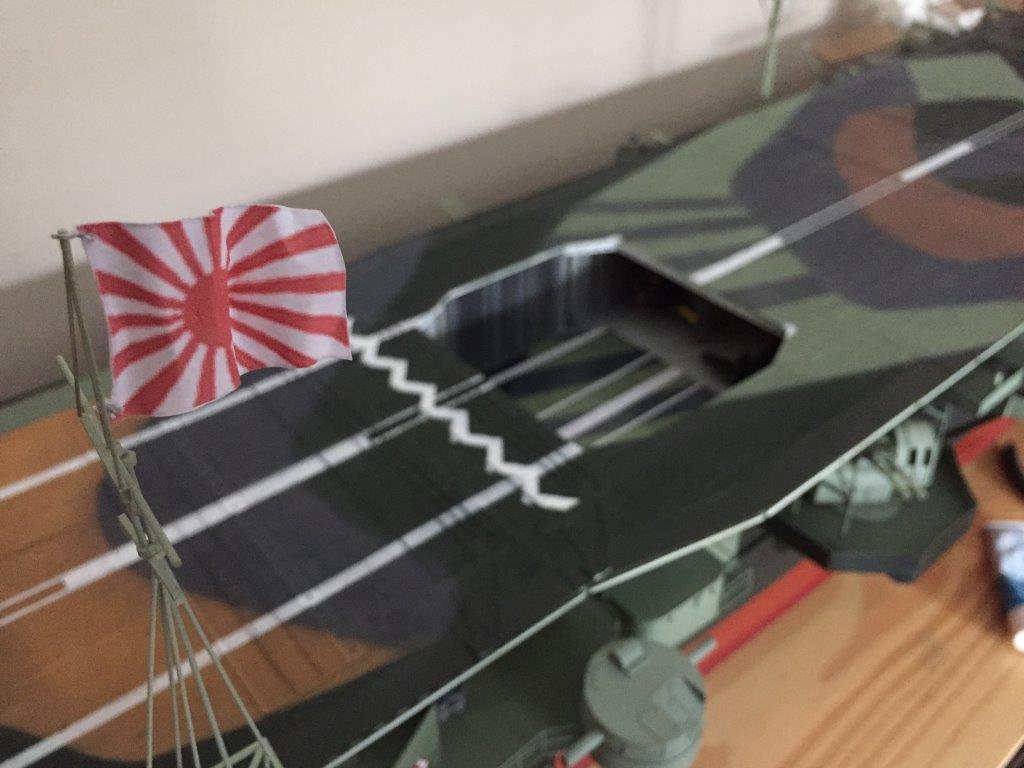
The second last item was to glue the flight deck permanently to the ship. This was done with some pomp and ceremony (in my own head).
The final task was the addition of the rigging between the antennas and to the ship itself. I opted to use steel "music rods" for this as the styrene rods sagged considerably and I
didn't want to glue them taut and possibly pull the antennas over. The steel also proved very ridged and stayed straight as an arrow.
The ship is proudly berthed in my home office so I need to walk past her every day. I make sure to salute her (in my head) as the four foremost Zeros warm up their engines in preparation for takeoff!

|