|
back to menu
Part 5
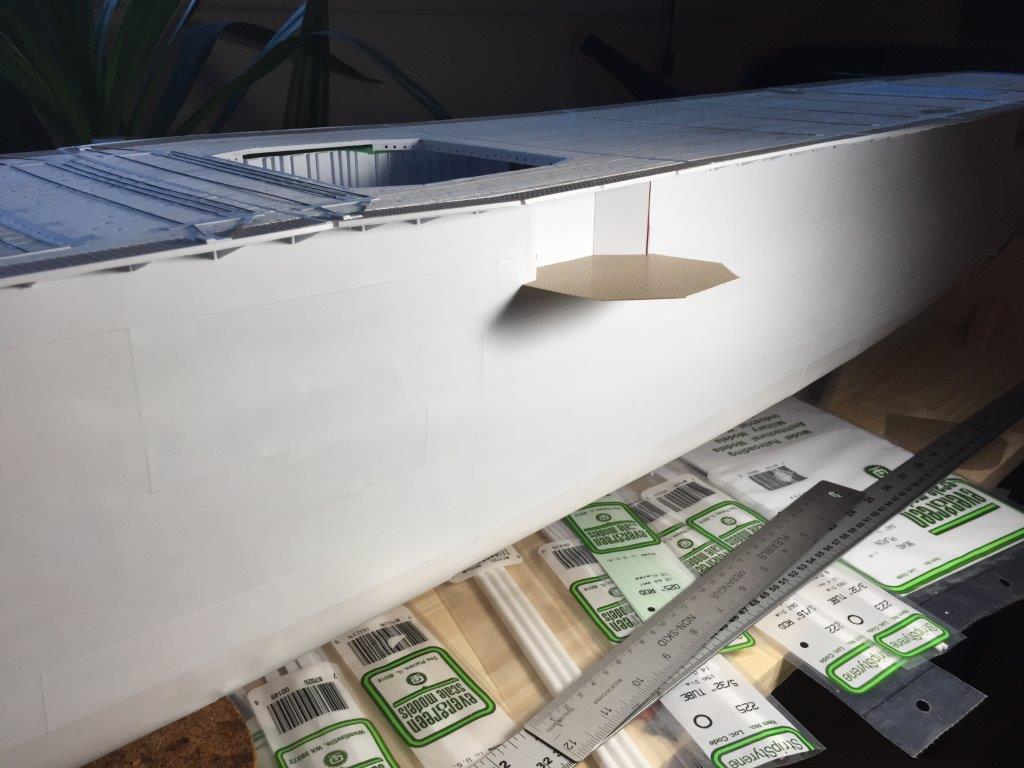
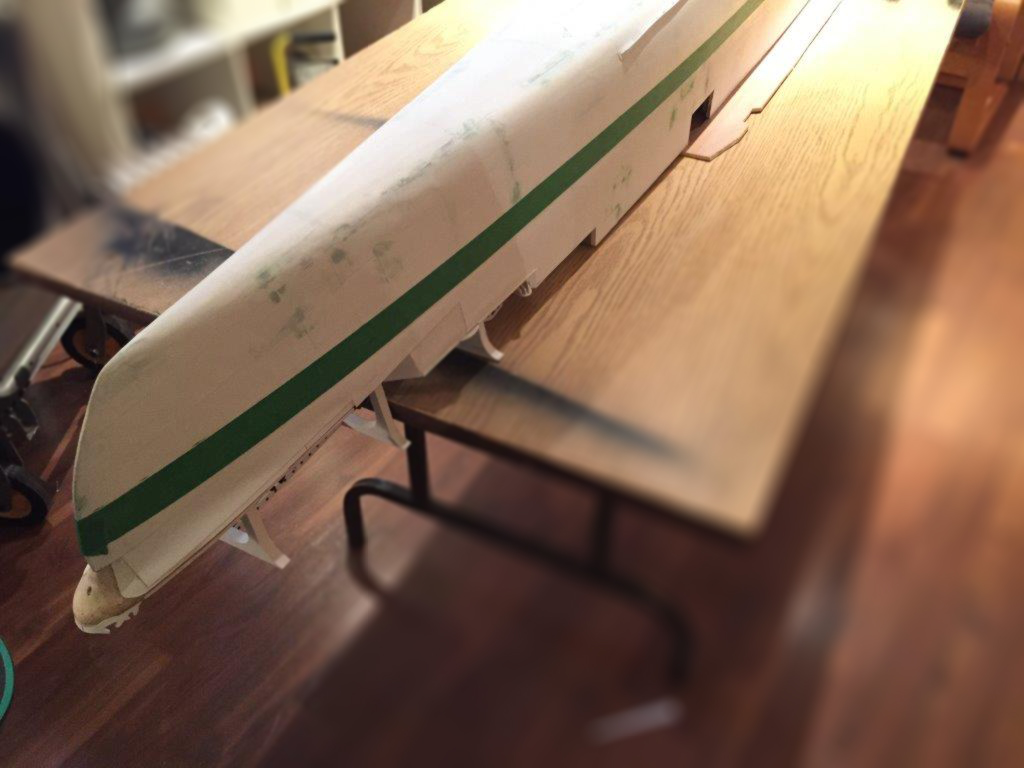
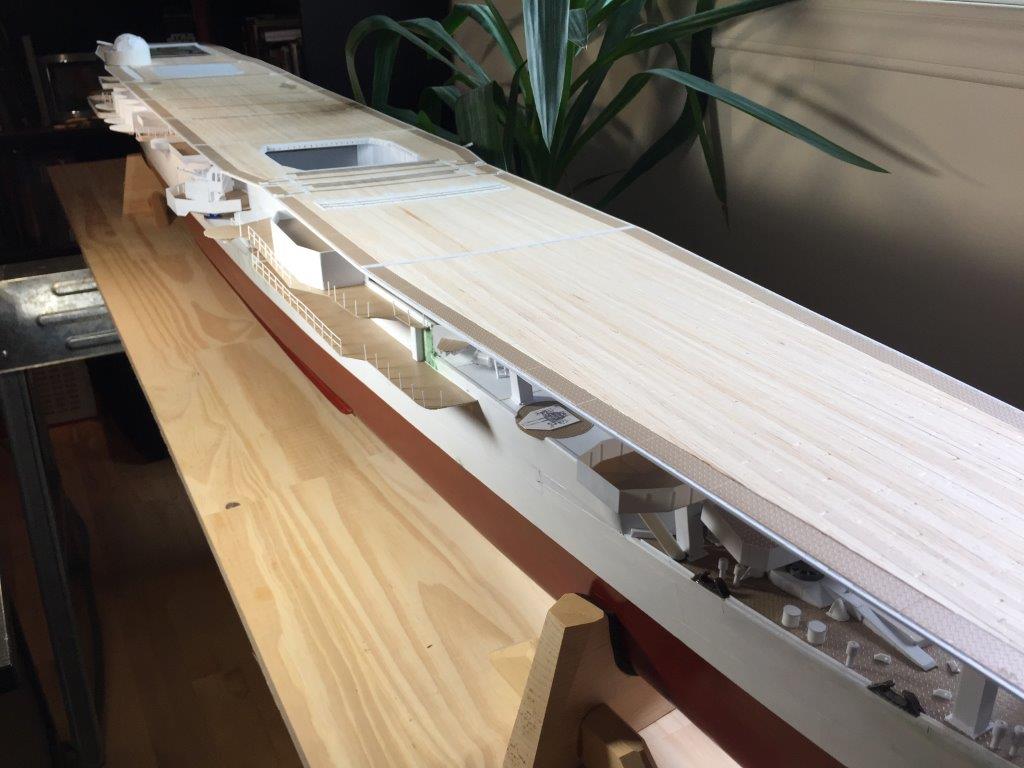
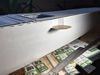
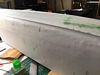
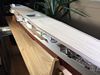
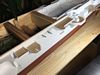
As we all know, winter is the time for model making. There seems to be more time in the day for it, since there are fewer events to attend. The next portion was tedious: cutting the hull strips
and gluing them onto the hull to replicate the hull strakes. In hindsight, I should have predrilled the porthole holes into these strips before affixing them. I fretted over using alterative
raised and recessed strakes, but the photographic evidence was wanting, especially for light and medium Japanese aircraft carrier. I opted for flush, joined strakes without the raised and recessed
panels. From what I could tell, that is what the Japanese used on smaller ships, especially on regular hulled ships (not warships) and
the Zuiho was converted from an oiler's hull.
Click images to enlarge

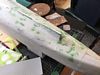
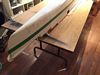
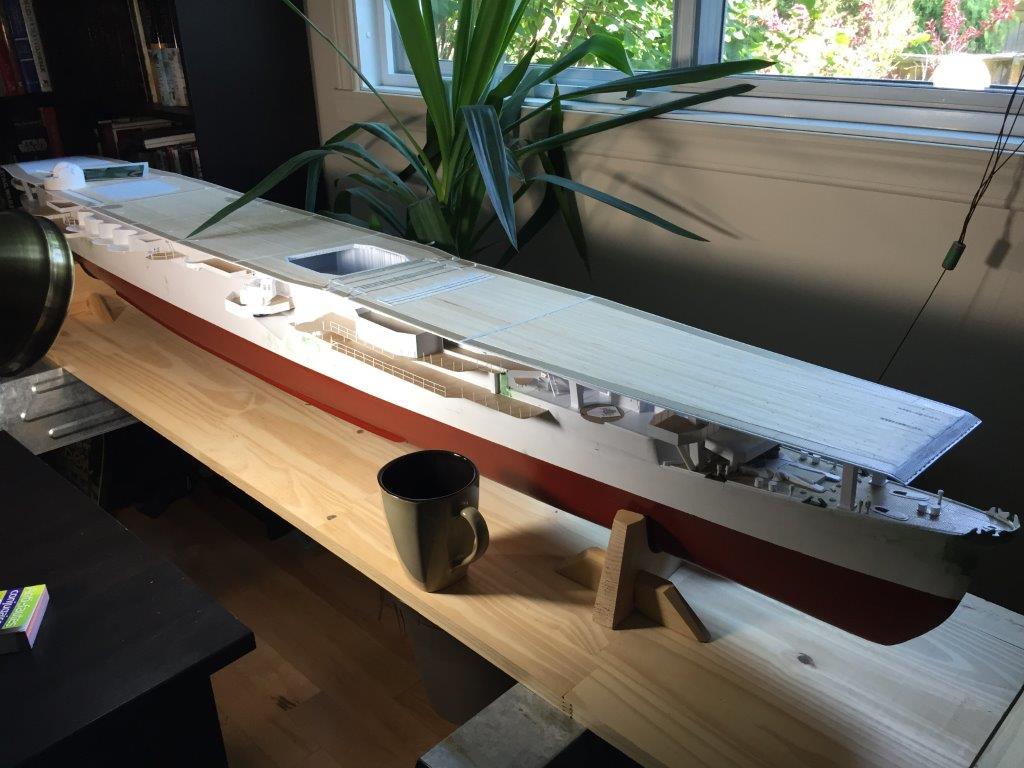
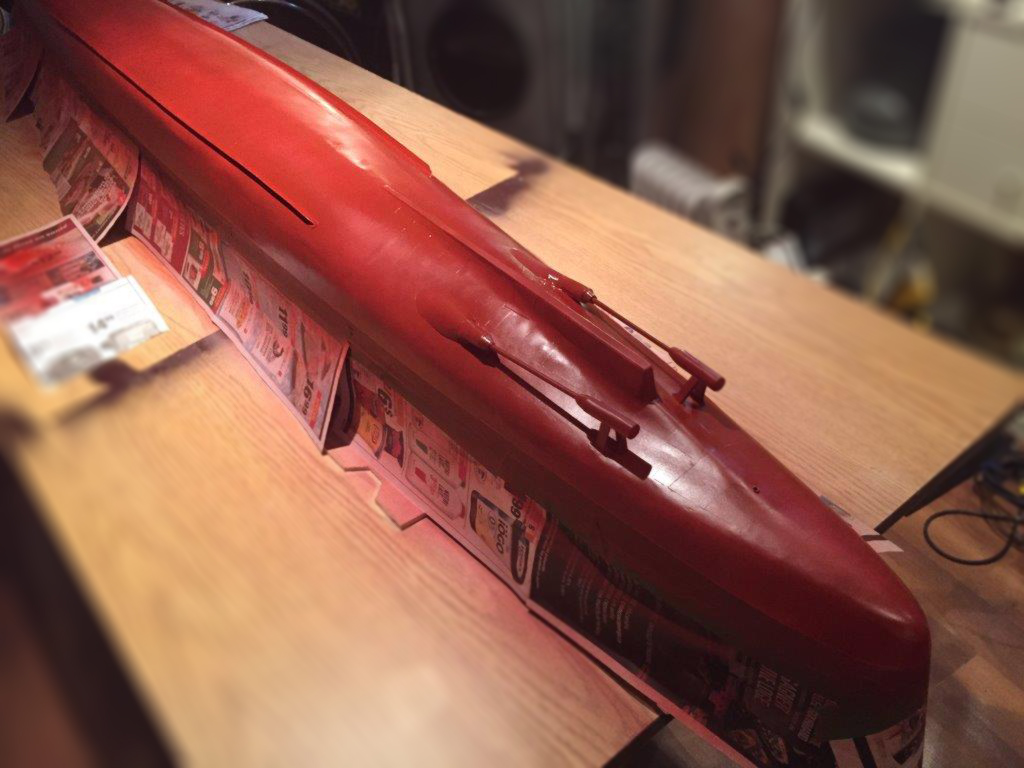
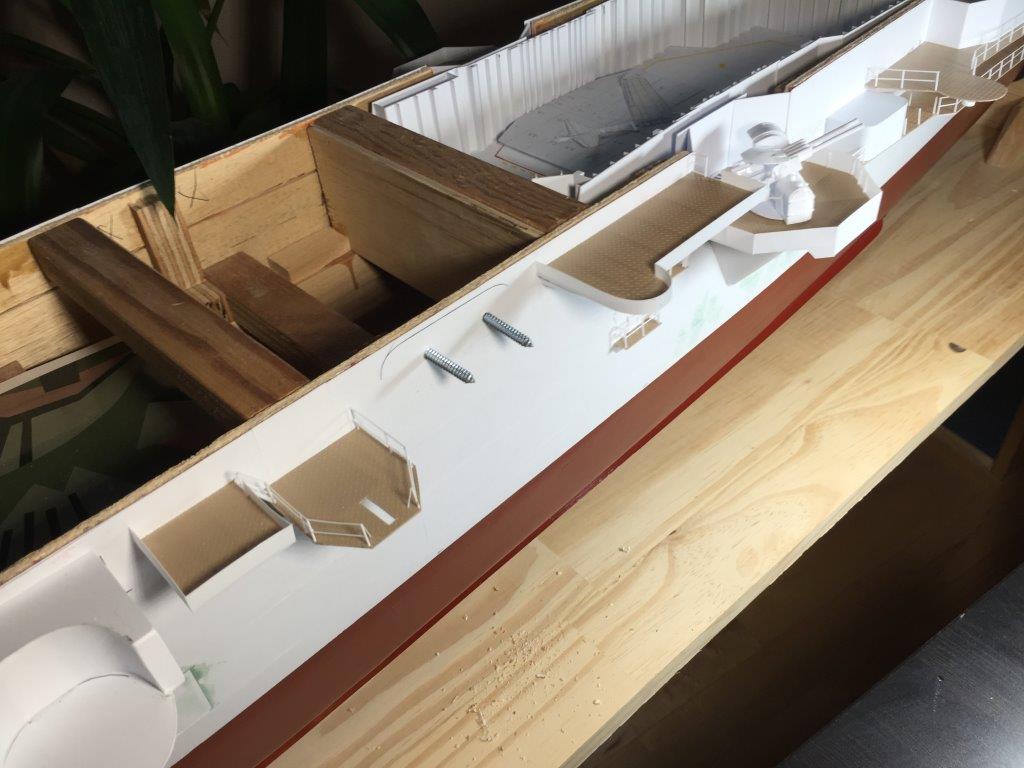
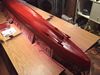
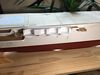
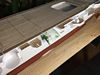
I added in the keels, propeller shafts and rudder and decided to paint the under-hull at this point. I figured that once I started building the sponsons and other upper hull attachments, it would be
too much trouble to paint the lower hull later. I used 1 can of Tamiya primer and 2.5 cans of Tamiya Hull Red. I then gave the hull two coats of Future to further protect the paint. The final two
coats were of Tamiya dull-coat spray. It looked really nice. It was great having some colour on her.
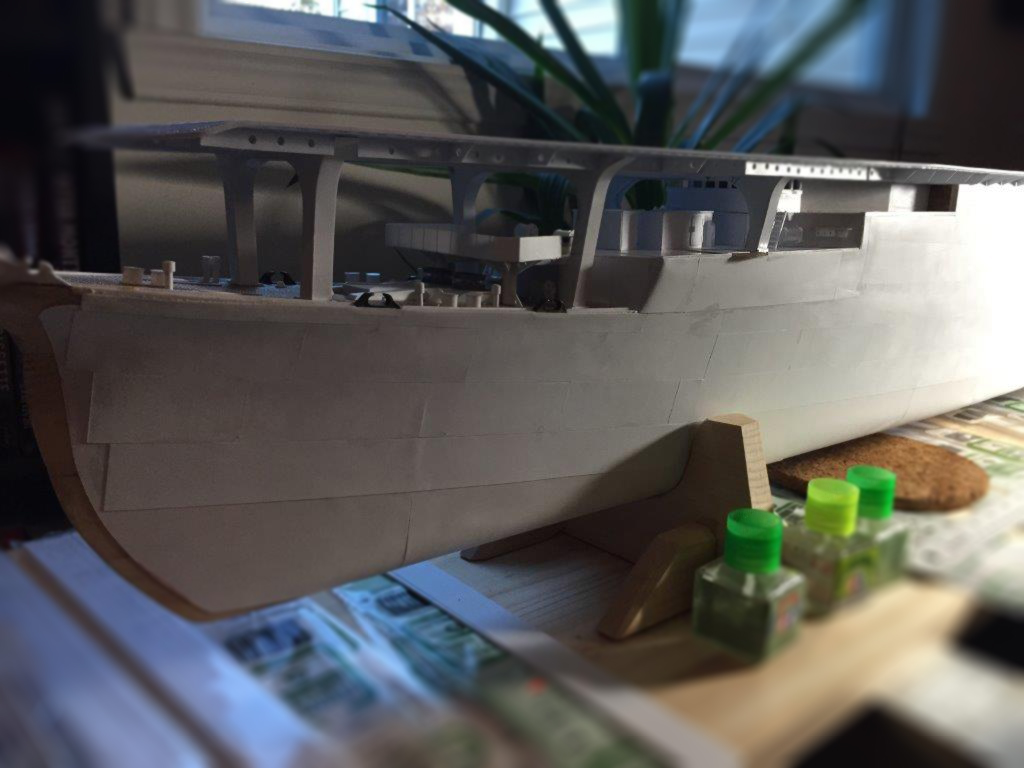
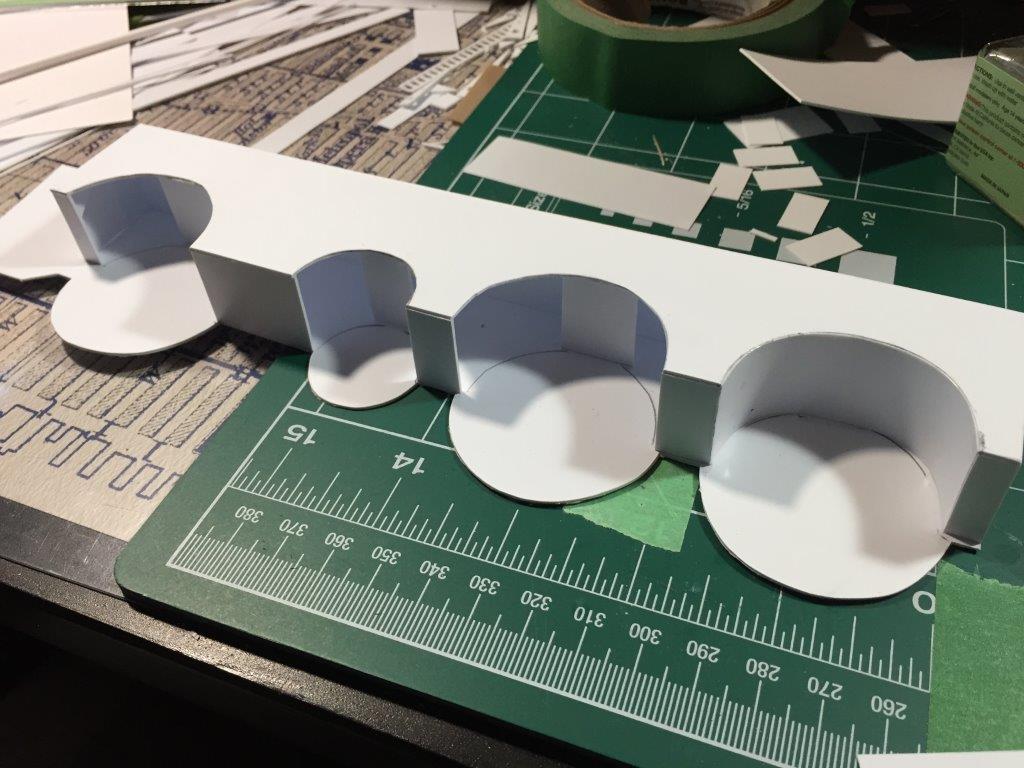
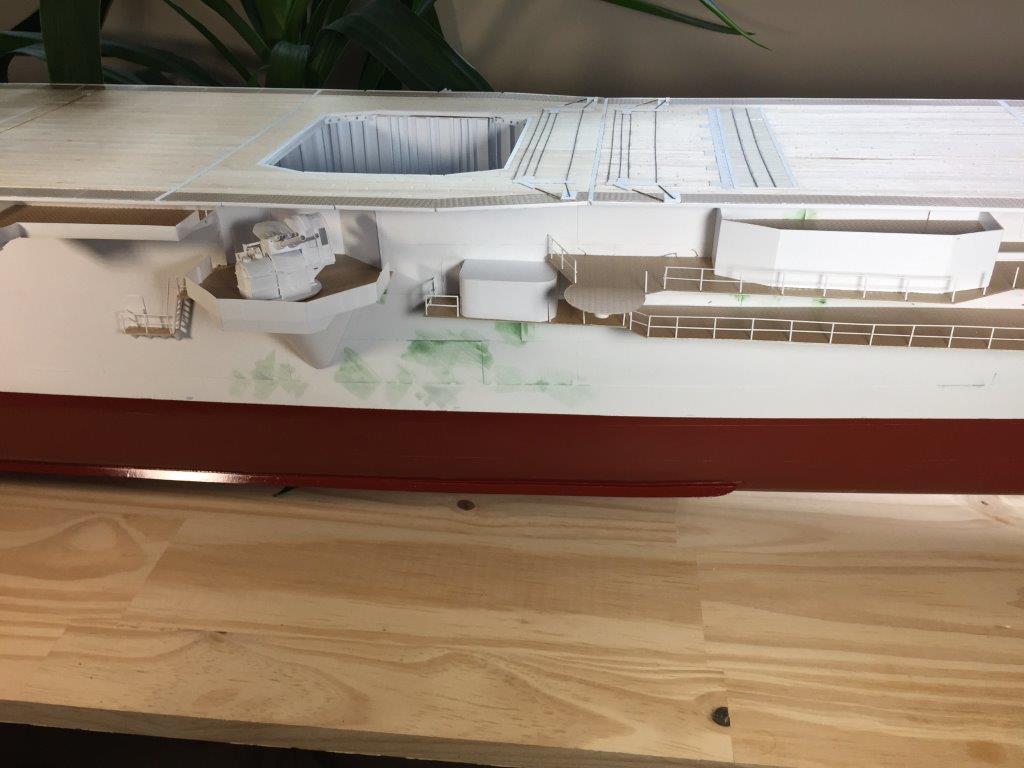
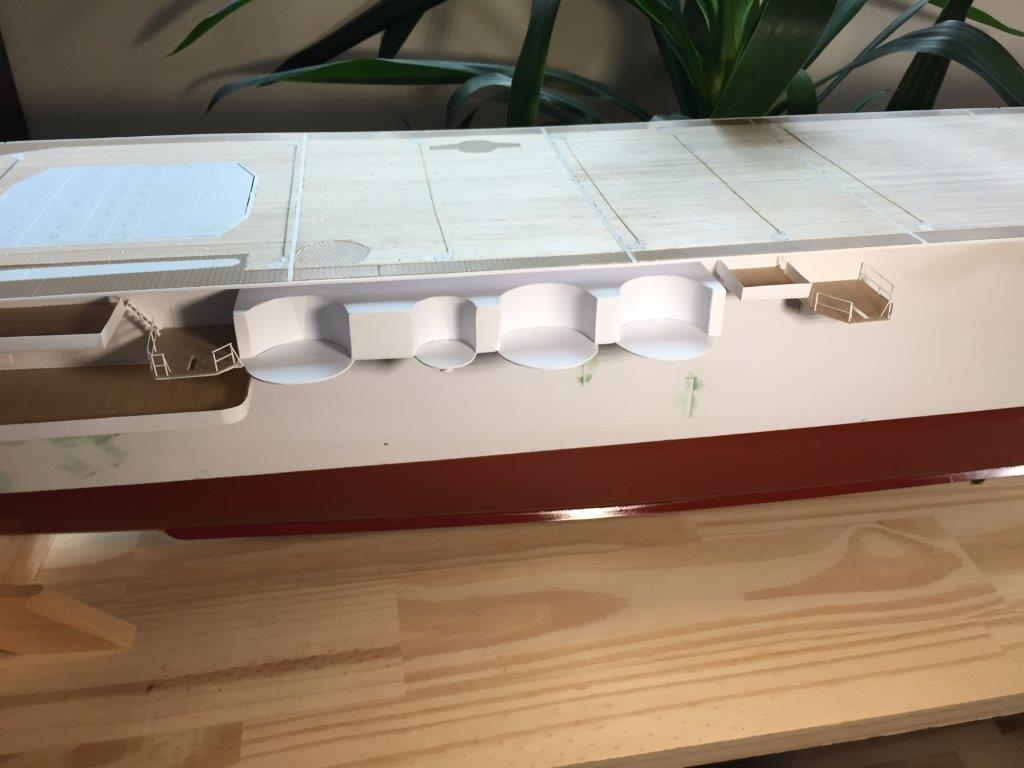
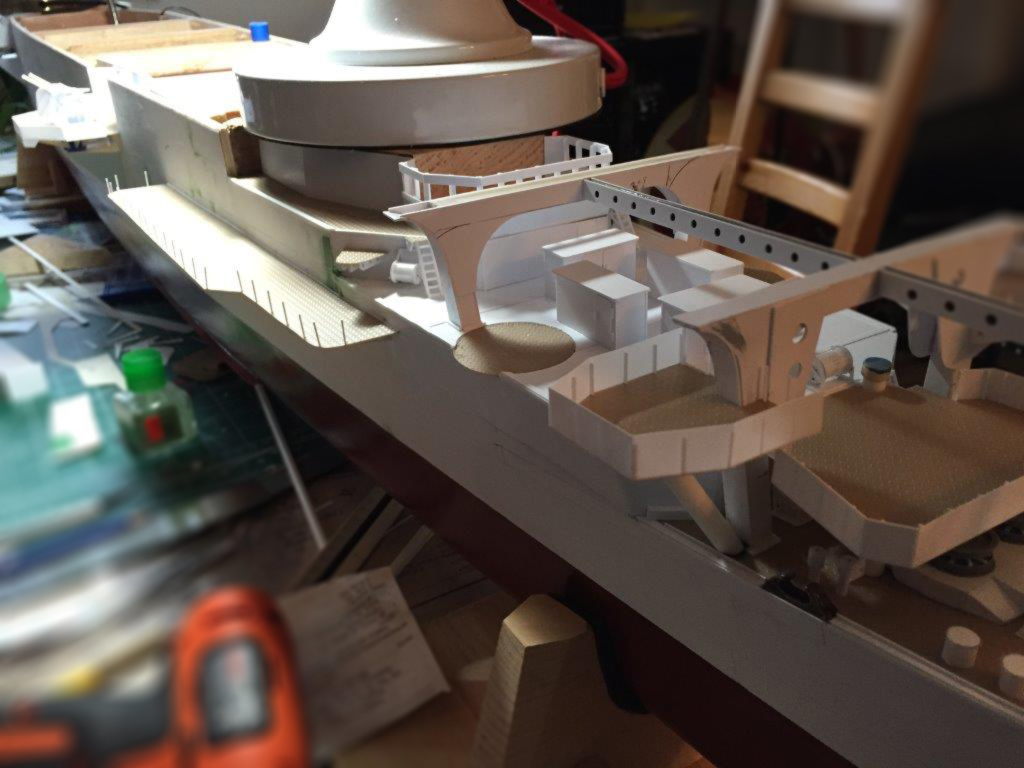
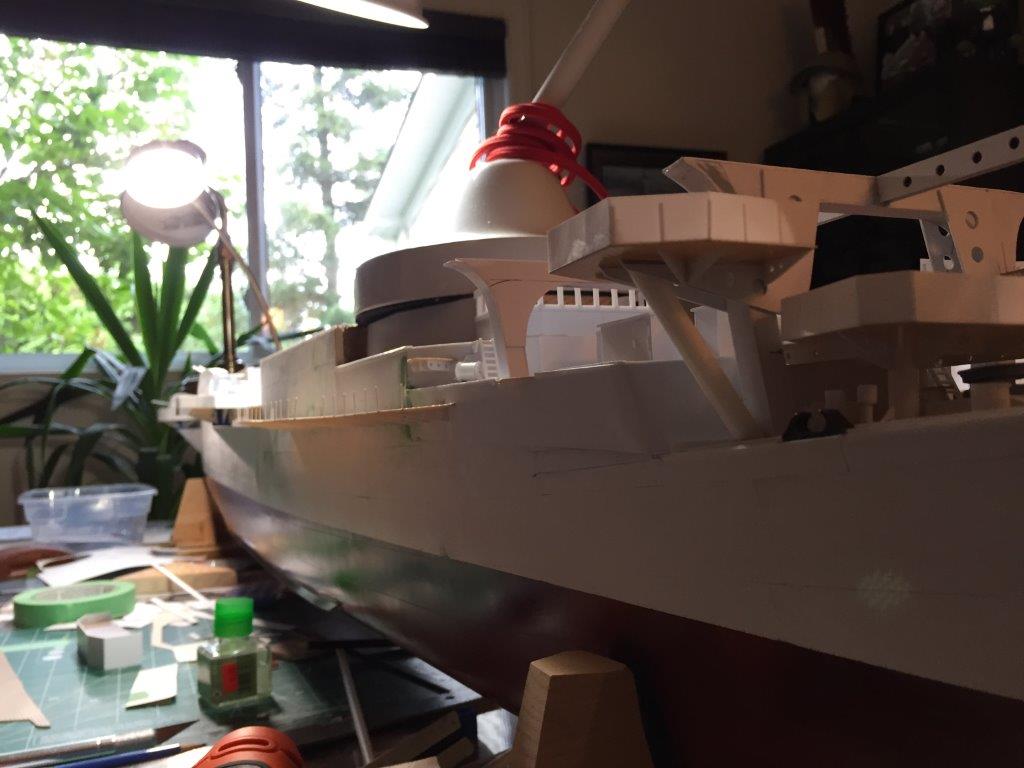
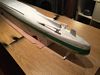
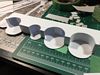
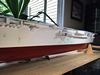
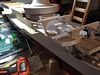
The next step was the sponsons, of which there were MANY! The support brackets were repetitive and challenging as they were rarely of uniform size because the sponson widths were rarely uniform. The sponsons,
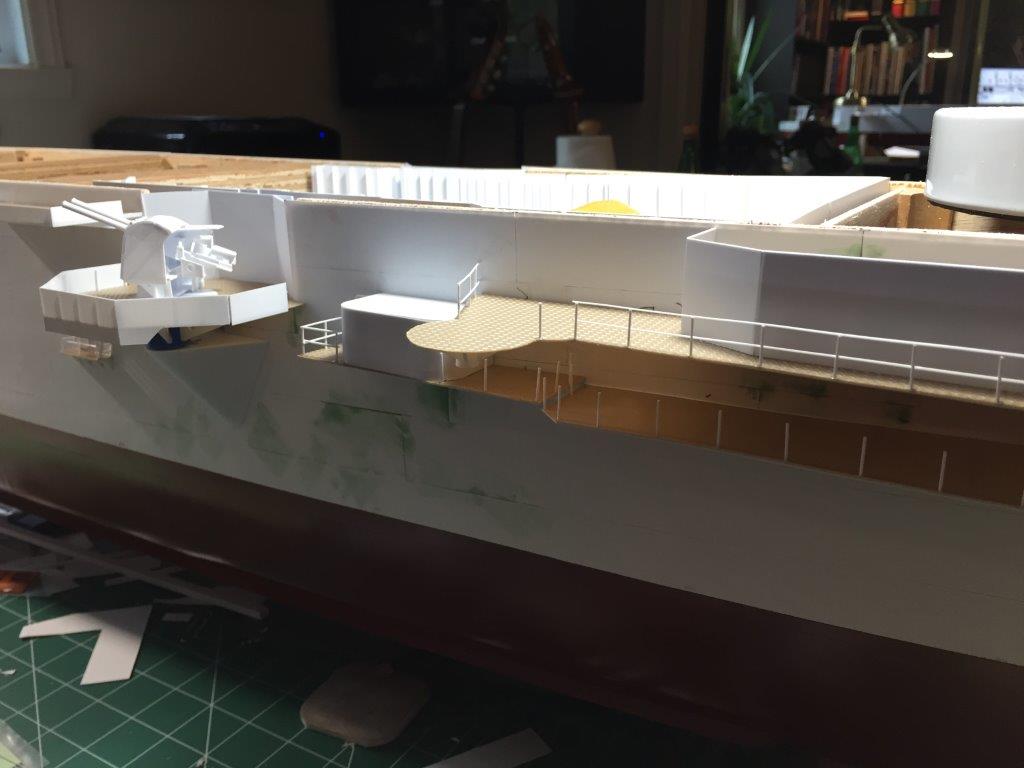
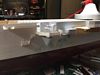
their enclosed structures and the eventual railings / shields were a large part of this build. I did not foresee the time and effort these areas of the ship would take. The three triple 25mm shielded mount sponson was
completed at this time. I would find out later (through photographic evidence) that the sponson itself was not enclosed around the gun mounts, as is erronously pictured below.
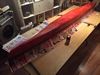
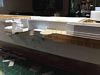
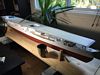
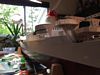
The curved smoke stack was completed. Once again I used a wood core; cut, glued and sanded and then covered the stack in styrene. I tried several times to just used the styrene, but the bending and folding required of such thin styrene plus the Tamiya glue used saw the styrene tear every single time.
Click images to enlarge

|