|
back to menu
Part 3
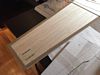
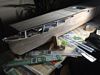
The next step, to break the "hull monotony", was to get the flight deck built. The base was a large portion a 4' x 8' styrene sheet I bought. I highly recommend buying a large sheet. The
single large sheet cost me $22 and I used a good deal of it in the completion of this build. Buying the same amount of styrene in precut packages would have cost 8 to 10 times what I paid for that one sheet.
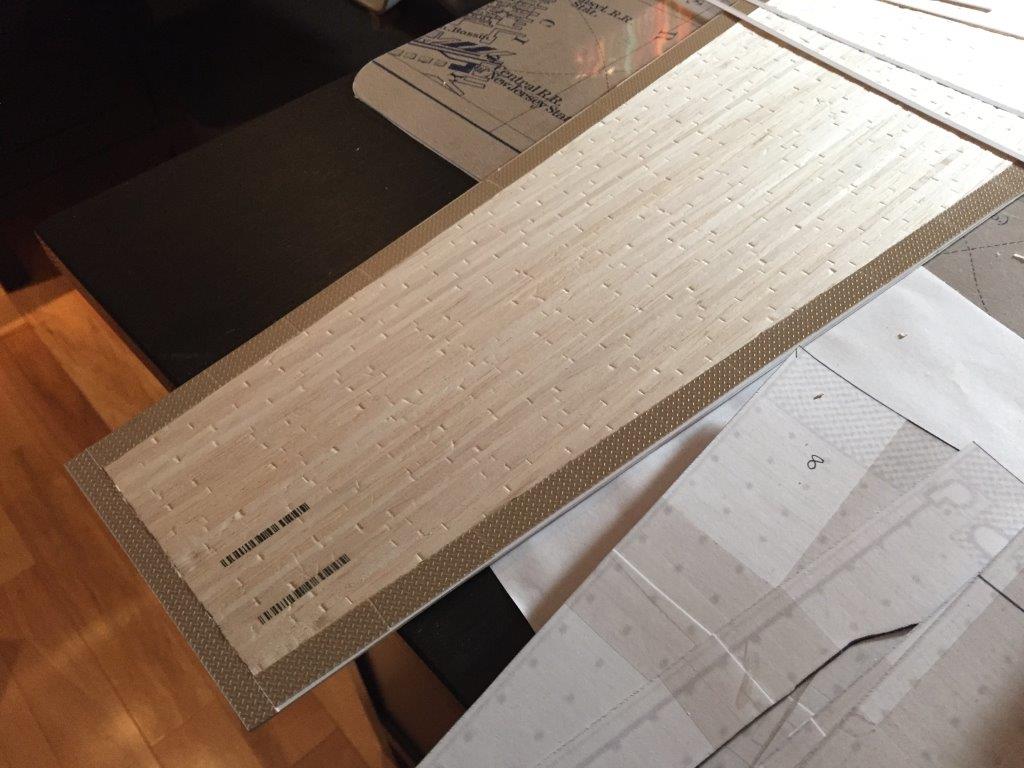
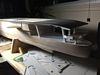
I purchased balsam wood planks and styrene sheets of diamond plate from Plastruct. I used extra strength PVC glue to affix the wood planks to the deck. In hindsight, I should have used a
harder wood as the balsam marked easily, but the Balsam retained the nicks and scratches that invariably occurred as I proceeded: the real life Zuiho's deck probably would have had such marks
after 3 years of wartime service. I also used wider than scale wood planks since the finished model would have a completely painted flight deck and the deck plank size would basically not be
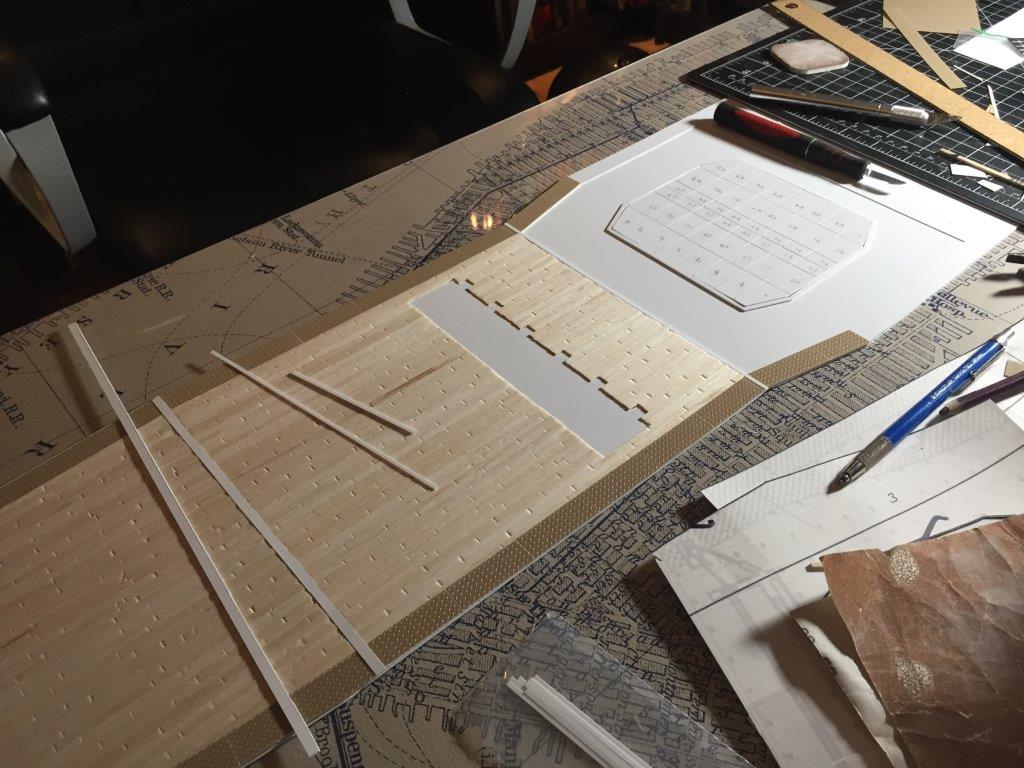
evident. It meant that the arduous task of laying these planks would be facilitated as each plank covered more area. Once the principle work was done on the flight deck, I then proceeded to
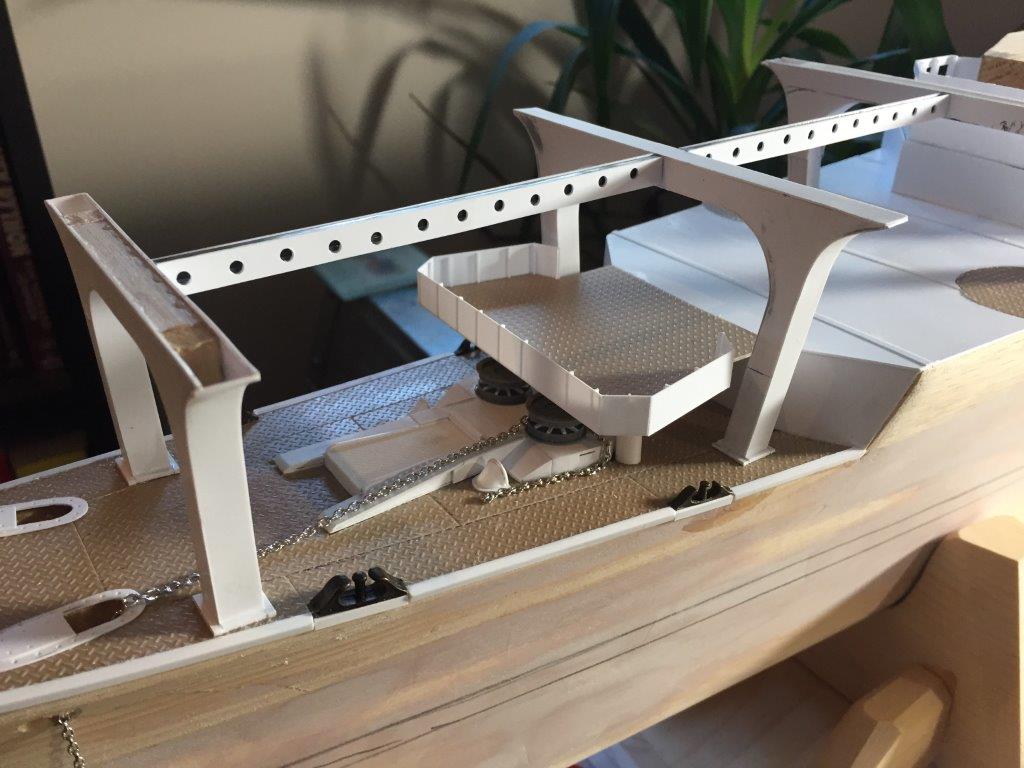
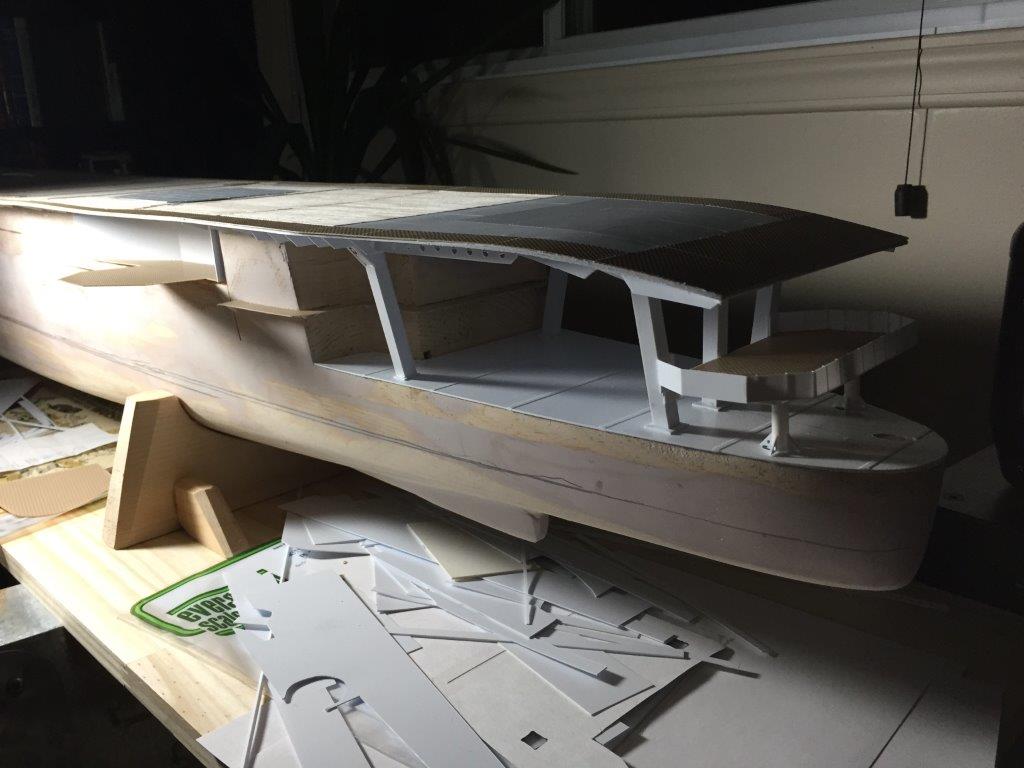
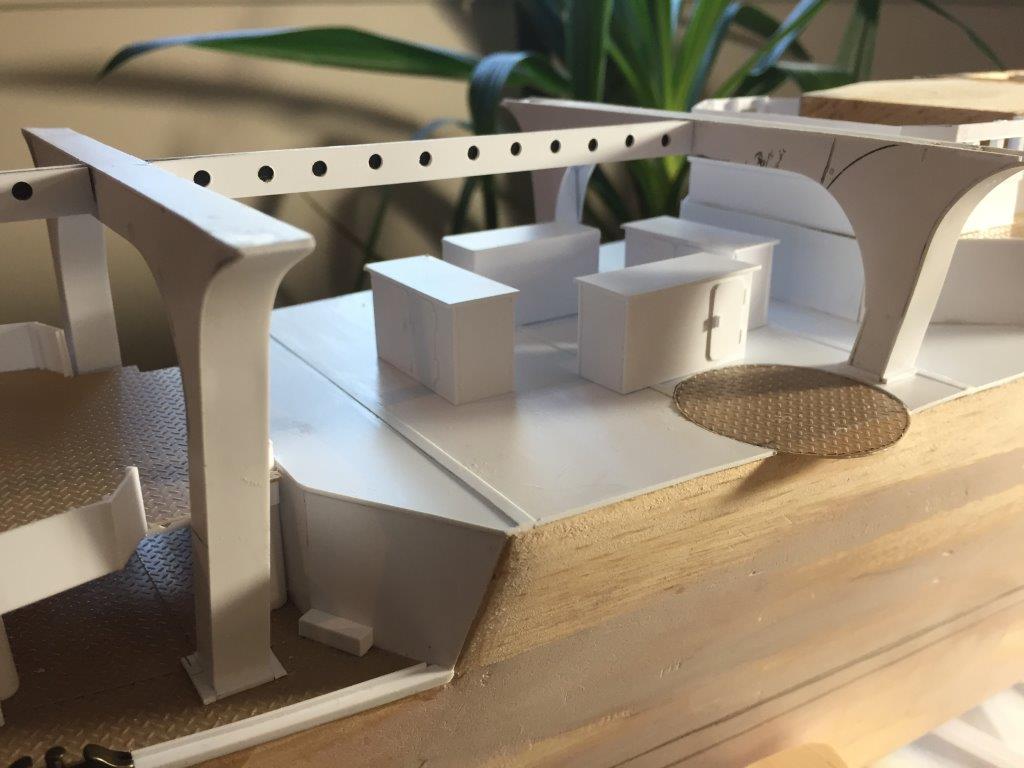
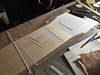
build the perimeter "guard rails" that extended around the entire flight deck. This was a tedious and exacting task. I was happy to move onto the bow details after finishing those guard rails.
Click images to enlarge
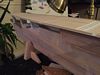

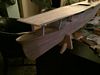
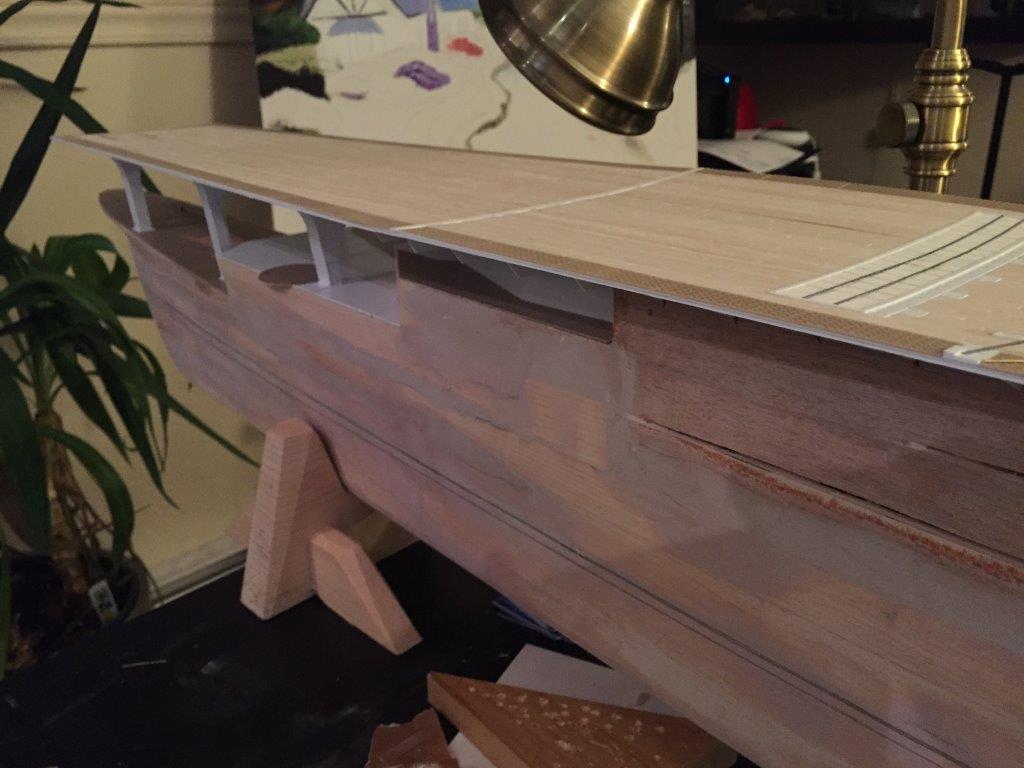
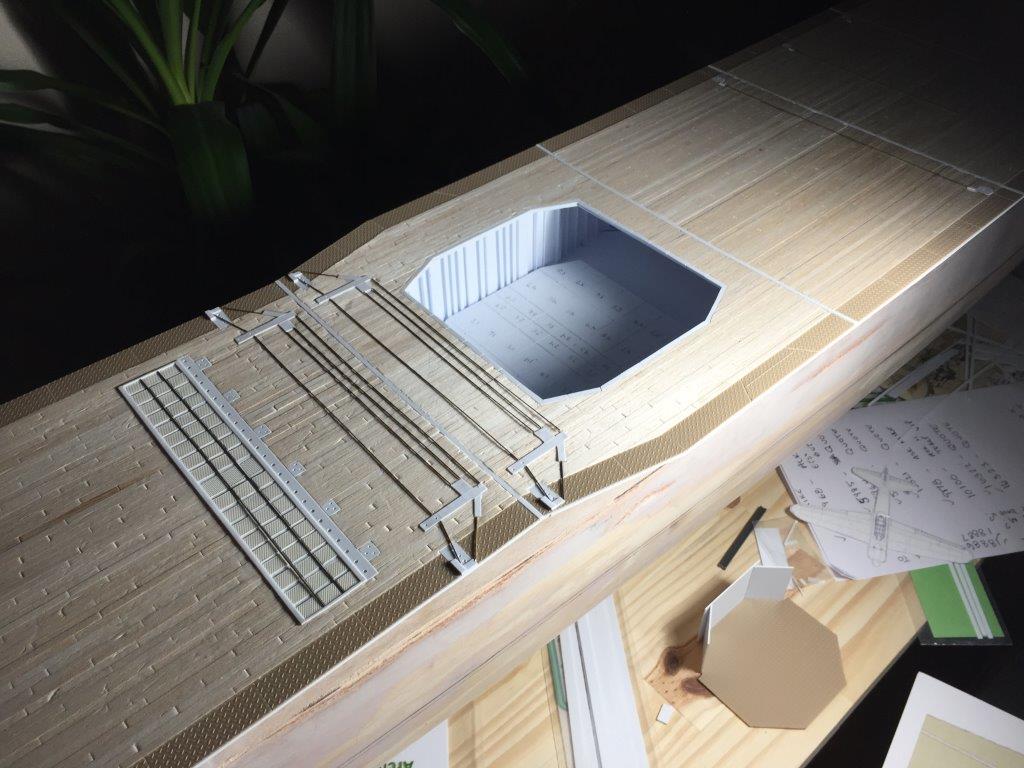
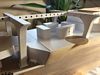
I built the support posts from wood and covered them in styrene. The rest of the bow's deck was covered with the diamond plating. Styrene sheets were used to represent the linoleum the Japanese
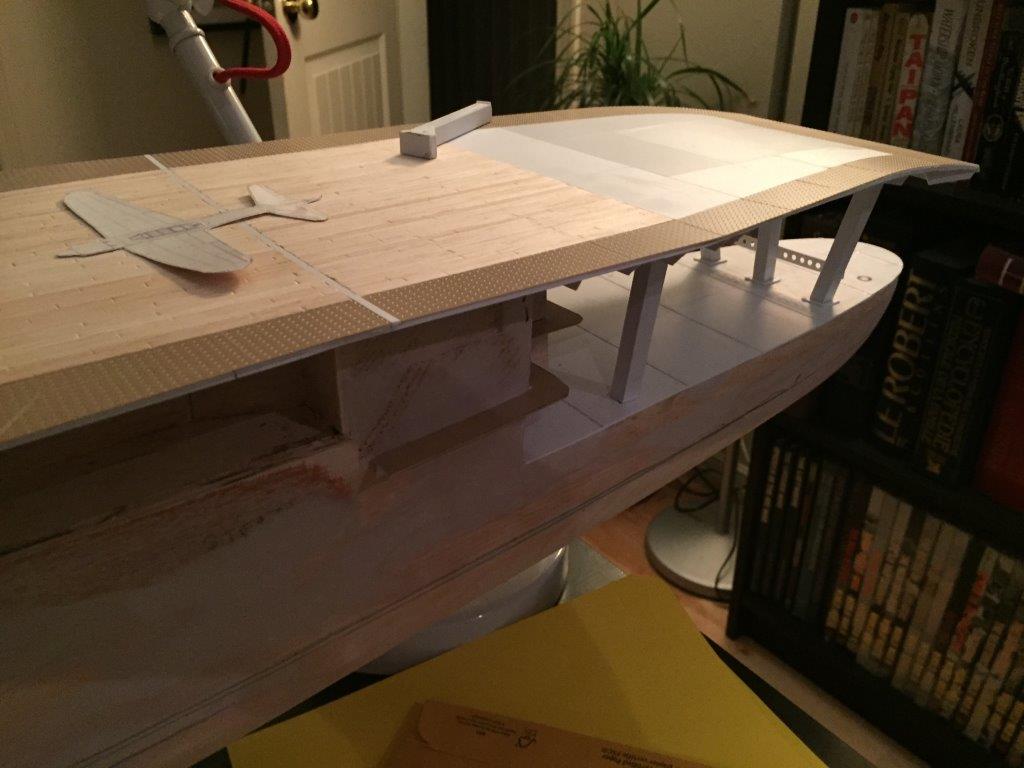
were fond of using on the decks of the forward superstructure. I built the ground tackle arrangement based loosely on the AOTS Takao reference. At this point I decided to start working on some
other details and build the bunk closets the additional gunners were provided. They were added to the ship in 1944 to accommodate the extra crew needed to man the new 25mm guns added to the bow.
The bridge exterior was completed at this time.
Click images to enlarge


|