 |
|
| Introduction: Hello again fellow modelers. Having completed the hull areas of Yamato except for some smaller details, it is now time to move on to the Superstructure of the ship. Construction is pretty straight forward so I did not get into all the smaller details. The superstructure is basically in 4 main parts. The Base, the Fwd bridge and main Gun Director, the Funnel, and the aft. Bridge and secondary Gun Director. Lets move on to the photos. | |
| Here we have an overhead view looking slightly to Stb. Note the white areas. These are the areas that I have rebuilt, namely, the Fwd Gun Director, the Signal Bridge, and the Catwalk between the lower fwd. bridge and the Funnel. Some of the kit parts are wrong as compared to the drawings in J. Skulskis book, Anatomy of the Ship Series, Yamato. This publication is a must if you are going to build Yamato in any of the larger scales. | click images
below to enlarge 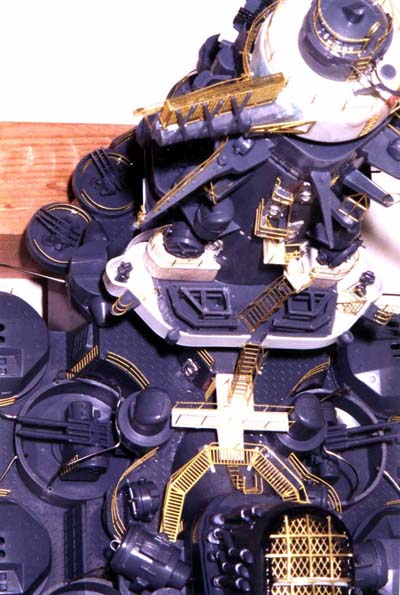 |
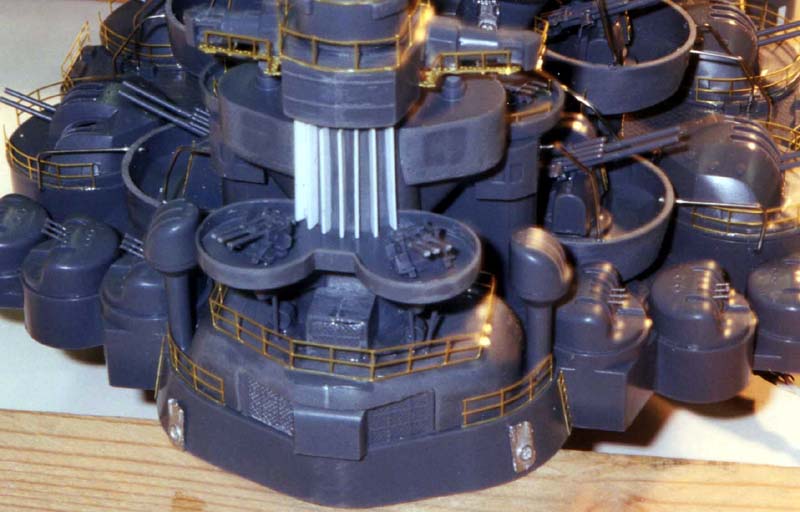
| Aft end of the superstructure. Again notice the white areas. These are made from sheet styrene. The W/T doors (silver color) are cast metal fittings from HR Products available through Loyalhanna Dockyard. Also notice the many photo-etch brass parts. These are from Loren Perry's Gold Medal Models kit for the Yamato. The kit is about 80.00 but well worth it as it really adds a lot to the model. A few more vertical ladders would have been good as I ran out before things were finished, so I made my own from brass mesh available from Special Shapes.com. | 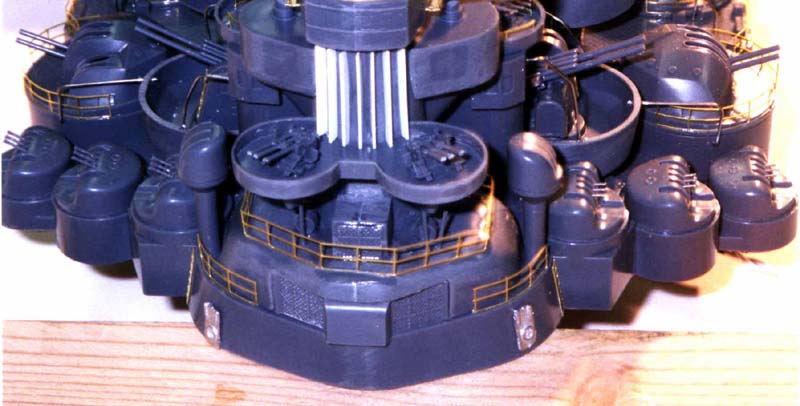 |
 |
|
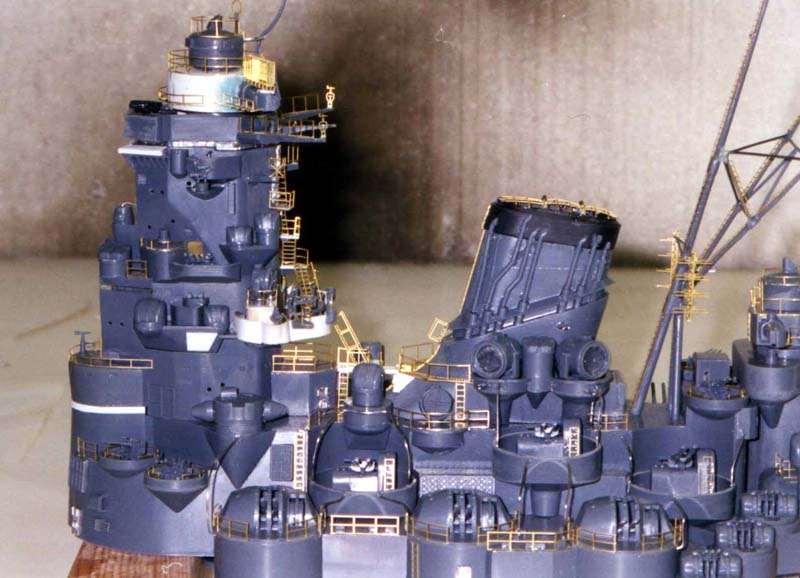
| The fwd. bridge and main gun director looking from port side and slightly aft. Note the ladders going up the rear of the bridge. These are tricky to line up so patience is in order here. The searchlight platforms are made from balsa wood and then topped with sheet styrene. The gun director moves with the turrets. | 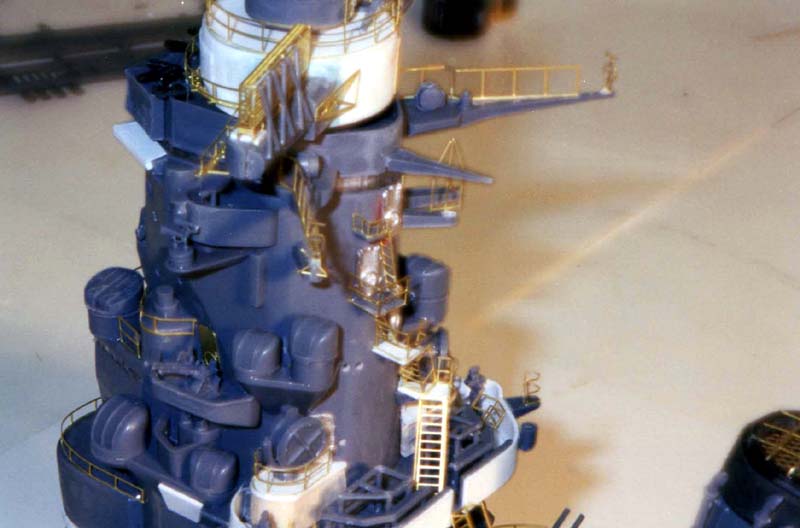 |
| A good shot of the port side. Again notice all the photo-etch parts. I built all the guns first and then added them along with all the other small stuff a little at a time. I decided to assemble the entire structure before paint work. Also note the barrel stops on the lower aa guns. These are made from steel wire. I used the wire supplied with the kit that was intended for fabricating the railings. Its too thick for that but good for other things. Also notice the mainmast. This is particularly tricky to do. Just cutting it from the parts tree is somewhat difficult. It is a very delicate structure and is in 4 parts. The other thing is that it is wrong! The mast should have 2 legs fwd and 1 aft. As it is in the kit it is backwards. I noticed this too late to change it! Studying the book real good is advised as there is a lot to the Yamato and some obvious things are easy to miss. | 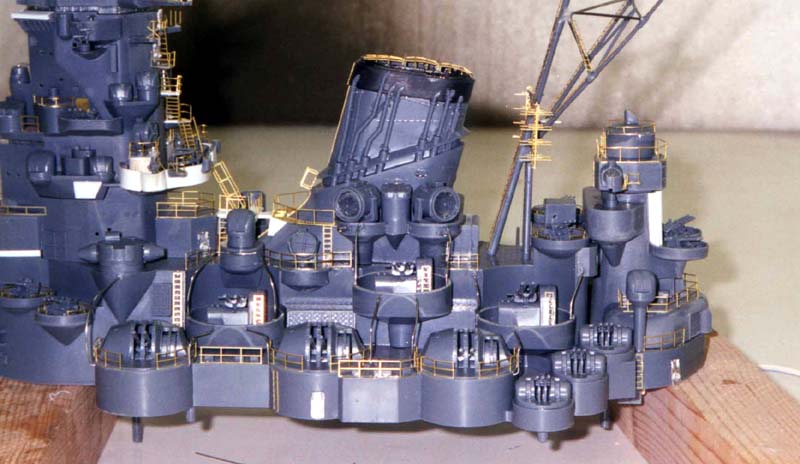 |
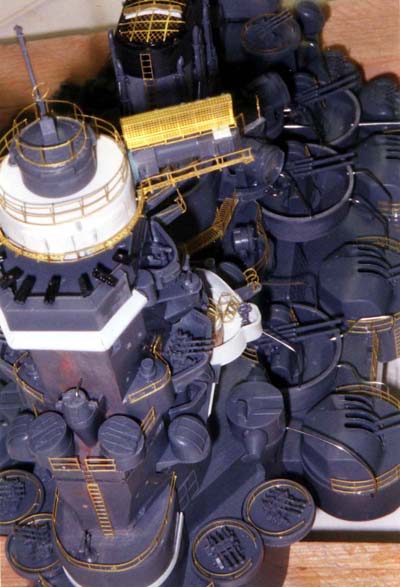
| Port side view again a little more fwd. Note the two large
searchlights along the funnel sides. These are a little out of scale but
they light up when the turrets and gun director move. They are supplied
with the kit as well as the bulbs and all the wiring and switches. You
can choose not to use these as there are smaller scale ones in the kit
as well. I just thought it would be kind of cool!
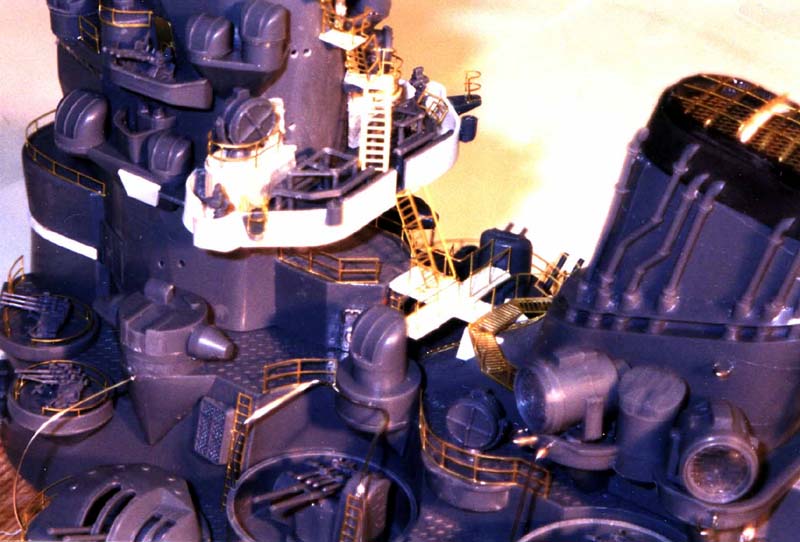
Another shot of the fwd bridge area. You can see the wire barrel stops a little better here. Also note the binoculars on the Air Defense Deck just below the gun director. These were scratchbuilt from some plastic ratlines in an old Cutty Sark Revell Kit. Another view of the signal bridge. |
 |
 |
|
 |
|
| Stay tuned for part 3 of Bill's 1/200 buildup coming soon. Bill will be checking in on the message board for any questions you may have. | |
|
On to Part 3 coming soon |
|

© ModelWarships.com