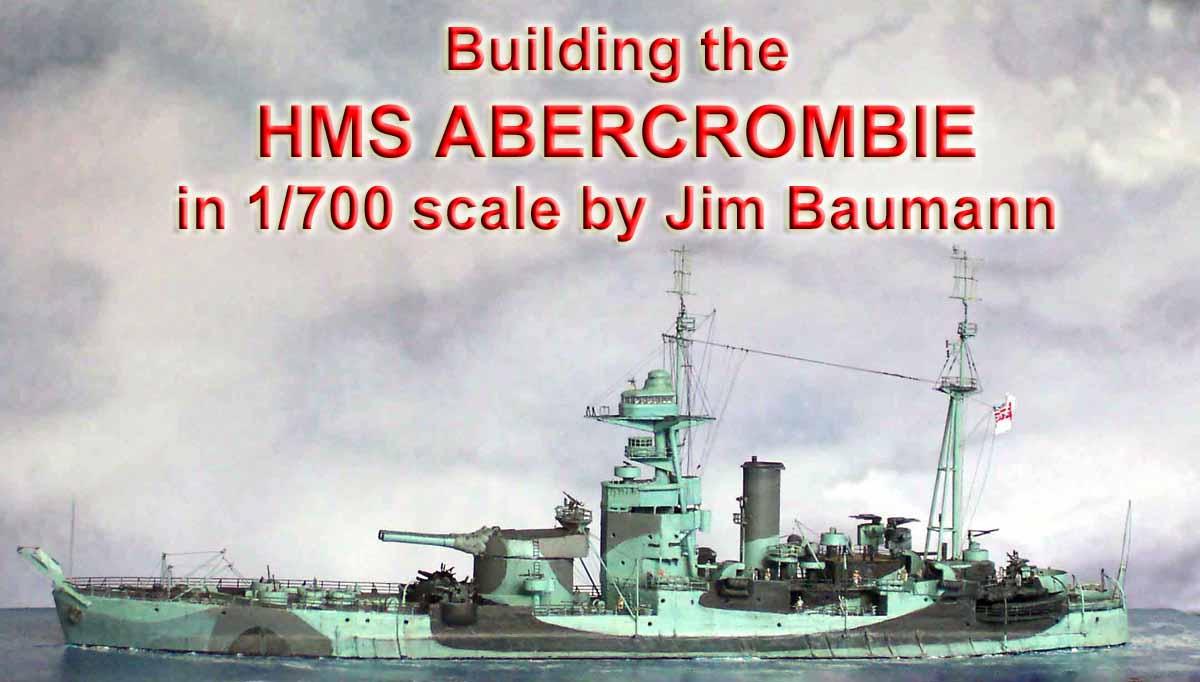
 This is a tale of initial exulation, disillusionment and then the satisfaction
of cresting that disappointment....
This is a tale of initial exulation, disillusionment and then the satisfaction
of cresting that disappointment.... |
|
But first a bit of History!
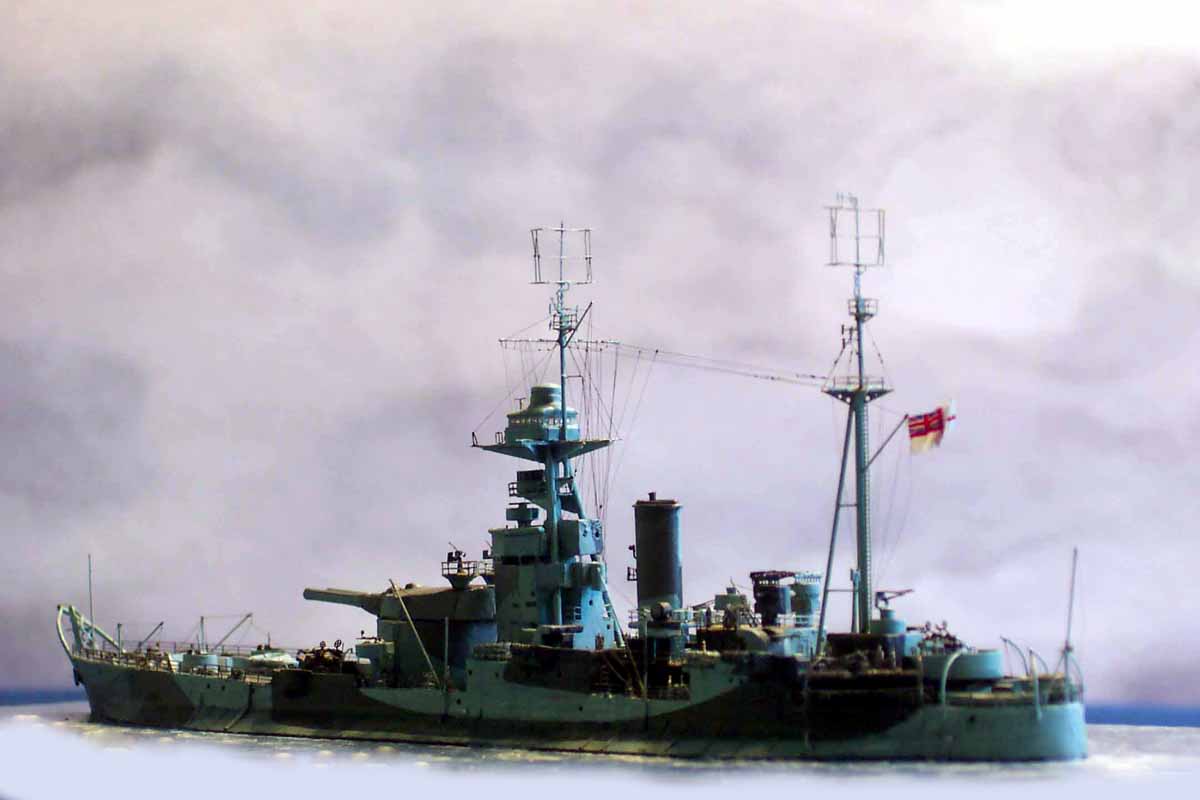
The Roberts class of Monitors were built during WW2 as a development
of the WW1 Erebus class, HMS ROBERTS being built to re-utilise the 15"
turret from the WW1 HMS Marshal Soult whilst HMS Abercrombie was issued
with the turret originally intended as the standby turret for HMS Furious(
in her original guise as a battlecruiser) should the 18" turrets prove
to be unsuccesful. This turret was modernised to achieve the greater elevation
of 30 degrees.
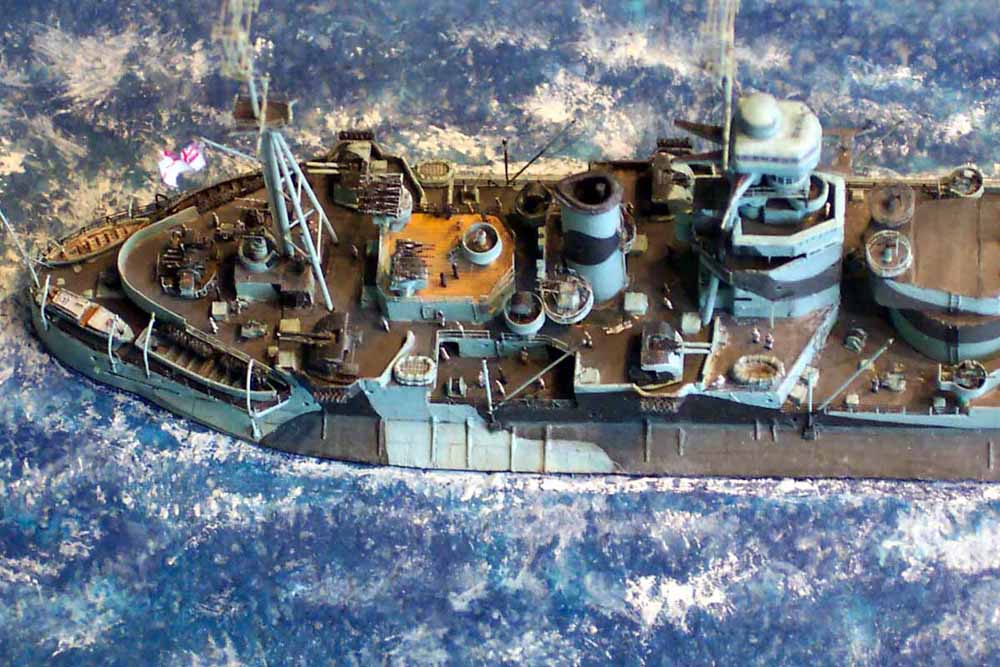
This pair's external appearance was made very distinctive by having
the armour belt sloping down to the bulge for 3/4 of the hull length. Abercrombie
was completed on 5 May 1943, just in time to participate in the Allied
landing on Sicily, firing her first salvo in anger on 10 July at 07.15
am. Thereafter she engaged numerous enemy targets with considerable success.
By the 9th September Abercrombie was called in to support the American
landings at Salerno whilst fighting off Heinkel 111's and Me.109 simultaneously
on both sides; some time later she drifted with a light breeze offshore
into an unbuoyed and unswept minefield onto a 500 lb contact mine causing
serious damage along a 100' section of her bulge and unseating the 15"
director. After the stopping of leaks and counterflooding she sailed under
her own steam for Palermo.
The Allied landings at Salerno were the first combined operations in
Europe in WW2 where heavy naval bombardment had played a crucial role,
convincing sceptical army officers of the value of accurately deployed
naval heavy ordnance prior to the army being able to implement its own
artillery in a landings scenario.
Whilst her sister HMS Roberts was in action extensively during the Normandy
landings ( D-day) in June 1944, HMS Abercrombie's repairs were completed
at the Taranto dockyard on August 15 1944; it was shortly afterwards during
her working up period off the coast of Malta that she had the misfortune
of striking not merely one but two mines, bending both propellor shafts,
breaking the stb A-bracket and causing other major damage. She spent the
next 11 months in Malta Dockyard being repaired.
Both HMS Roberts and Abercrombie were ordered to the Pacific, Abercrombie
reaching the Seychelles by the time of the Japanese surrender.
Abercrombie returned to England in November 1945 having spent barely
six months in active service due to her propensity for hitting mines! She
served as an accommodation ship after the war and was broken up in 1954,
her sister Roberts surviving her until 1965. |
|
|
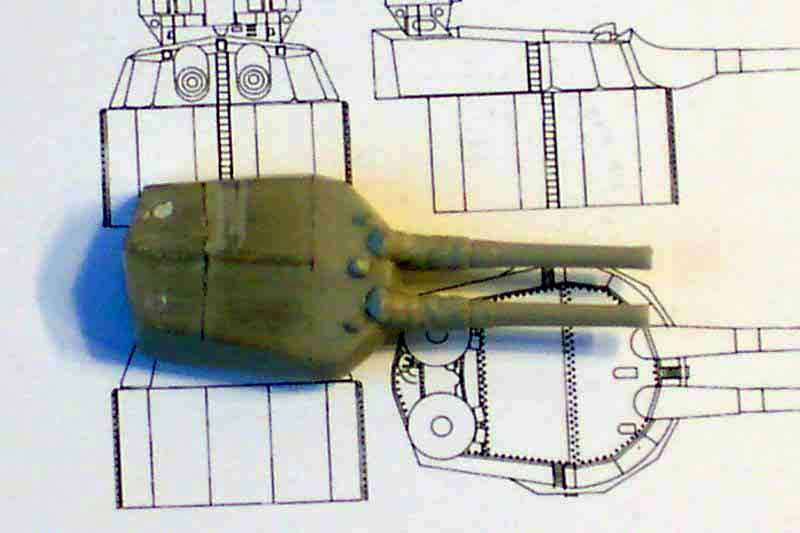
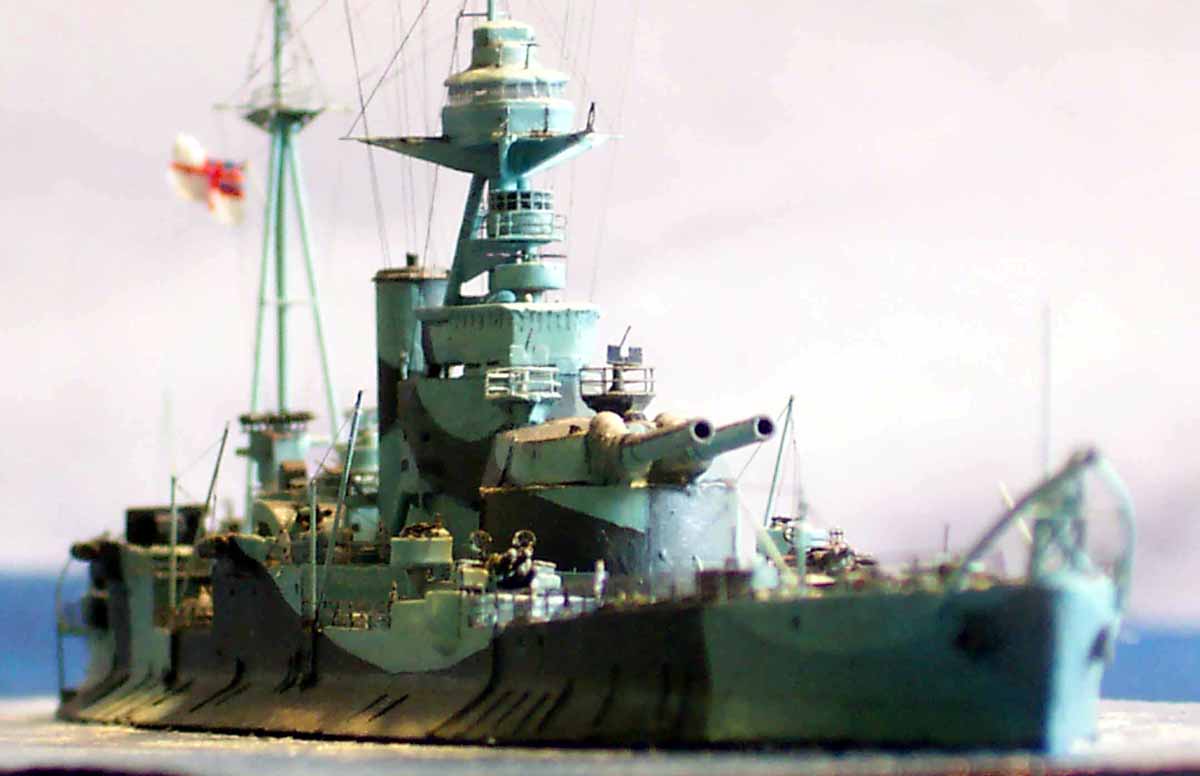
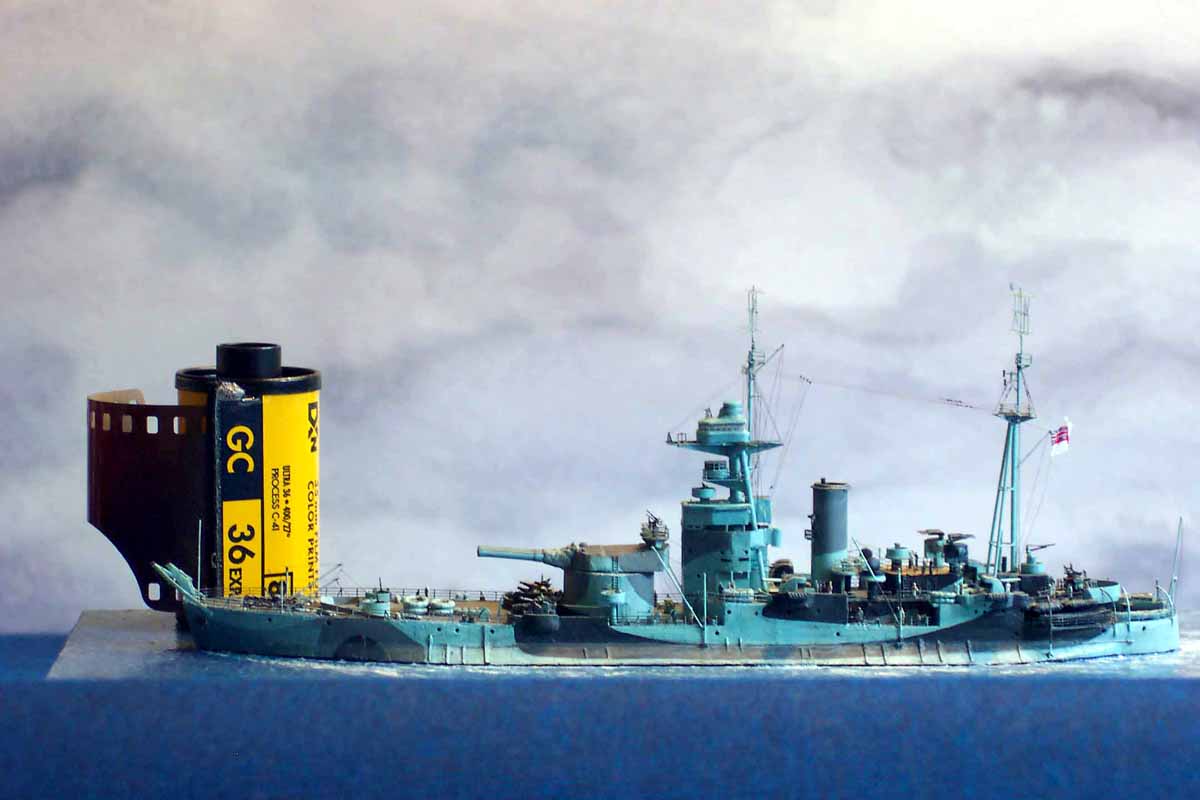
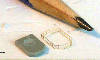
| Upon opening the kit box, one is presented with a finely
cast hull, a most attractive 15" turret with nicely rendered flared muzzle
ends along with the usual complement of smaller resin parts....and the
single sheet instructions. Building a 1/700 scale model of HMS Abercrombie
using the Combrig 1/700 resin kit appeared to be a nice quick little project,
supported by the (at first sight!) helpful Profile Morskie (PM) monograph
and detail drawings... |
| This turned out to be a fallacy!
The drawings in the PM were misleading in the extreme, these showing
Abercrombie to have planked decks throughout a most attractive looking
combination of colours as I can verify.... whilst I proceeded with the
build and with the very attractive timber decks (on a utilitarian ship)
the doubts crept in; this doubt was confirmed by the description and photos
within Ian Buxtons excellent book BIG GUN MONITORS. |
click images
to enlarge |
 |
| HMS Abercrombie had steel decks throughout apart from the
roof of the aft deckhouse! Abercrombie seems not to have been photographed
extensivley, I was unable to locate a single photo of Abercrombie on deck,
yet plenty of sources for Roberts.... |
The only option I faced was to partially disassemble the
model and scrape the nicely rendered (but incorrect) planking off from
all over the model; this is very much easier to do when the model is unpainted
and still in its most basic component form...
I ground large Stanley craft knife blades into various peculiar shaped
scraping and paring blades; large blades enabled me to keep the planes
level and not gouge too deeply; a similar effect could be achieved I am
sure by filling and then scraping back to level .(on an unassembled kit). |
| Prior to the deck finish disaster I had extensivly thinned down all
the overhanging decks, these were all now thin and fragile making the whole
operation more precarious.... |
 |
| At the same time I came across another major flaw in the
PM drawings; this showed the barbette to have facets similar to her sistership
Roberts, this error was carried through into the kit, leading me to believe
that the patternmakers at Combrig used the PM as a guide. |
|
|
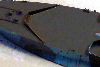
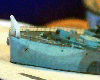
| So having pared the deck flat throughout,.......... |
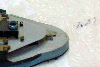 |
| and unseated virtually everything, ladled on the new deckpaint,.............. |
 |
| replaced all the wrecked guntubs, searchlight platforms with brass
replacements,............. |
 |
| made a new breakwater in brass,........... |
 |
| and repaired the broken resin splintershields with brass. |
 |
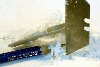
| I turned my attention to replacing the barbette and cutting in the
armour plate ridges on the turret roof. |
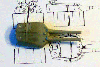 |
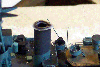
| The barbette was formed from the nozzle of a silicone gun cartridge,
having the exact diameter required! |
 |
|
|
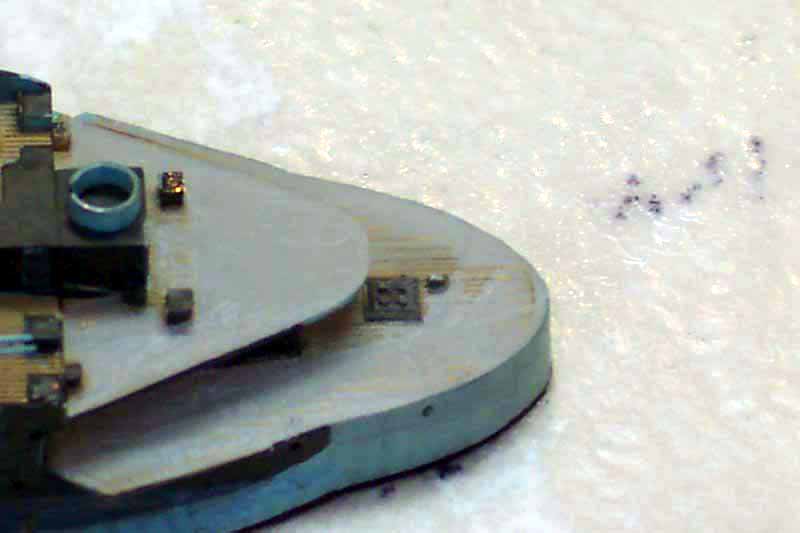
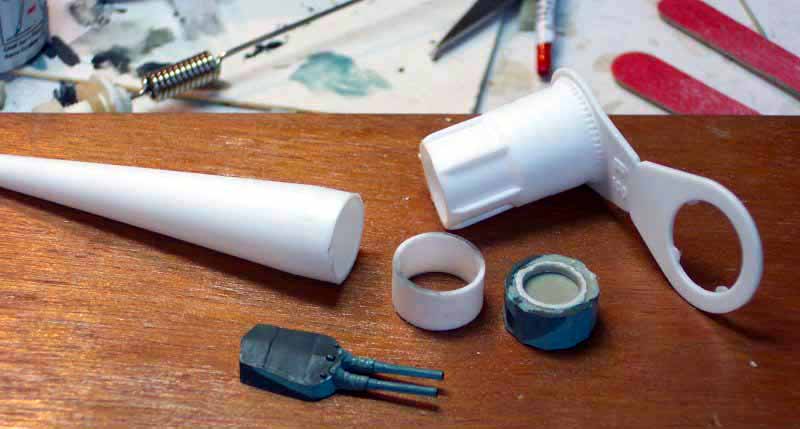
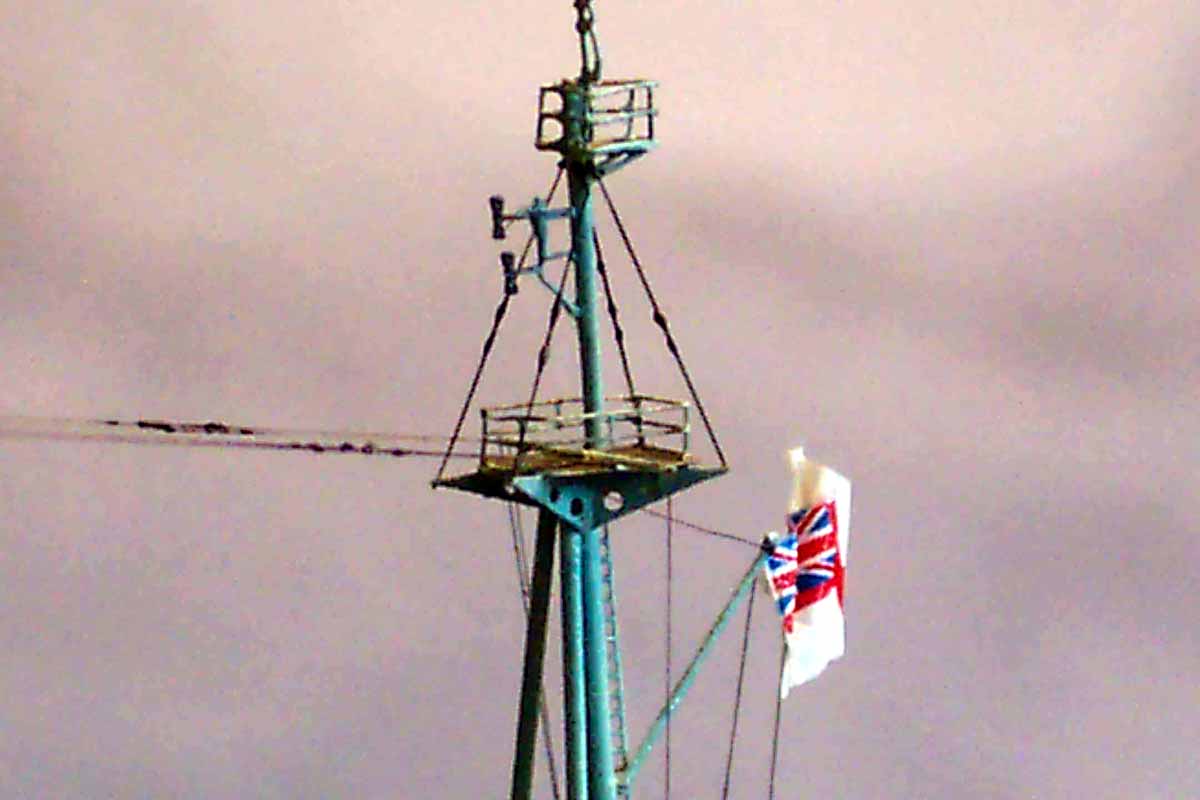
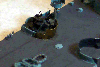
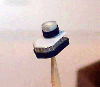
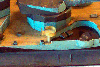
| The spotting top was a crude lump of resin. |
 |
| I cut this down and formed new window frames from 1/350 ladder stock. |
 |
| The spotting top roof was laminated and shaped from styrene
sheet, the spotting top was faired and given shape using self adhesive
tape from RC Cammet. |
|
 |
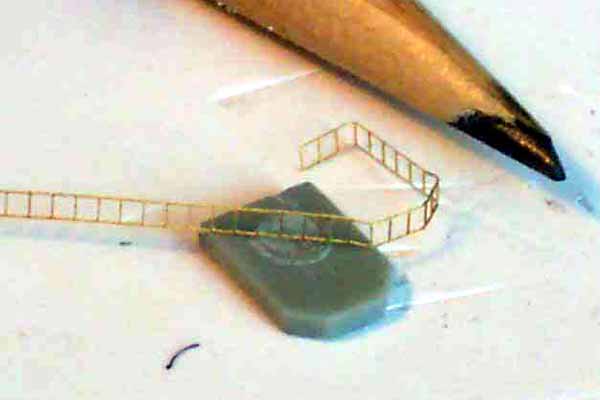
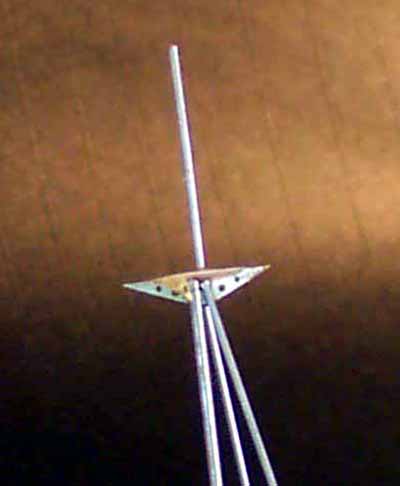
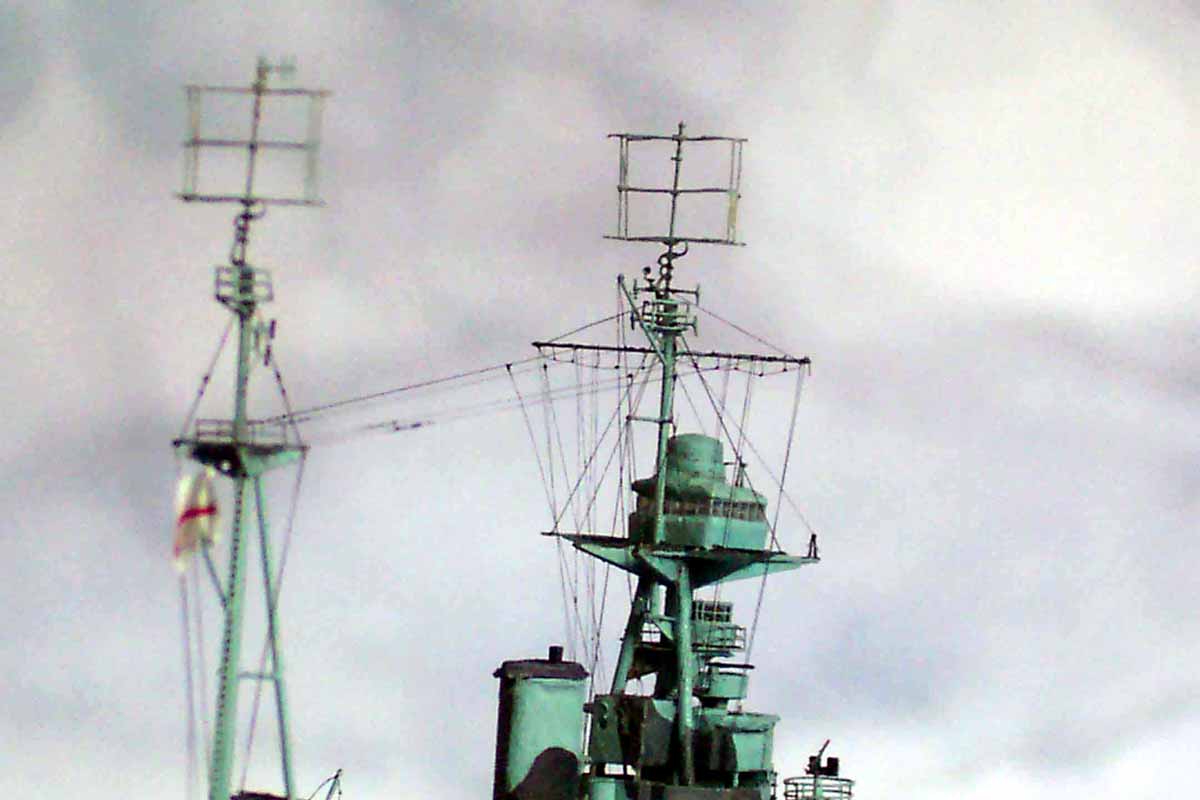
| The underdeck braces and radar lantern platform and braces were formed
from brass. The type 272 surface warning set radar lantern supplied was
crude, the WEM pro series replacement was a different type, even when altered
and painted carefully it still looked wrong to my eyes, so I manufactured
a replacement using aluminium tube and 1/700 PE, painted in RN B55, then
the 'holes' were filled with white glue .When dry, white glue is clear;
the INSIDE was painted black and a roof added. see photo for finished effect. |
 |
|
|
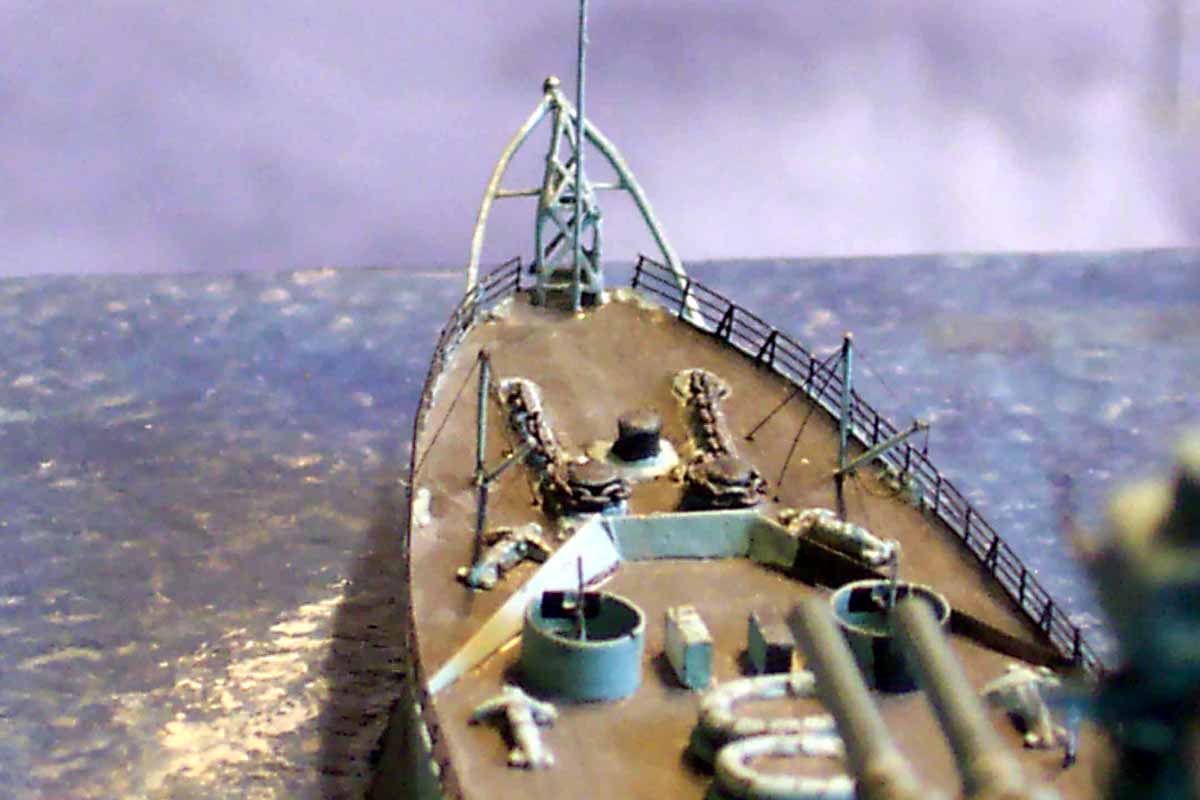
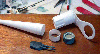
| The Bow crane was manufactured of styrene strip, the supporting operating
'derrick' had its side-members cut from doubled over paper with scissors,
when installed I simply soaked it with thin Pacers CA after 'springing'
in the PE lattice work cut from reduntant GMM and Toms PE sets (IJN I think) |
 |
|
|
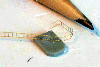
| I find myself using PAPER increasingly ( in this instance from the
instruction sheet!) in construction for underdeck braces and gussets such
as those on the aft face and undersides of the Bridge tower; the foremast
supporting structure is an assembly of three triangles, much easier to
cut from paper, tack in place with matt varnish, when positioned correctly
soak with CA, this gives total adhesion and strength. I used some bits
of scrap PE cut with scissors brass to make the aft mast braces, these
were clamped and the drilled prior to assembly. |
 |
|
|
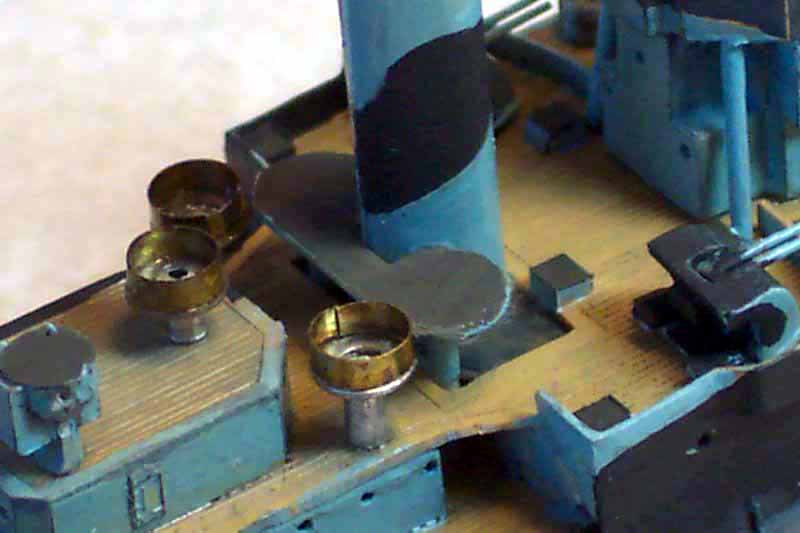
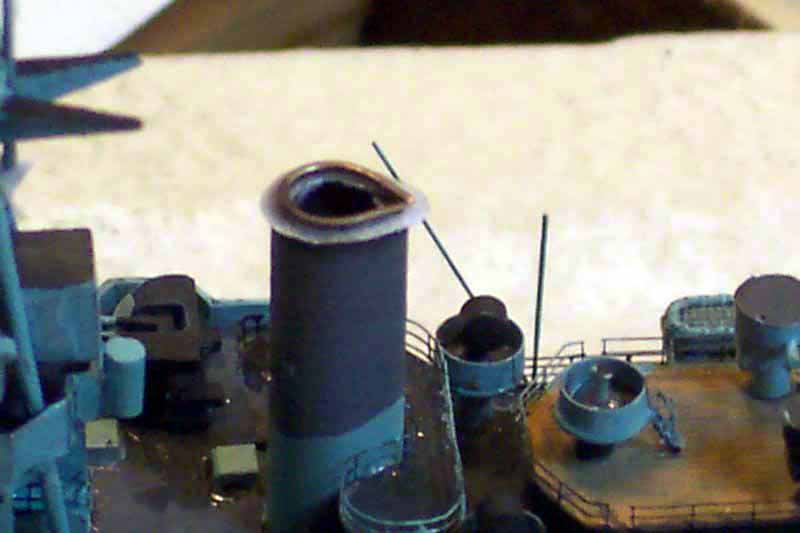
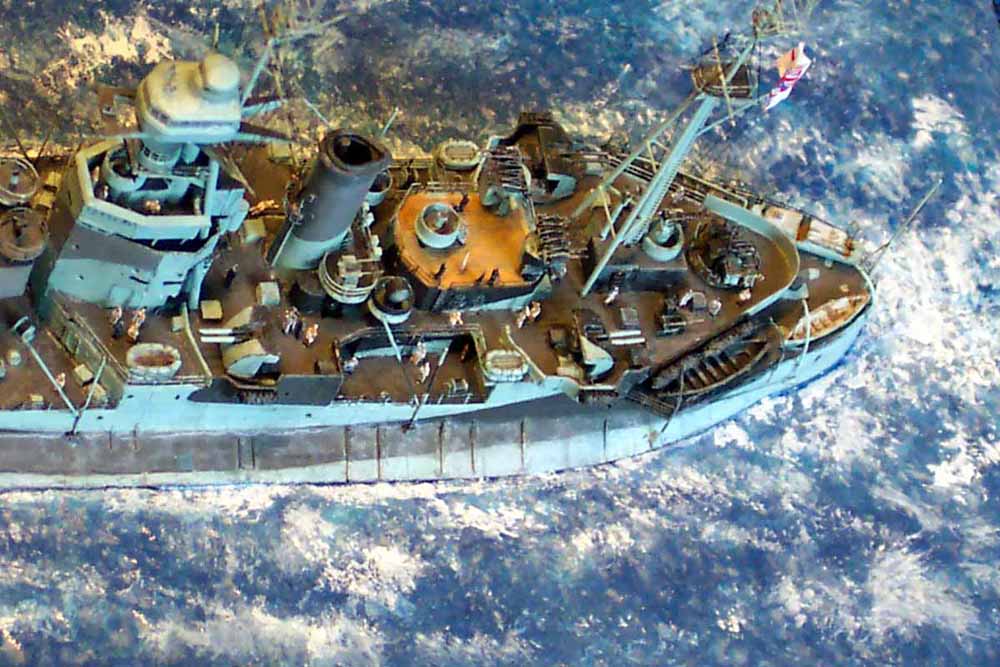
The kit supplied funnel did not have the funnel 'cap' cast on or even
attempted, I made my own using paper and wire backfilled with white glue
after drilling out the solid funnel. The funnel siren platform and sirens
were scratchbuilt with wire and patience...
The Oerlikon platforms on the turret were made of paper gussets mounted
under a paper circle punching. |
 |
|
|
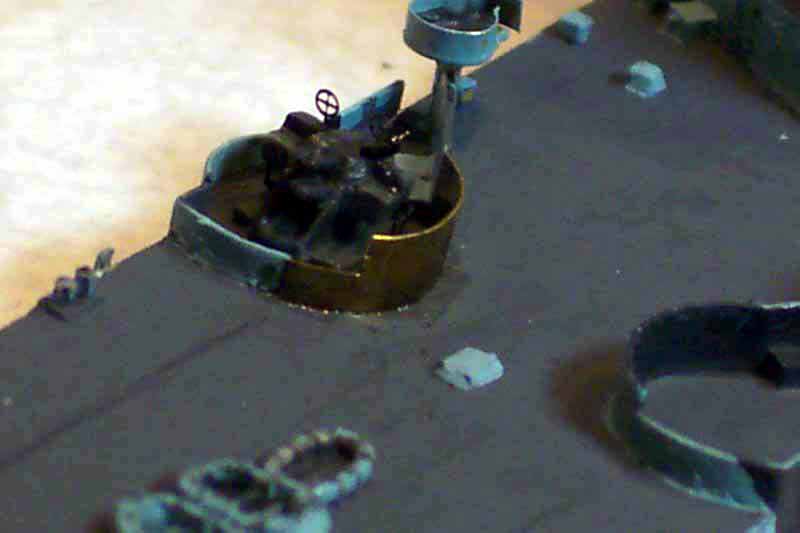
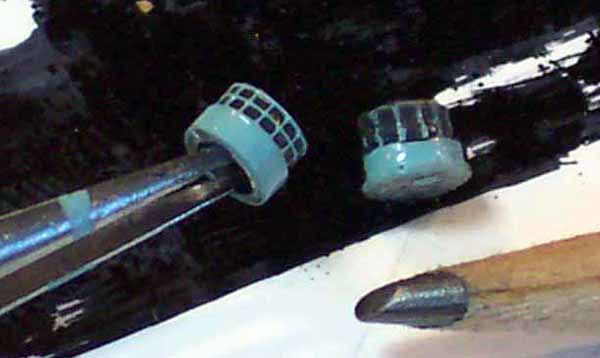
| The twin Oerlikon tubs were made of brass as the original resin versions
perished in the deck refinishing, similar methods were employed for the
compass platform aft which had a binnacle and a WEM PE wheel added. |
 |
|
|
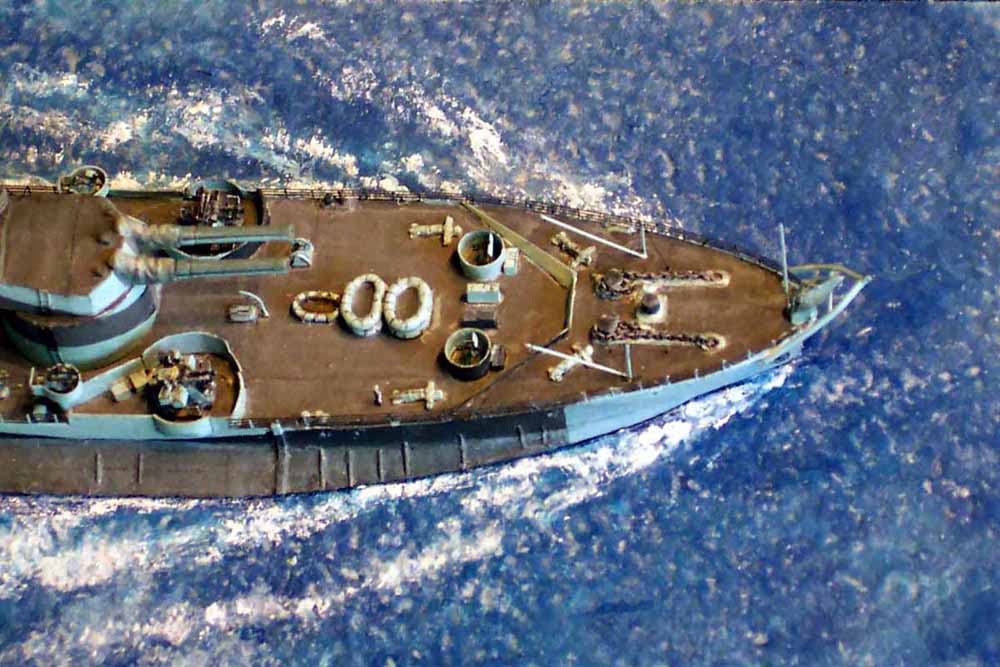
| The kit supplied paravanes were really nice but somewhat
on the large side, I replaced them with WEM Pro series items.
The carley floats supplied with the kit were insufficient in number
and design/size. I used Tamiya items in company with some scratchbuilt
items bent up from wire, the floors being made by spanning the gaps with
white glue. |
 |
 |
|
|
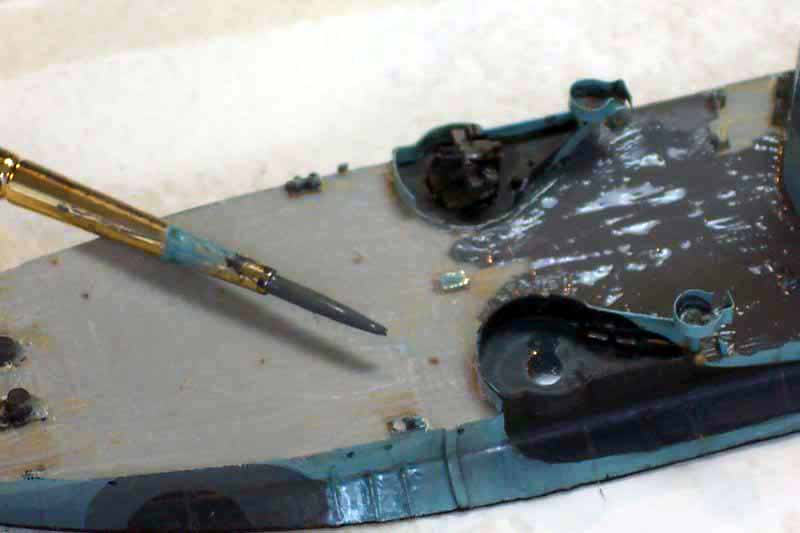
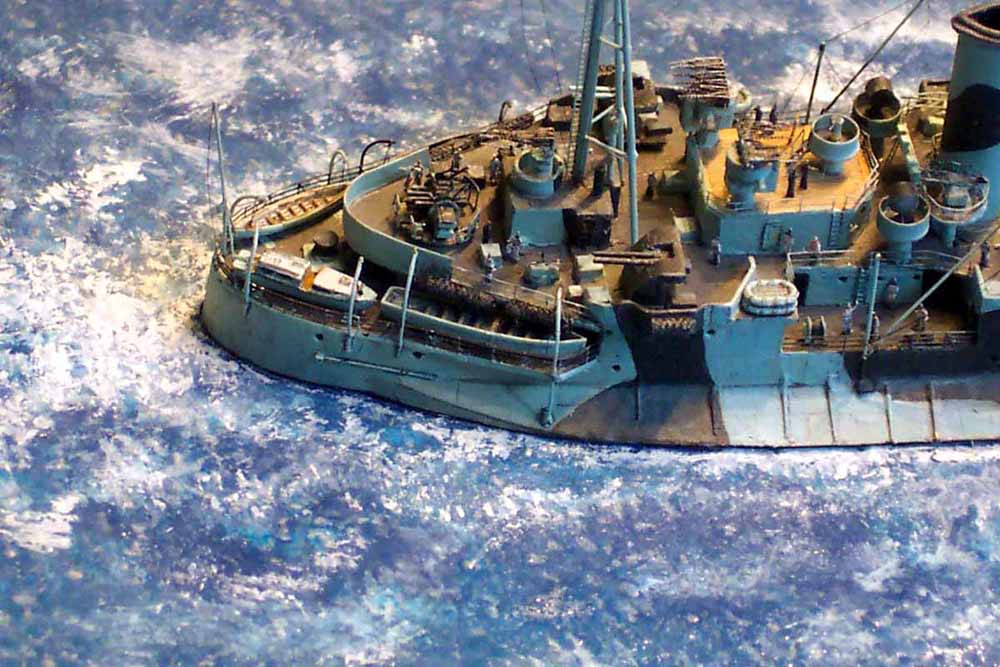
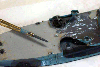
| I added various waste pipes, chutes and drains(?) to the
side of the sloping armour belt on the hull, this made the otherwise featureless
hull visually more interesting. I used most of the kit supplied boats,
davits were replaced with wire items rigged with sprue. The anchors were
kit supplied, the deck chainways were furnished with Saemann(Germany) chains
after the original (nicely) cast items were pared of with the timber deck.
The Camouflage was applied using WEM colourcoats in the pattern drawn out
in Alan Raven's Warship perspectives RN camouflage book supported by photos
in the aforementioned books; I got it ( almost) right! |
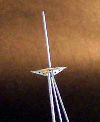
| Afterwards the plating ( visible in photo's) was suggested
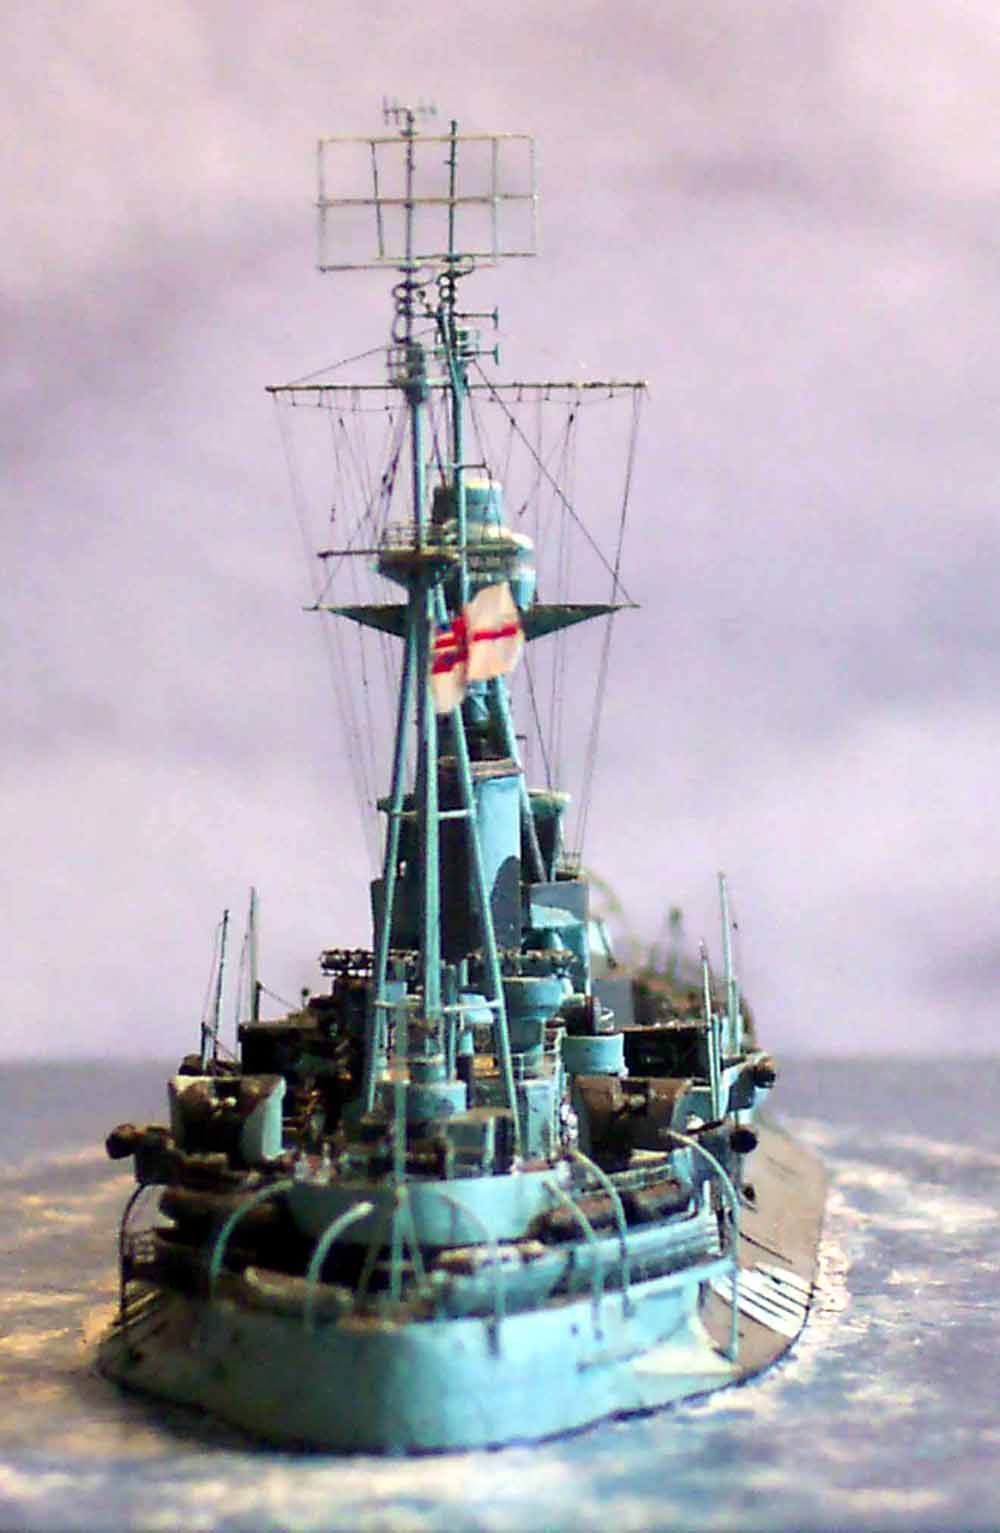
by sketching in with light pencil strokes. Masts were made in my usual
fashion from metal rod and drawn wire with the crossmembers made of fusewire
on the aft mast. The radar arial at the mast tops were made using the WEM
PE items from the KGV set as well as sprue.
The yardarm footropes were made of stretched sprue as was all the running
and standing rigging. A Dunagain decals white ensign( my third last one
!) was crumpled over chocolate foil and applied with white glue to the
sprue halyard.
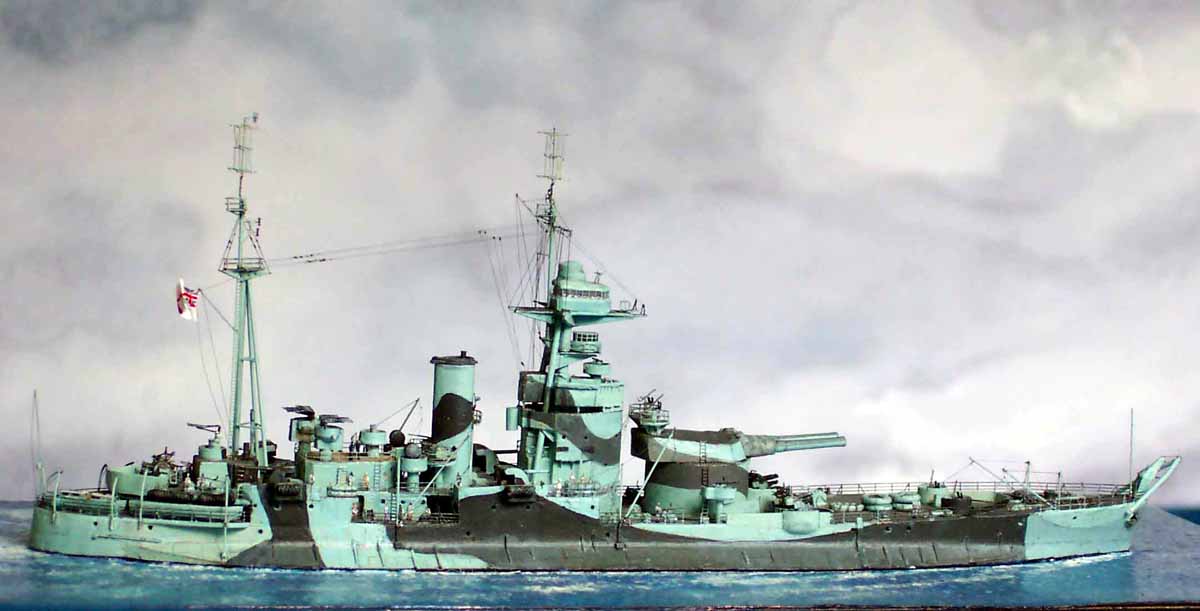
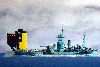
I mounted the ship on a calm Mediterranean sea of azure blue steaming gently
with hardly any wash, depicting her awaiting orders to fire.... |
|
|
| Conclusion:
In conclusion, despite all the problems, innacuracies and frustrations
I actually really enjoy the finished model, she makes a very interesting
contrast in the wallcase to my usual fare of Battleships and cruisers through
the ages...
Combrig supplied a fair starting point, I suspect they were misled,
as was I, by a very tempting looking SINGLE source of information which
looked too good to be true, as it turned out it was...!
It really underlines the importance of verifying and crosschecking
all the information one has to hand BEFORE commencing the kit build....
I am grateful for the invaluable assistence of: John Snyder and Alan
Raven in clearing up my timber deck conundrum, Dimi Apostolopous for scanning
superbly various pictures and most especially to the fellow SMML'er Mr
Edward Brown who without hesitation lent me his valuable copy of the Buxton
book!.
More
of Jim Baumann's work.
|