1/72 WW1 German U-Boat SM U9

|
by Bob Craig |
|
| HISTORY | |
| SM U9 was the first of four Type U9 German U Boats
of the Kaiserliche Marine in World War 1. She was launched on February
22, 1910 and was commissioned on April 10 of the same year.
U9 is most famous for the sinking of three obsolete armored cruisers of the British “Live Bait Squadron” (HMS Cressy, HMS Hogue, and HMS Aboukir) on July 16, 1914, off the Dutch coast. U9 would go on to sink 18 ships (4 warships – 43,350 tons, 14 merchants – 9715 GRT) over 7 war patrols. He was surrendered to the British on November 26, 1918 and broken up for scrap in 1919. U9 was one of only two German ships that were awarded the Iron Cross in WW1, with SMS Emden being the other. |
| The
Das Werk SM U9
For being such a large kit, Das Werk has bucked the trend of more and smaller parts, with just 4 total sprues (3 if you don’t count the hull as a sprue) totaling 164 parts. Also in the box is the instruction booklet, a decal sheet, and a 99 page softcover book with background on the U9, WW1 submarine warfare, and the research and development of the model. The model can be built as U9, 10, 11 or 12, but the only difference is in what decals you choose to put on the boat. There is no difference in parts between the 4 submarines. |
|
||||||
| THE HULL | |||||||
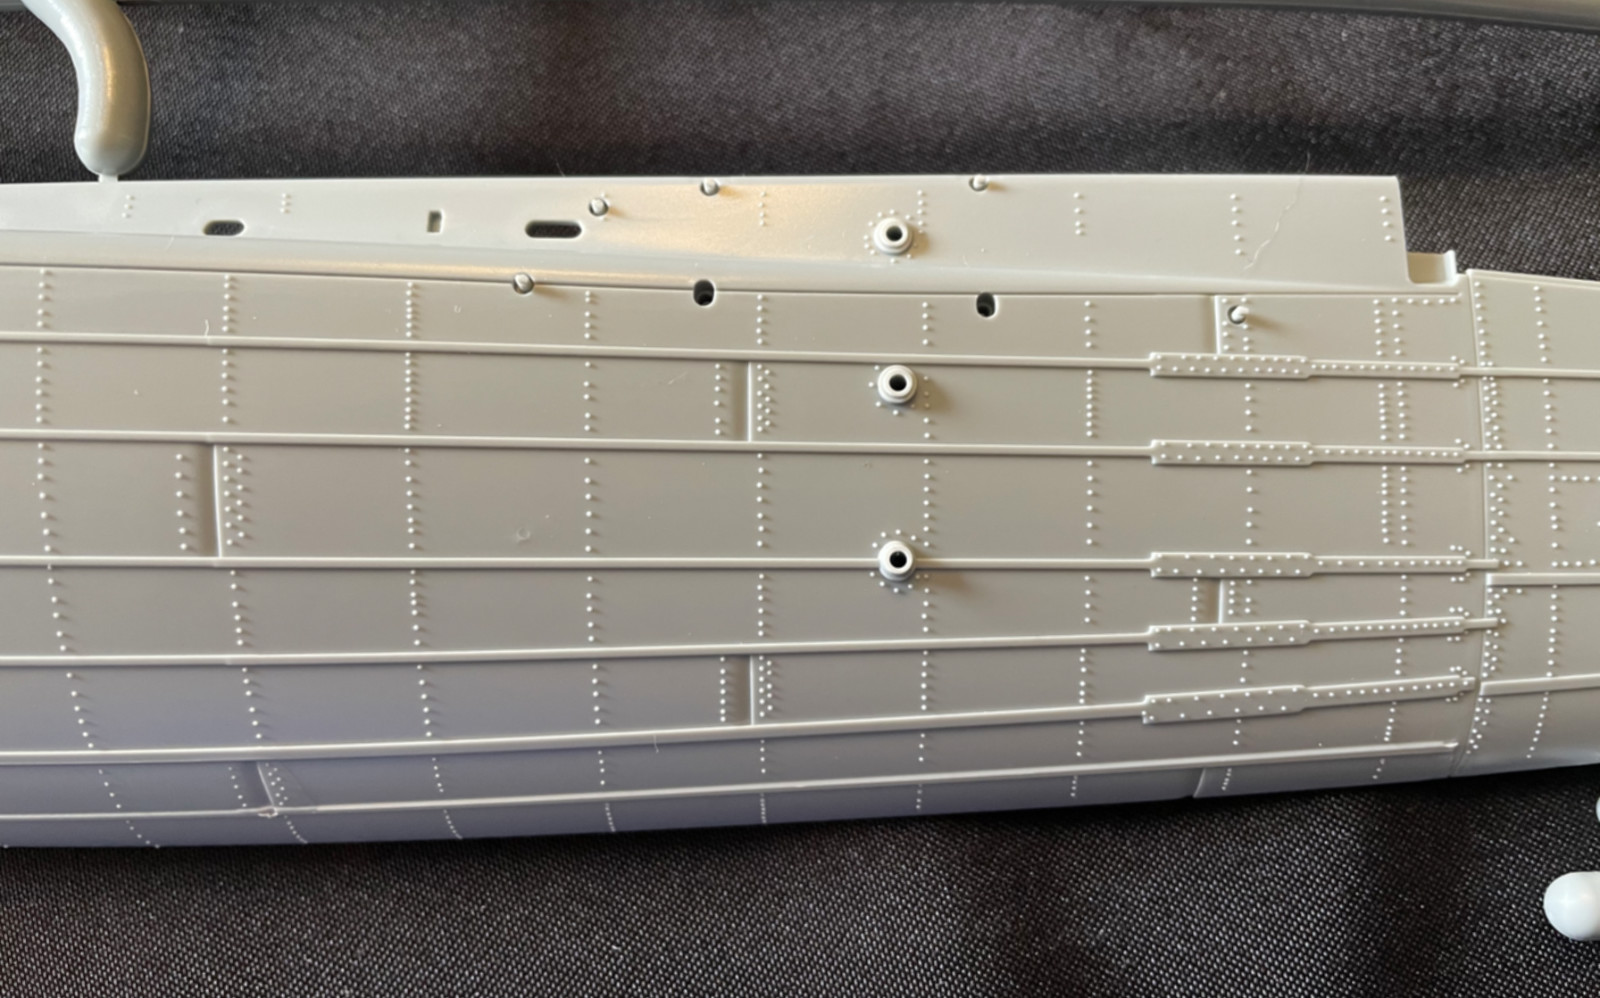
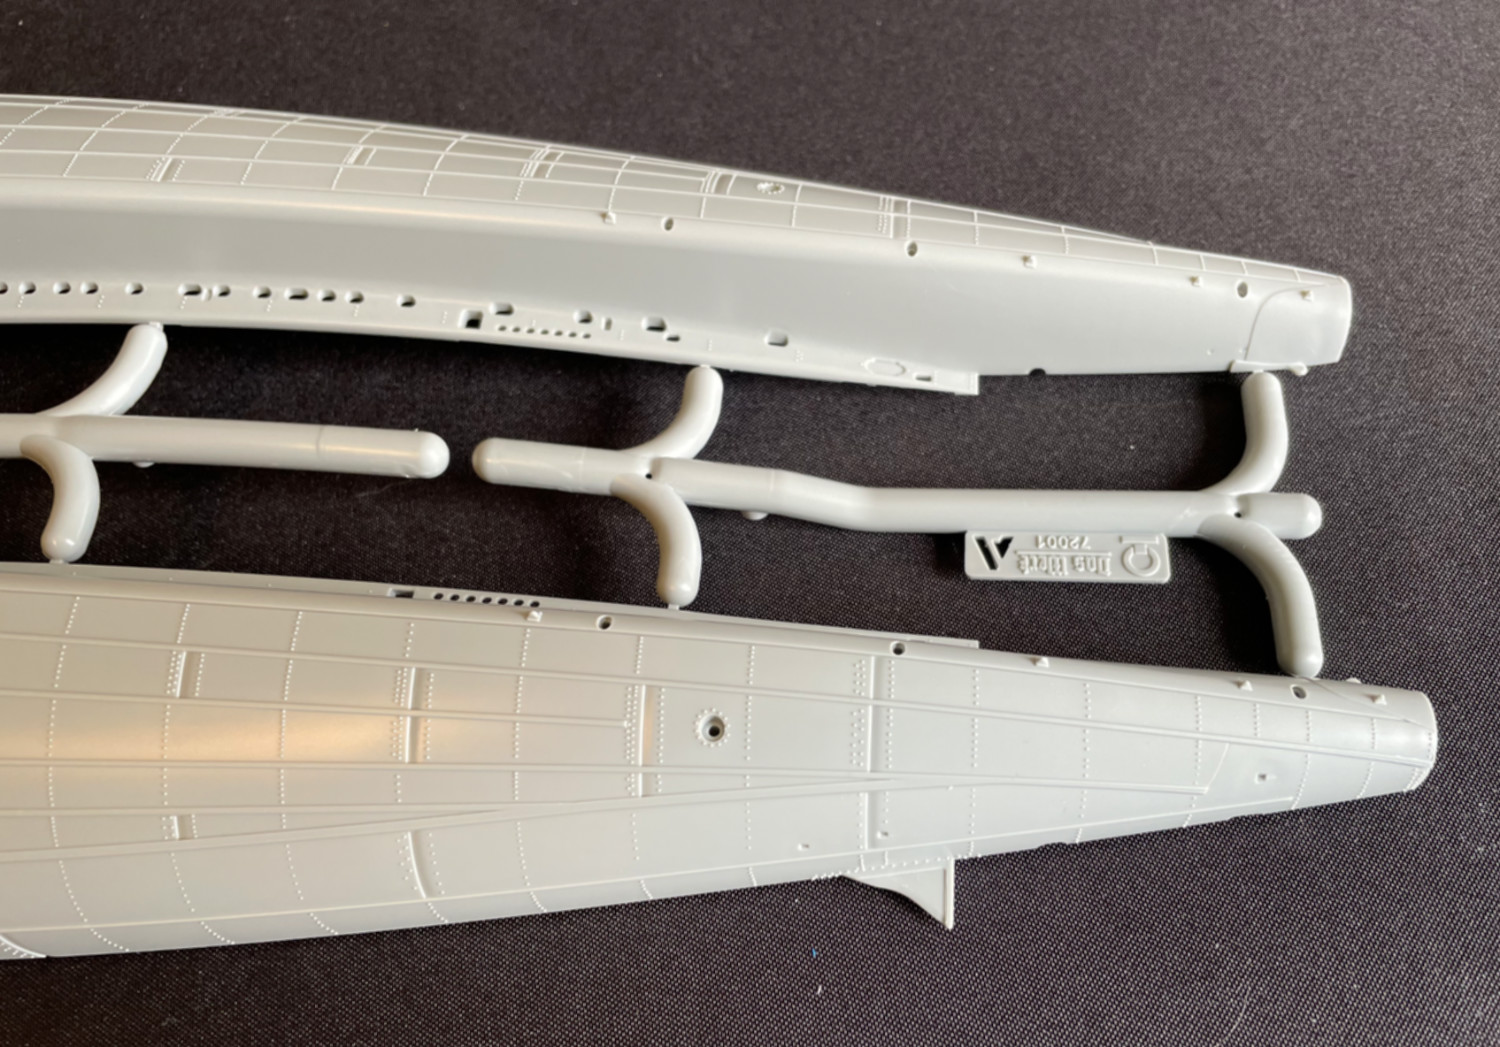
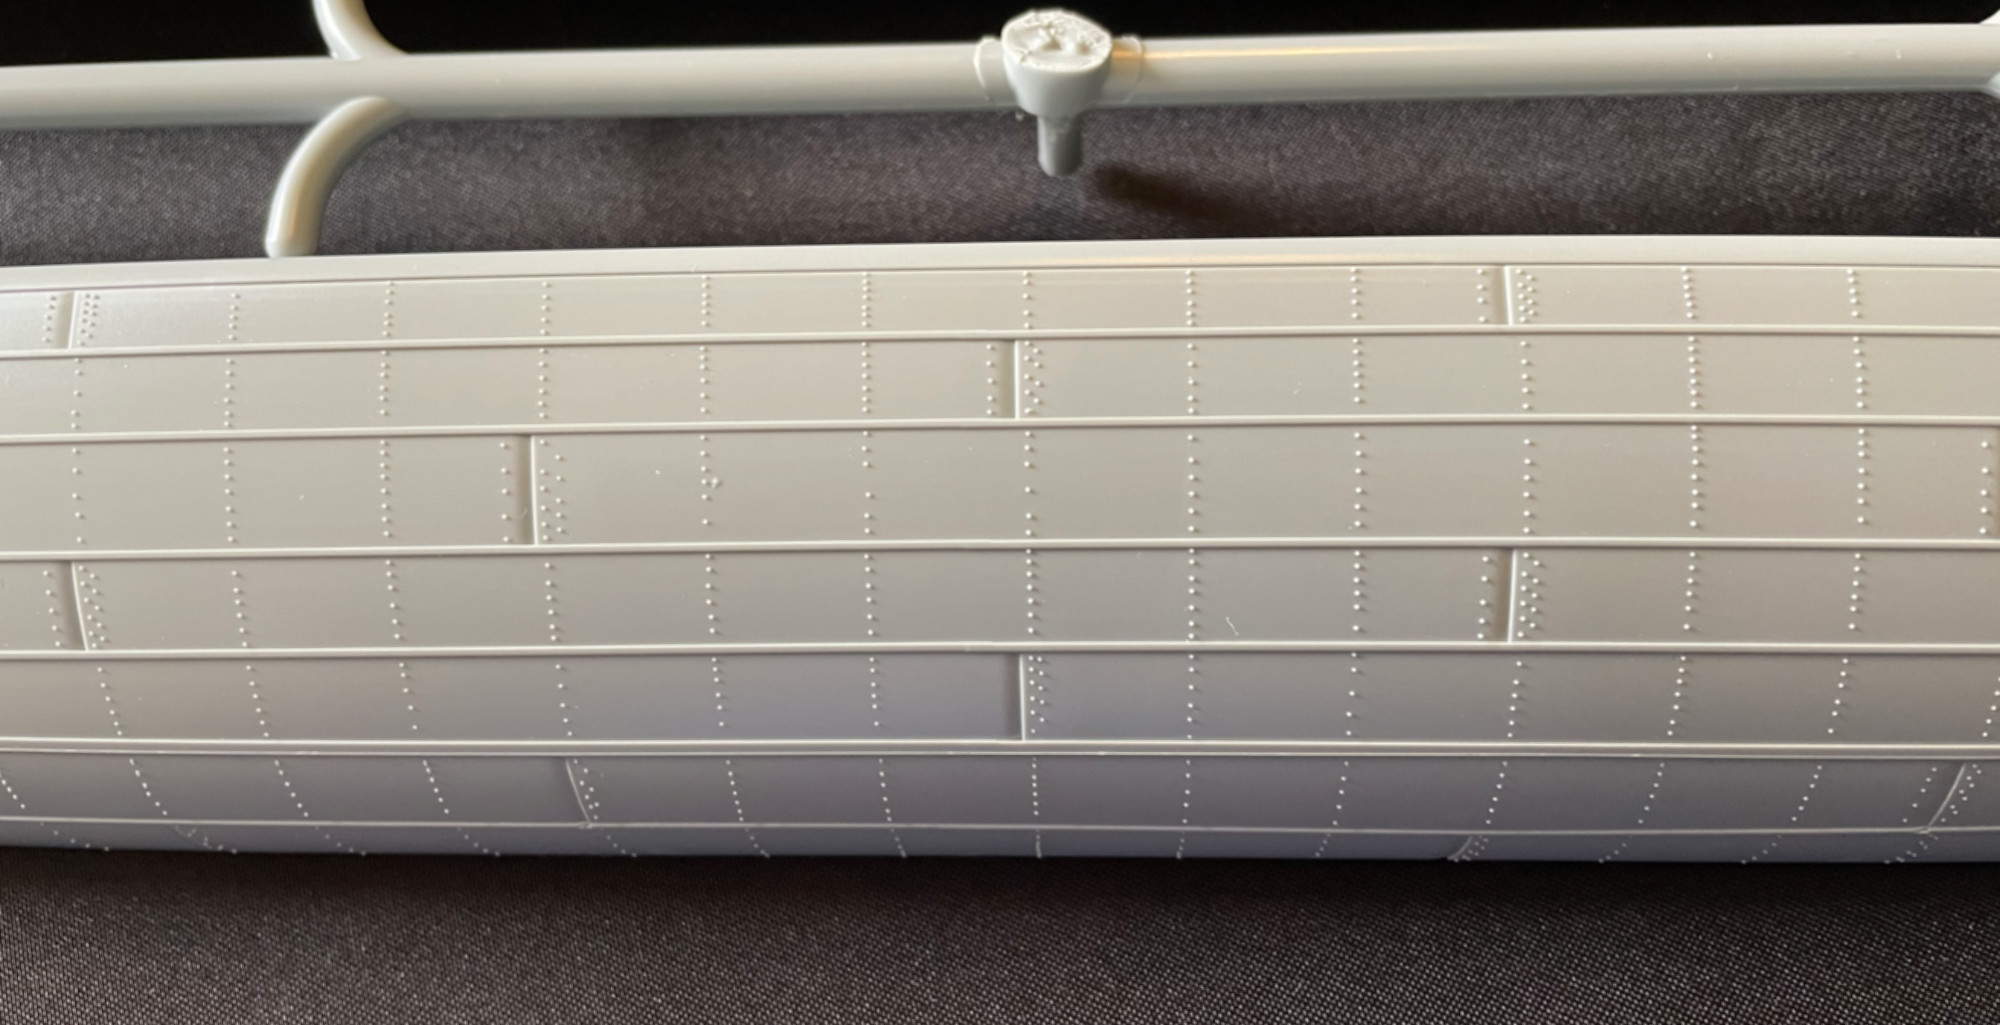
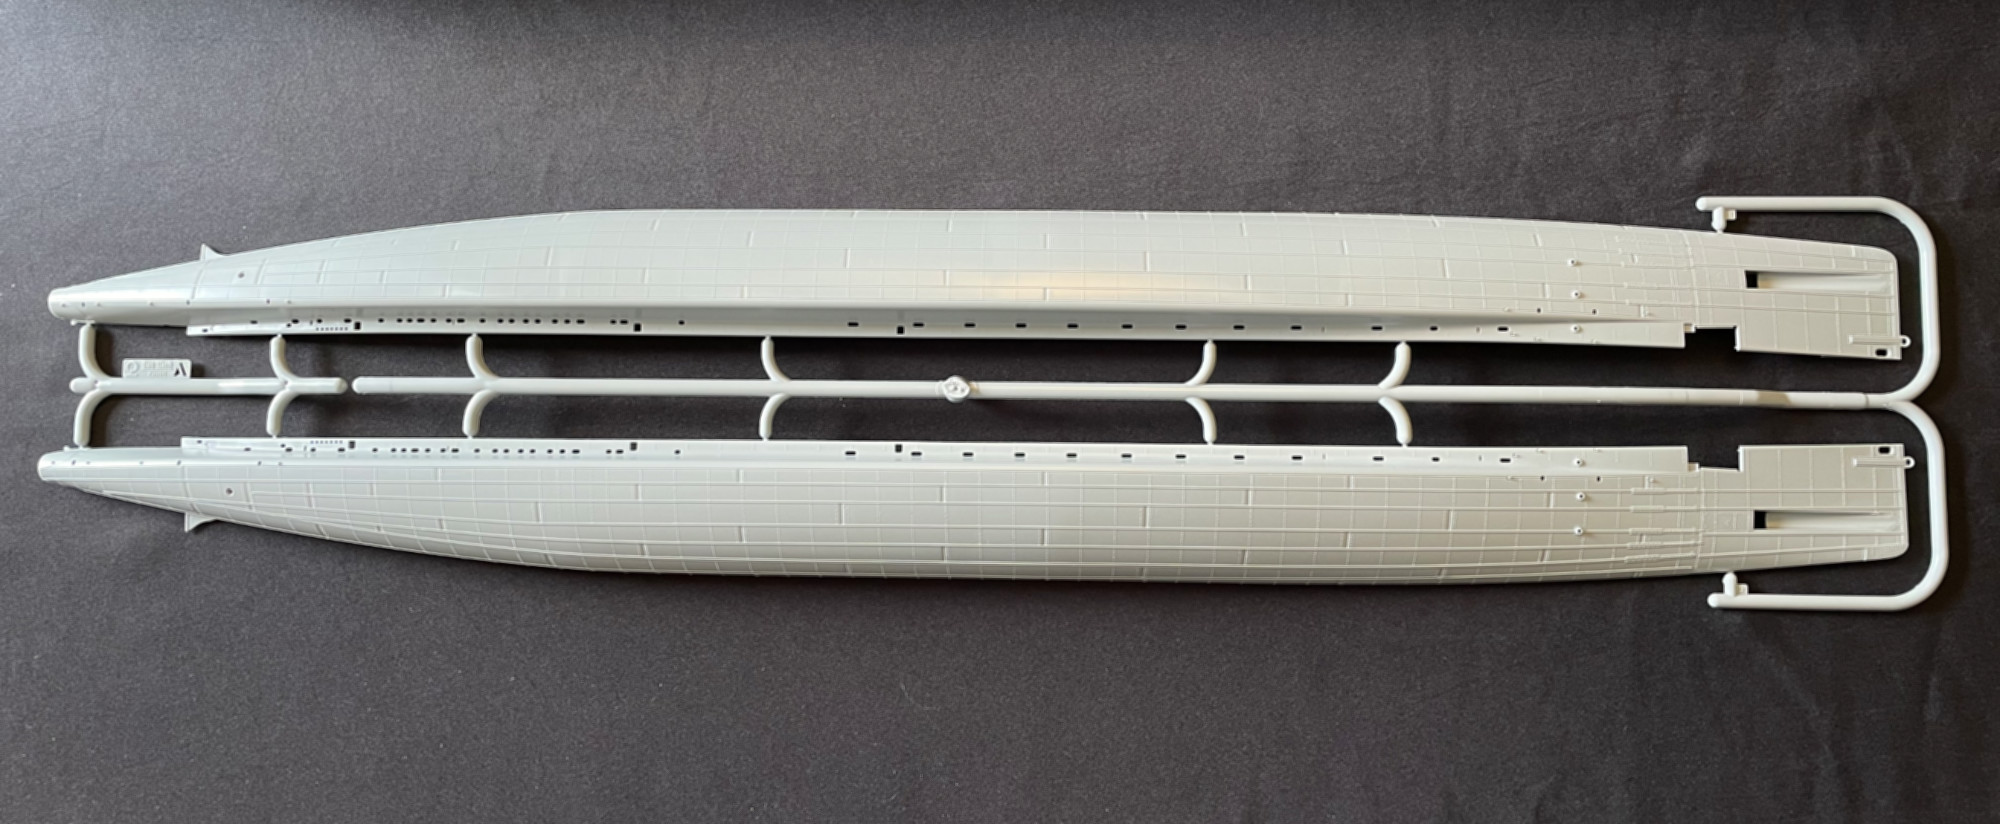
| The hull is molded in left and right
halves, with a lot of fine detail included. Hull stiffeners and rivets
abound. For you rivet counters, the rivets measure out to .014 inches,
which is almost a perfect inch in 1/1 scale. There is no flash to speak
of on either hull half (or on any of the sprues, to be honest). The technical
specs listed in the book say the length of U9 was 57.38 meters. My tape
measure put the hull at 31.5 inches, which is about 1/8” too long in 1/72
scale, but I measured to the tip of the mooring ring on the bow, so that
could easily account for the difference.
I did find several blemishes (for lack of a better word) on each hull half. They start at the top of the saddle tank and extend down about an inch. They occur at the exact same spots on each hull half, so that makes me think they are from the injection molding process. Fortunately, they miss all the rivet detail, so if they do need a swipe or two of a sanding stick, you won’t destroy any rivets. I also found one small round ejector pin like spot on the right hull half just aft of the dive plane mounting holes. The left half does not have this mark. Instead of using bulkheads to add stiffness to the hull, Das Werk has chosen to go with 14 pins to provide more stability when joining the halves. There are 3 bulkheads: forward and aft torpedo bulkheads, and one large one in the middle of the sub. I have read a couple comments online that using the pins will cause fit issues with the deck. One person even said to leave out the central bulkhead. I’m not sure I’d want to put together a left/right hull this large with no support other than fore & aft torpedo bulkheads, so some dry fitting will definitely be in order before applying any cement. |
|||||||
|
|||||||
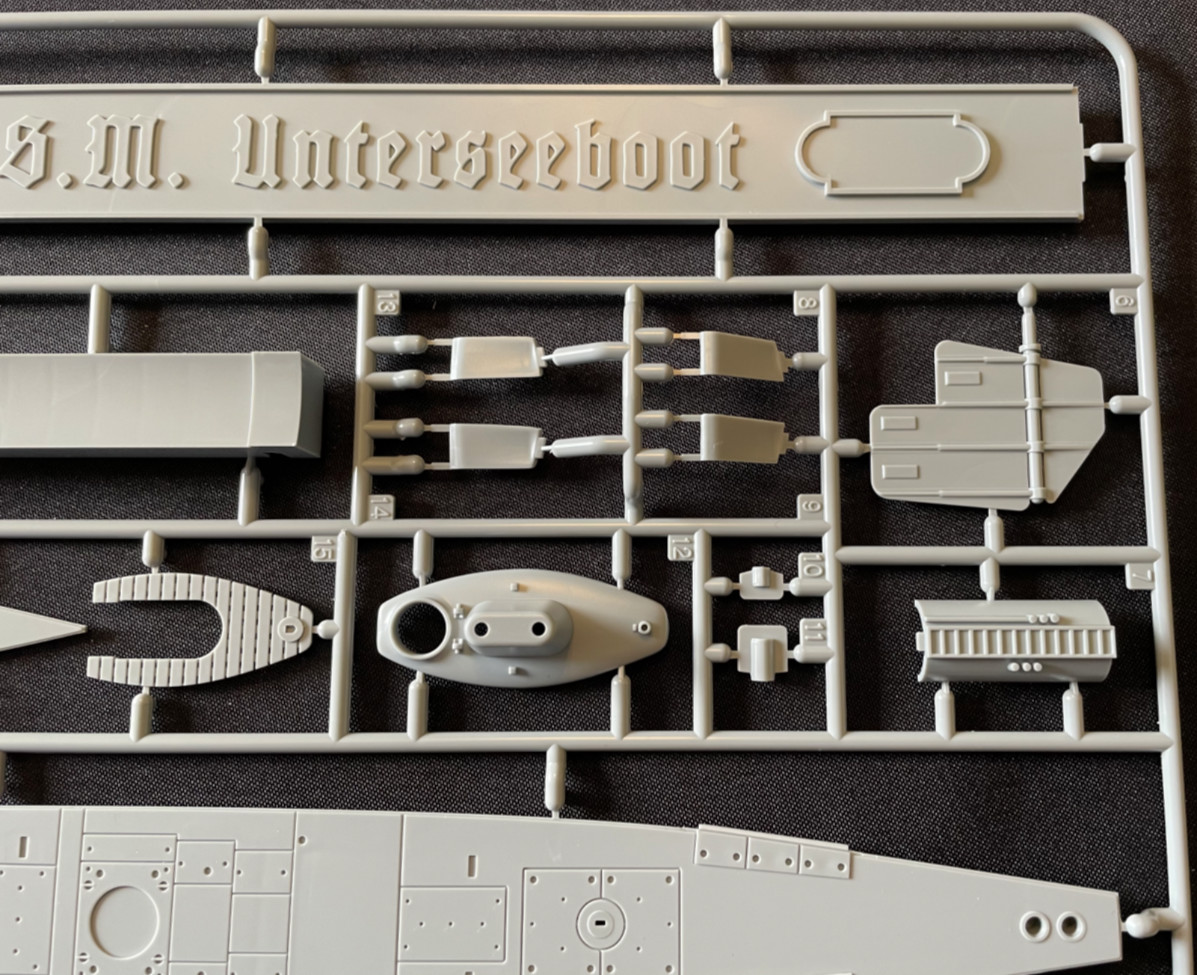
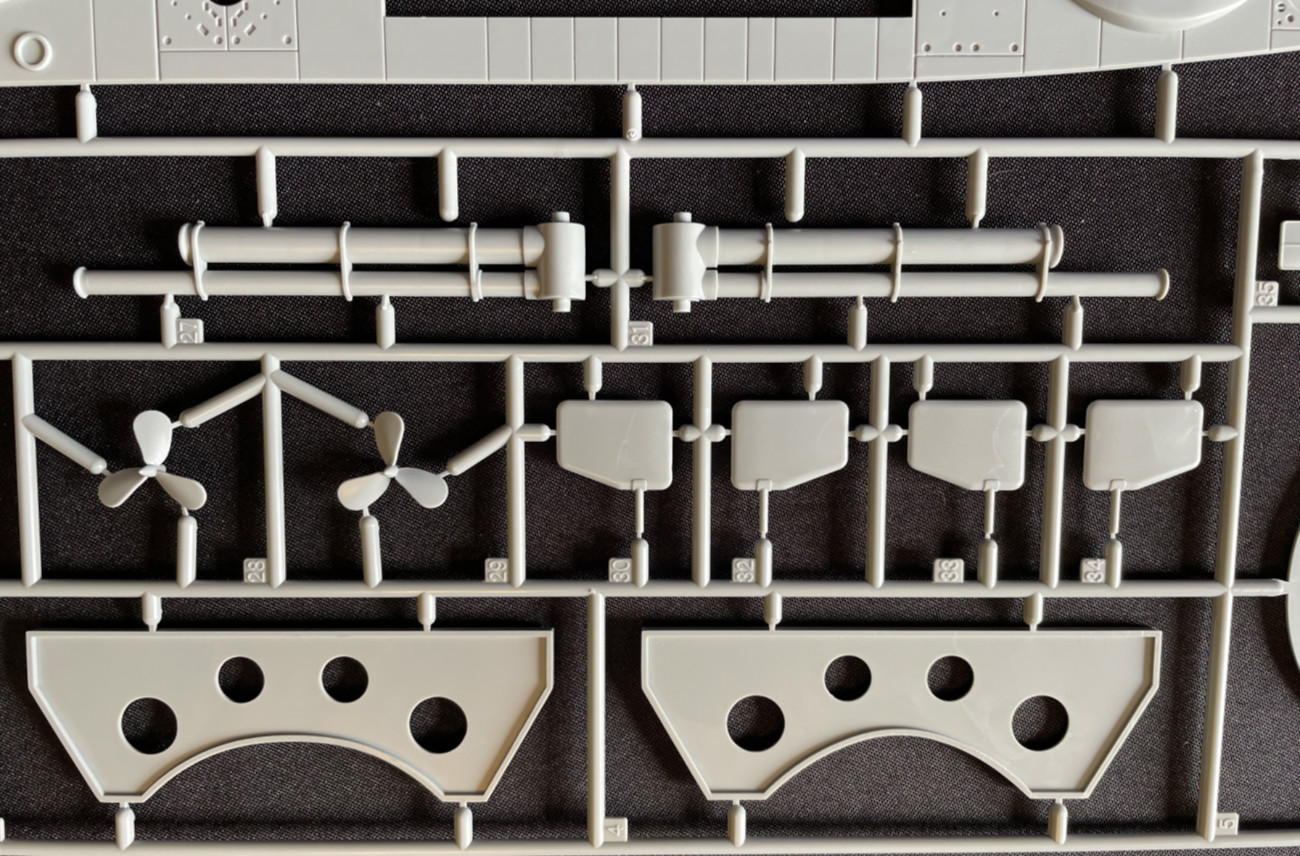
| SPRUE B | |||||||
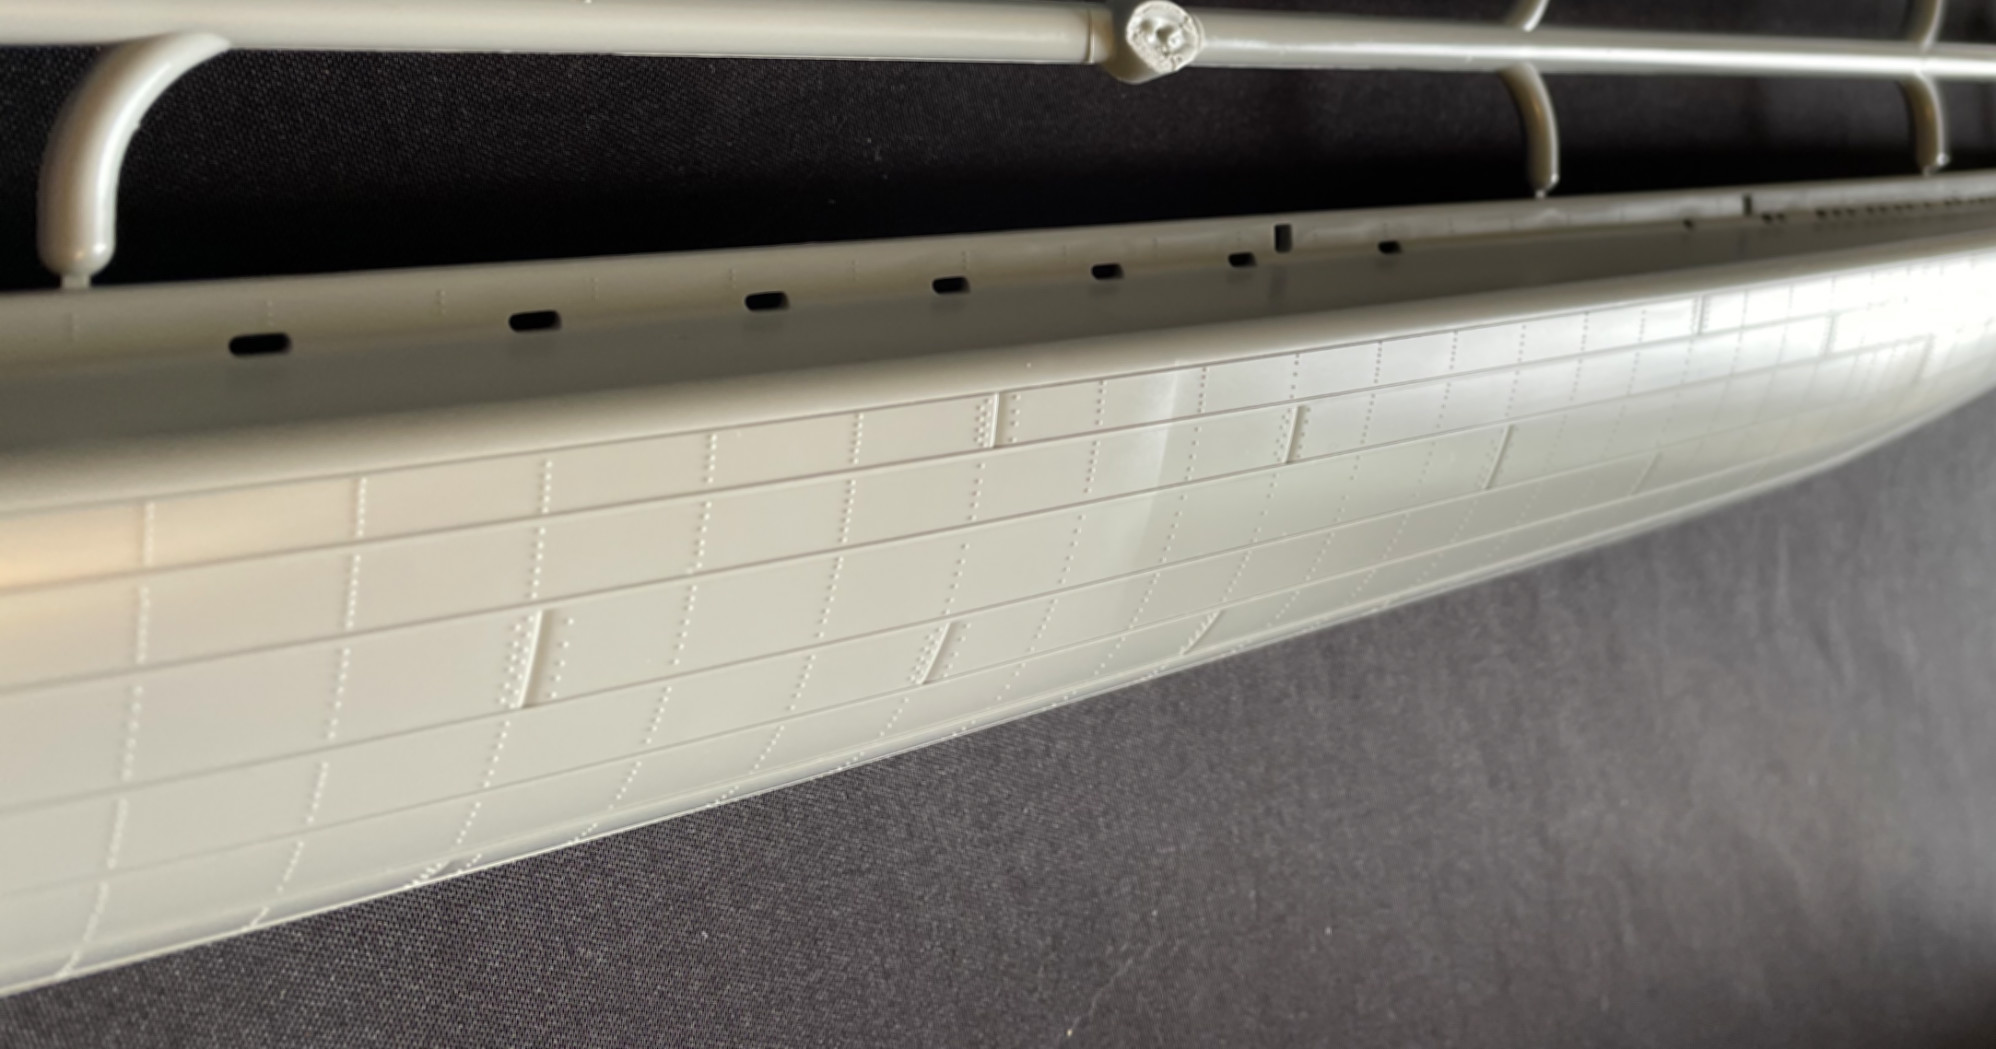
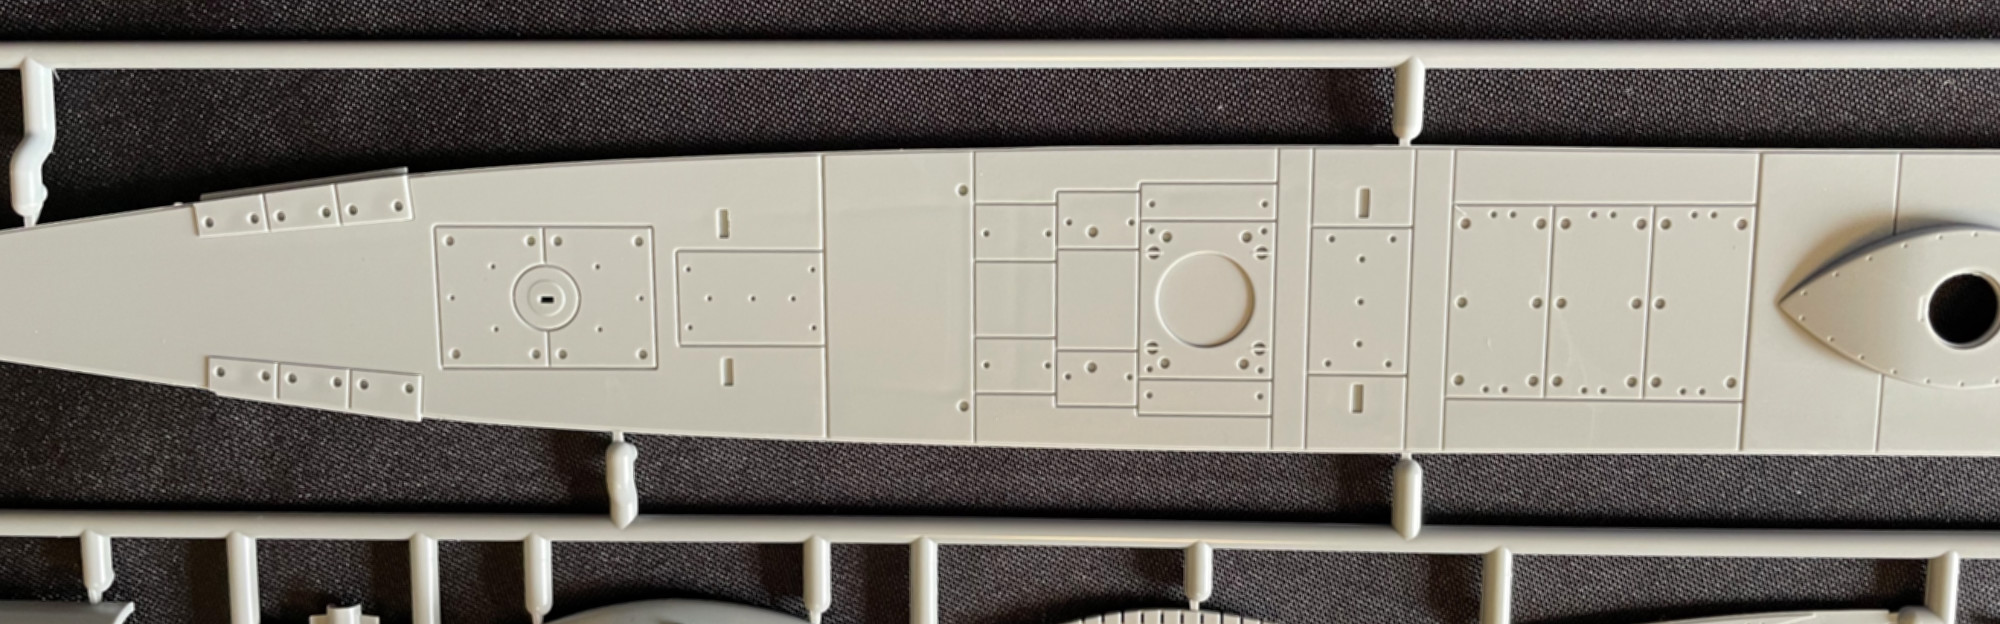
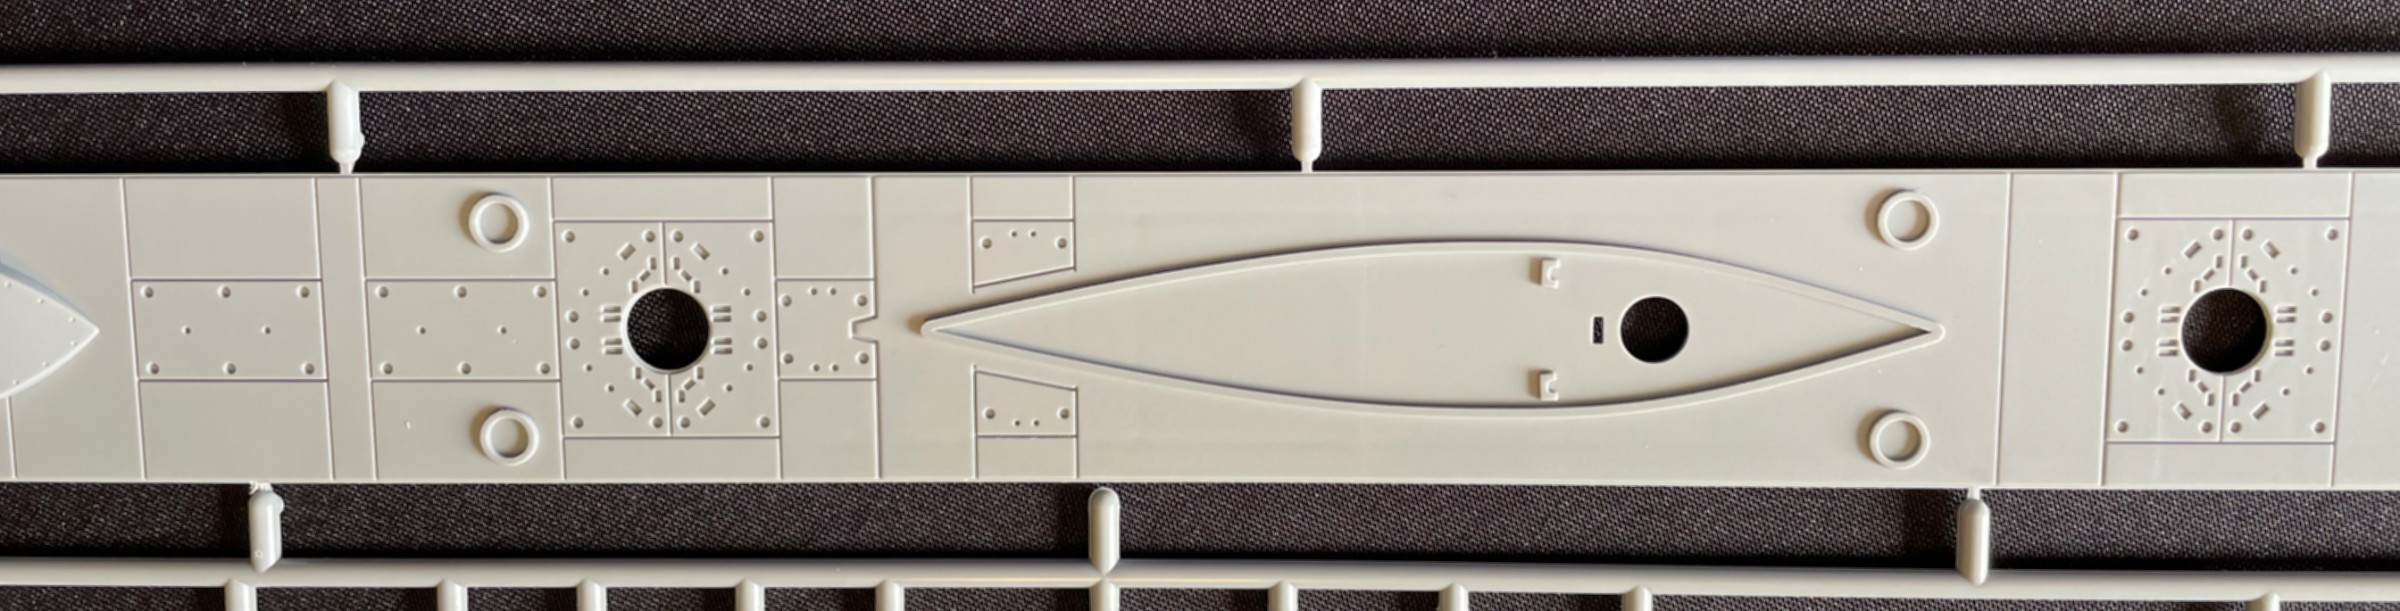
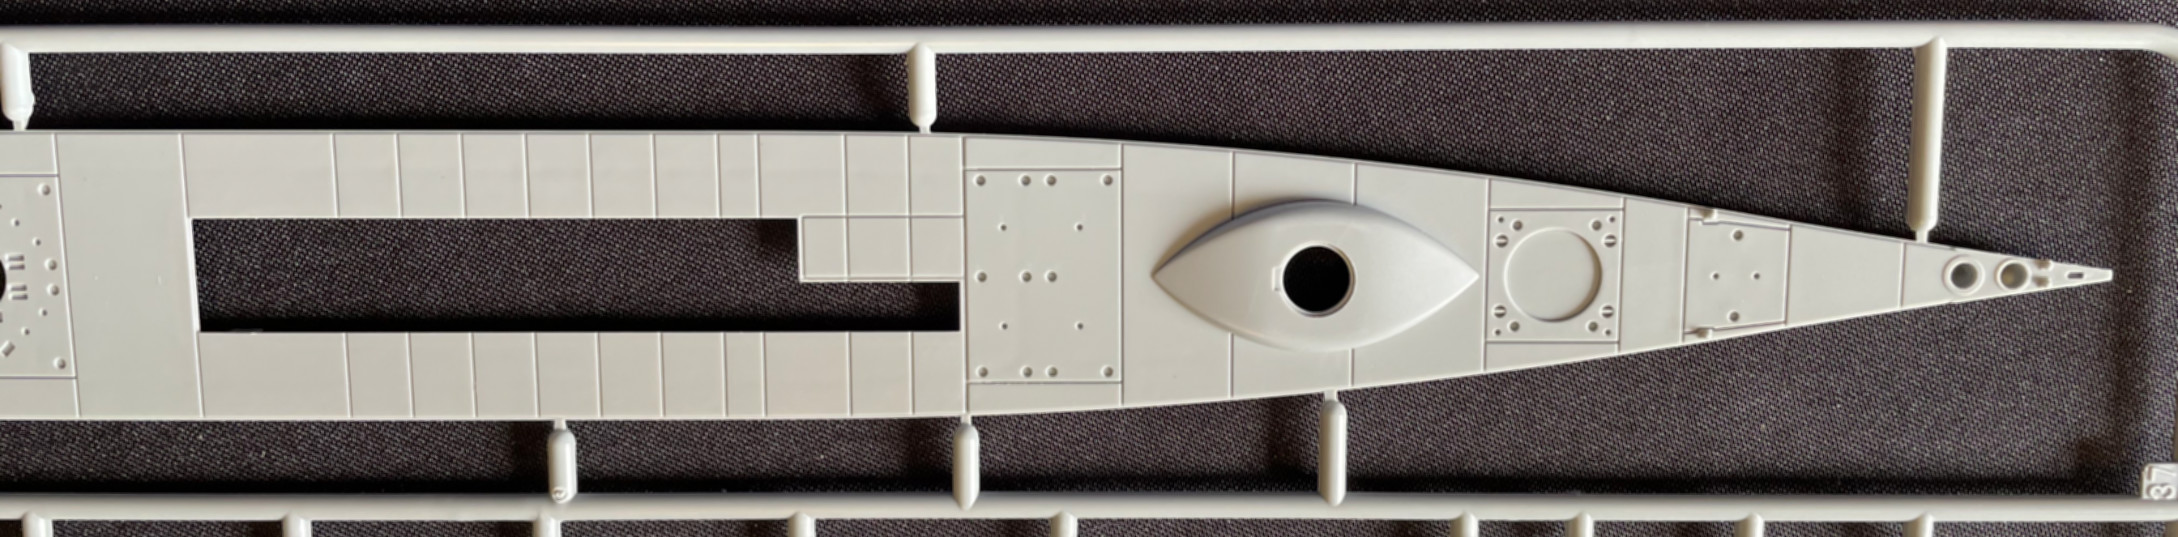
| Sprue B contains the parts for the
stand, the deck, dive planes, rudder, intake and exhaust stacks, fore &
aft torpedo bulkheads, torpedo doors (open & closed) and some conning
tower pieces.
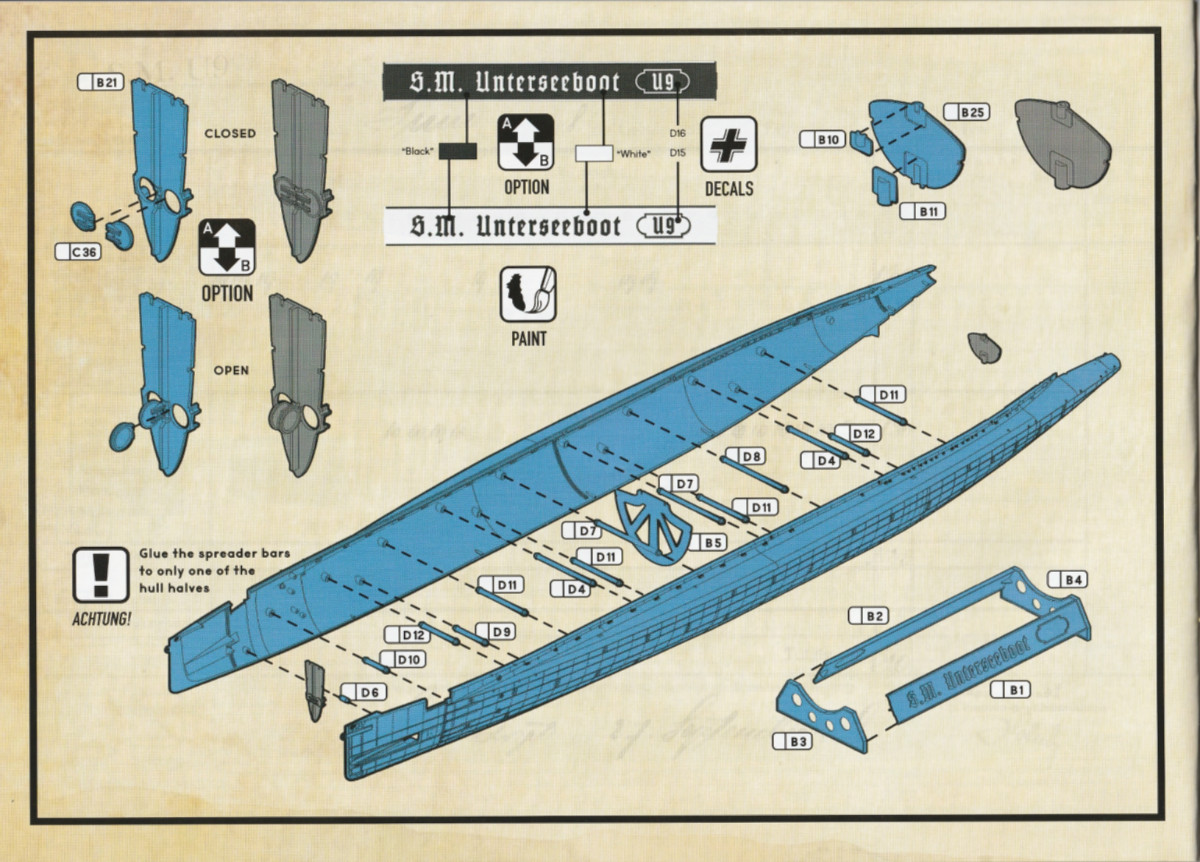
The deck is molded in single, long piece, so no unsightly seams to worry about, and has nice detail molded in. The two propellers are molded with left & right pitch, so get them on the correct sides or Keith Bender will find you. The rudder is molded with some nice detail as well. There is even a piece for the interior of the conning tower with a ladder and some other detail should you choose to have the hatch open. A quirky thing about the stand. Das Werk chose to mold “S.M. Unterseeboot” in raised letters on the side pieces but provided black & white decals for the identification number of the boat you choose to build to go after it. Should you choose to use the included stand to display your model instead of in a case, that could end up looking a little odd. It probably would have been better to just create 8 pieces with raised lettering for the U9, U10, etc., that could be glued to the stand to keep it looking uniform. |
|||||||
|
|||||||
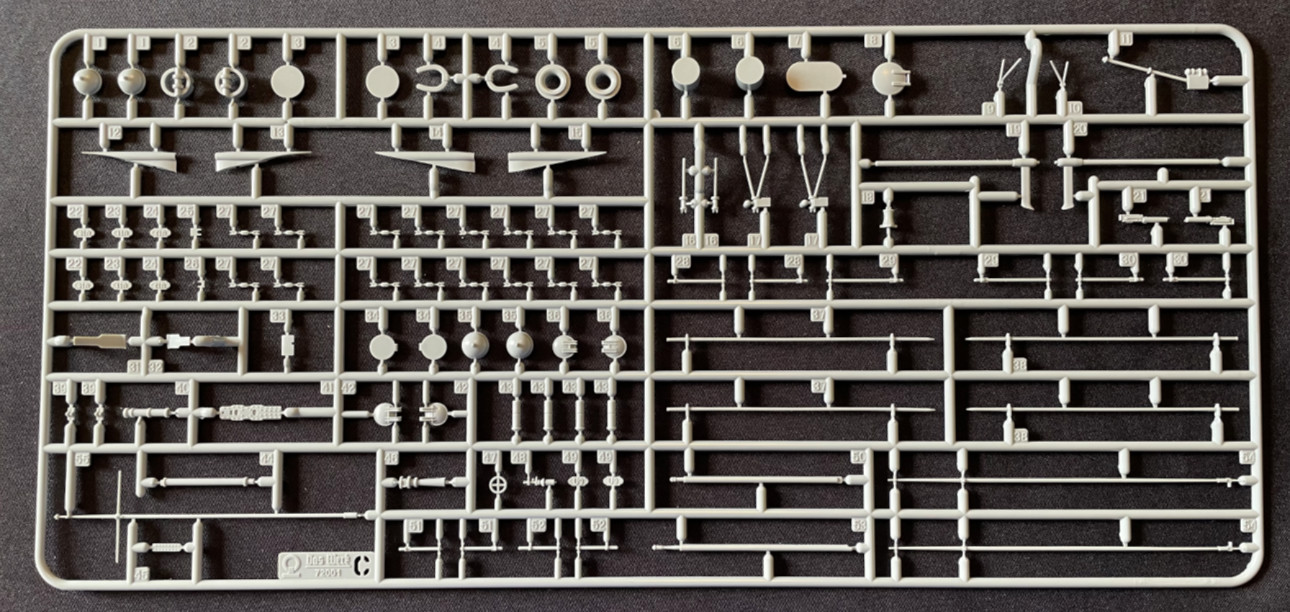
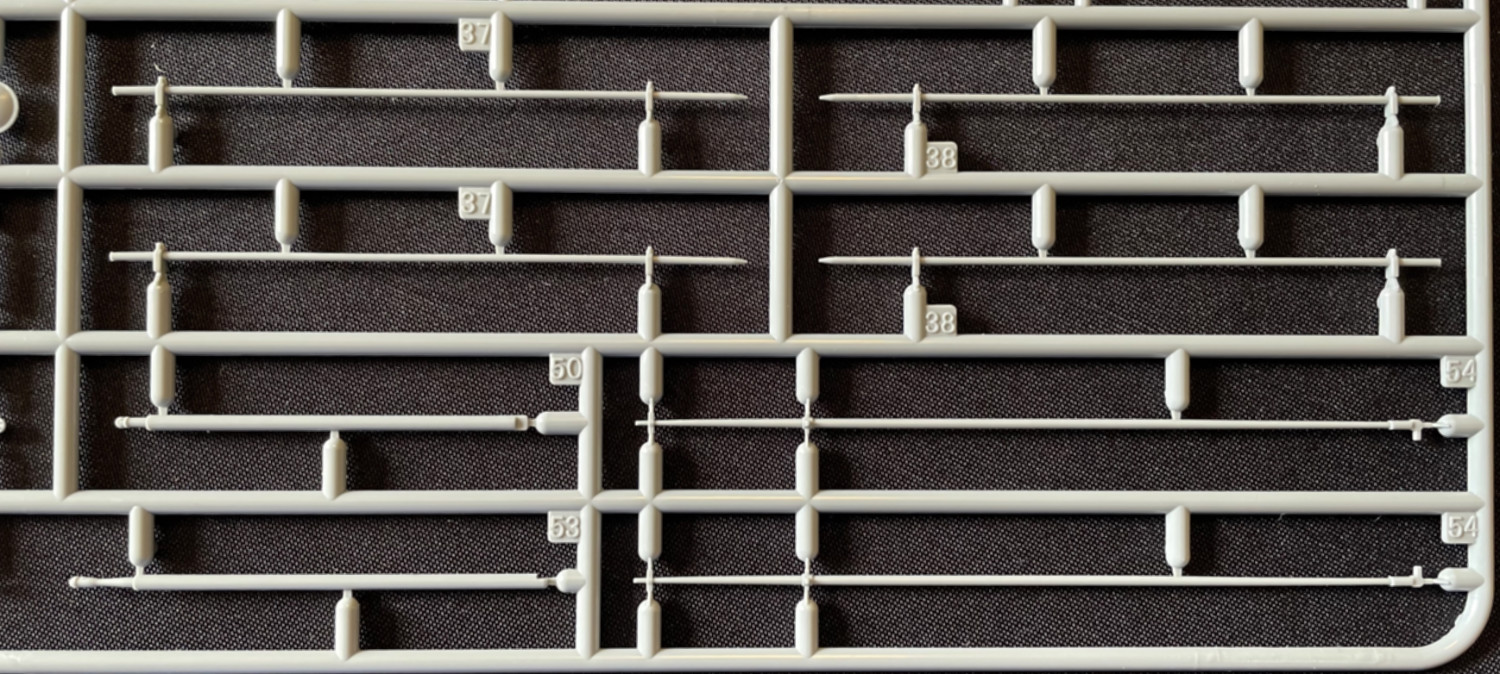
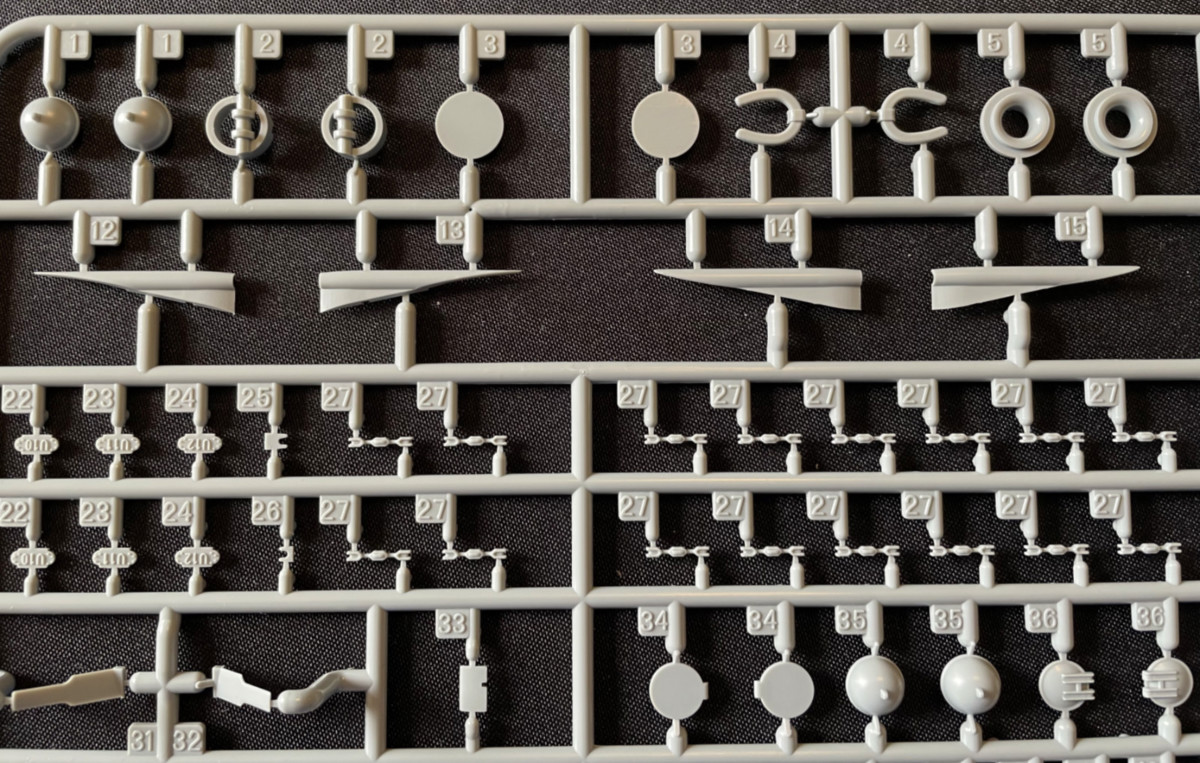
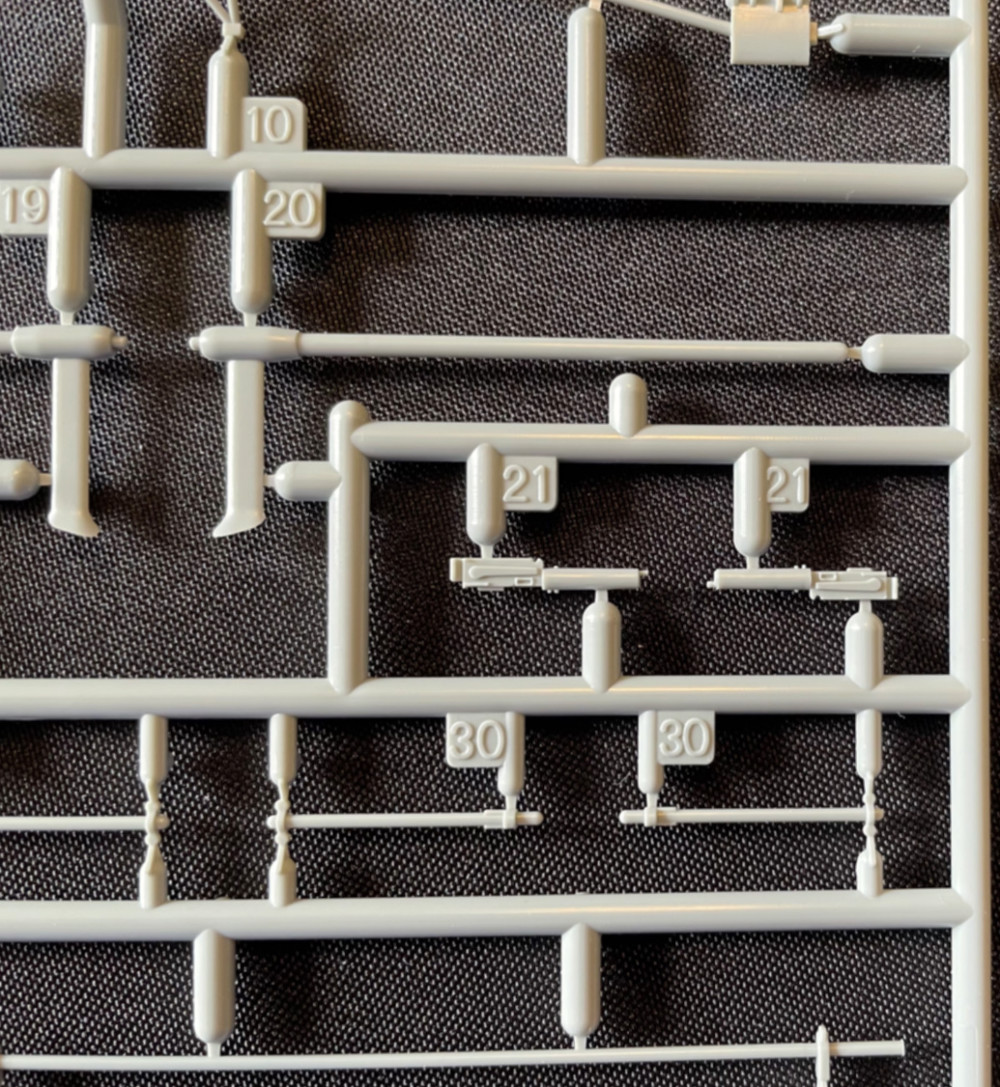
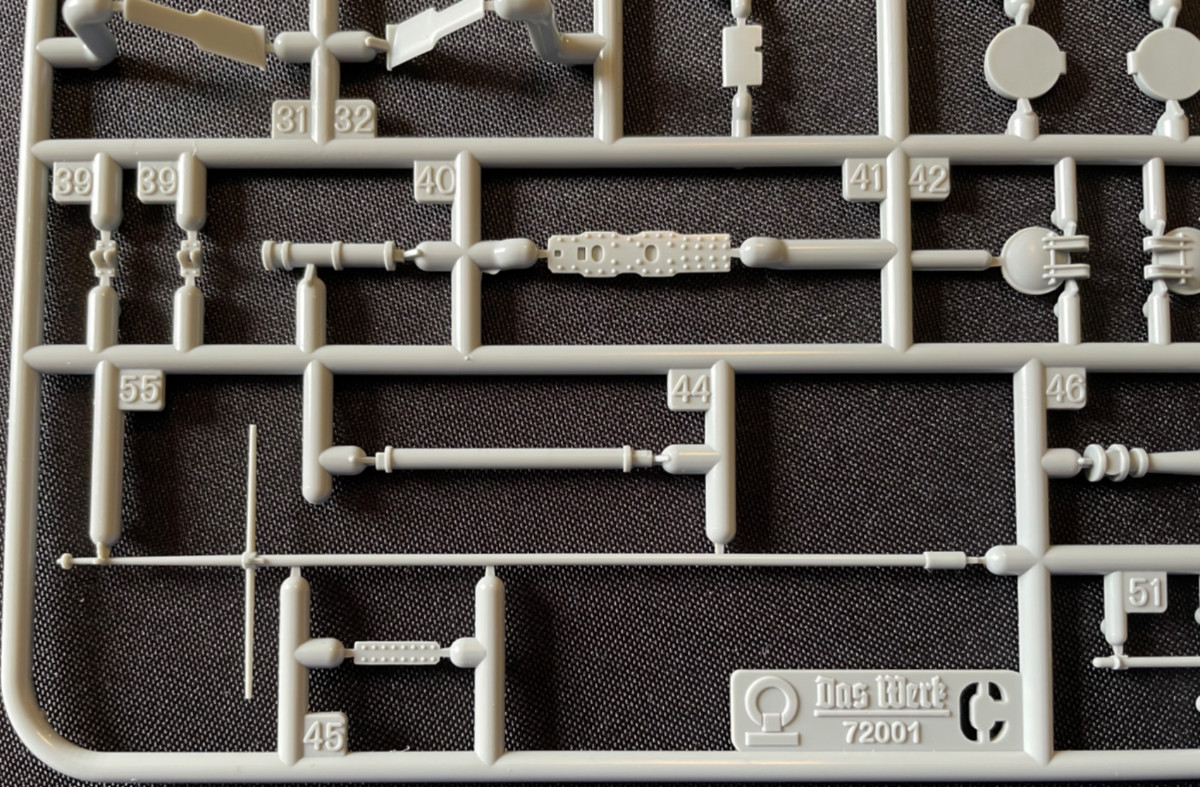
| SPRUE C | |||||||
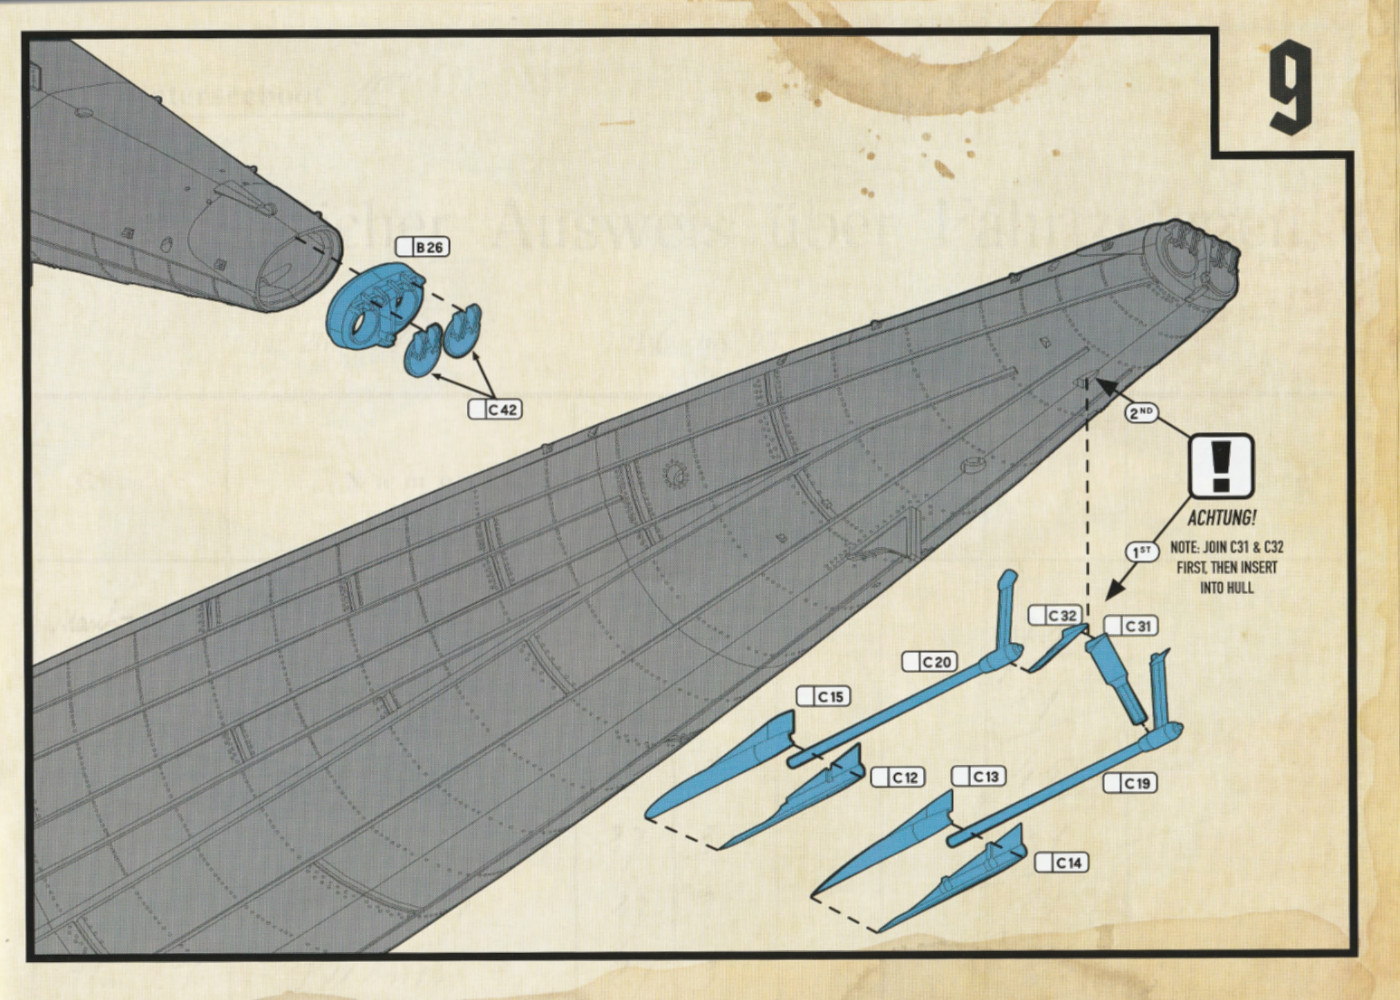
| Sprue C contains propeller
skegs, shafts, struts, hatches, periscopes, masts, machine guns and some
various other items. The two Maxim machine guns themselves are very nicely
molded with excellent detail. Unfortunately, the ammo cans on the tripods
are smooth plastic rectangles with a large hole on one side that will need
to be filled in. It almost appears that it was intended for another part
to be attached there but was missed.
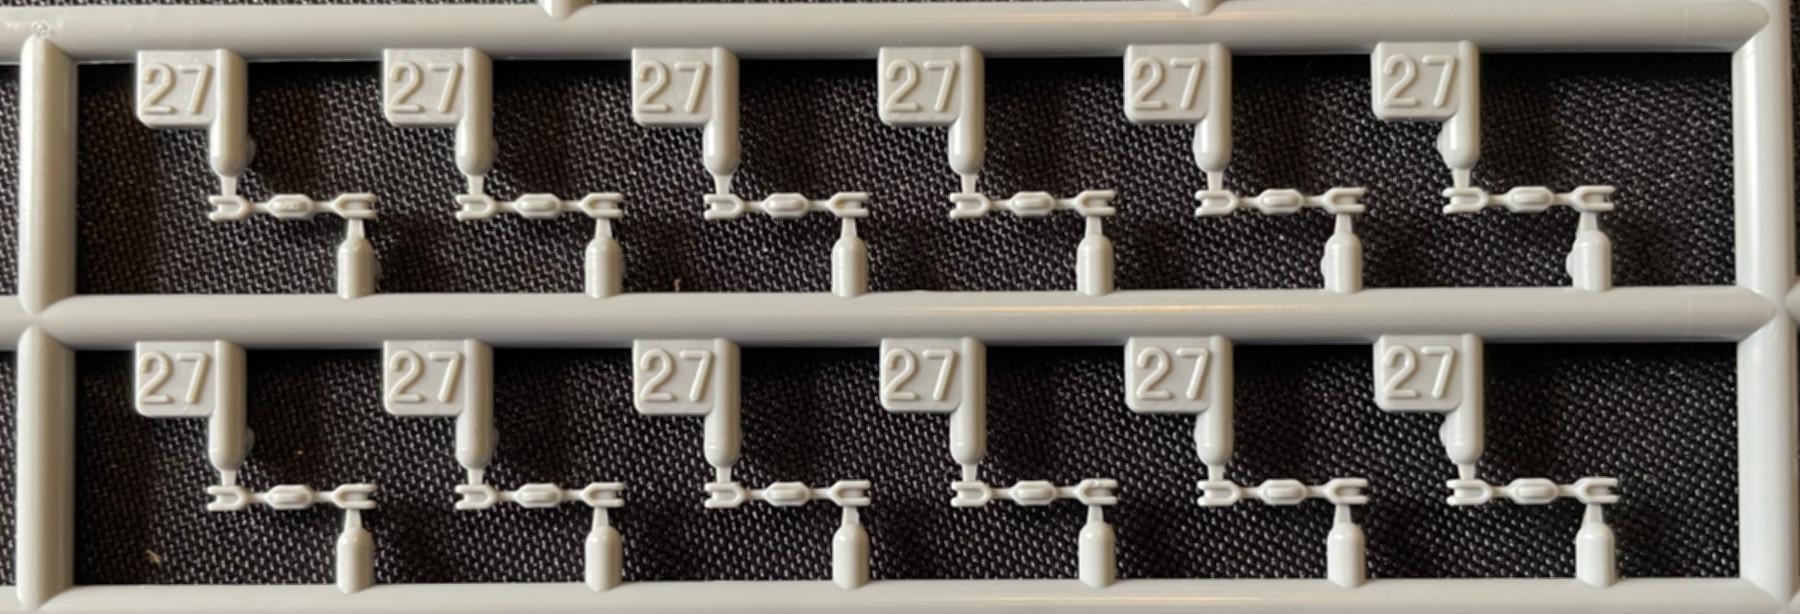
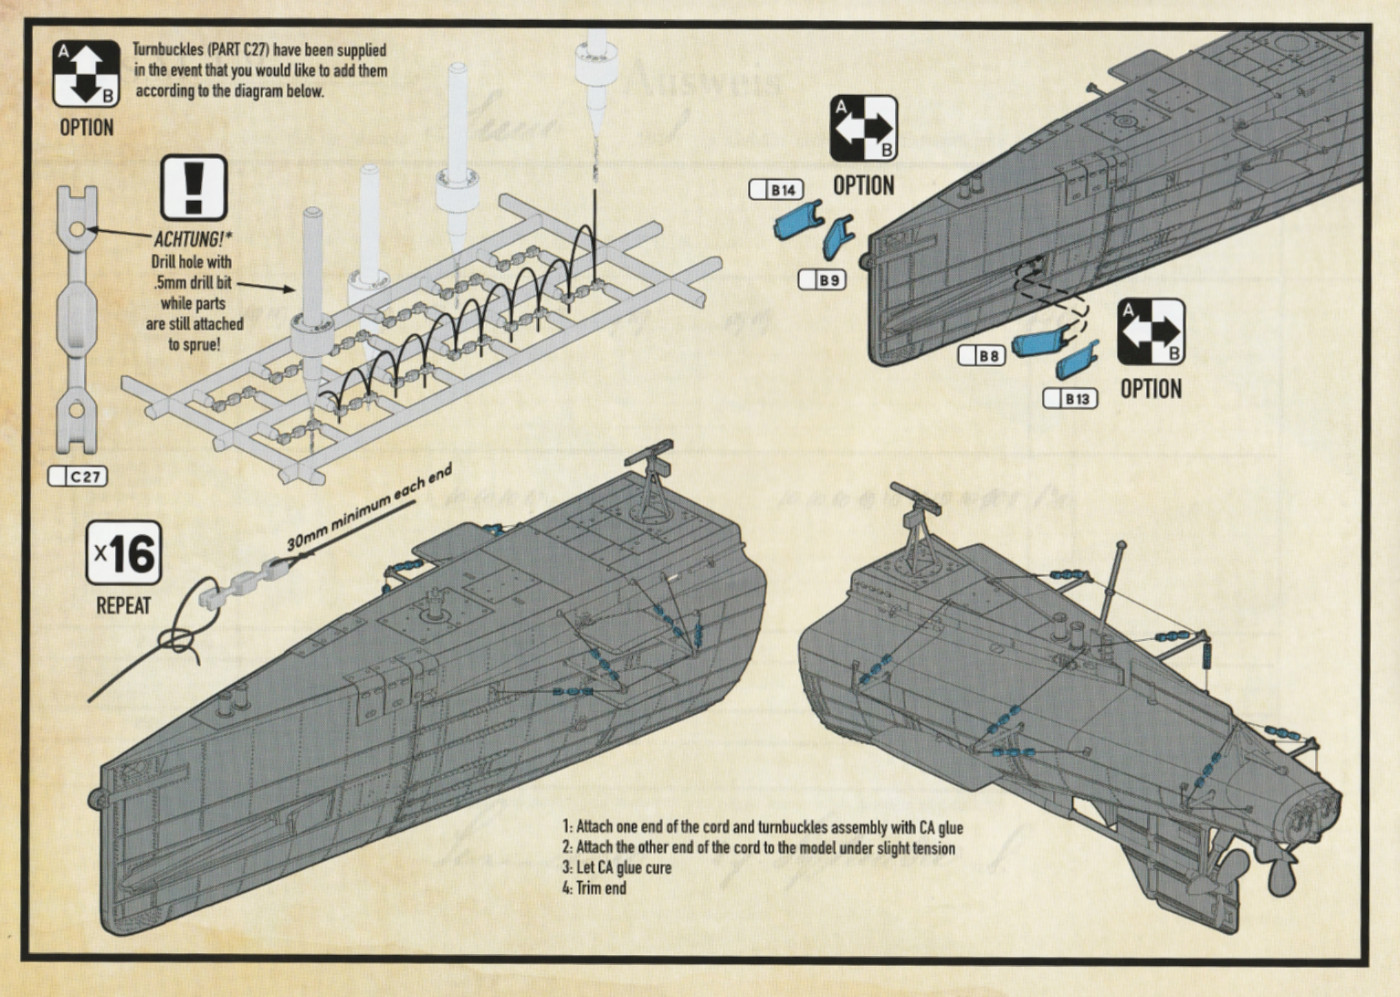
There are 3 masts in the kit. Two that go on the port saddle tank and can be displayed either raised or lowered, and one for the rear of the conning tower. None of the three will support rigging of any kind, so if you intend to display them deployed, they will need to be switched out with brass. This sprue also contains several parts that the instructions label “Turnbuckles”. Their appearance reminds me of those reddish brown insulators you see in the rigging of World War 2 era U Boats, but these seem to be clustered around the dive planes and props. My assumption is that they are some sort of system to keep things from getting caught in the planes & props. The instructions call for .5mm holes to be drilled in them while still attached to the sprue. I would add that you probably also want to add whatever material you are going to use for the rigging while they are attached to the sprue as well, as they will be quite small to handle off the sprue. This brings me to my major quibble with this model: the construction of the prop shafts and struts. The skegs are molded in left and right halves that have a very shallow locating pin that go into very shallow locating indentations on the hull. The outboard strut is molded directly on the prop shaft, but the inboard struts are molded separately. The instructions call for joining the two inboard struts first, and then attaching them to the hull, then attaching the shaft/outboard strut. Getting all of that properly aligned will be something of a chore. |
|||||||
|
|||||||
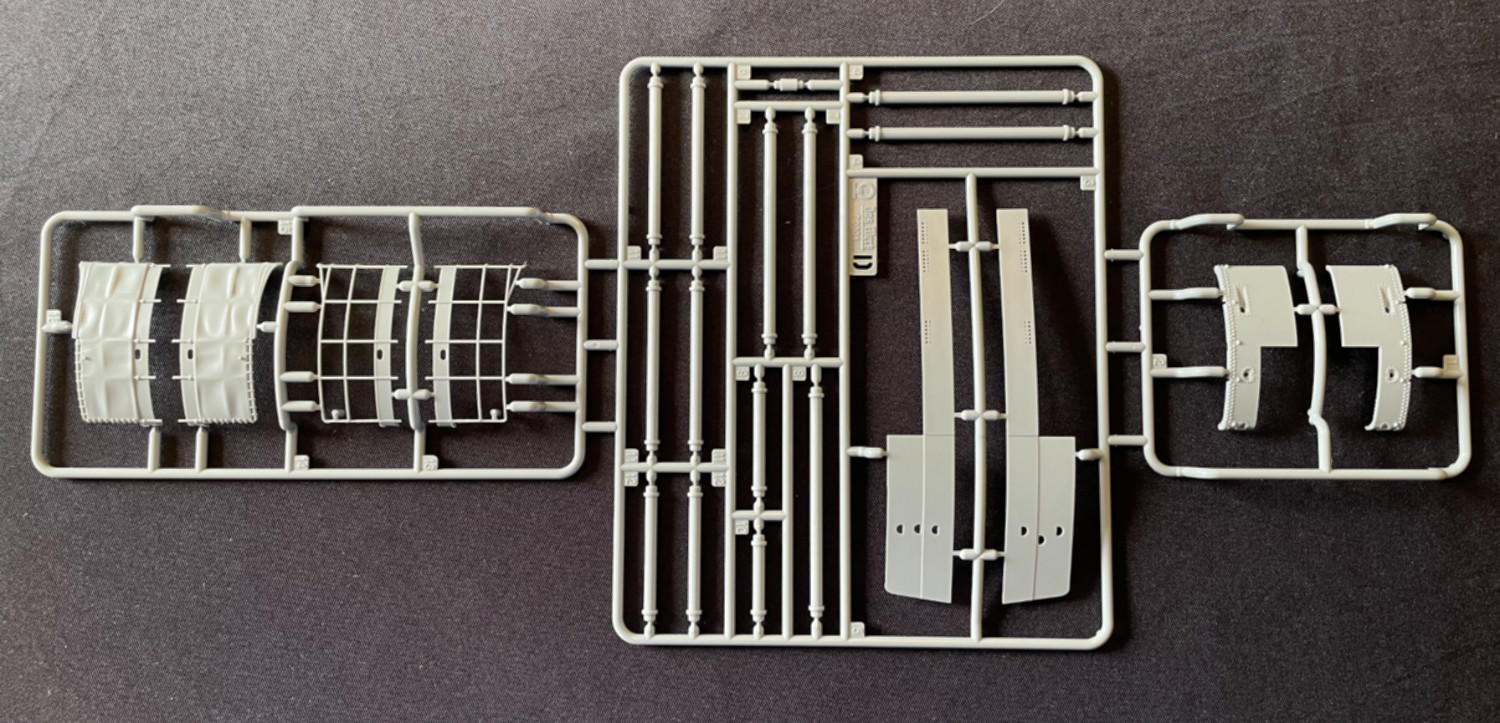
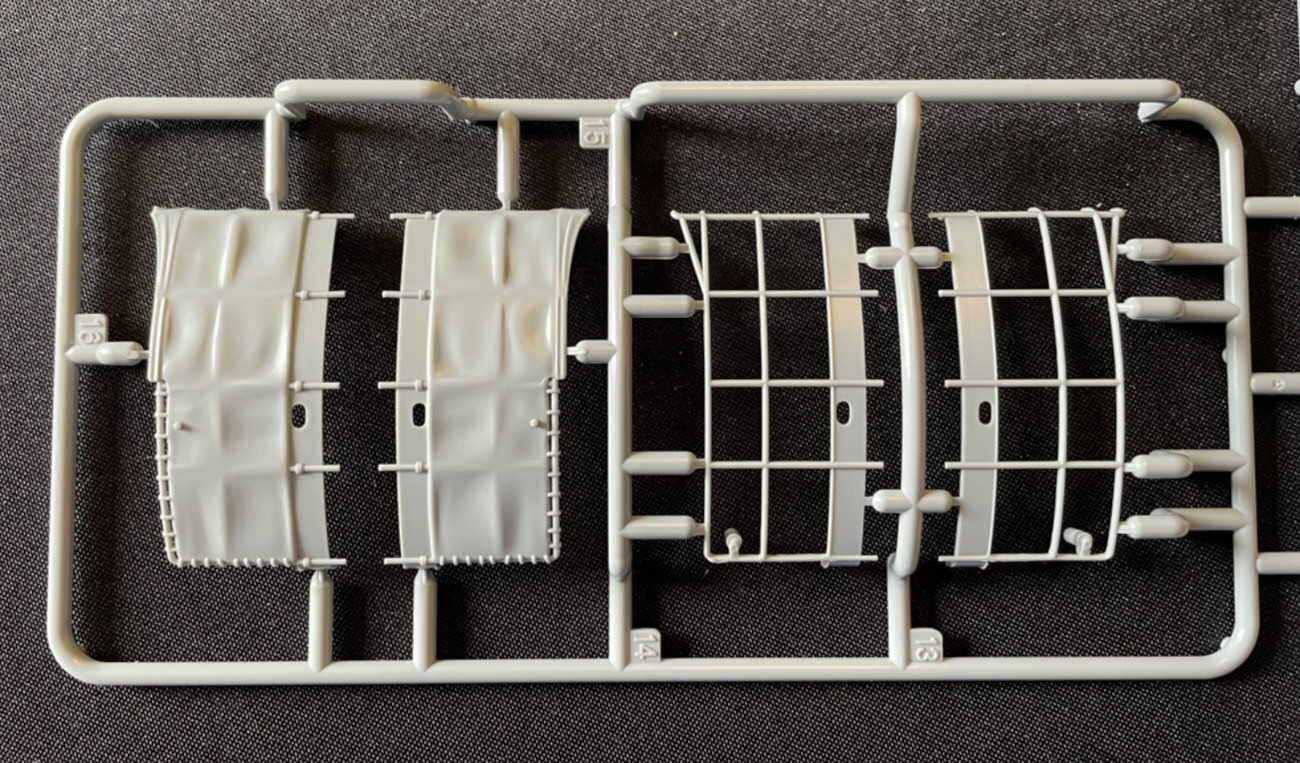
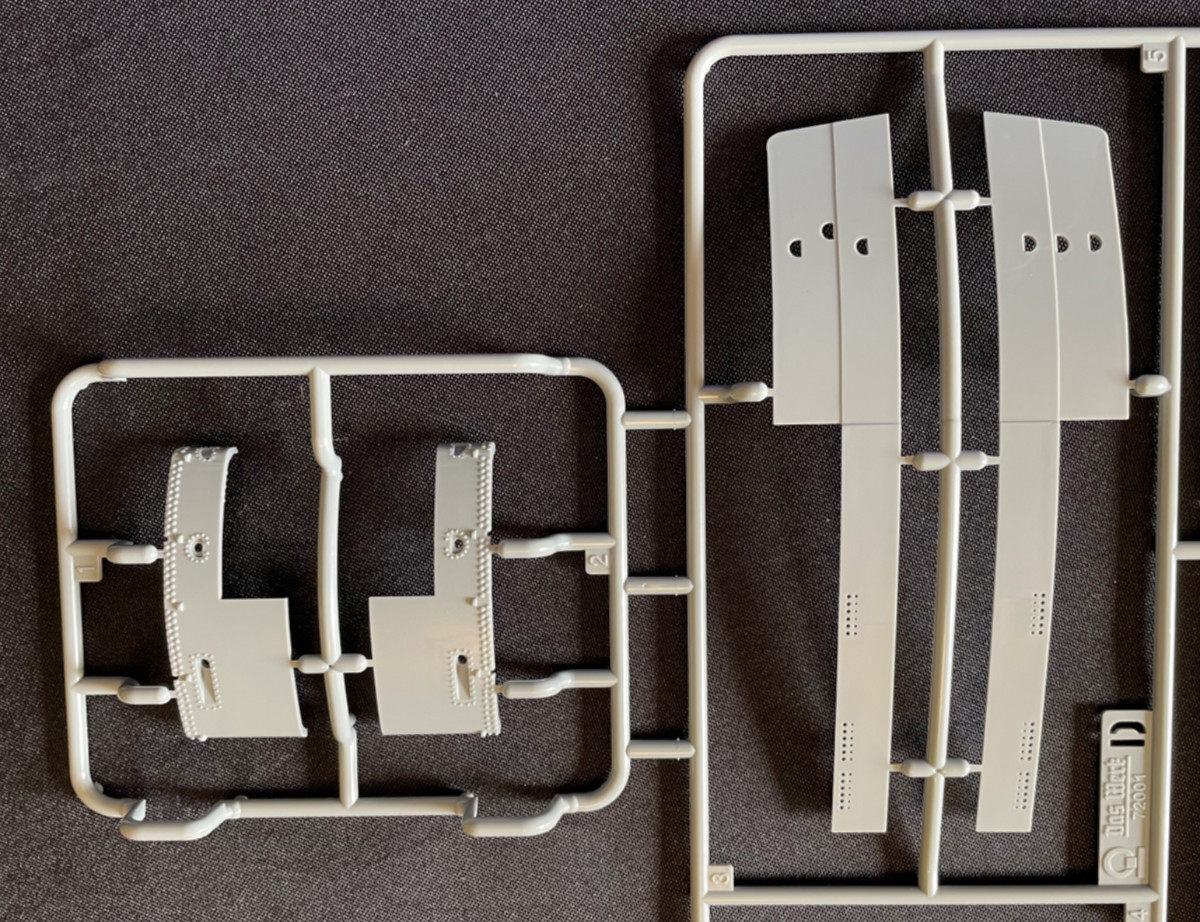
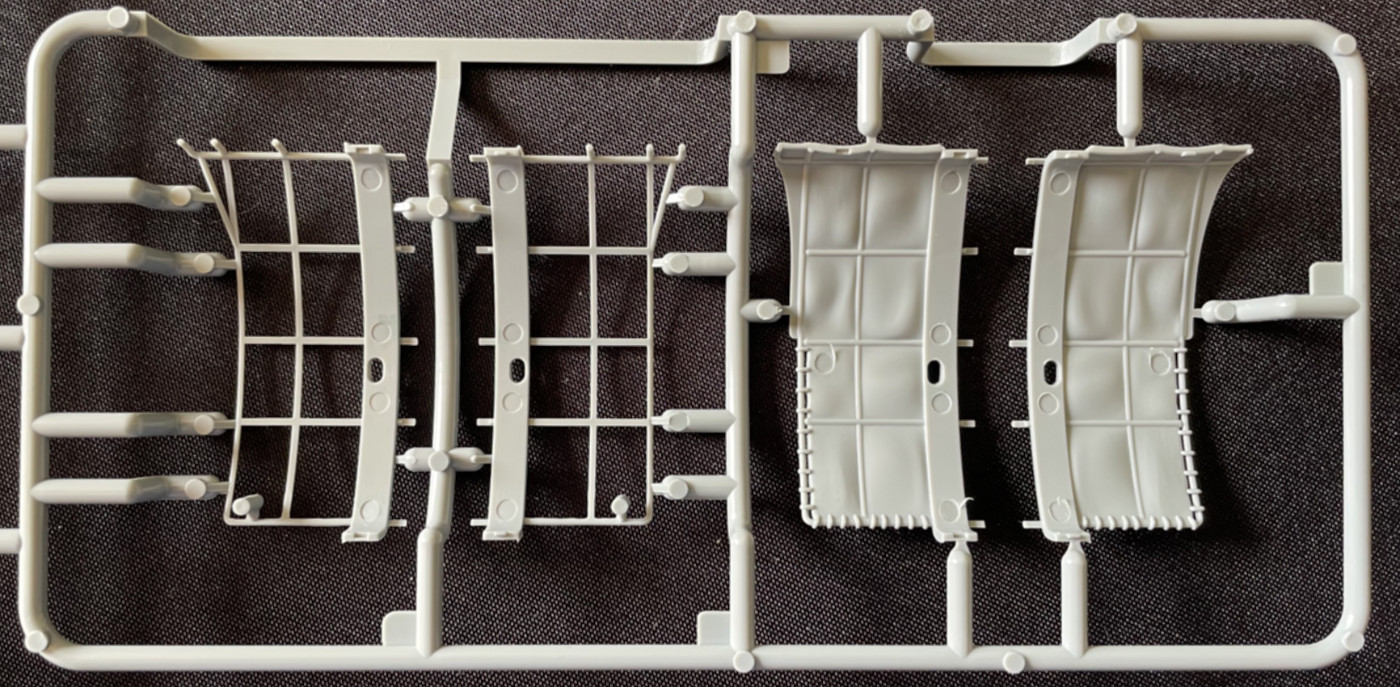
| SPRUE D | |||||||
| The final sprue only contains
the 4 pieces that comprise the left and right halves of the conning tower,
the railings for the conning tower, and the 14 stiffener bars for the hull.
All of this is crisply molded with no flash.
A nice feature that Das Werk has provided are railings that have canvas coverings molded on as well as a set with no canvas, and they can be interchangeable so long as you don’t glue them onto the top of the conning tower. The locating pins are long enough that they should remain in place without glue. A not so nice feature of these pieces is that they are the only 4 pieces that I have found that will have visible ejector pin marks on them that will need to be filled. The pieces with no canvas have 4 ejector pin marks along the bottom of the rail, and the railings with canvas have a fifth right behind the locating pin for the life preservers. Interestingly, there is only a locator pin for the life preservers on the railings that have the canvas molded on. |
|||||||
|
|||||||
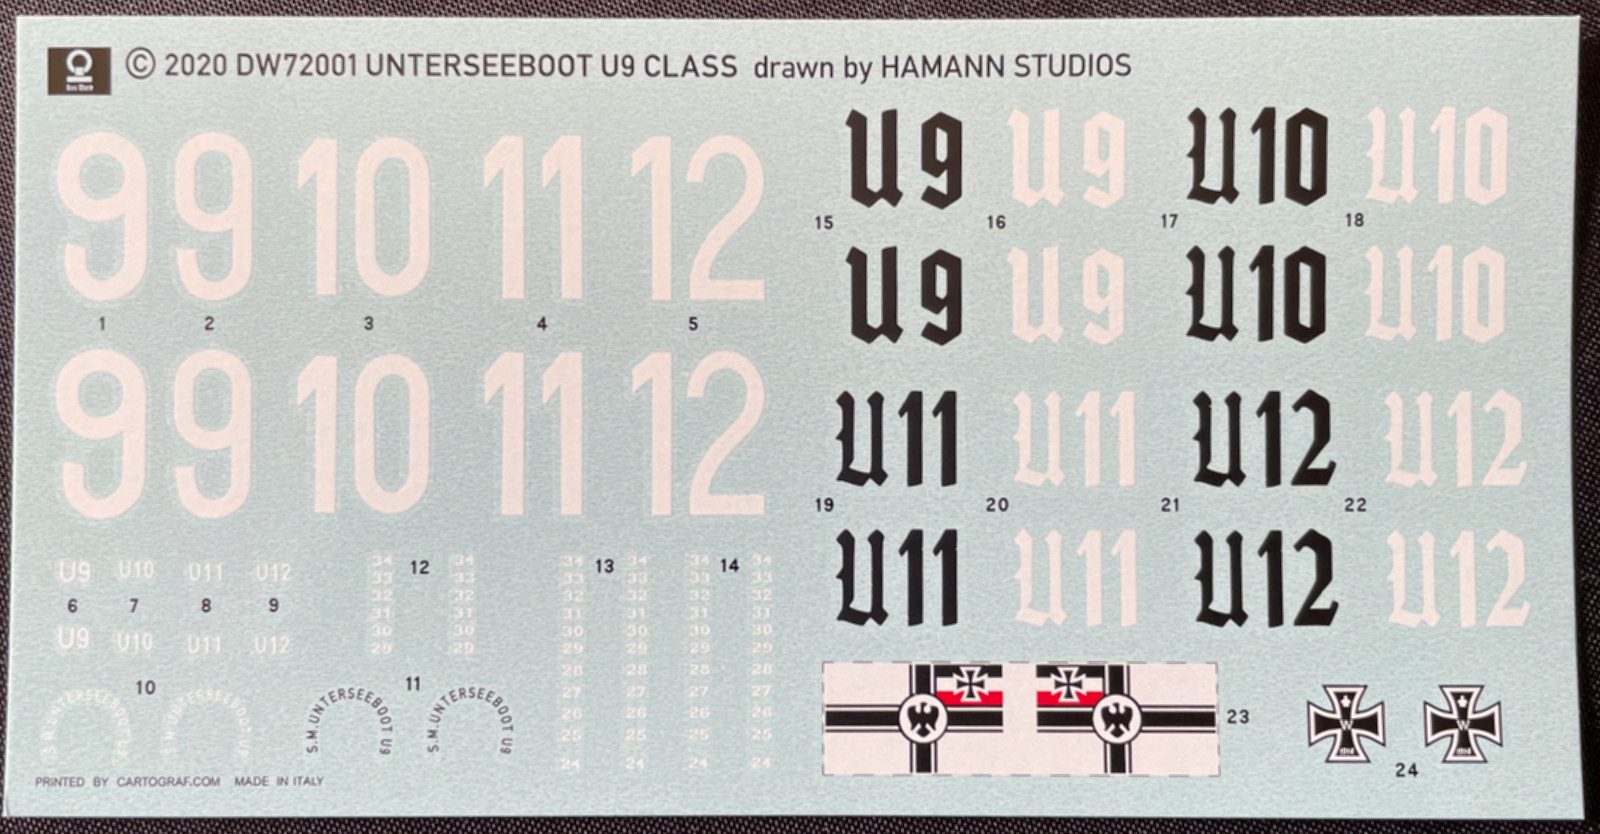
| DECALS | |||||||
| There is a single decal sheet that contains markings for U9, 10, 11 & 12. There are 2 different hull markings for U9: one appears to represent being painted by hand, and the second with a stencil. The markings for U10, 11 & 12 all have the stencil type marking. There are also bow & stern depth markings, black & white decals for the life preservers, Imperial German crosses for the conning tower, U9 – 12 decals in black and white for the stand, and an Imperial German Navy ensign. | |||||||
|
|||||||
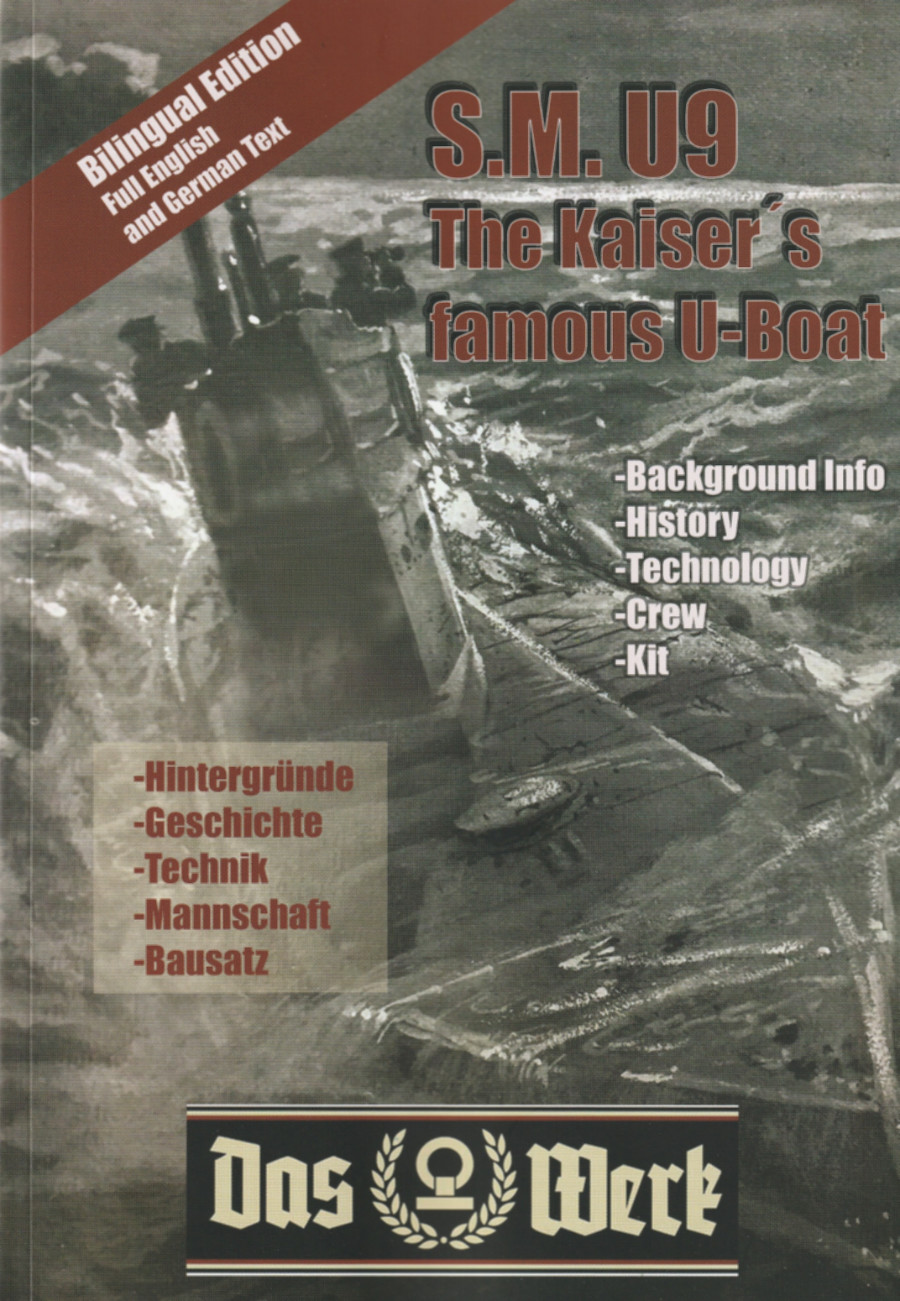
| BOOK | |||||||
| In my model there is 99 page book included that covers the history of U9, technical specs, the crew, and various other topics. There are even some pictures of the wreck of U12. I say “in my model” because I have read online that the inclusion of the book will be limited to the first production run of the model. It has a few more pictures of U9 and her sisters than can be found online, but not many. It’s a nice addition to the kit for the modeler that will help bring a little more perspective to the kit. | |||||||
|
|||||||
| INSTRUCTIONS | |||||||
| There is a 14 page instruction book
that is printed in an off white, water marked, coffee cup stained manner
that is meant to convey a well worn set of plans spread out on a drafting
table. The build sequence seems fairly straightforward, with the previously
mentioned prop skegs/shafts/struts being the only potential issue.
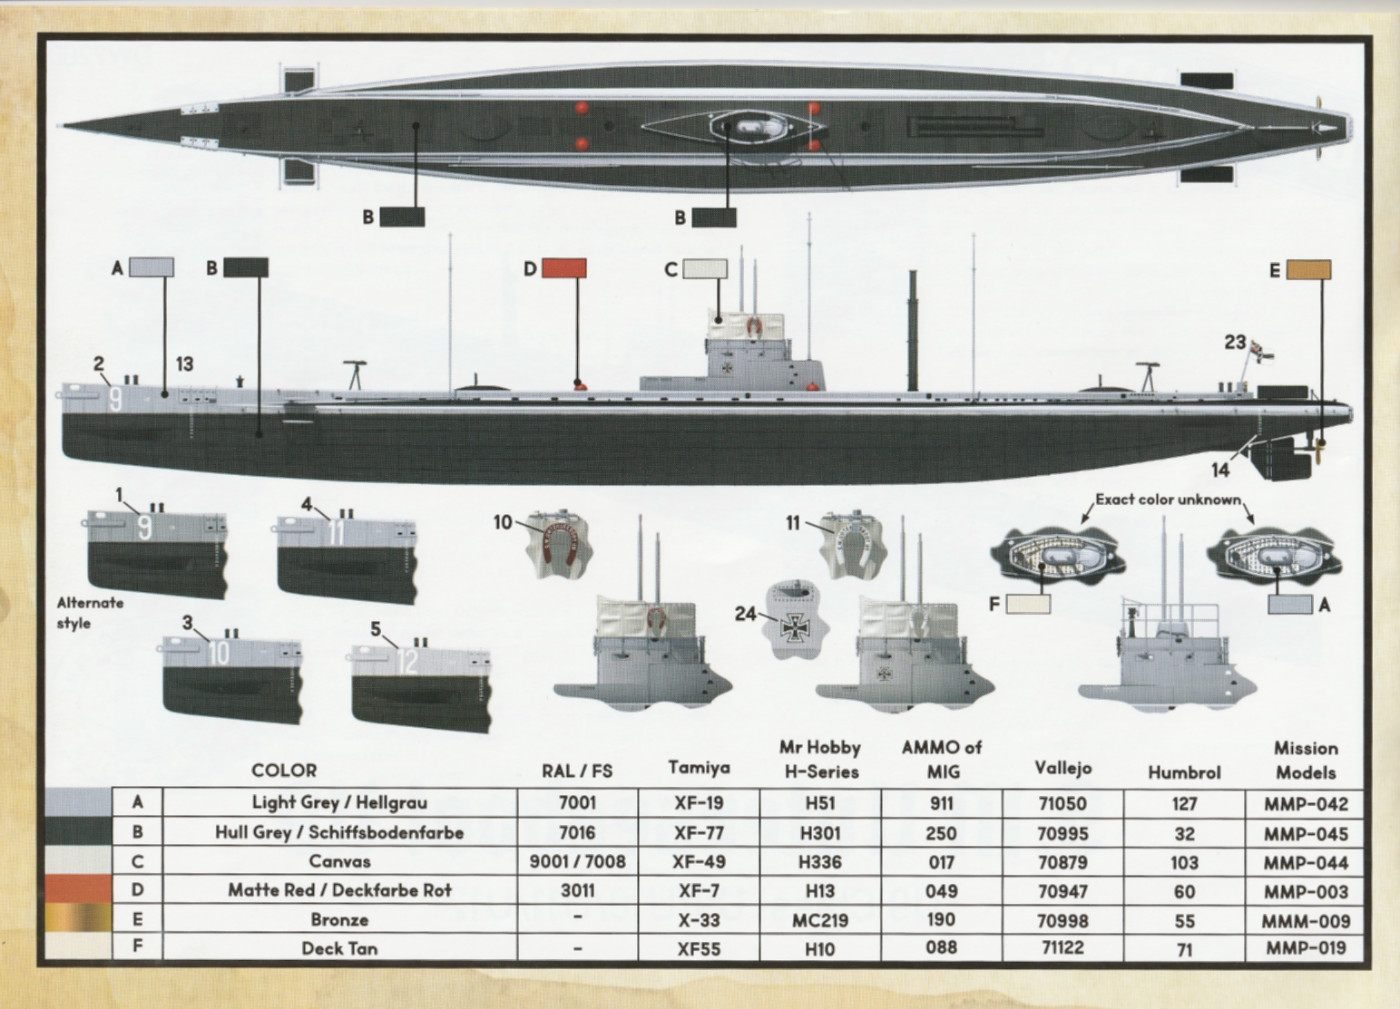
There is also a very nice painting guide that lists the paint numbers for 6 different paint manufacturers, as well as the RAL numbers if your favorite paint isn’t one of the 6. Purists may point out that RAL numbers weren’t in use during the First World War, but it’s nice to have them as a reference should you opt for different paints than the ones listed. There is no rigging diagram save what is on the cover of the instruction booklet, and that doesn’t seem to match up against the very few photos of U9 and her sisters that can be found online or in the included book. From photos it appears that when the masts on the port saddle tank are raised, the conning tower mast is stowed, and vice versa. I haven’t seen any photos where all three are raised at the same time, as is shown on the cover. |
|||||||
|
|||||||
| CONCLUSIONS | |||||||
|
All in all, this is an excellent
kit of a submarine that, to my knowledge, isn’t very well represented in
any medium in ship modeling. The molding is sharp and there is no flash
to be found anywhere. This is a highly recommended model to any ship modeler
who loves, submarines, World War 1 subjects, or just large scale ship models
in general!
This is the 1/72 scale SMS U9 from Das Werk. My model was purchased from a west coast (US) model shop for $99.99, but in a recent Google search I have found it for $89.99. This was simply an in box review, but there are several build reviews that can be found online. |
|
||||||