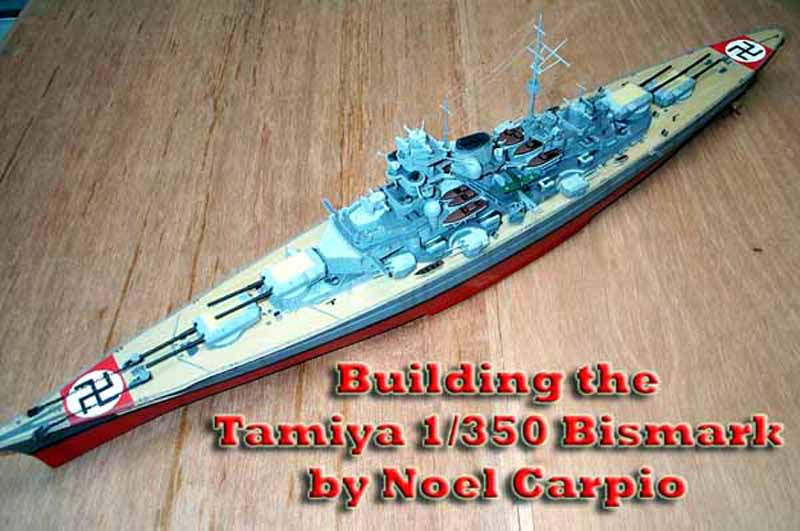
by Noel Carpio
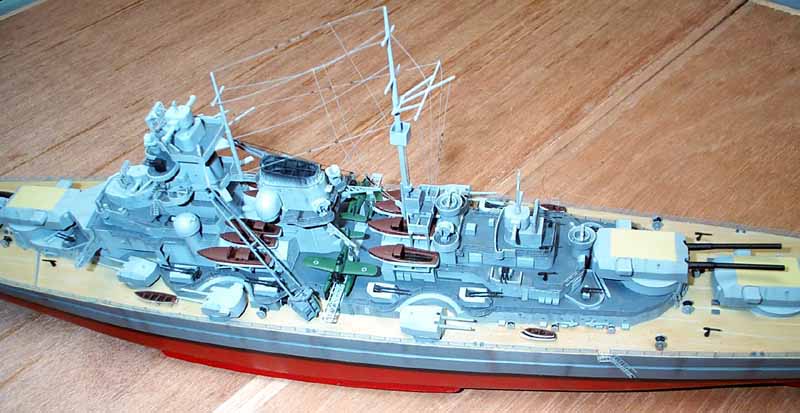
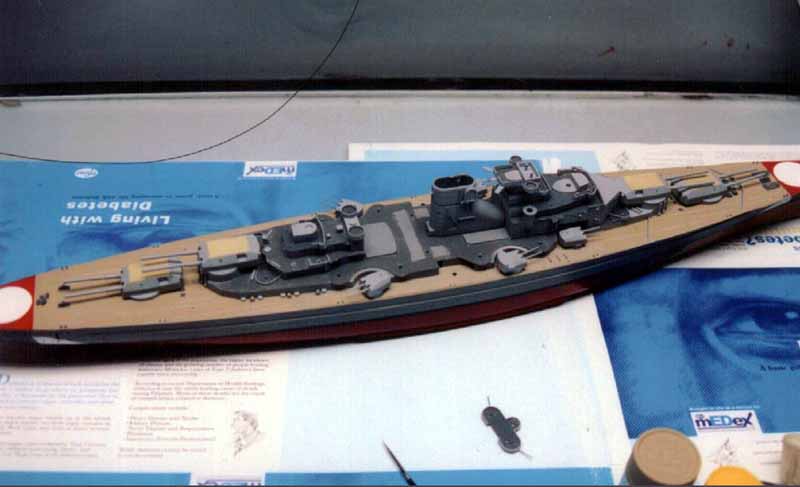
| A few months ago, I built a Bismarck straight out of the box. This time I made it a little fancier. I build this kit with Tom's Modelworks photoetched parts and painted it with its late war scheme. You have to get an additional set of railing for this kit if you wish to complete the entire railing configuration based on the references and even the kit's instructions. Tom was very supportive on this. Also, the seaplane PE is only for one plane. If you intend to place both planes on the catapult, you have to improvise or don't place them at all. | |||||
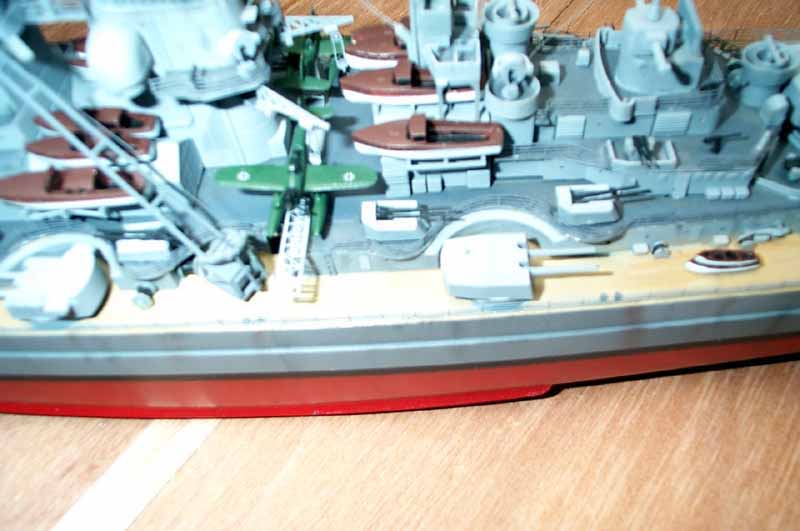
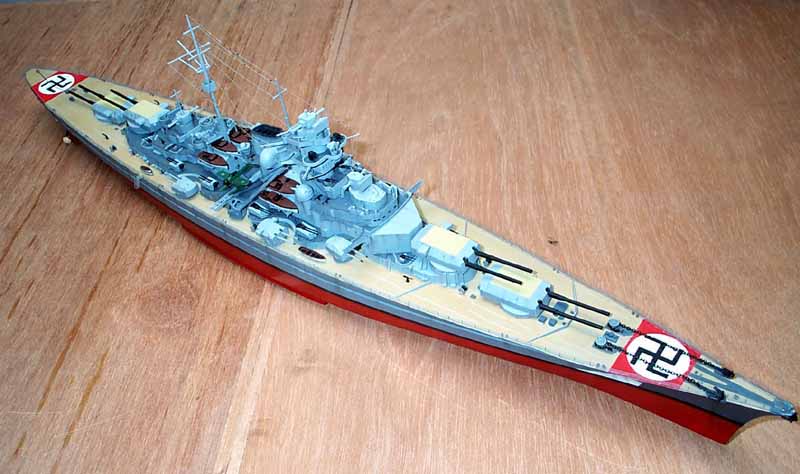
| According to my references, the Bismarck had only one swastika
located on her bow. The initial background color was grey. The late
one was red. I chose red and followed the what Rusty White did, placed
another swastika on the stern. I found it nice so I did this one.
It is a matter of taste for this one.
I used Tamiya Dark Sea Grey, Flat White and German Grey , Flat Red + 30% Hull Red for the hull, Deck Tan and Dessert Yellow for the deck and the planking effect. I used Dark Yellow for the turret tops. I painted all vertical structures with Revell's Light Gray Enamels. All horizontal surfaces except the main deck were painted with Model Master Gunship Grey. Both enamels take long to dry but the result is superb even if hand painted.. I used Flat Brown and Flat White for the boats and life boats. I drilled all port holes on all decks and the hull. I placed chains to replace the kit molded anchor chains. |
to enlarge 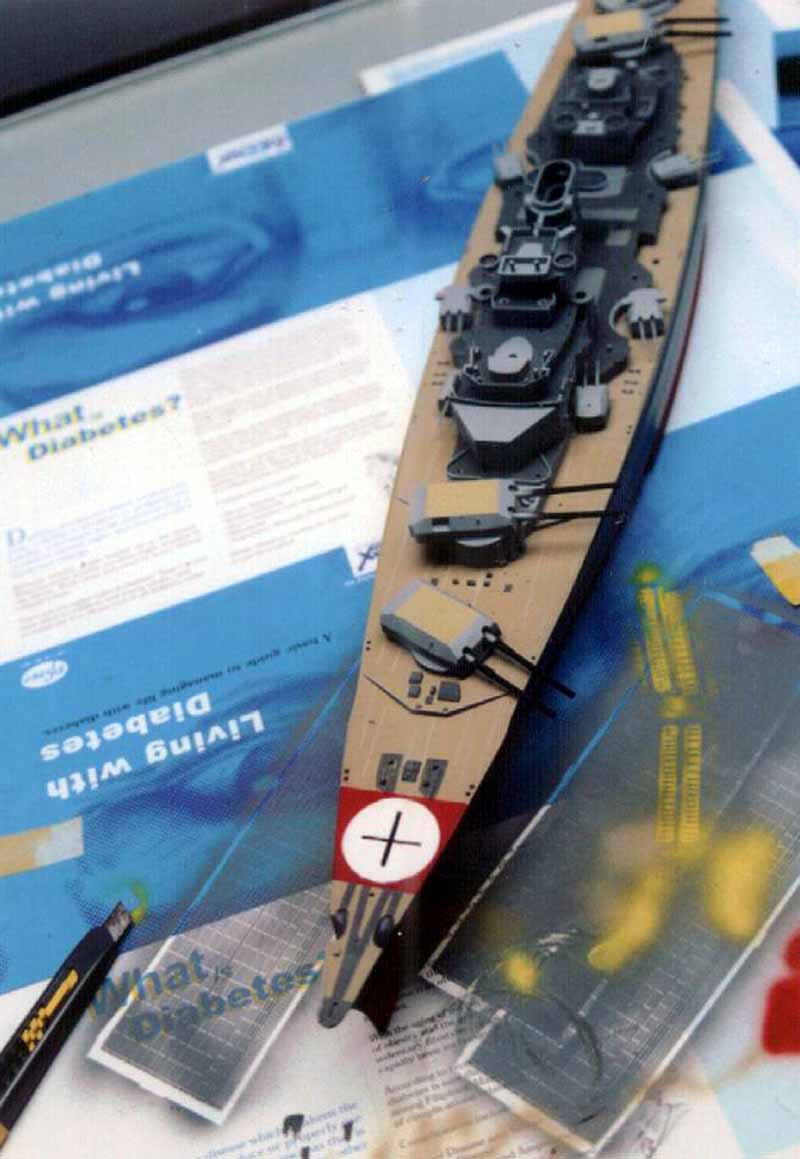 |
||||
 |
|||||
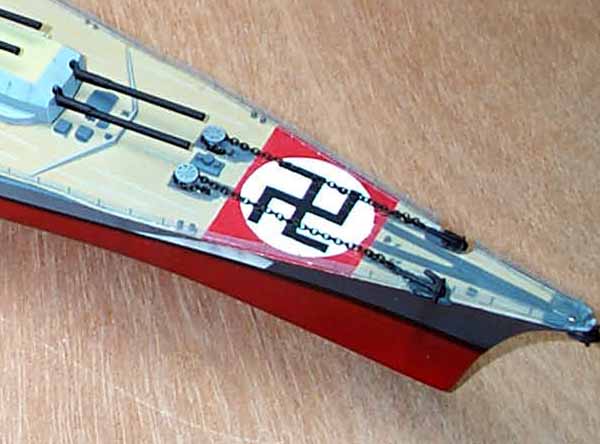
| I still found masking the swastikas the best way to do
them. Others recommended me to make a template. I tried it but it
was just more difficult. I first painted the red background then used a
masking tape with a circle cut out to fit. When the tape was pressed well,
I then sprayed it with flat white. It took me four thin repeated
coats of white to get it perfectly white (effect of the red bottom).
Then here comes the tricky part. The Cross. I first masked a "perfect
Plus Sign" - or a cross. The thickness is about 1/8 of an inch.
Then from there, worked on the rest of the swastika sign. Don't be
impatient. Look at it from a distant to see if it is near perfect
or perfect. Remember that any imperfection will be easily spotted.
I rebuilt the main gun barrels from brass tubings. It was difficult since this was my first time to do this. |
 |
||||
 |
|||||
| I used CA glue and D&K Instaset Glue Accelerator for the rigging and in placing the railings. It is a must have combination for you CA Glue users. I used pastels to weather the ship. A combination of Burnt Umber, Burnt Sienna, Black, Mustard (for the hull) and a tough of earth. I also washed the deck with diluted Burnt Sienna Oil paint. After drying, I over sprayed it with Gunze Sanyo Semi Gloss Lacquer Coat. This works magic and I think I cannot work without this spray. Now that the ship is coated with Lacquer based coat, you can now get back for additional washing using oils without affecting the rest of the paint job. After this, I over sprayed the entire ship with Humbrol Matte Cote. The only thing you should remember when using Humbrol Matte Cote is that you HAVE to use the Humbrol Paint Thinner. Nothing else!!! | |||||
|
|||||
|
Contributing Editor Modelwarships.com |
|||||
 © ModelWarships.com