Black Cat Models USS Ward - In Box Review


Reviewed July 2022
by Martin J Quinn

HISTORY
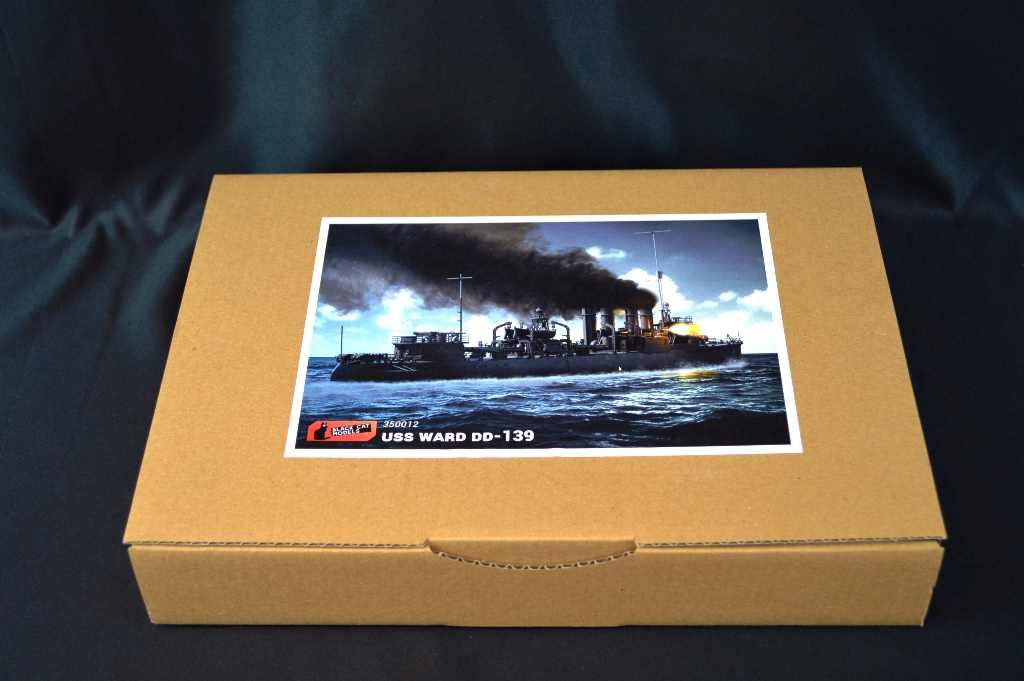
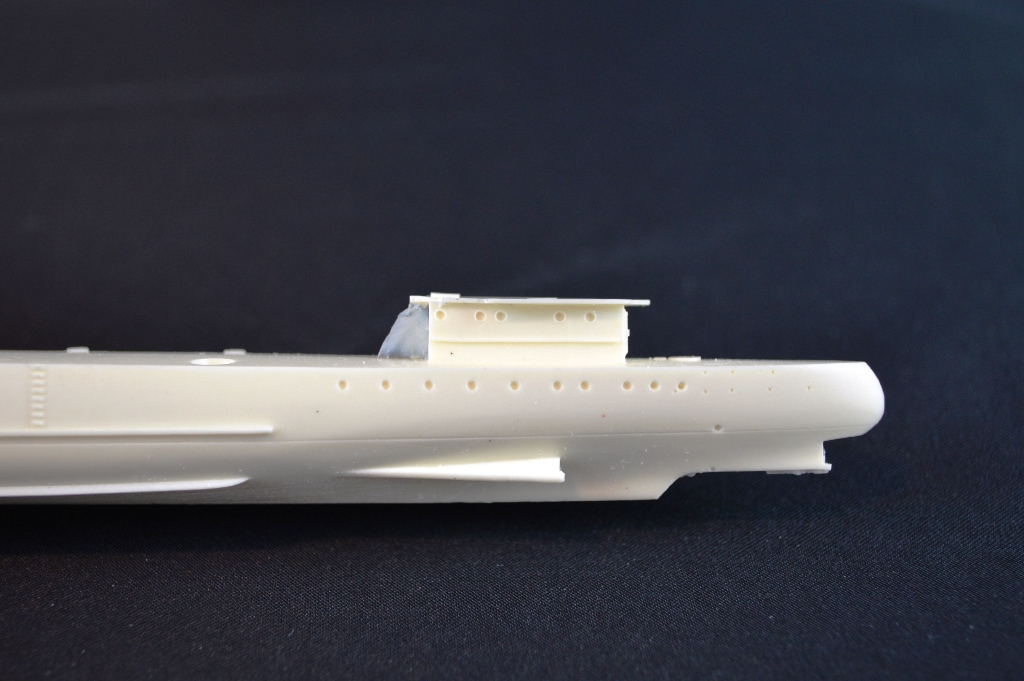
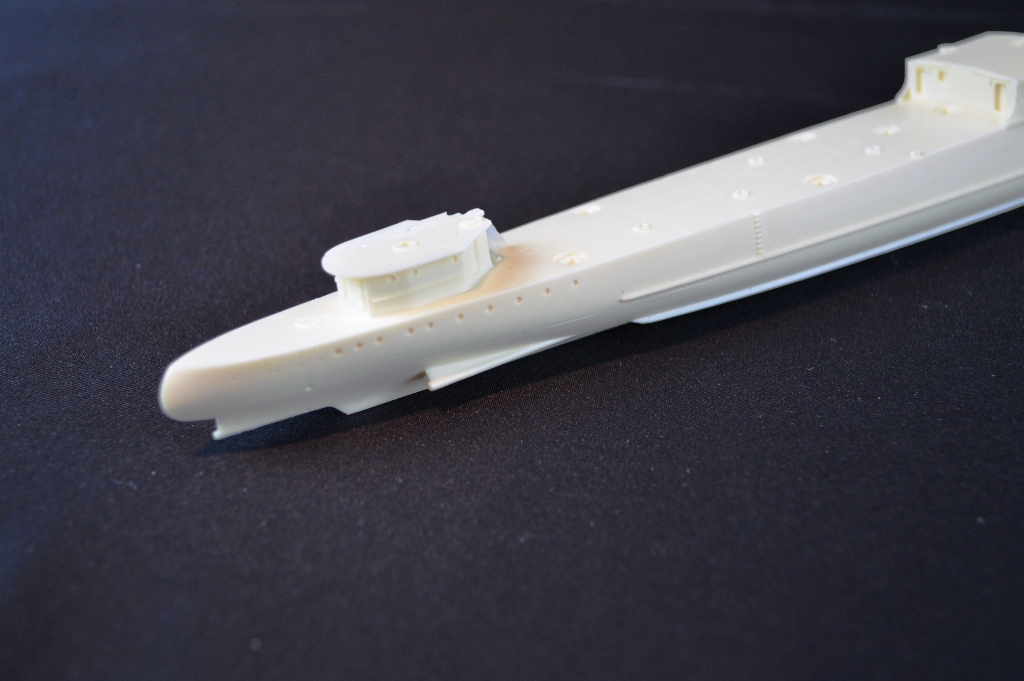
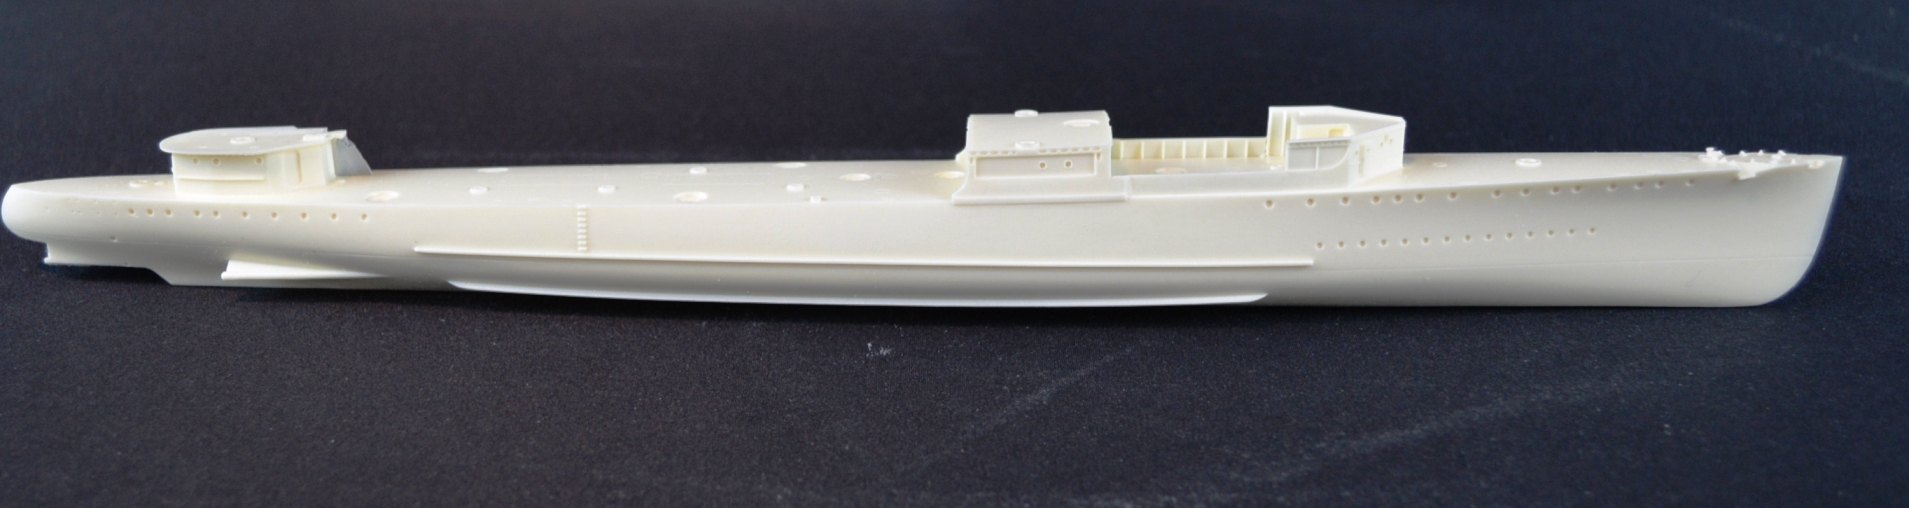
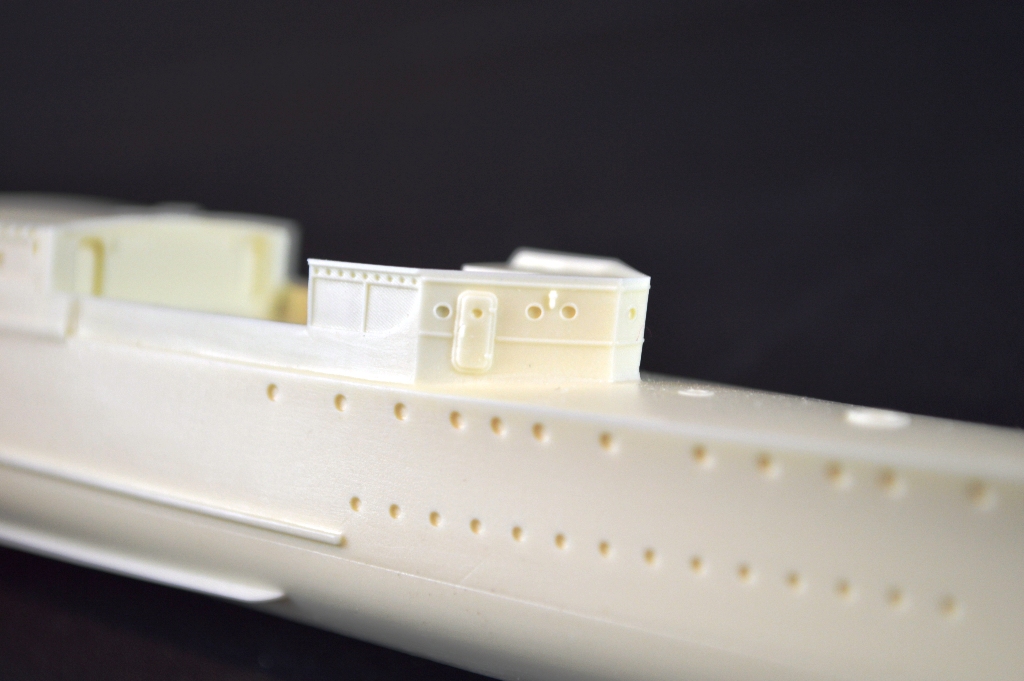
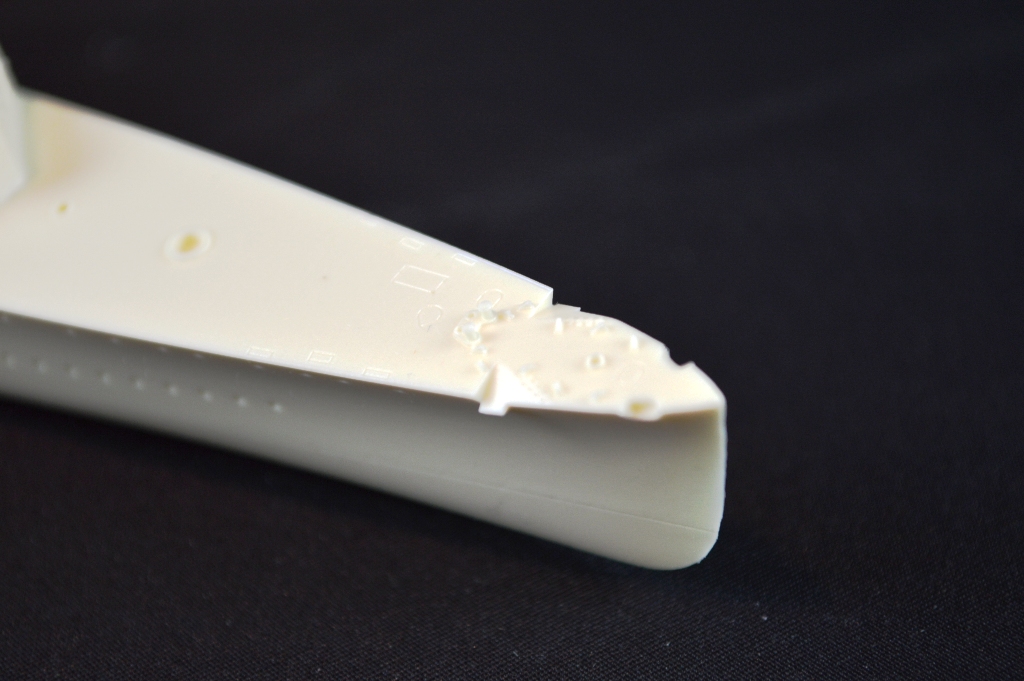
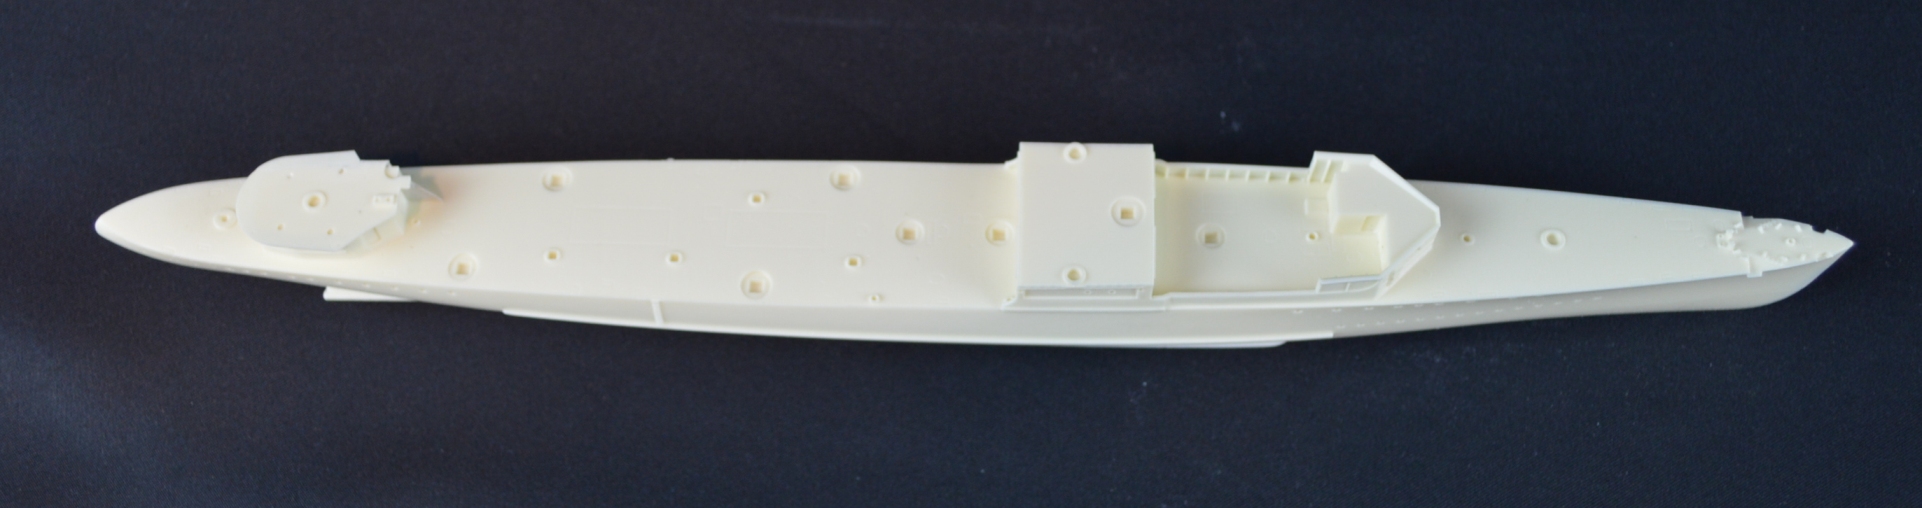
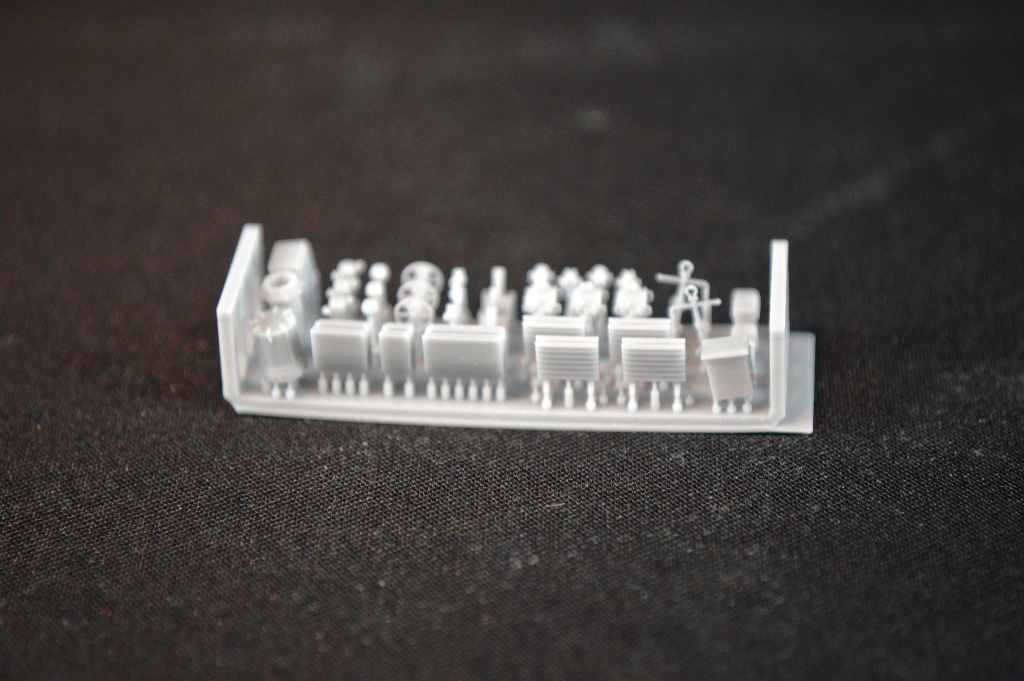
USS Ward was a Wickes-class destroyer, built as a result of the Naval Appropriation Act of 1916, which called for a navy “second to none”.  The act authorized orders for ten battleships, six battlecruisers, ten scout cruisers, 50 destroyers, 72 submarines, and fourteen auxiliaries.  Originally funded in 1917, the Wickes-class was supposed to consist of 50 ships.  With subsequent hulls funded, the final class size grew to 111 ships.  Along with the 6 preceding Caldwell-class and 156 subsequent Clemson-class destroyers, the Wickes-class formed the "flush-deck" or "four-stack" type of destroyer. 

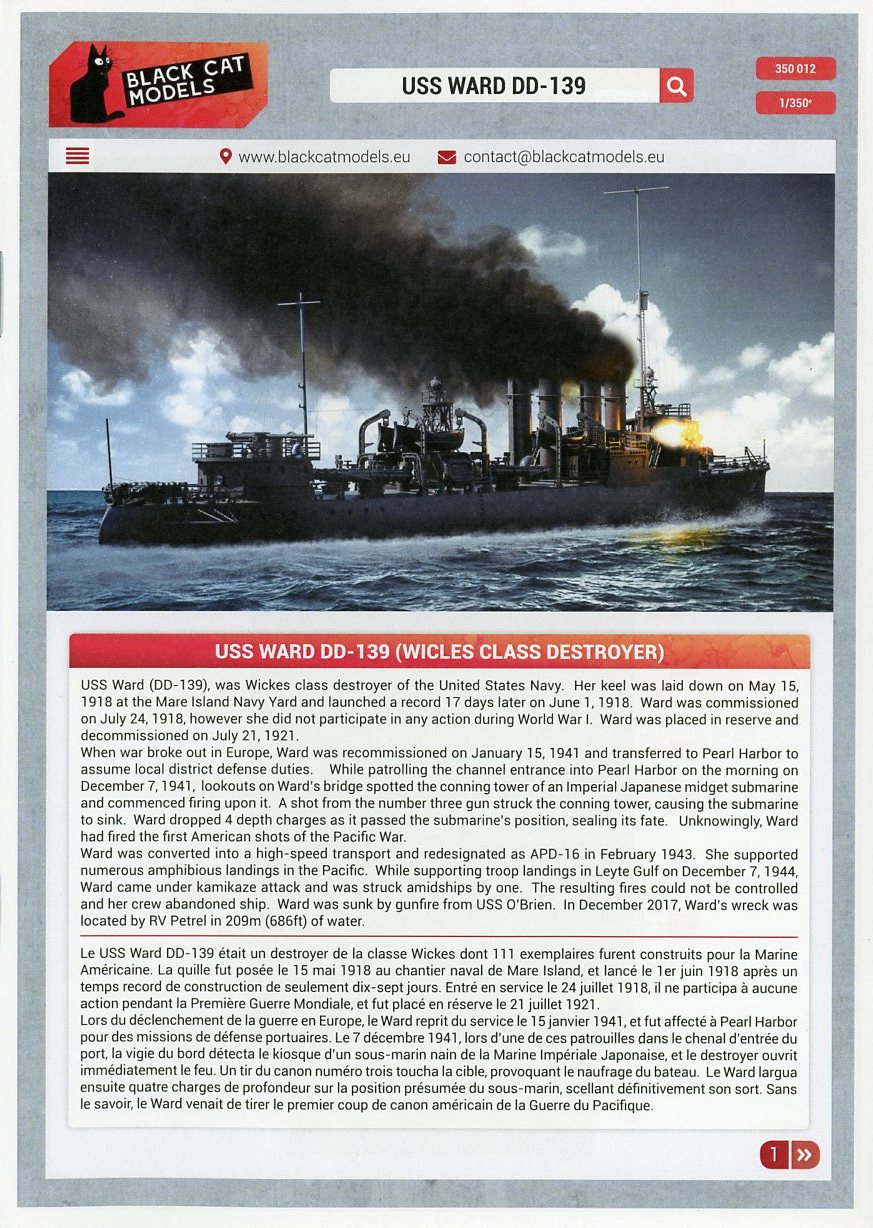
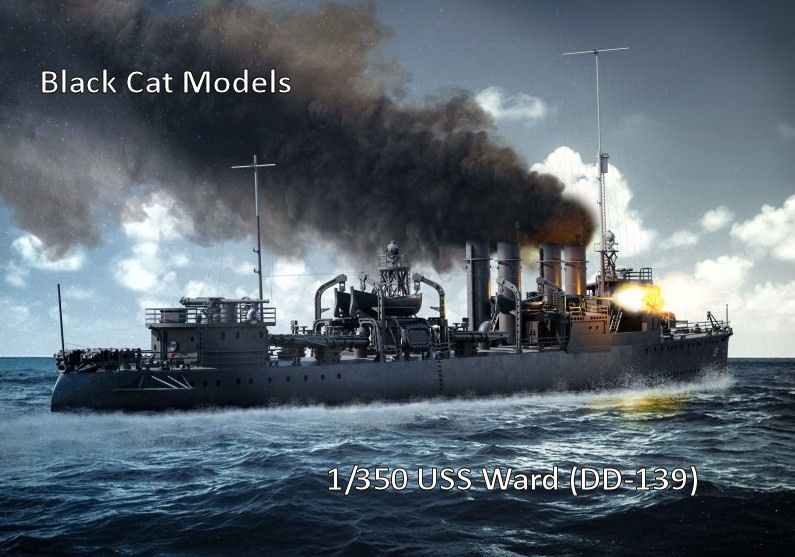
Originally known as destroyer No. 139, Ward was laid down on 15 May 1918, by the Mare Island Navy Yard, and launched in a record 15 days, on 1 June 1918.  Ward served in both the Atlantic and Pacific during her initial commissioning, before being decommissioned in 1921.   One of the highlights of her early service was providing navigational aids and lifeguard station services as NC-1, NC-3, and NC-4 set out on their transatlantic flight.

With war clouds brewing on the horizon, Ward, along with many of her 4-stack sisters, were recommissioned back into the fleet, Ward herself doing so on January 15, 1941.  Shortly thereafter, she headed for Hawaii, and an eventual date with destiny.  Throughout 1941, Ward conducted routine antisubmarine patrols in the Hawaiian area, as part of the Inshore Patrol command. As tensions continued to mount, the Commander in Chief, Pacific Fleet, Admiral Kimmel, ordered his inshore patrol to depth-charge any suspicious submarine contacts operating in the defensive sea areas.   

On the morning of Sunday, December 7, 1941, Ward was conducting one such routine patrol, albeit with a new commanding office, Lt William Outerbridge, who was on his second day on the job.  Alerted to the possible presence of a submarine in the defensive area by the minesweeper Condor, Ward and her crew were on alert when, at around 6:37am, she spotted the small wake from the periscope of a submarine, trailing the cargo ship Antares, which was entering the harbor after the boom-net defenses had been opened.  

Going to general quarters, Ward attacked.  Closing quickly at 25 knots, the crew of the number one 4in gun fired the first American shot of the Pacific War, at around 6:45 am...and missed.   The crew of the number 3 4in gun then opened fire, scoring a direct hit on the conning tower of the Japanese midget submarine, which subsequently sank.   As the destroyer passed overhead of the sinking sub, she also dropped four depth charges.   Outerbridge radioed a report to the Commandant of the 14th Naval District, saying he had sighted and fired upon an unidentified submarine operating in the defensive area.   Unfortunately, this report was dismissed as a probable false alarm, and didn't get the proper urgency attached to it.   Shortly thereafter, Japanese planes descended upon Pearl Harbor, delivering their devastating attack on what became known as the "Day of Infamy" (post-attack, there was some doubt to Ward's claim that she hit and sank a submarine.  All doubt was dispelled in August, 2002, when researchers from the University of Hawaii found the sunken Japanese mini-sub in 1,200 feet of water.  The starboard side of her conning tower had one neat hole in it, courtesy of USS Ward's number 3 gun).

Ward continued patrols in the Pearl Harbor area, before sailing for the west coast and conversion to a high speed transport, being re-designated ADP-16 when the conversion was complete.  Post-refit, she headed to the South Pacific, where she immediately jumped into the fray, performing escort and transport duties as assigned, as well as participating in the invasion of Cape Gloucester, New Britain, in December, 1943.

Other assignments included the Nissan Island landings, landings at Emirau Island, Aitape, New Guinea, and Cape Sansapor, among others.  Her final battle came towards the end of 1944, ironically on December 7th.   At part of a force landing troops at Ormac Bay in the Philippines, Ward was attacked by a vee of three "Betty" bombers, which were part of a larger air assault on the invasion fleet.  Accurate fire from Ward hit the lead plane, but it subsequently crashed into Ward, right at the waterline, smashing through into the boiler room and troop spaces.  One of the planes engines traveled all the way through the unfortunate Ward, coming out the other side. 

Explosions wracked the ship and thick black smoke billowed from her.  Water pressure and steerage was lost and the ship lost it's way. Continued raging fires resisted efforts to be contained and brought under control, and eventually the order was given to scuttle the gallant Ward.  The job fell to the destroyer USS O'Brien, commanded by one LCDR William Outerbridge, the same man who had commanded the Ward on 12/7/41.   Now, three years later, he watched as his ships guns dispatched his first command, which sank at 1130 am.  

For more on the Wickes-class and the Ward, check out these online references, which provided the information for this brief history: 

Destroyer History Foundation:  Wickes and Clemson Classes

Destroyer History Foundation:  USS Ward

Wikipedia:  USS Ward


The Black Cat USS Ward

Ward is packaged in a large, flip-top cardboard box, with a nice rendering of the ship in action on December 7, 1941.  Inside the box is the hull, three plastic clamshell containers with 3D printed parts, photo-etch, turned brass and decals.

THE HULL

The hull - which is the only cast resin part in the kit - is cast in a cream colored resin.   The hull scales out just about perfectly to the real ship, in both length and beam.   It is sharply cast, with almost no flash or blemishes, except for a few spots on the bottom of the hull.   The deck has a noticeable camber to it, while you'll find both lines and holes cast into the deck, which are there to aid in the placement of parts.  Overall, to the eye, it looks like a flush-decker. 

3D PRINTED PARTS
The rest of the kit, outside of some photo-etch and turned brass parts, is exclusively 3D printed.  There are nineteen (19) print rafts contained in the three plastic clamshell containers, containing everything you'll need to build the model.   The instructions list the print rafts as "bars", and each one is assigned a letter.   Let's take a look at what's included...
 
BAR A
This bar includes handwheels, deck equipment, life rings, hatches and a rangefinder.
BAR B
There are bollards, chocks, more hatches - these have handwheels - navigation lights and other deck equipment.
BAR C
Cowl vents, struts, props, 3in AA guns, bases for the 4in guns, a gun shield and a radio direction antenna are on this bar.
BAR D
Very finely printed and delicate anchors, ready ammo racks, flag bags, bridge equipment and the crows nest are included here.
BAR E
You'll find some inclined ladders, with amazingly thin handrails, on this bar, along with rafts (equally impressive, especially the netting in the center of the raft), depth charge racks (with depth charges), a small deck house and skylights.
BAR F
This bar has boat davits and the breech/barrels for the 4in guns.  The muzzles of the guns are open. 
BAR G
On this bar, there are more ready ammo racks, another small deckhouse and the propeller guards.  I really like that the prop guards are 3D printed and not PE.  They look more realistic, and aren't flat sided, but rounded, like the real thing.
BAR H
This is the deck/base of the bridge.   There are some prominent print lines visible here - hopefully these will disappear under a coat of paint, though the most prominent of the lines are on the interior deck of the bridge, and most likely won't be visible.
BAR I
Here are the roof/overhead/top (whatever you want to call it) of the bridge, with the bridge windows (minus frames) integral to the part.   There is also another raft, another 3in gun, another radio direction finding antenna and inclined ladder.
BAR J
Here we have the funnels.   Included with the funnels are nice foot rails, funnel caps, piping and whistles (or horns) on one of the funnels.
BAR K
The three ships boat (2 different types) are on this bar.  They have detailed interiors, tillers and rudders. 
BAR L (X2)
This bar has the torpedo tubes, with nicely done controls.  The handwheels are especially nice.  The ship carried four triple torpedo tubes.  Black Cat thoughtfully includes five (thanks Ben!). 
BAR M
These parts are the bases for the torpedo tubes.
BAR N
This bar has the searchlight tower, mounted to a deckhouse.  This part is particularly impressive.  The bracing for the tower is really sharp.   The only downside is the deck of the searchlight platform has some visible print lines.   Between paint and the searchlight, hopefully this won't be visible. 
BAR O (X2)
This bar is dominated by the large pair of boat davits carried by these ships.  Having built these davits out of photo-etch before, I'm really impressed with these parts.  They are very delicate and feature lighting holes in the faces of some of the cross beams.   There are also petite anchor cranes on each bar.
UNLETTERED BAR
Finally there is a small bar that is unlabeled and unnamed in the directions, from what I can see.  I holds five signal lamps - which are shown in the instructions.  These are quite small, but also quite nice.  
TURNED BRASS PARTS
A small bag of turned brass parts are included.  Included are masts, yards, flag staff, jack staff, a brace (with bumpers) for the small set of davits, and one prop shaft.   Yes - that's right - one prop shaft.   After Ben sent me the kit for review, he mentioned that there was a miscommunication with Master Models on the number of prop shafts needed, so he'll be sending out a second, 3D printed prop shaft to anyone who only got one prop shaft in the kit. All the turned brass parts look terrific, and are up to Master Models usual high standards. 
PHOTOETCH

There is one fret of photo-etch included. It's a small set, with railings, vertical ladders, the foremast searchlight platform and the bridge window frames.  


DECALS
There is one small decal sheet included, consisting of the hull numbers, which will allow you to build other the members of the Wickes-Clemson class.    Consult your references to see what changes you'll have to make to build one of Ward's sisters.  

INSTRUCTIONS

If you purchased a Black Cat kit before, the format or the directions is familiar to you.  They are in the form of a booklet, with the different parts (resin, 3D printed, brass) all laid out, and shown in different colors, for ease of identification.   The build sequences seem to be fairly logical and straightforward, and should be easy to follow.   The color callouts show the ship in Measure 1, with a callout that says she "may" have been repainted from Dark Gray into Sea Blue before hostilities began.  There is a photo of Ward and USS Chew at the Hilo Sugar Docks in July, 1941 that appears to show both ships in Dark Gray.   It's up to you to decide if the pace of operations permitted time for her to be repainted before December 7th. 

CONCLUSIONS  
This is not the first Ward-class kit released in 1/350 scale, but it's certainly the best.  Frankly, it blows any of the earlier four-stacker releases out of the water (pun intended).  And I mean that as no disrespect or insult to other manufacturers: this kit takes advantage of the newest technology to elevate itself to the the top spot. 

What you are getting here is basically a 3D printed kit, with a resin hull.   That hull is, overall, crisply cast, and the 3D printed parts are just terrific.   The inclined ladders with their very thin handrails, the prop guards, the searchlight tower and the large pair of boat davits really stand out to me.   I also like that the bridge is 3D printed and depicted "open" (just wished the Farragut was the same).  Throw in some nice turned brass and a small set of PE, and you've got everything you need to model this famous US Navy destroyer, which fired the first American shots, in anger, of the Pacific War. This is the fourth Black Cat kit I've reviewed, and each one keeps getting better and better.  This is certainly their best product (that I've seen) to date. Highly recommended!

This is Black Cat Models USS Ward, kit number 350-012.  The model lists for approximately $125.00 USD, and is available from many of our fine sponsors, or directly from Black Cat Models, who I'd like to thank for the review sample.  Hopefully we'll see other 4-stacker variants in the future.

This is an in-box review, your mileage may vary once you commence construction.