 |
|
|
| Well, its been a while but, Im back with part two of building this monster. I wont start rambling so lets get directly to it. | |
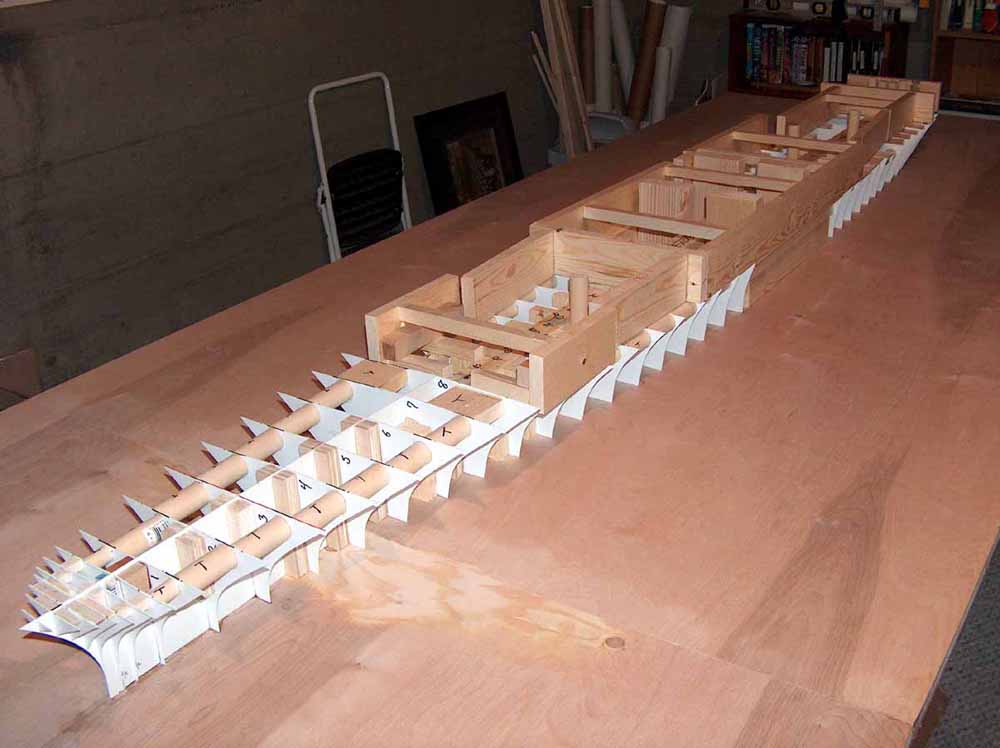
| I moved my work into the basement of our new house which afforded me ample room to build the base board and hull. First I spliced two sheets of ¾ thick cabinet-grade plywood together (one 8 feet long and the other 2 feet long), giving me a total of a 10 foot long base board. This was needed because the model itself is 8 feet long. | 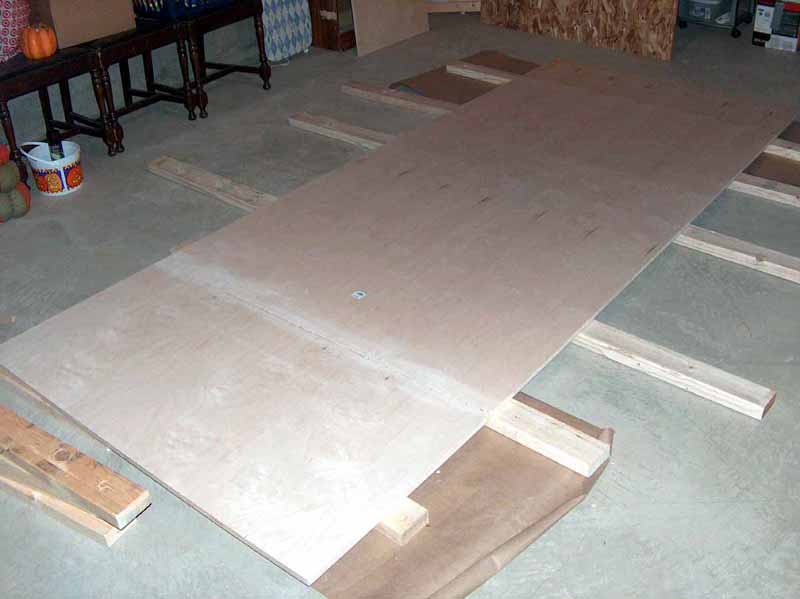 |
| To add stability I also secured a ½ sheet of OSB board to the bottom. This will help maintain the form of the board when lifted and will also prevent warping over time. | 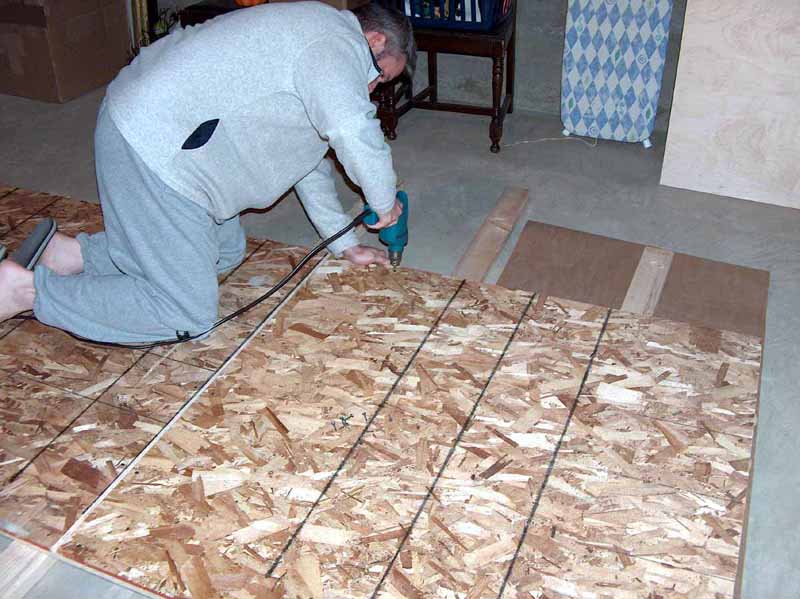 |
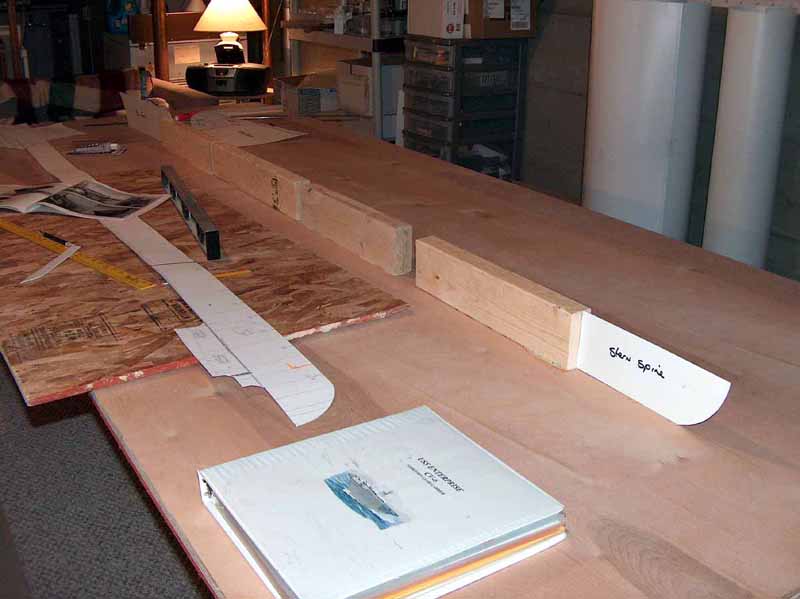
| Upon the base board went a spine of cured 2x4 board and then atop each end went the respective bow and stern spine shape. |  |
 |
|
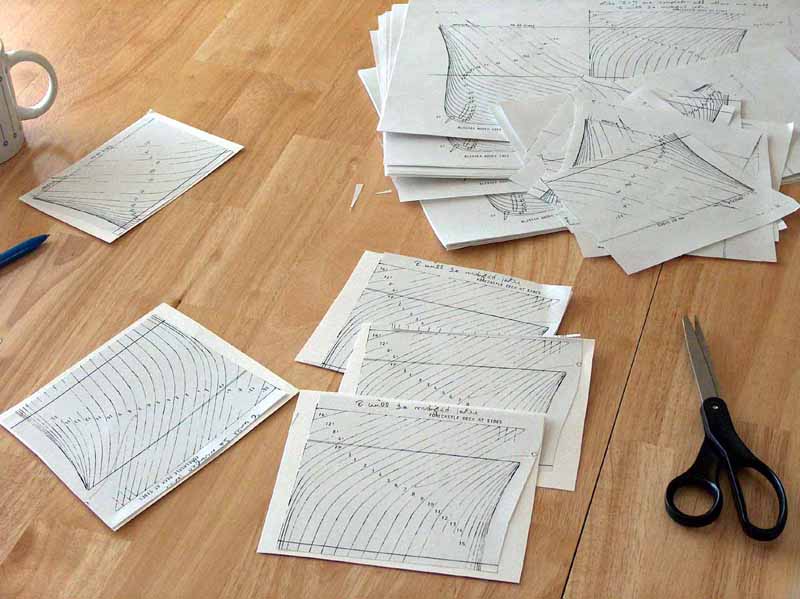
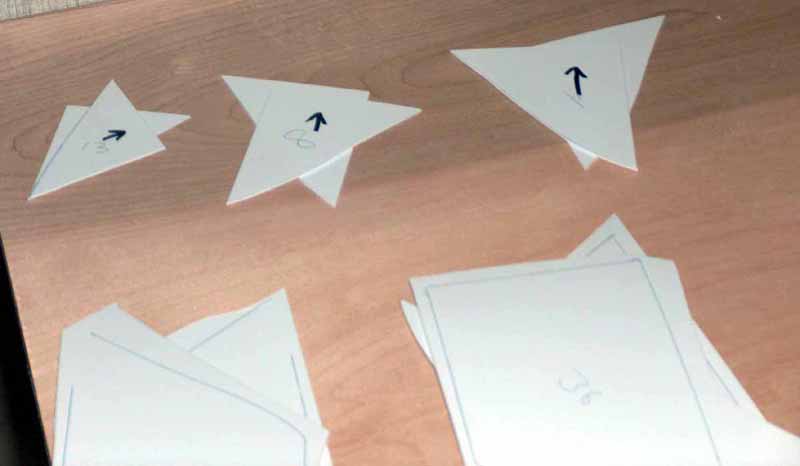
| Next up was making the ribs. Using hull line plans from the Floating Drydock I made about 40 copies, enough for all the spines I would need and a few extra just in case. I glued these hull lines to poster board and cut each one for each numbered spine. I only cut one template for each spine as I would just reverse it on the plastic sheet when outlining them for cutting. | 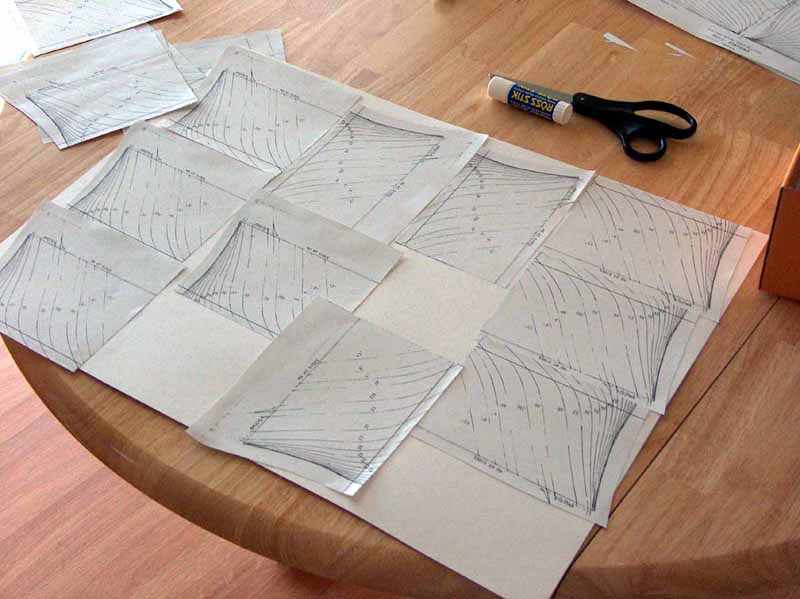 |
 |
|
 |
|
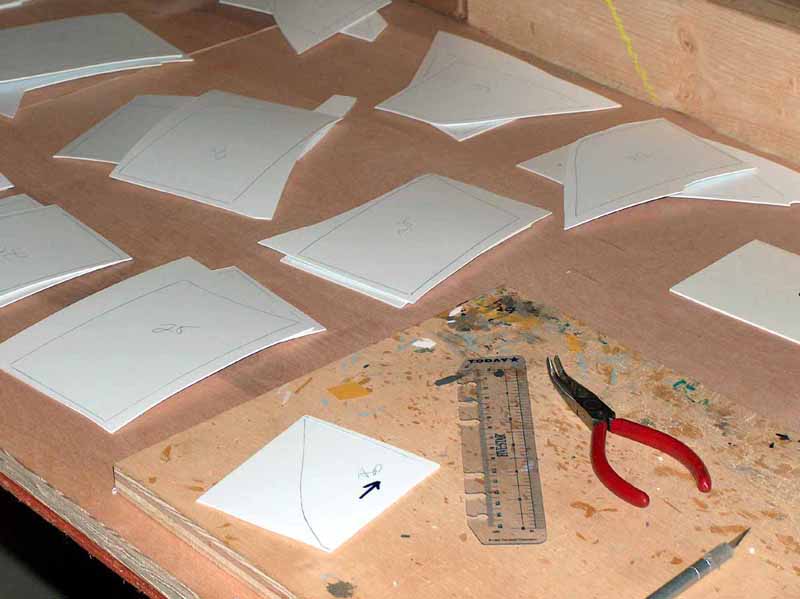
| After all hull line templates were made I traced around them on some .030 thick styrene sheet and cut them out. | 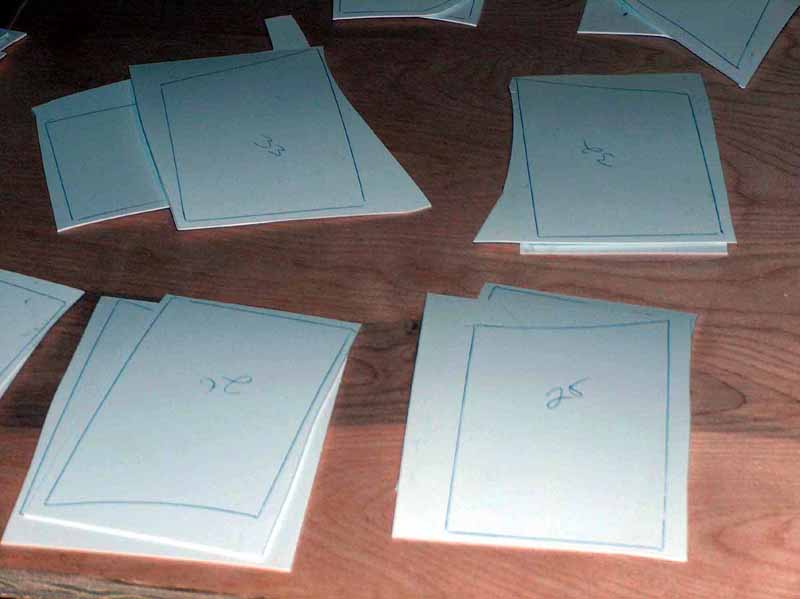 |
 |
|
 |
|
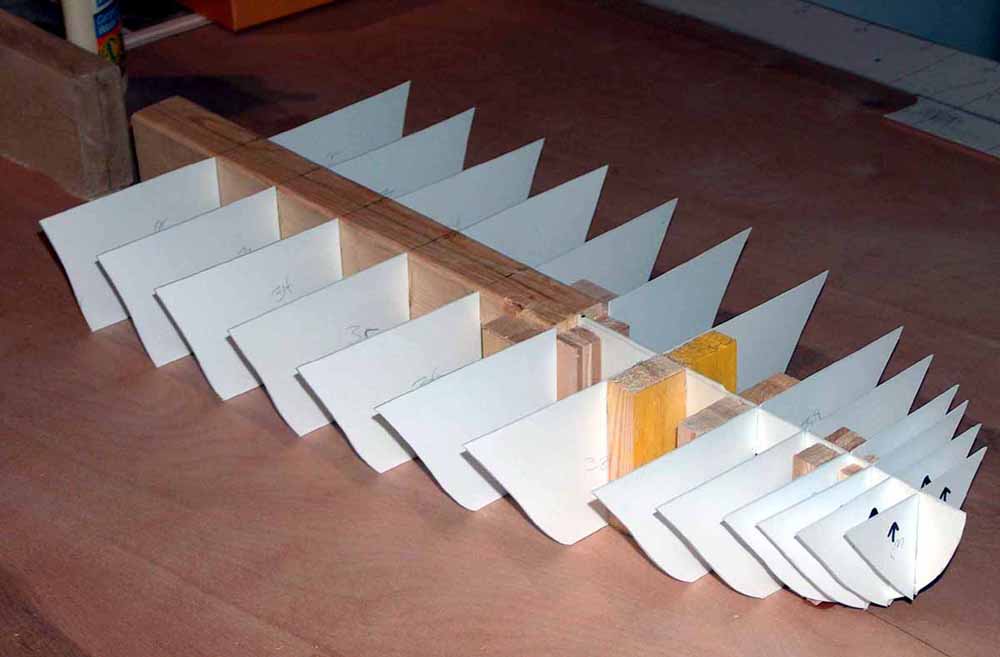
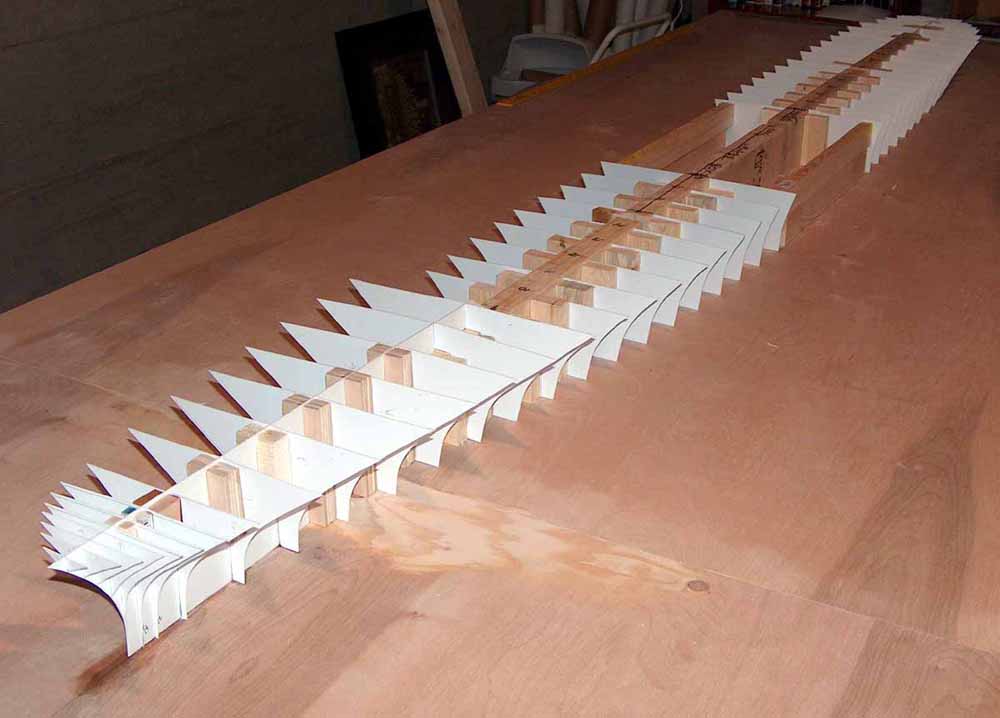
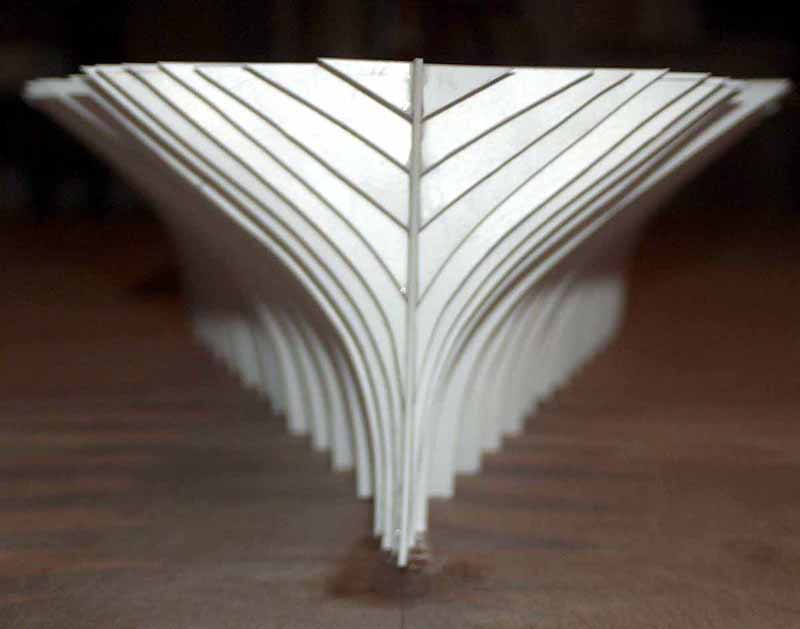
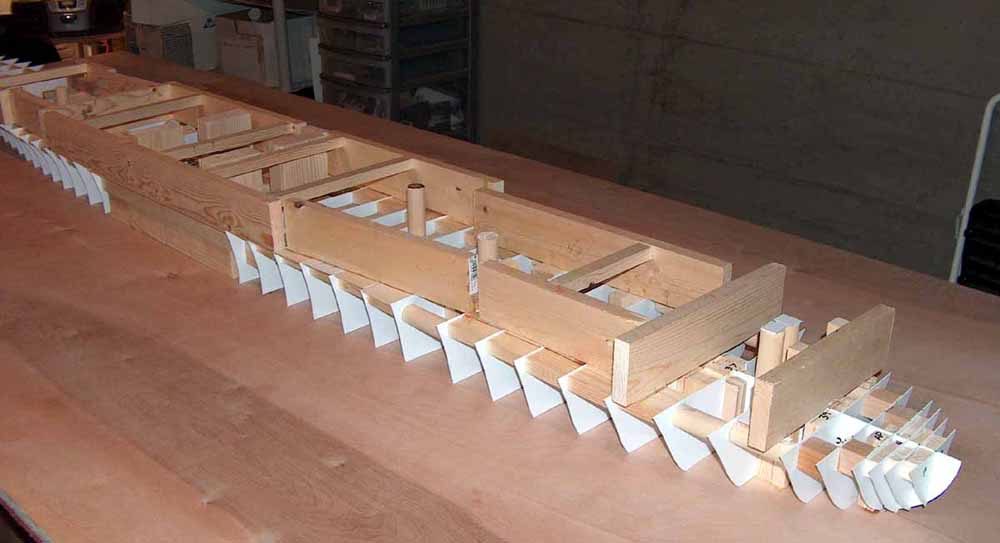
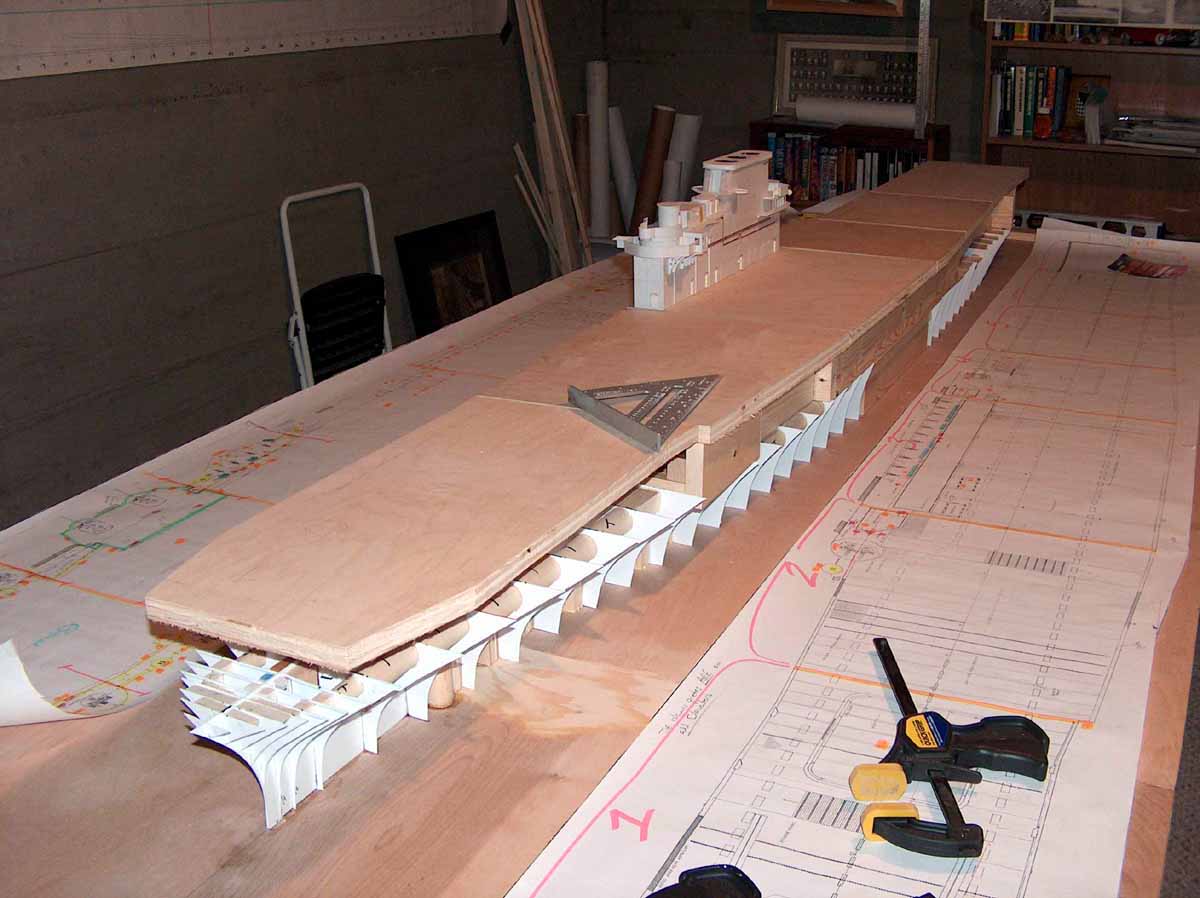
| I started with the stern first and secured the spines in their respective locations, shoring up the mounting end with wood blocks. I also constructed a base-box, as I call it, which is the middle most part of a ship, in an effort to save styrene that may be needed later. | 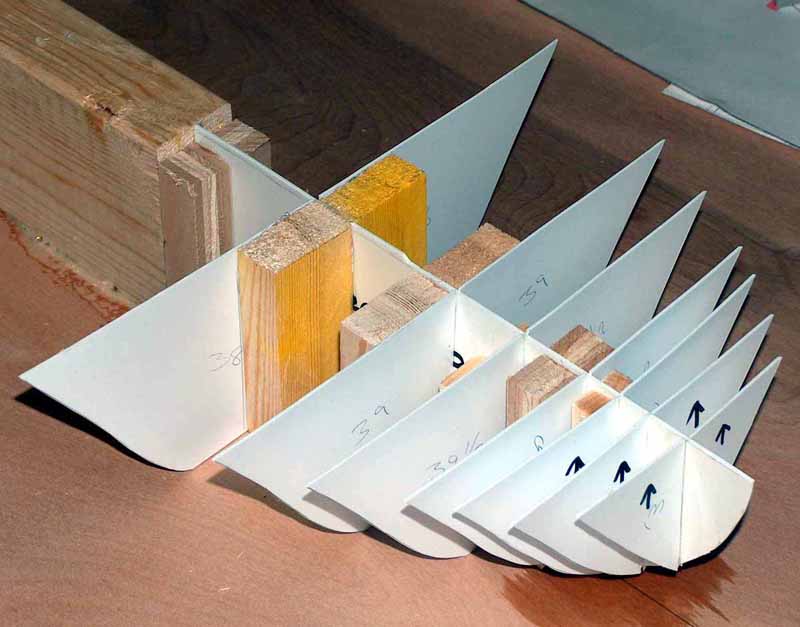 |
 |
|
 |
|
 |
|
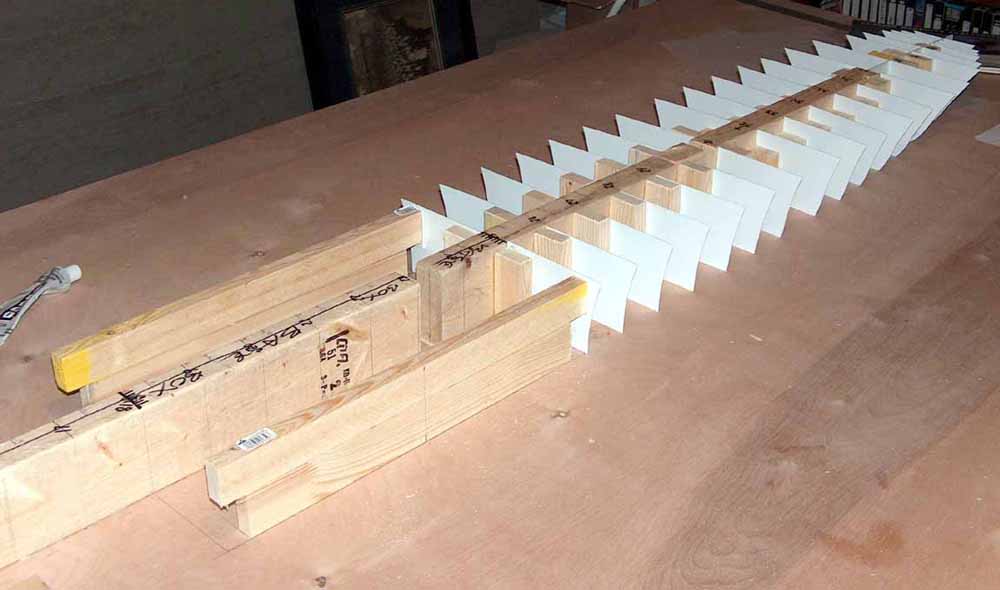
| After the bow, stern and base box were finished I began to shore up the ends with dowel and wood block cut sections. | 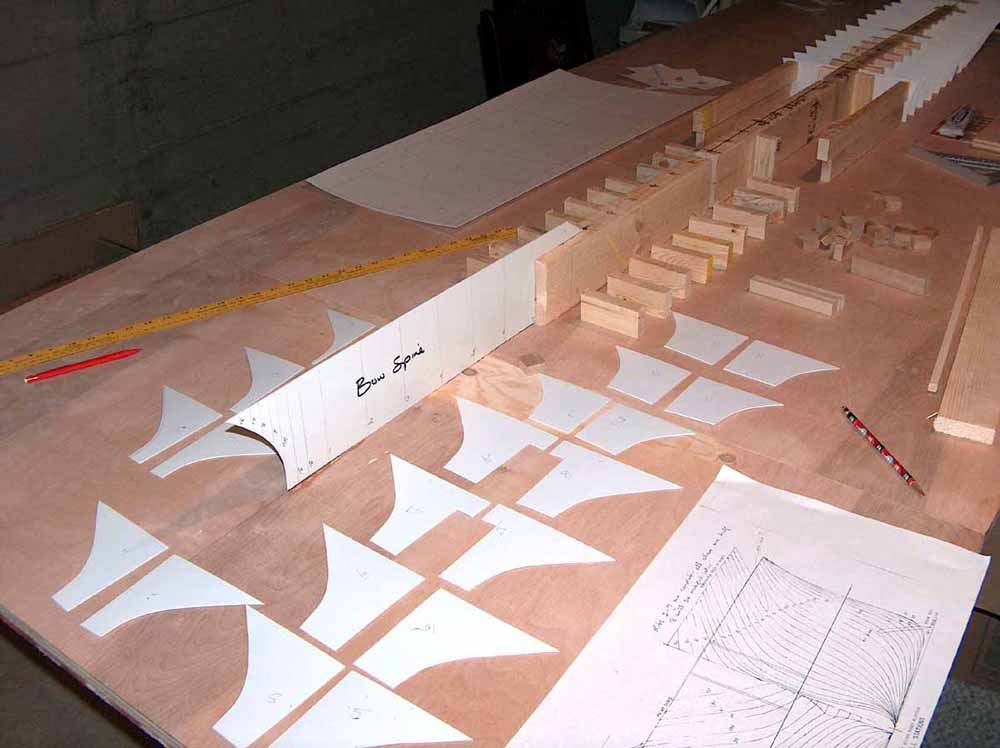 |
 |
|
 |
|
| This gives the whole assembly a rigidness that will be needed when the hangar deck and flight deck base wood is added. | 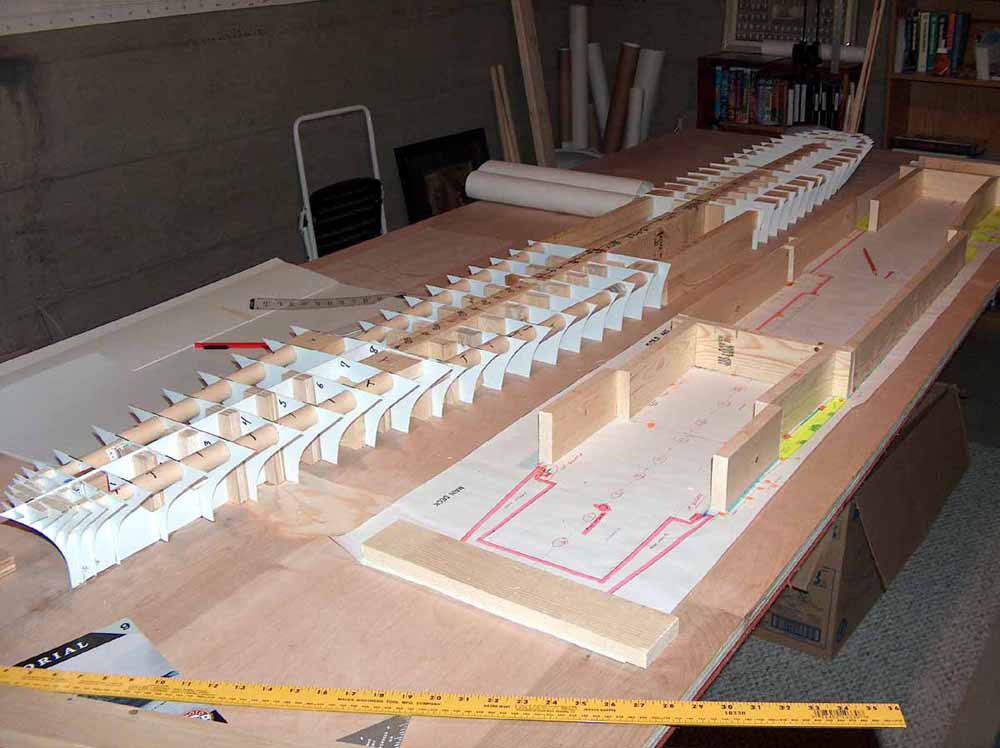 |
|
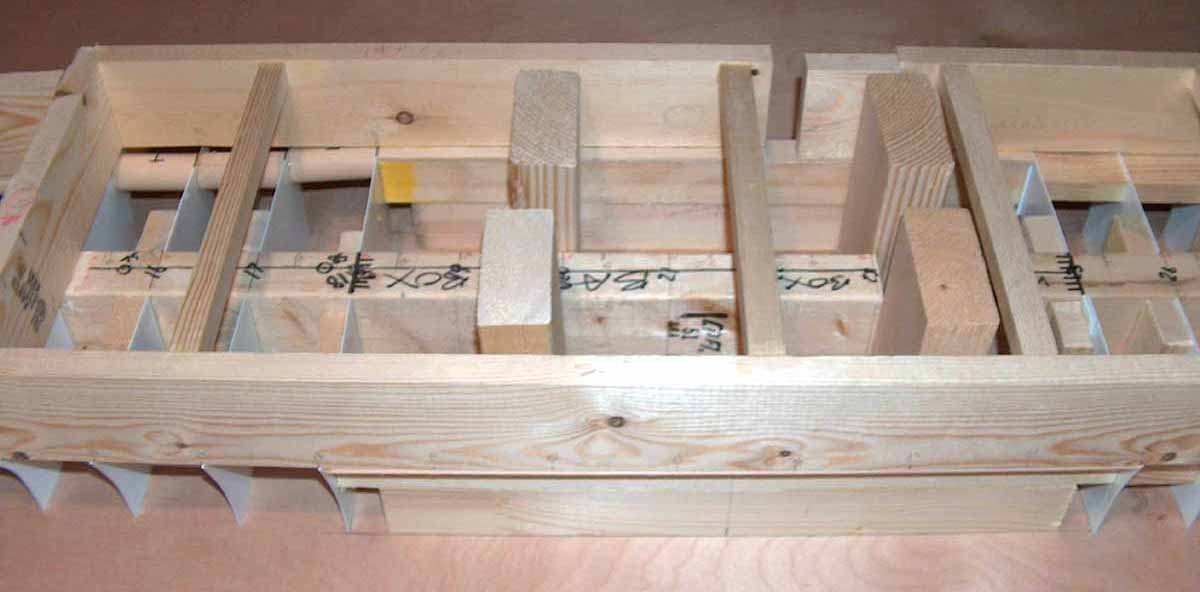
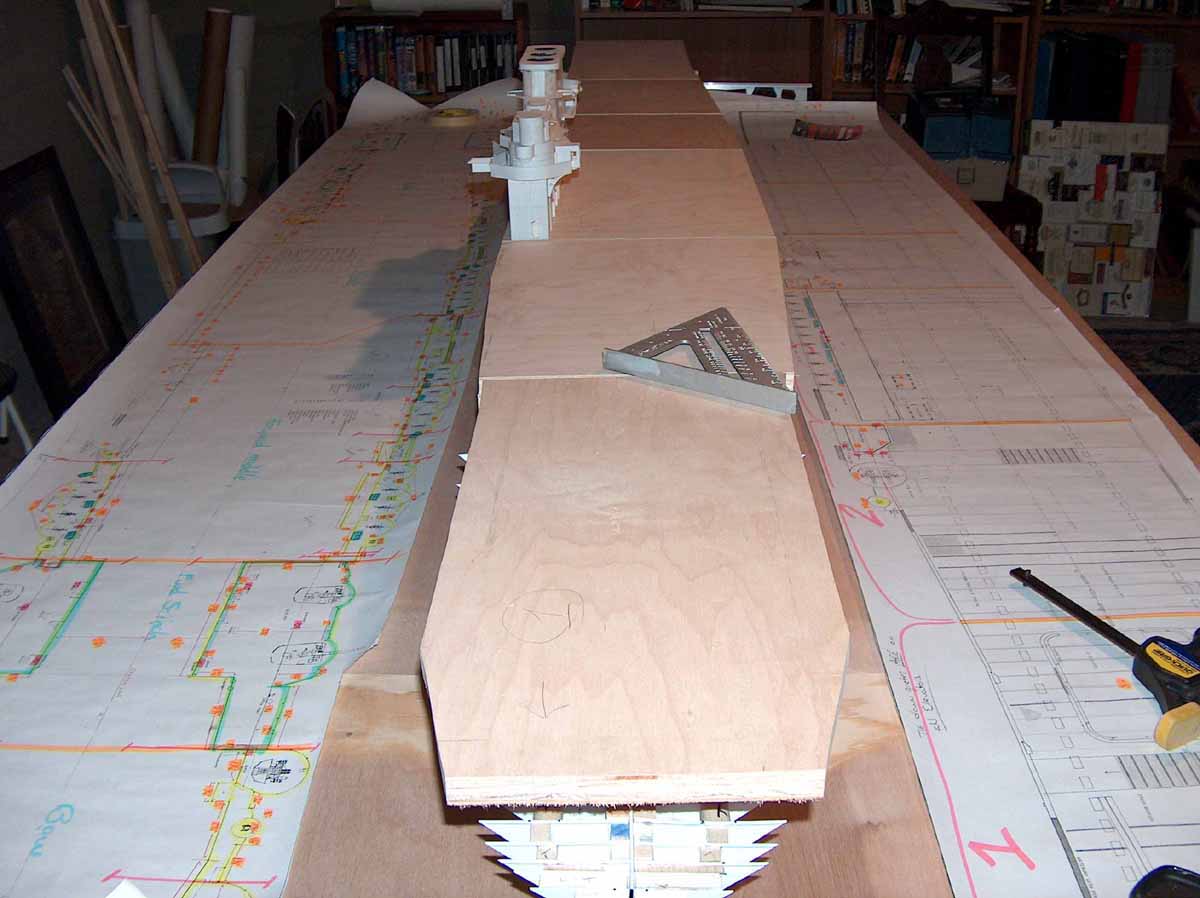
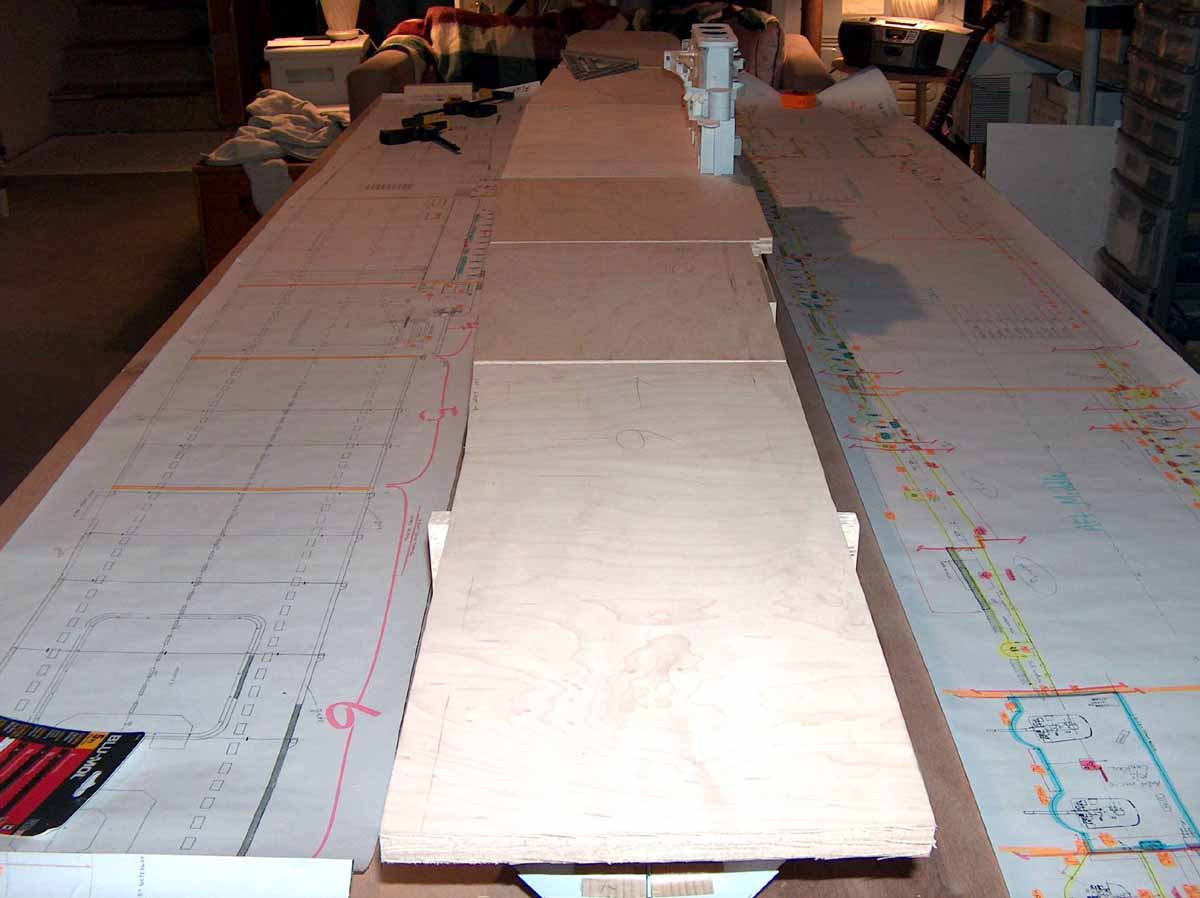
PHOTOS # 19 thru 21 I then started framing out the hangar deck, again using the plans purchased from FD. I glued the walls sorry, bulkheads in place and began filling the middle of the hull with more wood blocks for flight deck support. |
 |
 |
|
 |
|
| I then cut the sections for the flight deck. The whole flight deck base would have been too large to cut in one section so, I broke it down to six and cut them from ¾ thick birch and will secure them each to the uprights for the flight deck. I then placed my already completed island atop the whole thing for a good look. So far so good. | 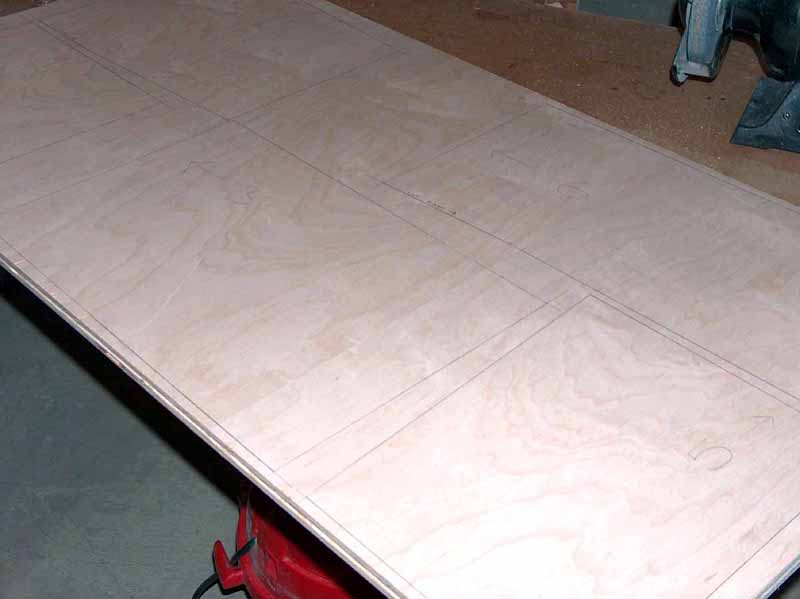 |
 |
|
 |
|
 |
|
| Thats about it for this time. Up next is the leveling of the flight deck, cladding of the hull and other areas, adding the decking and hangar deck sides and detail. Still a long way to go but its moving along nicely | |
Back to Menu
On to part 3 coming soon!

© ModelWarships.com