| Brief History
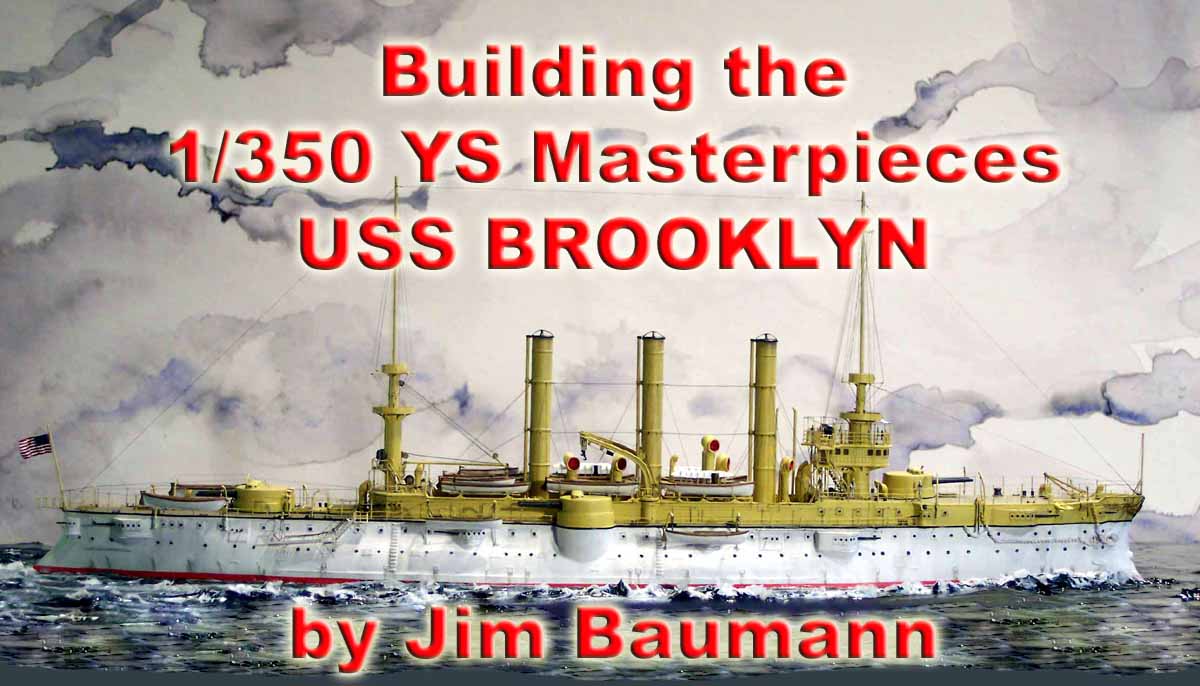
USS BROOKLYN (CA-3)
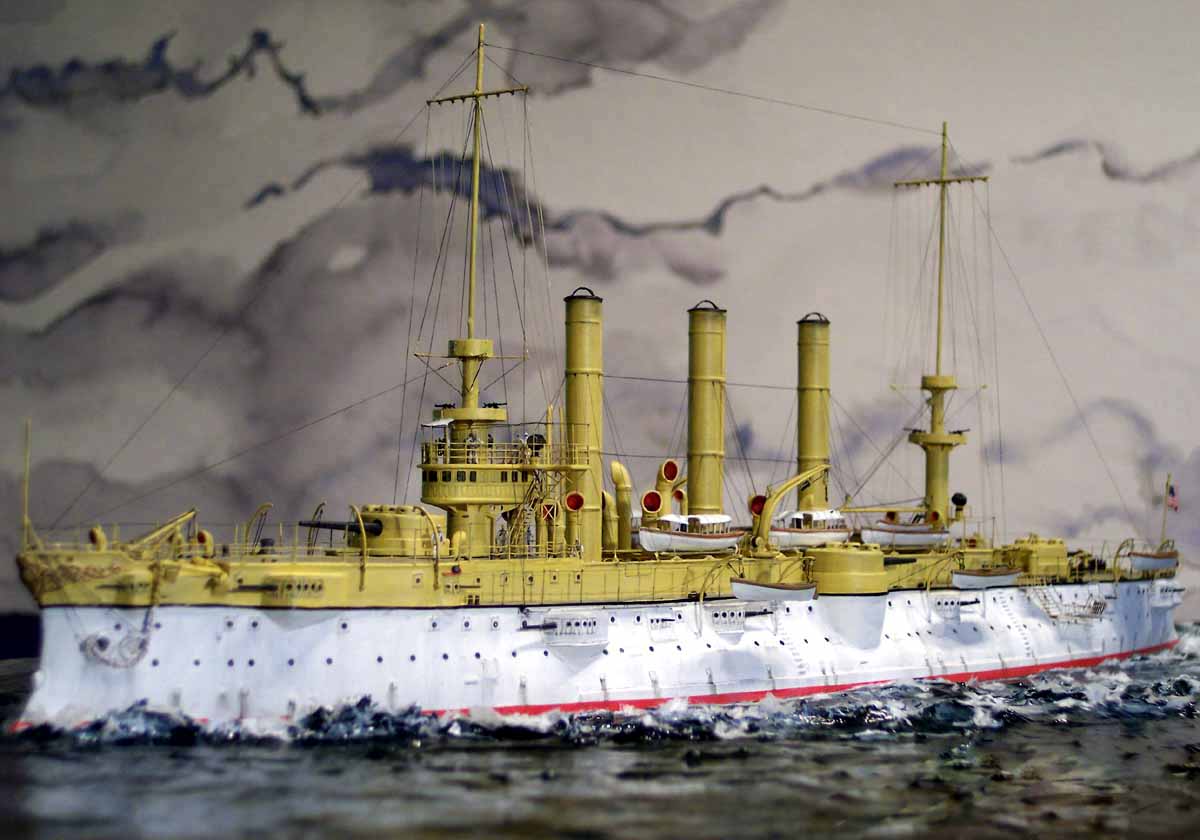
The second ship bearing the name Brooklyn was launched October 02 1895 in Philadelphia, commissioned 01 December 1896. Brooklyn's first assignment was a special cruise to Great Britain for the diamond jubilee of Queen Victoria. She returned to the US east coast in July 1897 and became the flagship of the flying squadron under Commodore W. S. Schley 28 March 1898. The flying squadron arrived at Cuba in may 1898 and established a blockade of the port of Cienfuegos. Brooklyn was a key player in the Battle of Santiago 03 July 1898 during which the Spanish fleet was destroyed. Brooklyn received 20 hits and suffered the light casualty of one man wounded and one man killed. She thereafter cruised the Atlantic coast and the Caribbean seas, attending the Spanish American War victory and Dewey celebrations in N.Y during 1898-99. She sailed for Manila in the Philippines via the Suez Canal. She became the flagship of the Asiatic squadron and participated in the north China relief expedition 8-11 July 1900 thereafter cruising to Australia and the Dutch East Indies. She returned to the New York Navy Yard 01 May 1902. After a visit to Cuba on the occasion of the hand over of authority from the US to the Cuban Government she cruised with the North Atlantic Fleet and the European Squadron for 4 years returning to New York 25 May 1905 before crossing the Atlantic to bring home the remains of Commodore John Paul Jones to internment in Annapolis. 16 May 1906 she was placed into reserve at League Island Navy Yard where apart from some official forays she remained until she was recommissioned to the Atlantic Reserve Fleet in 1914 serving as receiving ship for the Boston Navy yard. In 1915 she was fully recommissioned , after local duties she sailed to the far East again serving as Flagship for the Commander-in-Chief attending diplomatic and military duties in Russia, Japan and China and remained in the Far East until 15 January 1921. Decommissioned on 09 march she was sold 20 December 1921, ending a distinguished career around the world flying the flag of the US Navy. |
|||||||||||||||||||
| BUILDING THE MODEL
The YS Masterpieces USS BROOKLYN was an eagerly awaited model kit by me, having built the G.AVEROFF and owning the USS OREGON kit by the same manufacturer I was looking forward to something special; particularly as the ship had captured my imagination long ago with her lofty smokestacks and huge tumblehome more akin to French ships of the period (of which I am loyal follower!). I was NOT disappointed!! Having purchased the kit at IPMS Telford in November 2003 directly from Yiannis of YS Masterpieces, I knew upon opening the box that my carefully planned building schedule had an interloper! |
|||||||||||||||||||
| I decided to build the model in February 2004 which extended
to the whole of the following month also as more detail was added and new
photos appeared
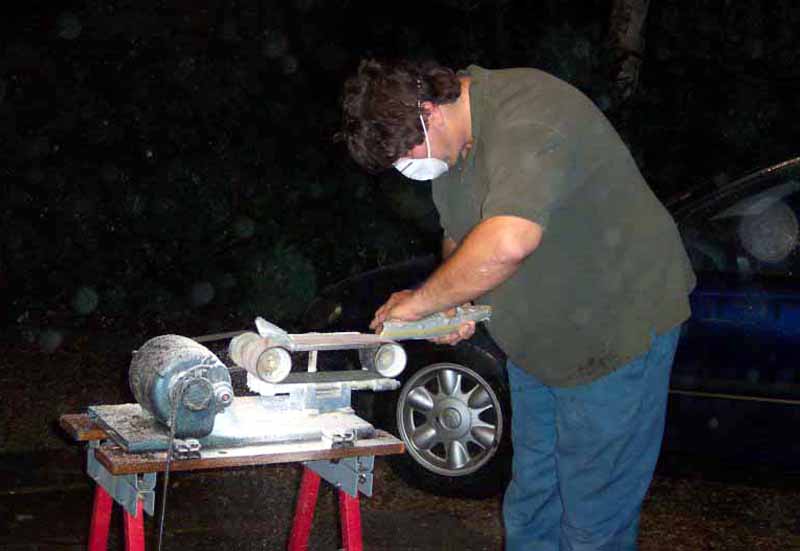
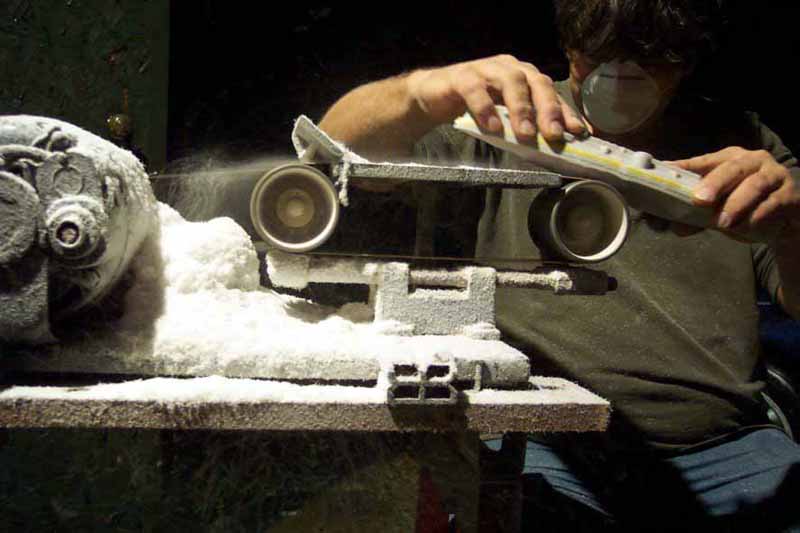
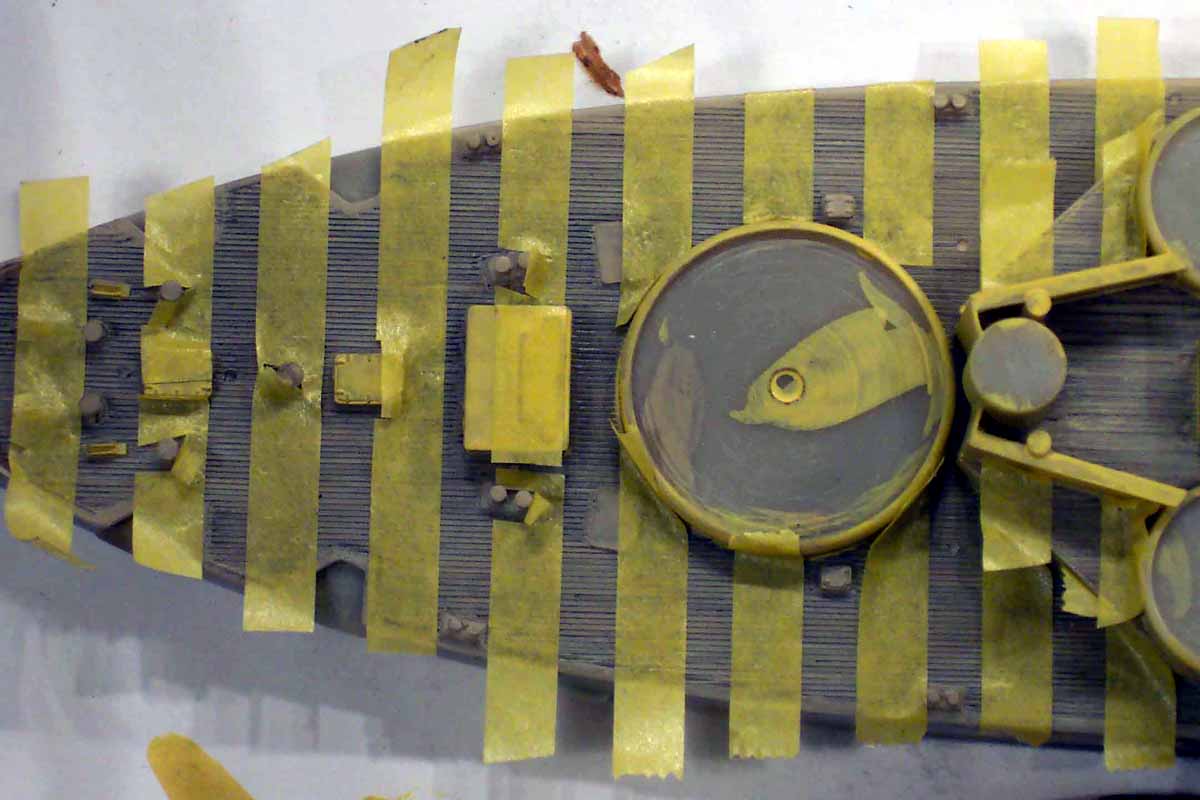
The casting is full hull, with no voids or bubbles, well wrapped and stunningly beautiful with delicate surface detail. First job was to remove the lower hull, this was achieved in the usual manner by taping above the waterline with Tamiya masking tape and then sanding away on a bench mounted belt-sander; in this instance in the rain in the dark around Midnight . ! |
 |
||||||||||||||||||
 |
|||||||||||||||||||
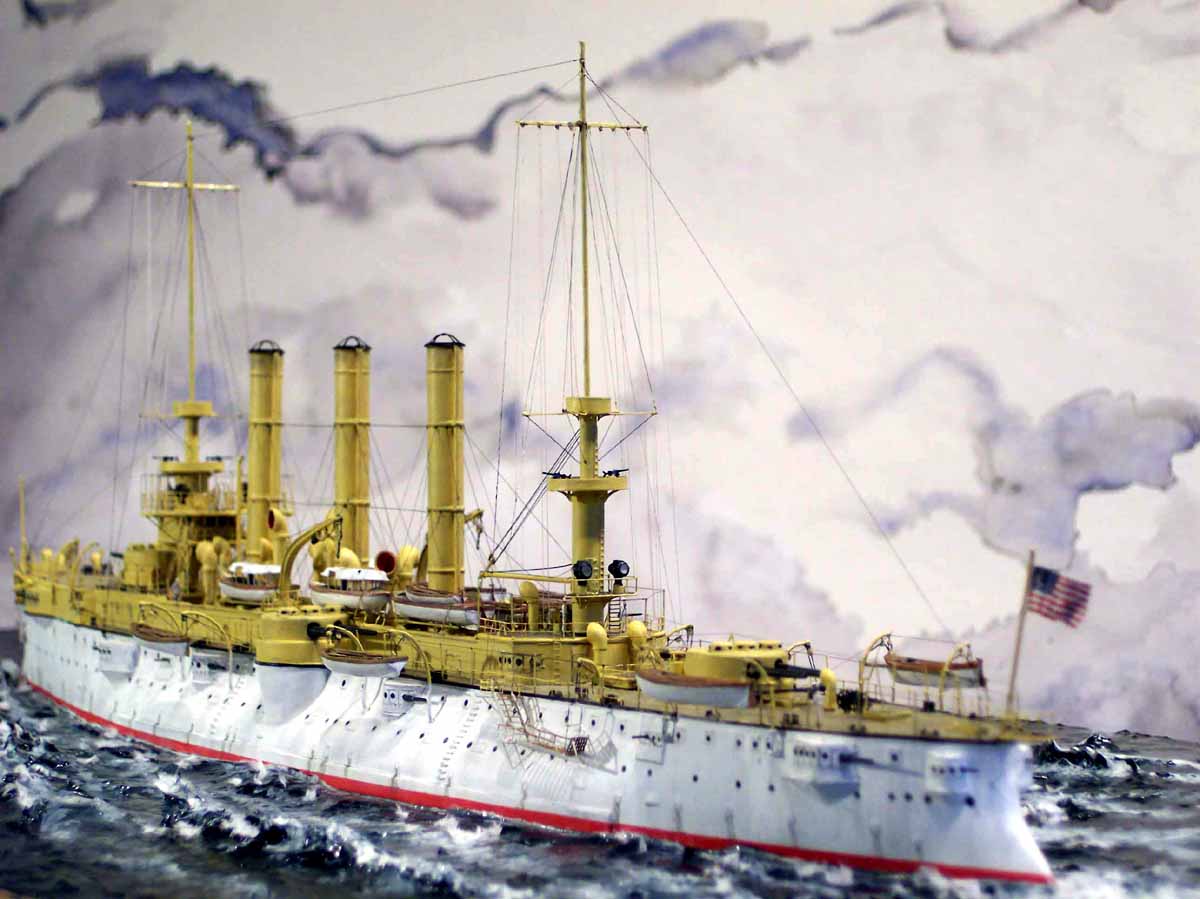
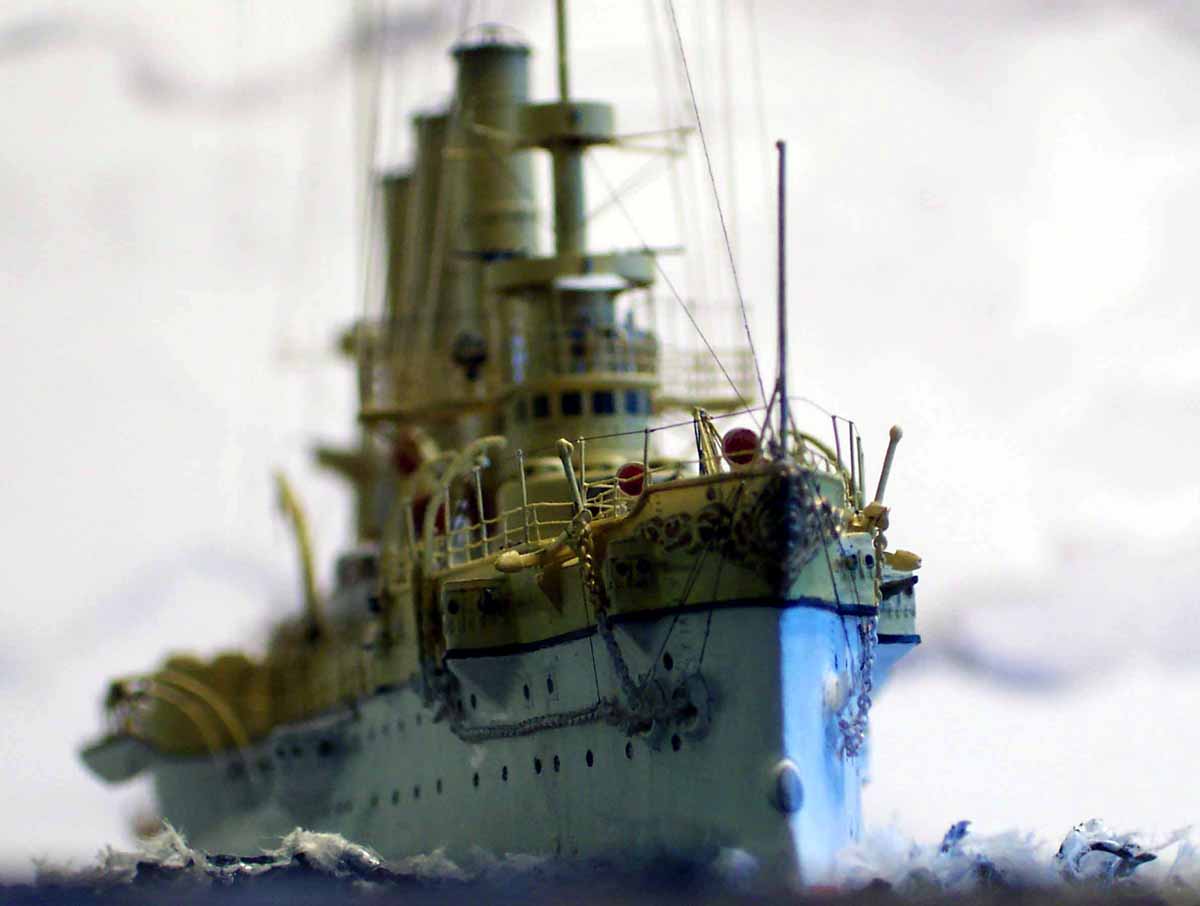
| Initially she was to be displayed static at anchor with
awnings spread. This however would have obscured much of the detail, furthermore
as the build progressed I realized that to show to fullest advantage the
massive tumblehome of the hull would be difficult with the ship in immaculate
order, the US Navy of the time having the overside cleaning party in
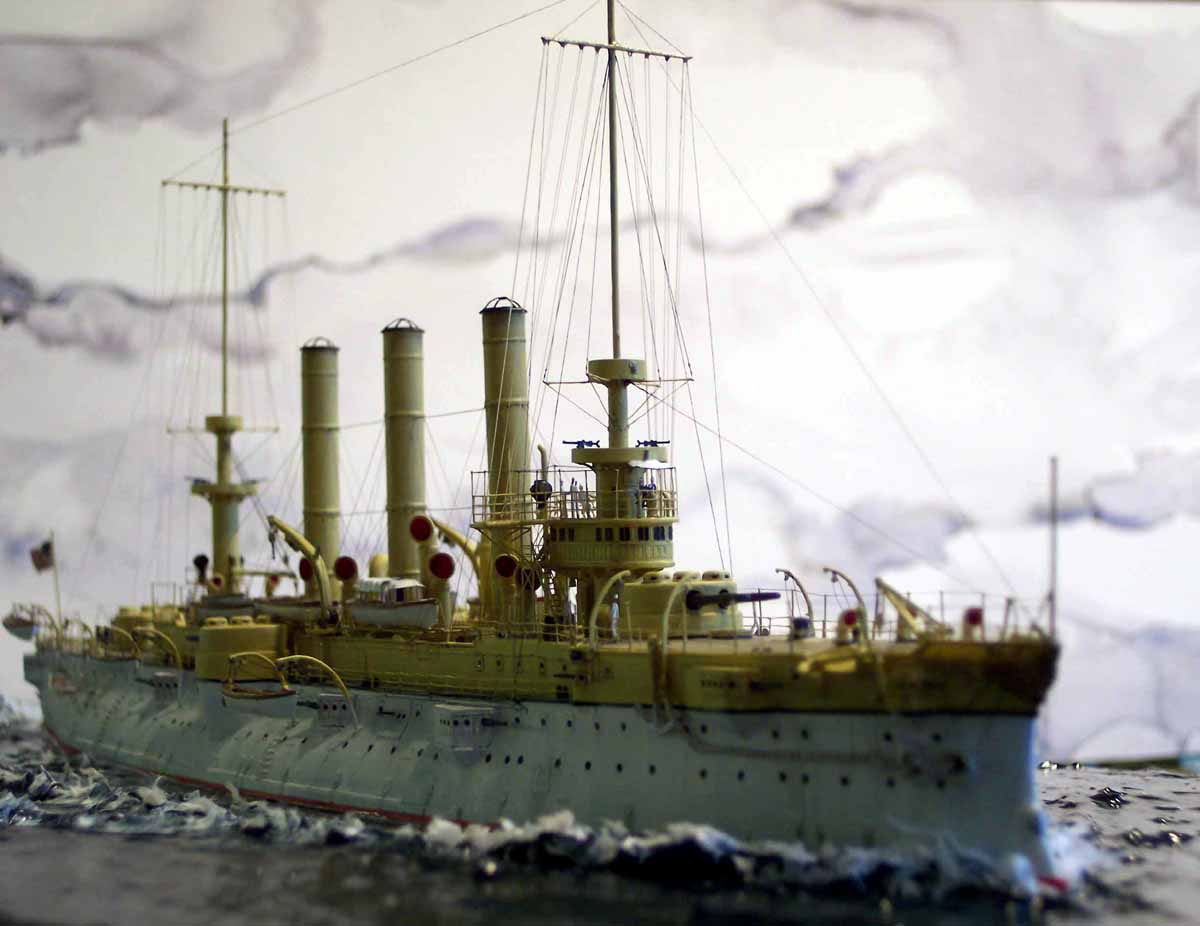
action as soon as the anchor hit the bottom! So I elected to have Brooklyn
at speed under way with very light streaking only such as would be correct
for a sooty coal fired ship at sea for a few days
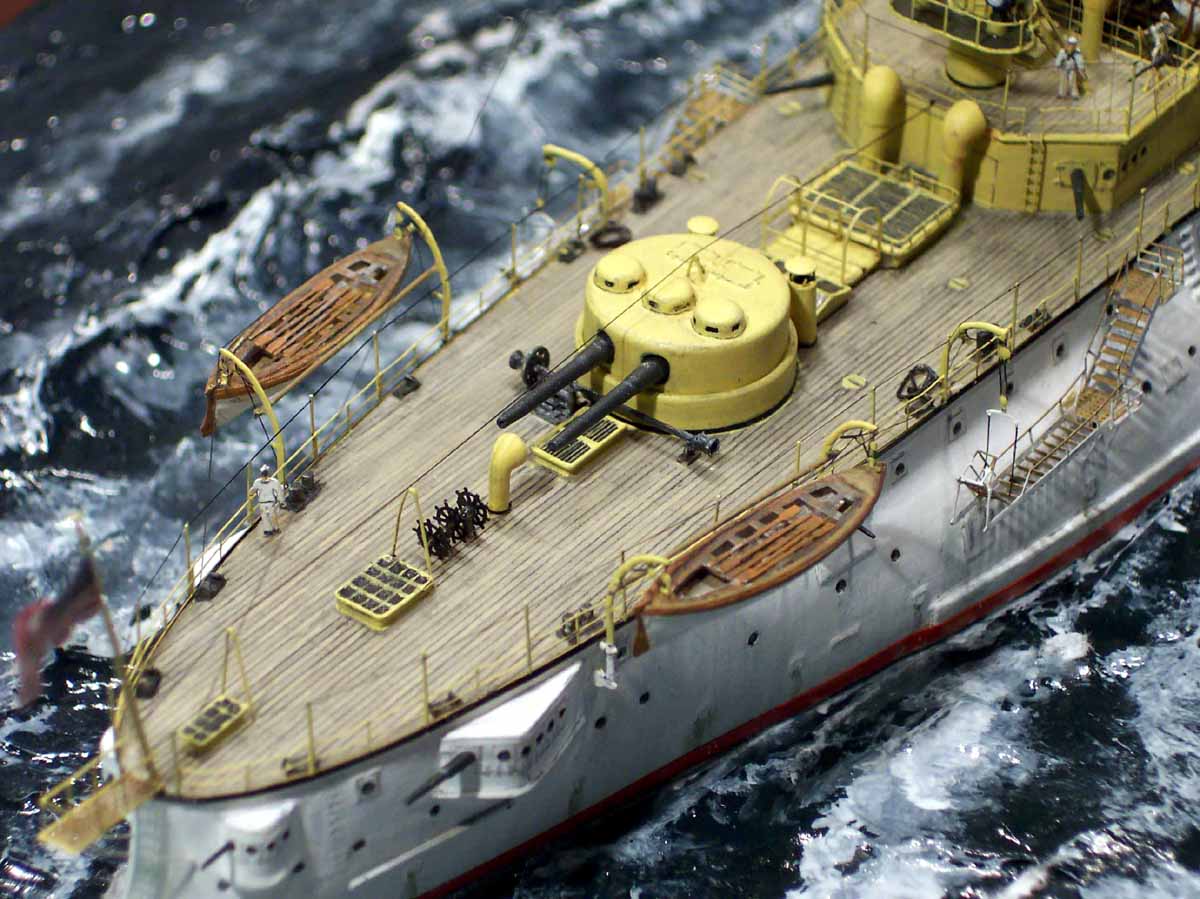
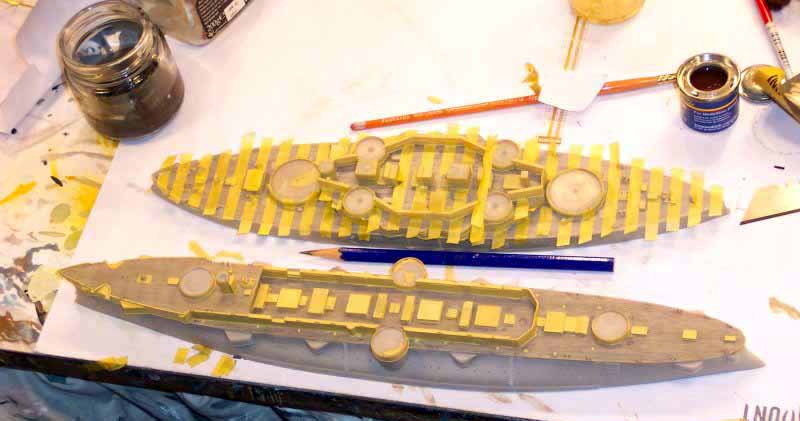
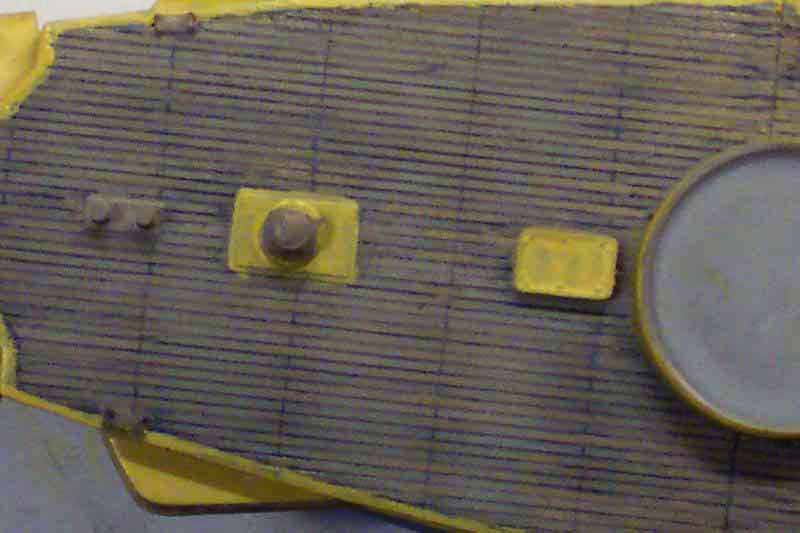
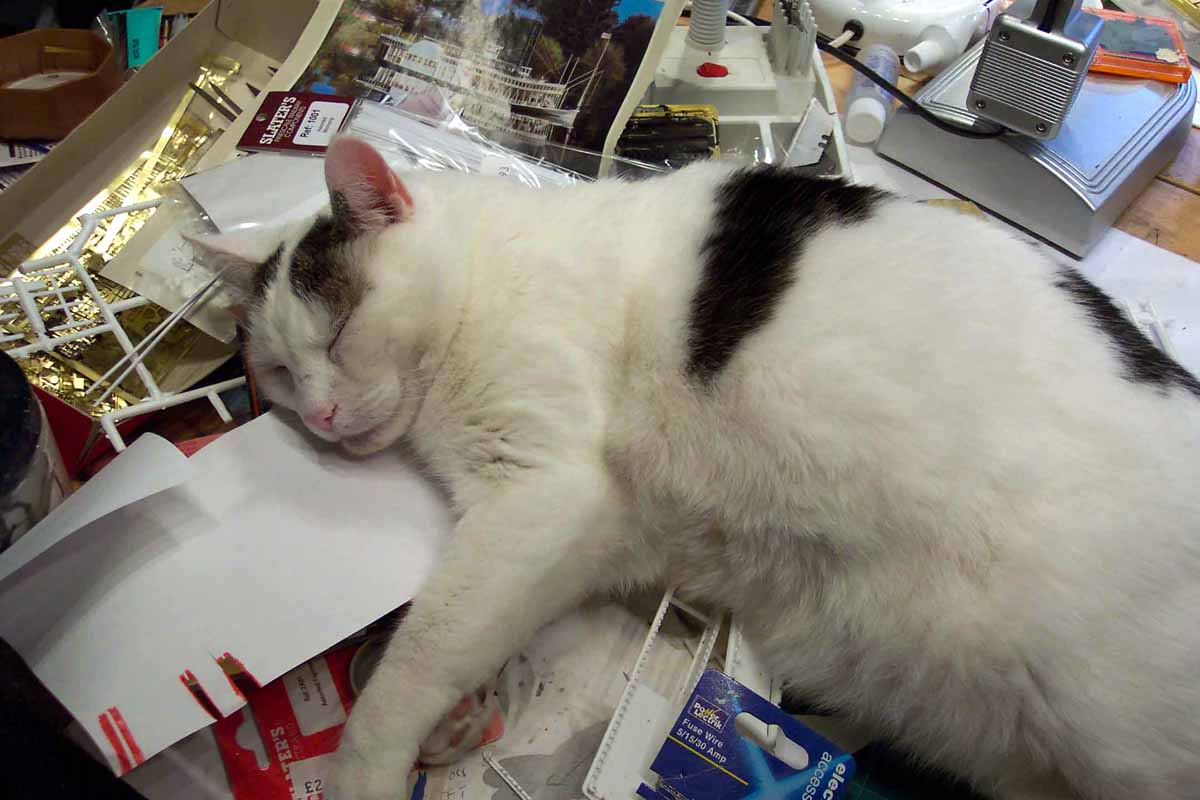
I wanted the decks to really look like wood planks as opposed to engraved resin so spent a lot of time in achieving the desired effect. First went on a light coat of Humbrol radome tan followed by a light drybrush with WEM Colourcoats Teak. The grooves between the planks were drawn with a very sharp Pencil. Sharpening the HB pencil to a blade profile on 1000 grit sandpaper after every plank became boring (!) so I bought a pack of 10 pencils and asked Katrin (my patient better half!) to sharpen the pencils for me whilst I drew the lines so that rapid progress could be made..! This was so successful I took advantage of the situation and did the decks of USS OREGON at the same time!! Oh yes and the cat slept on the hull...!! |
 |
||||||||||||||||||
 |
|||||||||||||||||||
 |
|||||||||||||||||||
| I then taped across the planks at regular intervals to
enable me to draw the butt ends every third plank. This makes one cross-eyed
The deck then was washed lightly with light grey, when dry I smudged the pencil drawn butt ends selectively with a sharp edged eraser and almost eradicate the markings. Overall I am pleased with the effect and it gives more visual interest to the large amounts of otherwise featureless decking. Assembly followed the excellent step by step instructions in the bound booklet, the main deviations being in the assembly order of final placement of subassemblies. |
 |
||||||||||||||||||
 |
|||||||||||||||||||
| I had the waterlined hull glued to a handling block of wood with white glue to allow me to paint the hull and run the brush(!) off the edge thereby preventing the collection of paint at the waterline. | 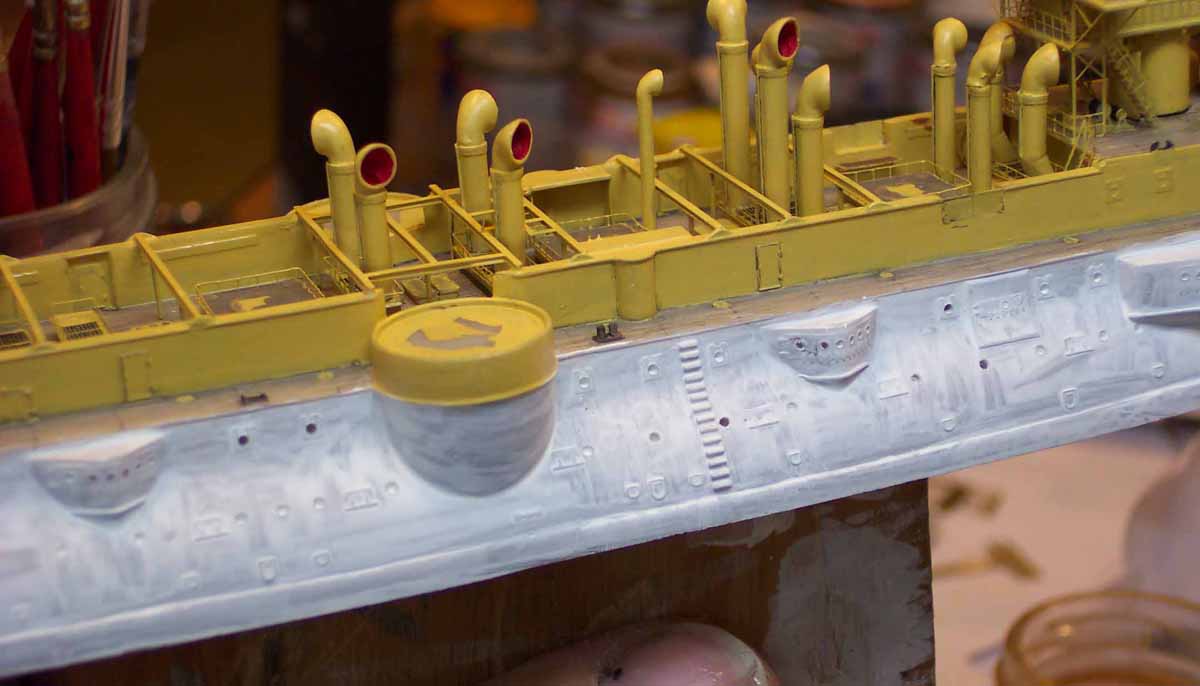 |
||||||||||||||||||
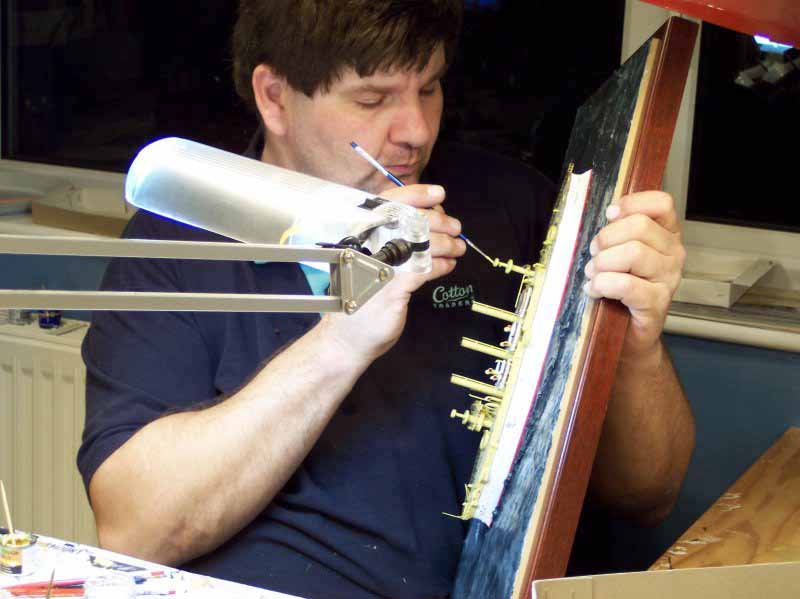
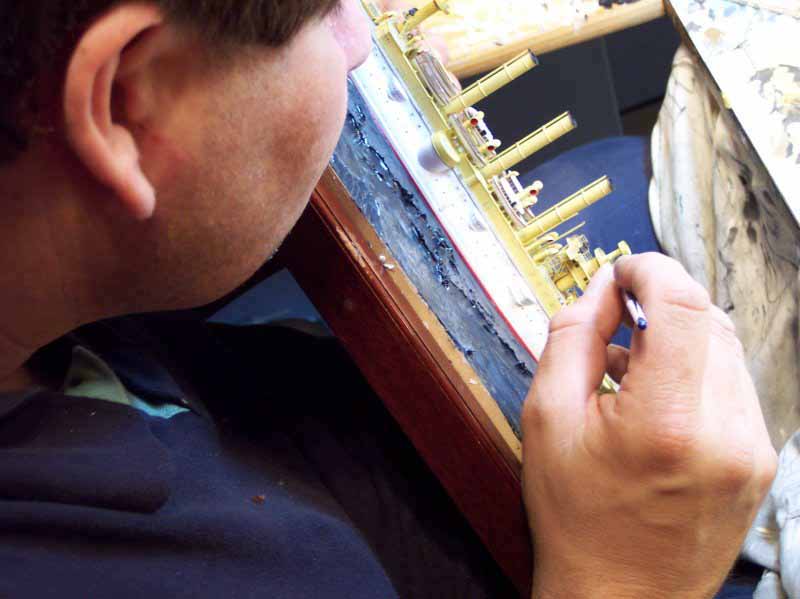
| Thereafter I mounted the vessel on her water board which
allowed me to no longer handle the hull whilst being able to gain access
at all sorts of strange angles particularly useful when hanging boats from
davits whilst the CA sets.
White proved to be a problem colour for me, despite priming the hull light grey it took six thinned coats of Humbrol matt white to achieve coverage and density without filling detail; the more Humbrol have developed and improved(?) the paints into super (?) enamel and other names, the less colour density they seem to have. I chose Humbrol as their white is the cleanest in my selection, Revell has great coverage but is creamy, (ok for 1/700) it is easier to darken white than lighten it!! I extensively outlined the various hatches and casemates etc. with sharp pencil, otherwise the whole lot would get lost following the snow blindness principle! |
 |
||||||||||||||||||
 |
|||||||||||||||||||
| For the Buff upper works I used upon the recommendation of John Snyder of WEM ( Colorcoat ACS15 WW2 Soviet V VS all (light brown) which I think is a good compromise of sharpness of colour without being garish. | |||||||||||||||||||
| Of special note are the beautiful I section boat skids, constructed entirely of PE strips supplied on the fret with the kit; impatient or shaky fingered builders may wish to substitute these for a styrene ready-made I section beam available from the Model railway world. | 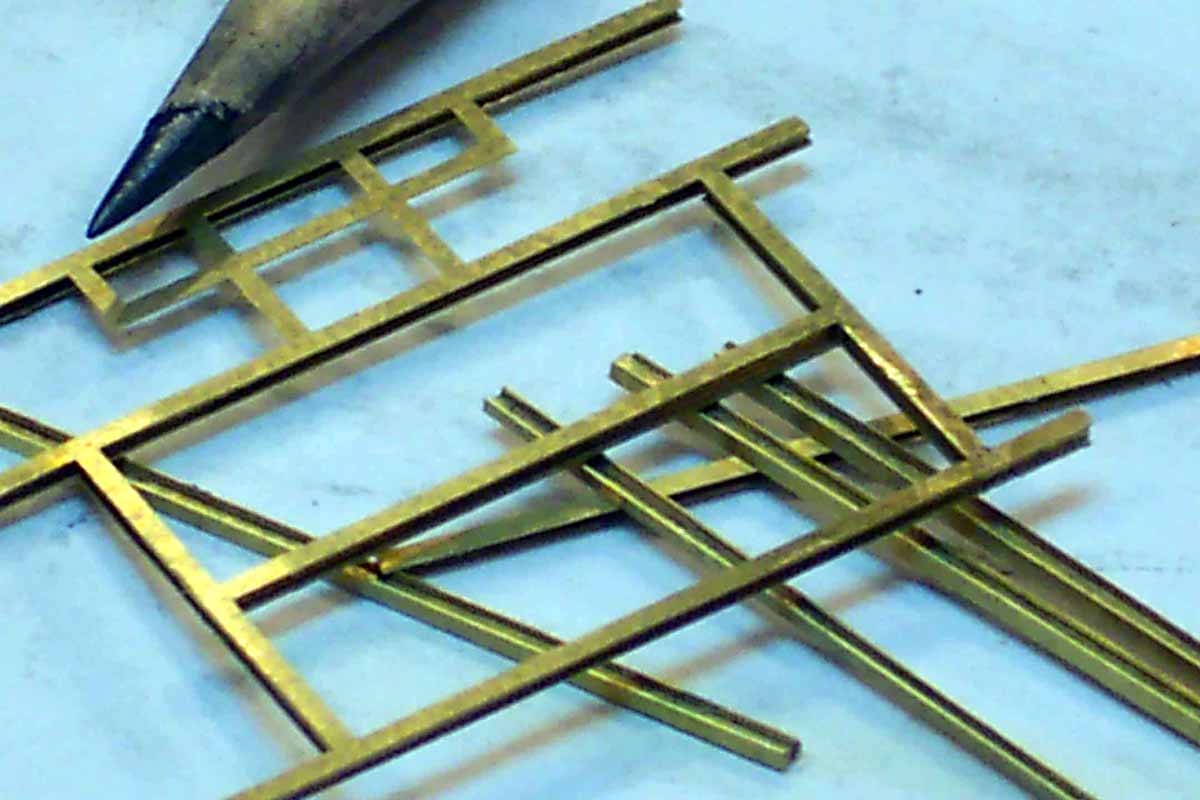 |
||||||||||||||||||
 |
|||||||||||||||||||
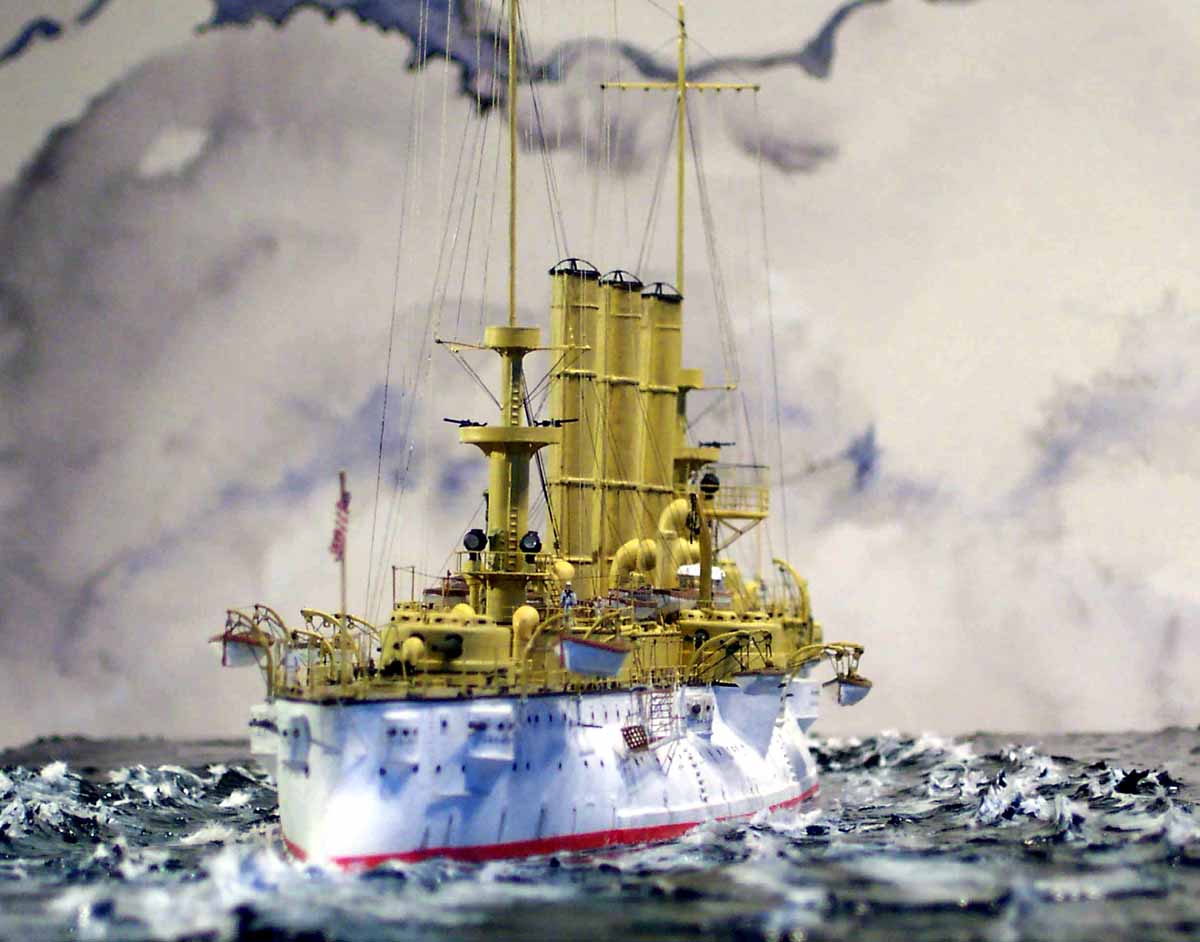
| Whilst giving a very delicate effect they sadly largely vanish under
the huge complement of ships boats photos show vertical supports under
the skids, these were added from brass rod.
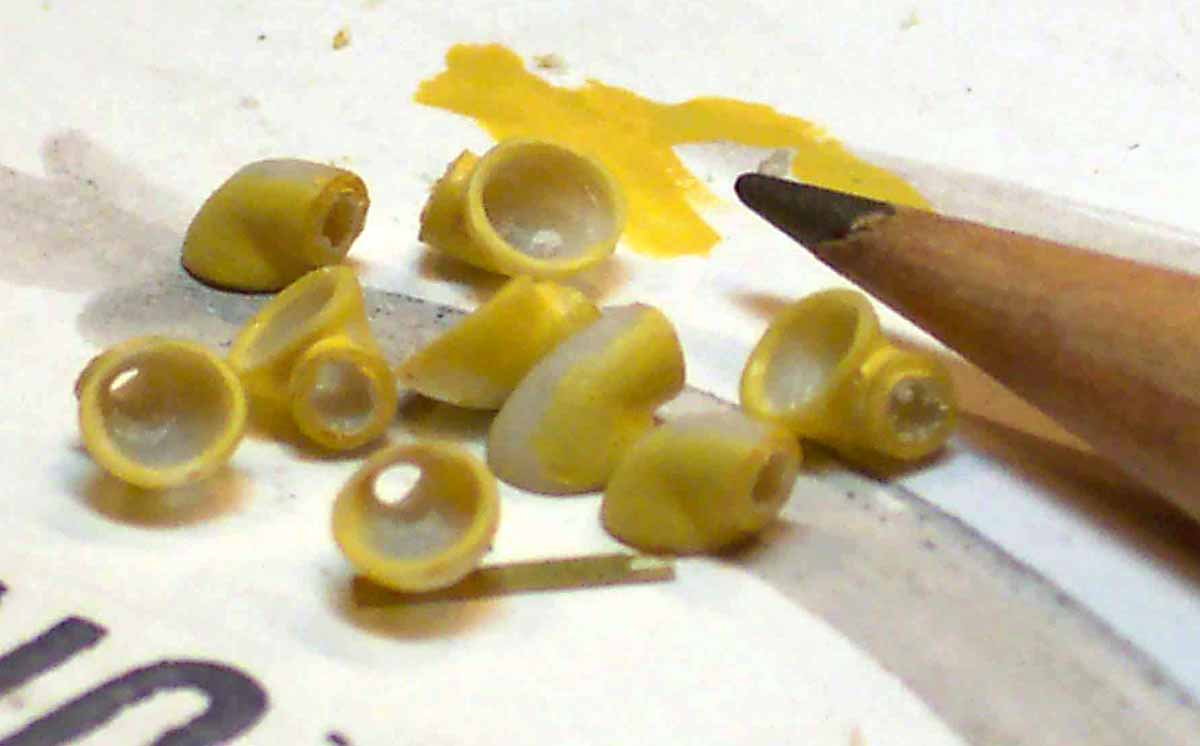
The cowl vents have the bell mouths cast separately to allow the builder to position these at various angles, which I did. I further drilled and sanded the openings as well as drilled out the lower shafts. The effect is mainly subliminal I guess ! |
 |
||||||||||||||||||
| The operating mechanism also is cast on, a gentle wipe with a pencil highlighted these. The photos I had to hand showed a slight variation in cowl vent types as well as one very tall vent ahead of the front funnel. This was made of bent wire, the remaining cowl vents were robbed from an Airfix Mauretania kit. (plentiful source!) | |||||||||||||||||||
| The bridge is very delicately cast, I elected this time not to open the bridge windows, though this would be quite easy with a Dremel and some appropriate ladder stock. I cut away the supplied awning stanchions from the PE as I wanted to add them separately afterwards. The bridge supports even have the ships bell etched integrally, very nice design. | |||||||||||||||||||
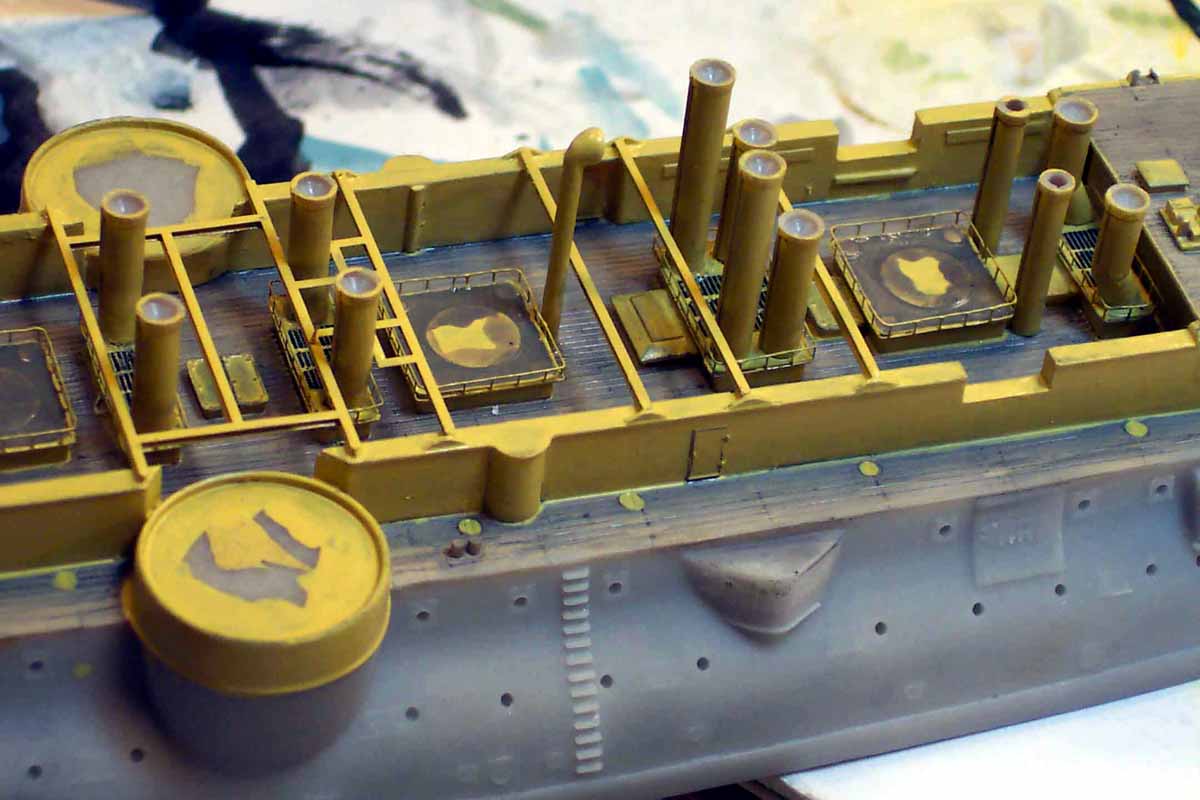
| The funnels I hollowed out with drills and drum sanders in the motor
tool, then removed the steam pipes to allow painting with a brush without
runs forming. (these were re-affixed later)
The funnel bases each had a low handrail around them. |
 |
||||||||||||||||||
| YS supplies additional PE hatches and casemate plates to
allow gun positions to be shown open, this would have made the model even
more interesting to look at, certainly at anchor this was common, but photos
suggested that with the ship underway the embrasures were mostly closed.
(and it avoided the scratch building of the gun mounts....!)
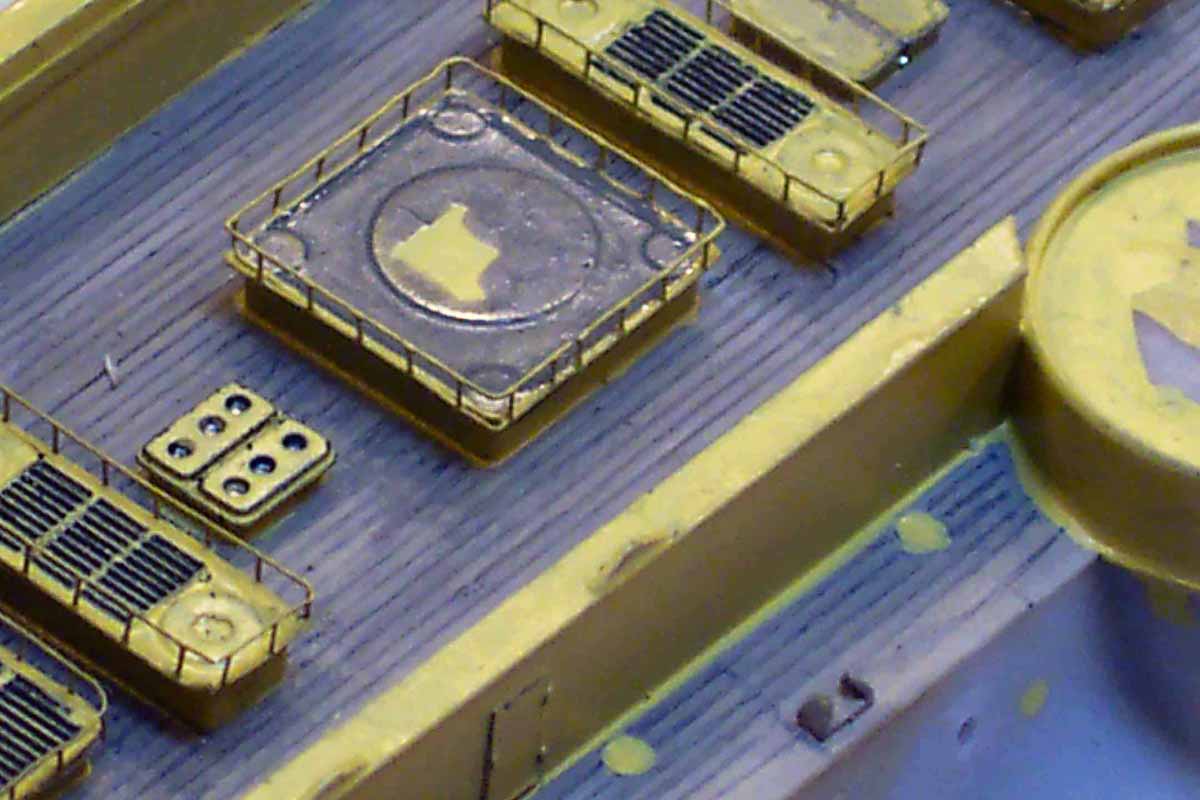
The lower masts had the access doors added on their after faces along with lumps and bumps seen on photos. The PE steering wheel and binnacle on the bridge carries a small sun awning (made of white glue over a sprue frame) to protect the helmsman from the sun! The platforms each have a number of triangular braces, fiddly but rewarding. |
 |
||||||||||||||||||
 |
|||||||||||||||||||
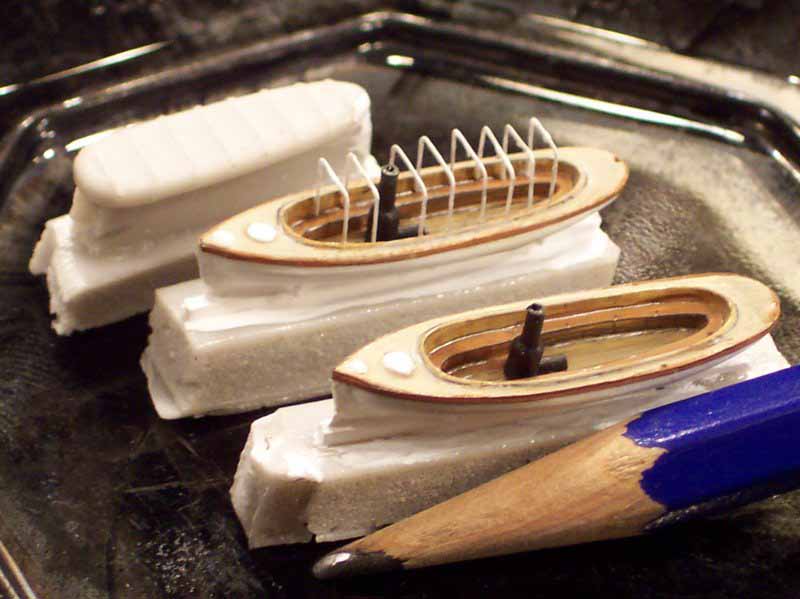
| The ships boats appear to be capable of evacuating a liner such is their number, so it is advantageous they are cast as open shells with floorboards, the thwarts and oars being PE items. The photos I had of the ship in the appearance I wished to portray showed her to carry EVEN more boats on additional davits along the hull. An e-mail to YS yielded the additional boats and PE separately packed sent to me at record speed, a useful and excellent service for those who wish to change the era of the model. The extra davits were made of Fusewire, blocks came from the WEM Koenig PE set. |  |
||||||||||||||||||
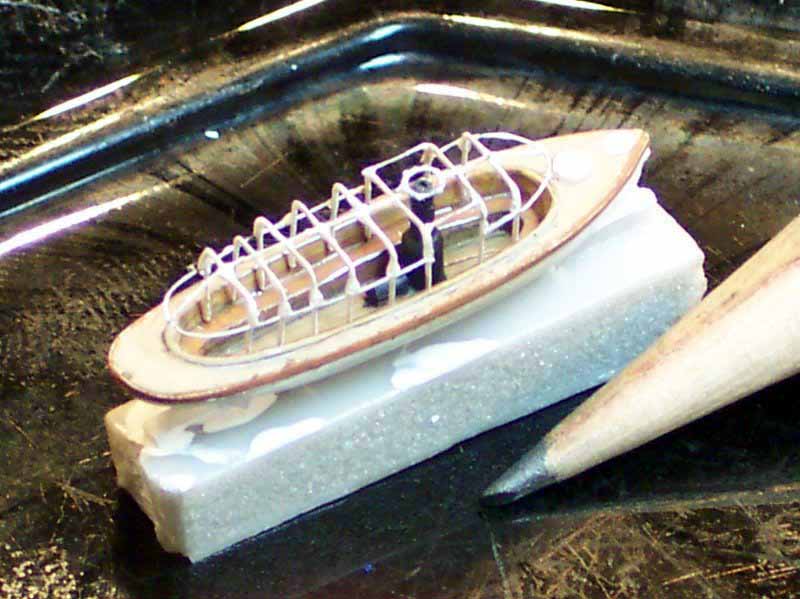
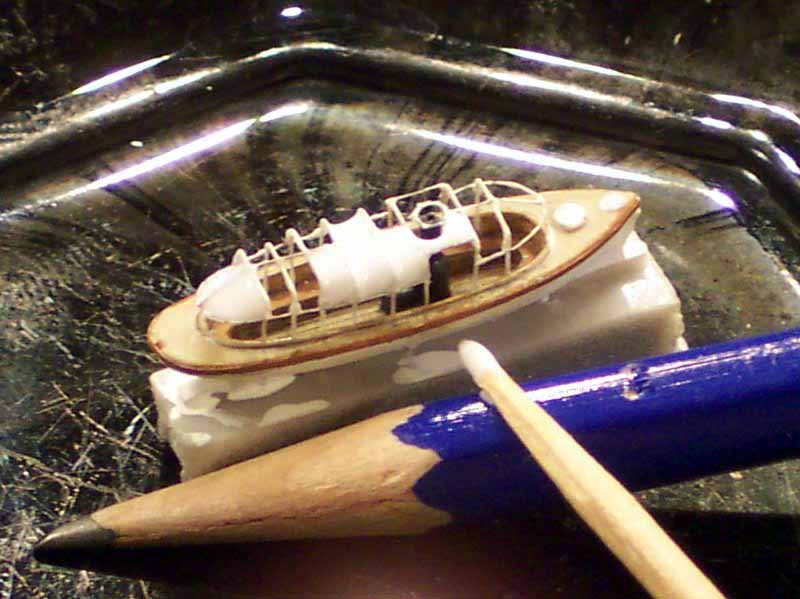
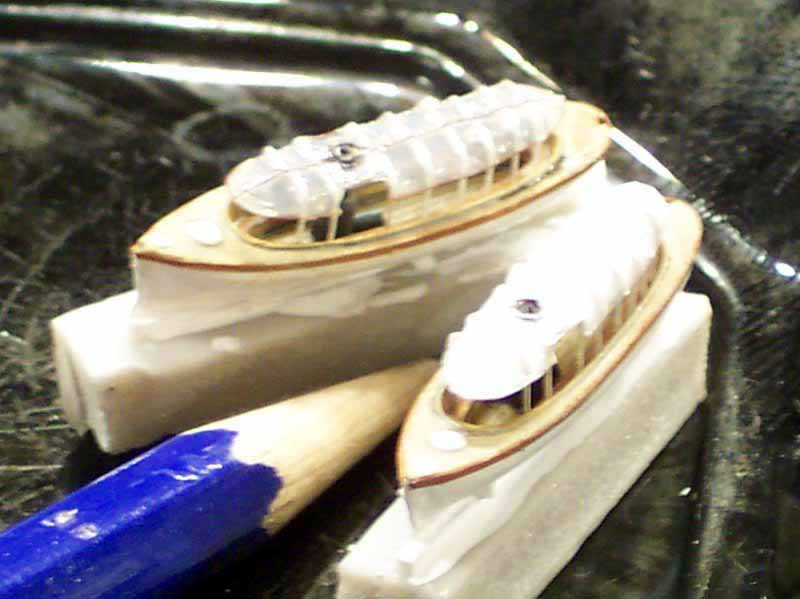
| The steam launches are models in themselves, featuring lovely PE canopy framing, rudders and screws. The kit contains a resin former to make the canopies out of foil, this would probably work well but I had other ideas! I used the frames as supplied but then added the fore and aft tubular frames in thin wire. I also added a sprue demarcation over the entry step adjacent to the funnel opening. (this was made with a ring of wire) The funnel tops were stowed when the launches were onboard. This framework was then infilled with white glue, allowed to set and then painted. The glue will reach all outer parameters, hence the demarcation with sprue. The same method was used for the helms sun awning. | |||||||||||||||||||
|
|||||||||||||||||||
| The large Boat cranes had the PE pulleys and cable drums added as supplied
and instructed.
The accommodation ladders featured bend up treads and were made up from the supplied PE items, only the supporting struts being added, these were PE brass awning rigging (now dispensed with as I made my own awning poles) |
 |
||||||||||||||||||
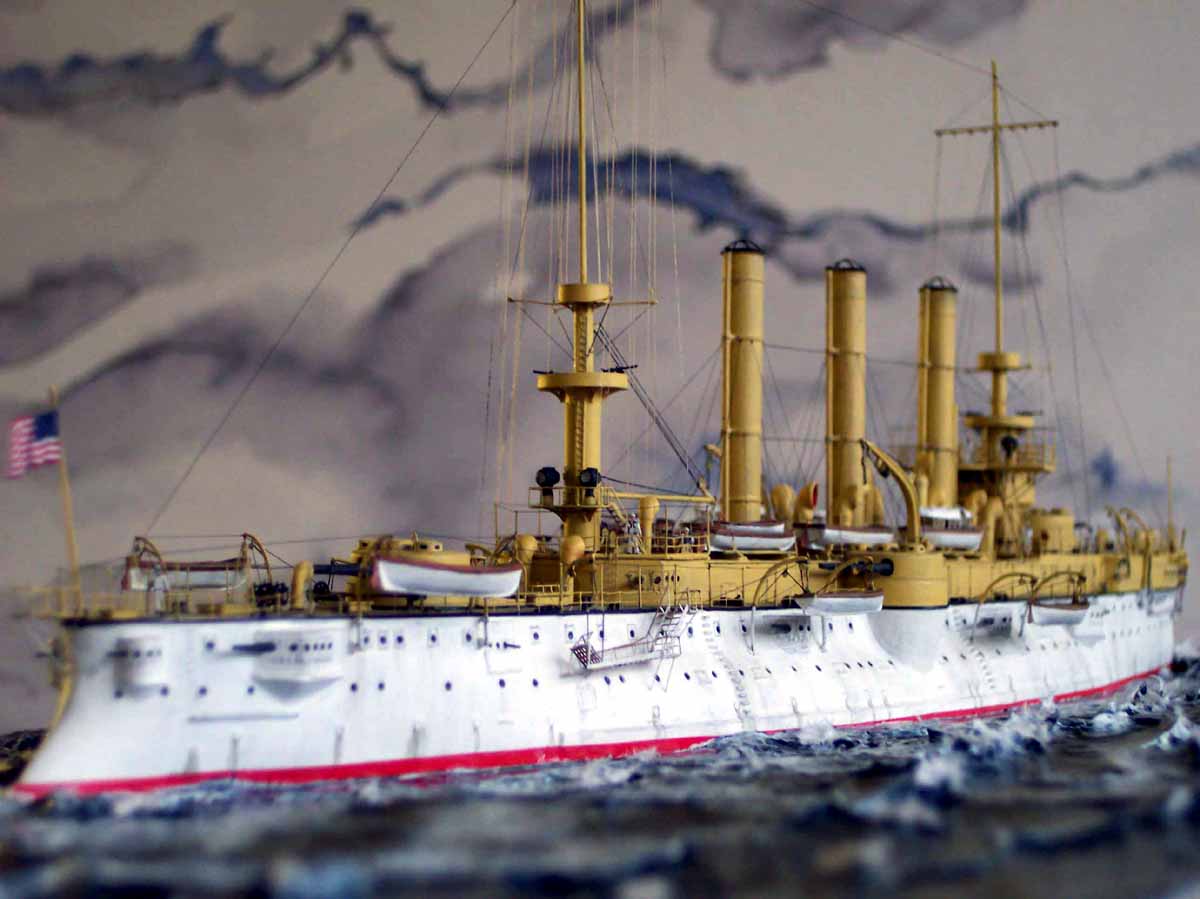
| The handrails in the kit are an improvement over earlier YS kits, being
as fine as any I have seen in any kit.
BUT I was fortunate in acquiring a WEM Koenig set that had been over-etched meaning some small details had vanished but the rails were the 1/350 equivalent to GMM 1/700 Gold plus superfine!!. The stanchion height and spacing also matched so I was ready for my challenge! Very carefully the WEM rails went on, (they were now very delicate!) after installation, with sharp tweezers I induced gentle sag in the cables around the weather deck in a not totally regular fashion; the result pleased me! The admiralty type anchors were made as per instructions, balance balls added with white glue, chains are from Saemanns (Germany) The covers for the hawse pipes are made from WEM 1/700 PE aircraft wheel well covers. |
 |
||||||||||||||||||
| The upper mast rigging spreaders are made of cut up PE
crane rigging from the kit , a useful material especially as I always rig
these yards and cranes with sprue.
The colour scheme I chose shows a demarcation line in black between the white and the buff, I believe this was a Mahogany rubbing strake painted black. The hull casting had this reproduced crisply, but try as would I failed to paint it as sharply as I wished. I tried water decal stripe, but this would slip, slide or move as one adjusted another part of the line with tempers fraying (mine and Katrins!) and unable to carve off the moulding without ruining the now railedmoddel to attempt with masking/spraying/decals to improve matters . R C Cammett came to the rescue, supplying self adhesive matt black striping in widths of 0.5mm upwards, crisp as you like and easy to apply and adjust! The crew members are from WEM for a change, these were painted according to photos in the Alden book. |
|||||||||||||||||||
I used the PE mast yards with pulley blocks, but glued
them to a thin piece of stainless steel wire, infilled the ledge with
white glue and paint, resulting in tapered circular (ish!) spars. Rigging
is mainly sprue, black for standing rigging and light brown for signal
halyards, the long runs fore and aft being lycra, the inter funnel stays
are fine copper wire.
|
|||||||||||||||||||
 |
|||||||||||||||||||
| In conclusion I cannot recommend this kit highly enough,
I achieved my desired finesse virtually out of the box with very few additions
or scratch building, something I have hitherto only achieved with YS and
WEM kits.
This comment is in NO way intended to detract from other manufacturers products( which I buy and enjoy!) merely to highlight that the significantly higher initial price is reflected in speed of build and lack of problems and corrections! Invaluable reference photos can be found on the internet; but indispensable to me in this project was the book
|
|||||||||||||||||||
|
|
|||||||||||||||||||