BB-63 USS Missouri
by Noel_Carpio
| I chose to build this 1/350 scale Tamiya kit to model the formal surrender signing of Japan in Tokyo Bay last September 1945. I did this in line with the exhibit that it was intended to commemorate the start and end of World War II. | |||||
| This Tamiya kit is superb. It has a good fit, accurate details and the plastic quality is excellent. I started working on the hull of the Mighty Mo. Since I will build it on waterline, I used my often abused KYK tool ( similar to a Dremel tool ) to saw out the hull. I had to use a masking tape as a guide around the hull so I can saw it in the way I want to. You must not saw the hull from boot down. Remember to leave about 1/8 of an inch as an allowance for the gel medium which will be applied on the diorama base later on. | click images
to enlarge |
||||
| After cutting the hull and sanding the cut-away area, I removed the major parts from the sprues and prepared them for cleaning. I took off from the sprue the deck and the turret assemblies. I removed all seams and carefully sanded off all ladders on the front and sides of the turret. Then I took my Gold Medal Model photo-etch set to make those little ladders for the three turrets. Shaping and gluing the ladders was easy. Sanding the molded ladders off is difficult. You must take extra care so as not to accidentally sand off the details beside them. Since the hull was earlier cut in half, I was able to glue the whole deck into place without worrying how to glue the turret locks underneath the deck to prevent the turrets from falling off. I also sanded off the molded anchors since I intend to replace them with real chains from fake jewelry's. Then I used putty to seal the gaps between the hull and the deck. May sure that you have sealed them properly because this will be obvious when the model is done and painted. Then I punched a circular disk from a sheet styrene and drew a hole on the middle. I used this to form the anchor chain hole on the front of the bow. You should never settle for the hole made by the kit because in reality, it doesn't look any close to it. After gluing the styrene disk on the anchor hole, I applied a small amount of putty on the sides of the disk to make it contour with the hull's surface. I also applied enough putty on the AA Quad balconies at the stern. The gaps are too wide and not applying putty will make it look very ugly. | 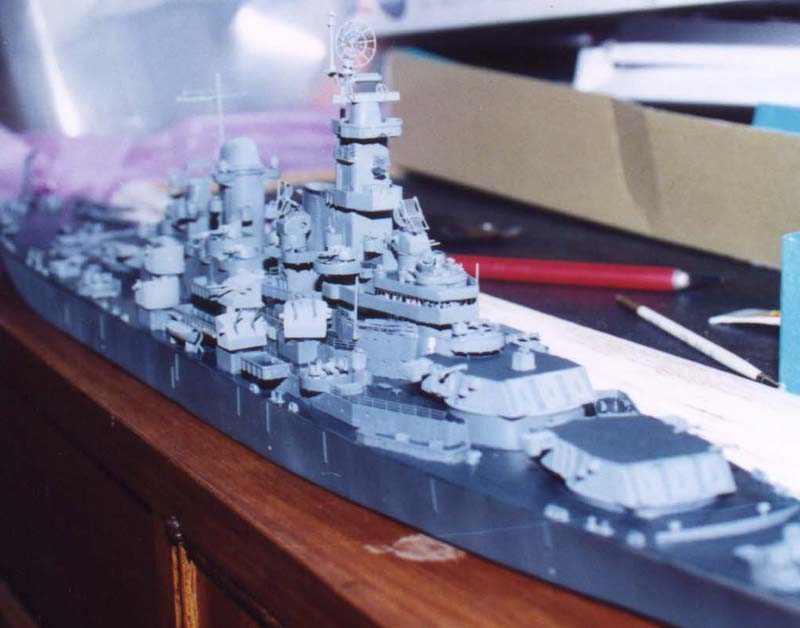 |
||||
| Then I painted the hull with Navy Blue. I mixed 1 part of Tamiya Sea Blue and 1 part of Tamiya Dark Sea Grey. This mix will give you a faded effect. Remember that the MO was in continuous action from 1944 to the surrender signing so sea water had faded her original bluish color. Then I painted all vertical surfaces including the upper part of the bow with Tamiya Haze Gray. I used Polyscale Deck blue for the horizontal surfaces. I mixed the Deck Blue with about 5% of Gull Gray to make a little faded and not as dark as pure deck blue. Then I sprayed Gunze Lacquer Top Coat to the entire model to protect the paint from being easily scratched as I go on building the rest of it. Using Top Coat is also good when applying the hull decals. Since it is glossy, it will allow you to have a flat and even look once you spray on Matte Coat later on. I then glued the hull onto a custom made base which I painted with dark blue green using Acrylic Tube paints. | 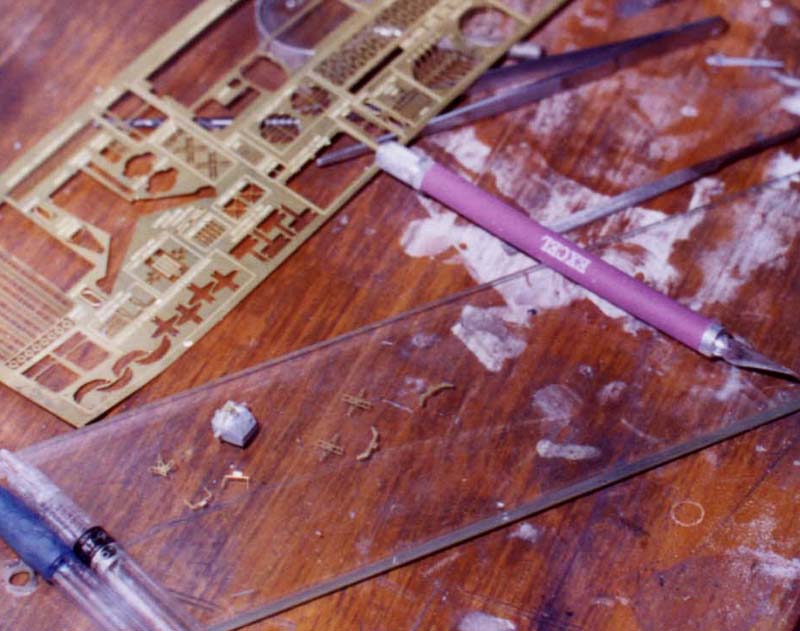 |
||||
| Simultaneously, Jun Villalon, a fellow avid modeler and a close friend of mine, helped me assemble the photo-etched catapults, radar's, mast, and other major additions/replacements on this kit. Remember to put some figures inside the main bridge before even assembling it. Once the bridge is done, you cannot put people in it and you will not be able to capture a more realistic drama of the people witnessing the event. By the time I was done with assembling the superstructure and painting it, Jun handed me the parts which I then painted and installed. When they were all properly glued into place, I assembled the AA guns with the PE's that was available to replace the armor plate provided by the kit. I painted all singles and quads and glued them into place. I started gluing the railing provided in the GMM set for the superstructure. The railing for the deck SHOULD BE THE LAST THING TO DO FOR ALL ASSEMBLIES so hold your horses and don't start gluing those main deck railings. I also assembled ladders and an accommodation ladder and glued them in the proper places. Then I started putting on the rigging for the superstructure. I used the black sprue that holds the kit's base. Using this will skip you the effort of painting the rigging black later on. | 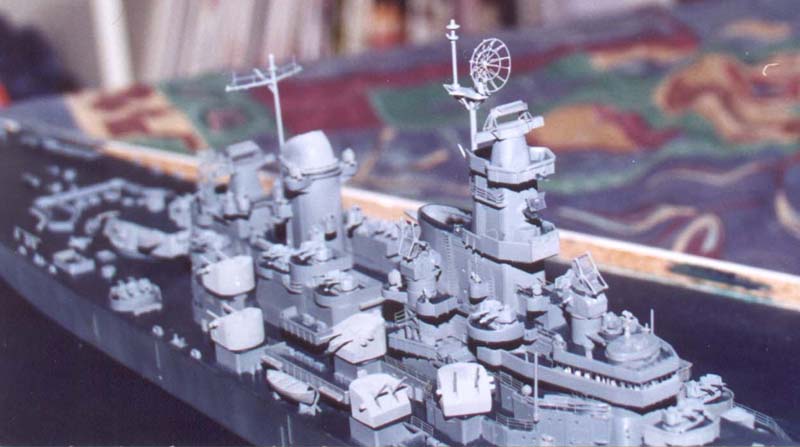 |
||||
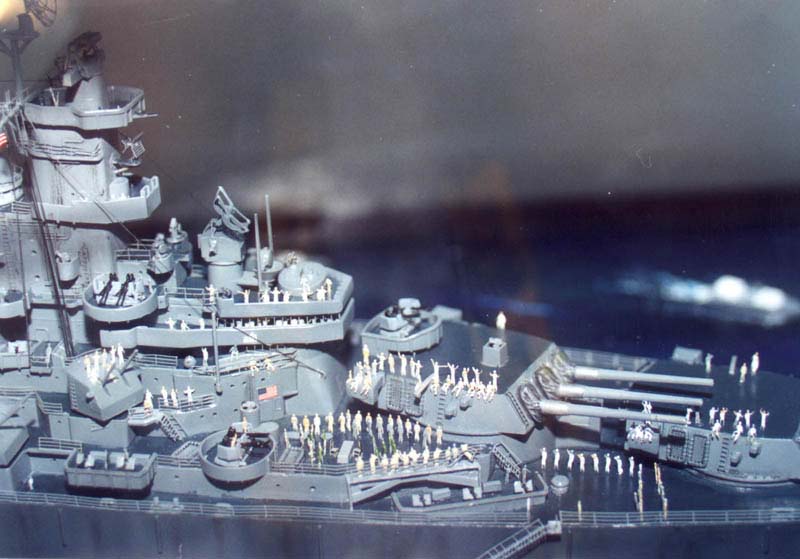
| The most tiring and patience demanding part of all is installing the GMM 1/350 figures. Using the Naval Source page in the internet, I was able to gather enough pictures of how the people witnessing the ceremonies looked like and placed on the ship. At this point, I had only 300 figures with me. To make it dense enough, you should have at least 1,000 figures or equivalent to 10 GMM sets. To really catch the volume of people aboard the ship back then, you would have to double that. So I concentrated on placing enough figures on the deck where General Mac Arthur and the dignitaries signed the instruments of surrender. I twisted about 30 to 40 figures to make them look sitting on the turret tops and the railings of the superstructure. What is nice about the GMM set is the it has PE's for the Table and Chairs that they used for the ceremony. However, I had to scratch build the platform where the press was standing using ordinary sheet styrene. I did not have much pictures of the real design of the platform so I just used my imagination. Of course, I placed railings on the far side of the platform. You wouldn't want those cameramen falling over board would you? Then I glued the painted anchor chains on its proper place. Then with the help of a magnifying lens, I painted the figures with Khaki for the US officers, Green and White for the British officers, Brown for the Chinese officers, Black for the Japanese representatives and the Russian and French officers and white for the sailors. Then I painted the head with flesh and let it dry. Then I used a thin copper wire tip to tap the head with the proper colors of their head gears. | |||||
| After the figures, placed the deck railing, the flag pole, the Catapult Crane and the sea-planes which I painted with navy blue and over sprayed it with Top Coat to make it extra glossy. After that, I applied the decals for the seaplanes, the flag framed on the superstructure fronting the dignitaries and the other decals for the superstructure. I went back at all the corners of the ship to retouch some parts with the necessary paints. This is my favorite part - the Pastels. I use pastels to weather the ship especially the body of the ship. I used Burnt Umber, Black, Light Gray and a bit of Burnt Sienna. Do not overdo this or it might look like a Tank - not a Ship. Then I sprayed the whole model with Top Coat to make all pastels and retouches even. After this, I used Humbrol Matte Coat with over spray the ship and make it flat enough. Don't matte coat the planes! They should be glossy. | 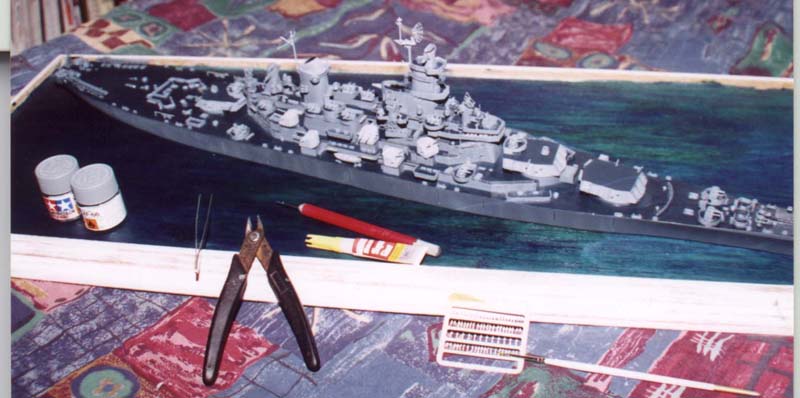 |
||||
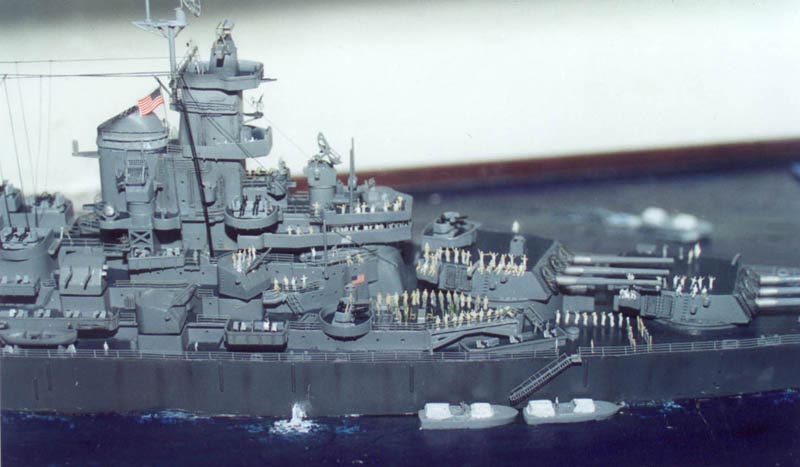
| At this point, the ship is done! Now the next thing to do is to replicate Tokyo Bay! I applied Liquitex Heavy Gloss Gel Medium for this. The sea at that time was calm so no heavy water exaggerations needed. While the Gel is still wet, I placed the petty boats around the ship where they should be based on my Naval Source reference. I also placed so sailors on top of these boats and make them look like they were watching the ceremonies as they slowly drove by. Other petty boats remained still in some places. I molded these petty boats using my Tamiya 1/350 scale USS New Jersey speed boat and worked on each to make it close to the petty boats used at that time. I painted them earlier during the assembly. Then added a little white water on the speed boats and a little on the anchor chain that was glued to the gel making the ship look as if it was anchored. Then I replicated water spouts by placed a thin wire from the water spout to the sea water and applying gel medium on it. I painted Acrylic White from the tube to make it look as if it was gushing out. | |||||
|
|||||
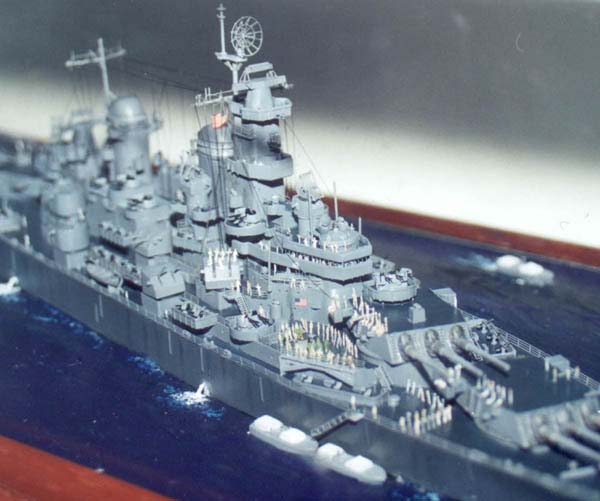
| After the gel was dry, I repainted the sea water with another coat
of blue green. After that one dried, I polished the sea with acrylic floor
wax to make it shine. When the diorama was done, I painted the base perimeter
with brown. I did this last because there is a tendency that you might
scratch it while turning the base about during the assembly. I also had
a custom made glass to protect the model from very curious viewers. Jun
and I spent a total of about 200 hours to build this ship. It was worth
it after seeing the amazed audience during the exhibit.
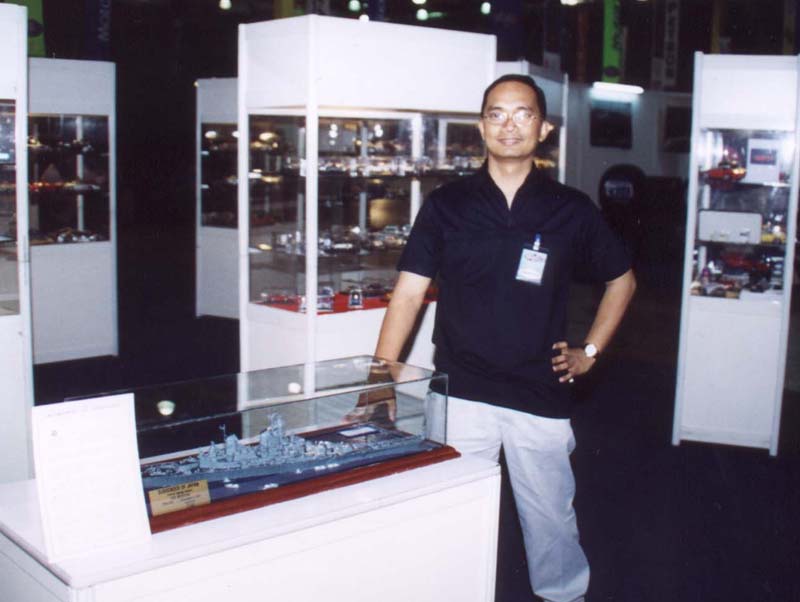
On the right Noel Carpio, proudly stands by his new fleet addition. |
 |
||||