USS New Jersey BB-62
by Noel_Carpio
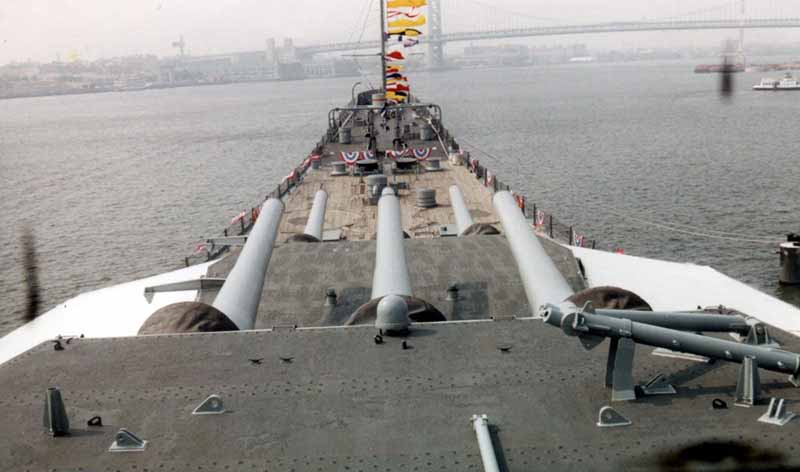
| When I had the opportunity to visit the US Battleship USS
New Jersey BB-62 at Philadelphia, I was very impressed with the size of
the ship. An Iowa Class battleship now turned into a public museum,
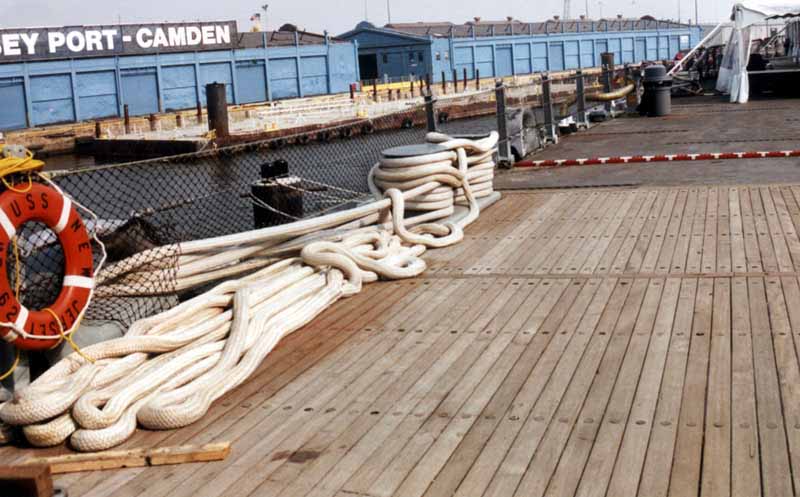
the New Jersey now silently floats at the Philadelphia river just off Camden,
New Jersey.
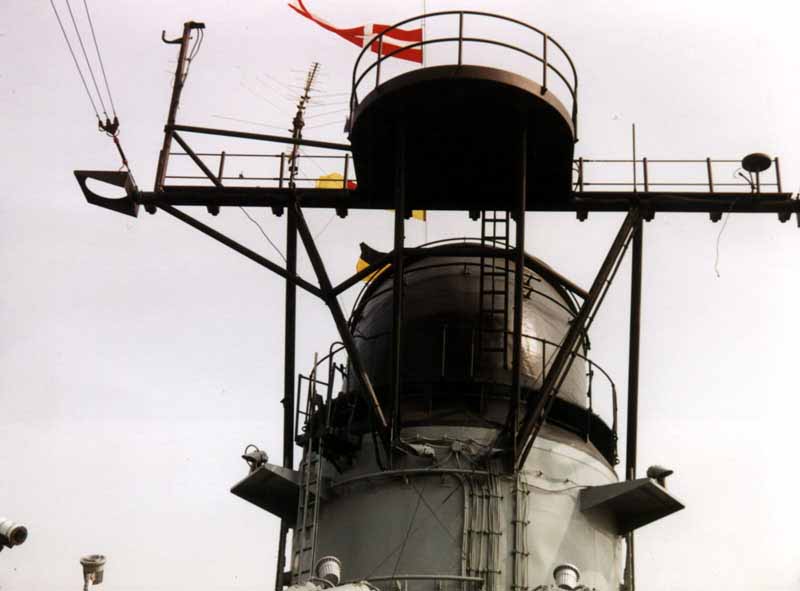
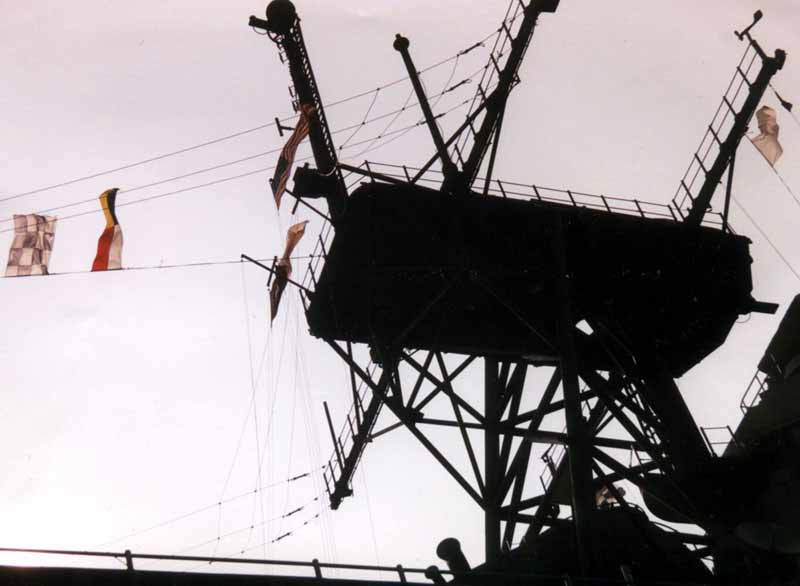
As soon as I boarded the ship, a Retired Marine Sergeant-Volunteer gave us a personal tour of the ship. He explained the history of the boat and educated us on almost every inch of the ship. What I cannot forget is how he detailed the main guns. "this lady has an effective range of 26 miles. The barrels recoil 14 inches from initial point and are never fired all at once. We did fire it all together, after that, we made sure we never did that again! The guns are so strong a photographer up the main bridge was pulled back by the blow. When fired, just make sure you are far away from the target site." The projectile measure around 6 feet in length! I noticed that the wooden deck of the Big J was worn. The wood was old and some was torn off. There were lots of holes. It was a bit of dark brown in color and NOT light deck tan. For modeling purposes, I believe washing the deck tan with burnt umber would do the trick. The ship's color is sea blue but from the Ben Franklin bridge it looks more like Gull Grey due to the mist and the sunlight.
|
|||||||
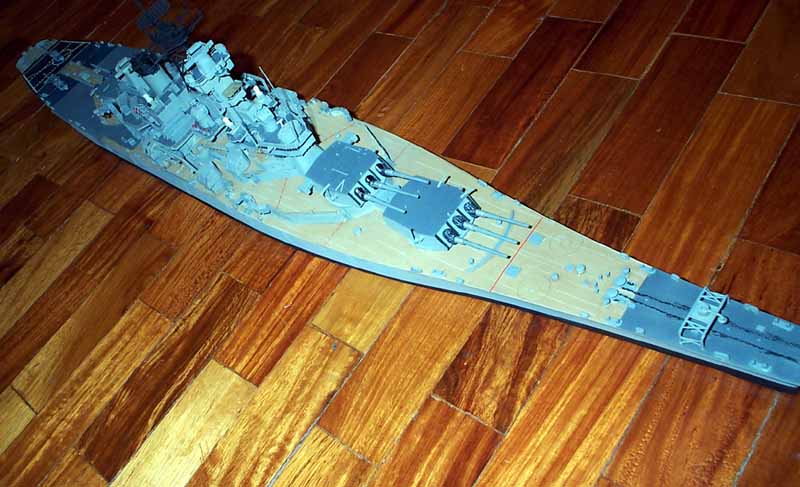
| After having a tour of the entire ship, I told myself, I had to build the kit. I bought the best there is in the market - a 1/350 Tamiya kit. For a cost of about $54 plus a set of GMM Battleship New Jersey PE set and some 1/350 ship decals, you are ready to go. But for this one, I decided to make it as a waterline diorama. My trusted sawing tool helped me slice that hull off. | |||||||
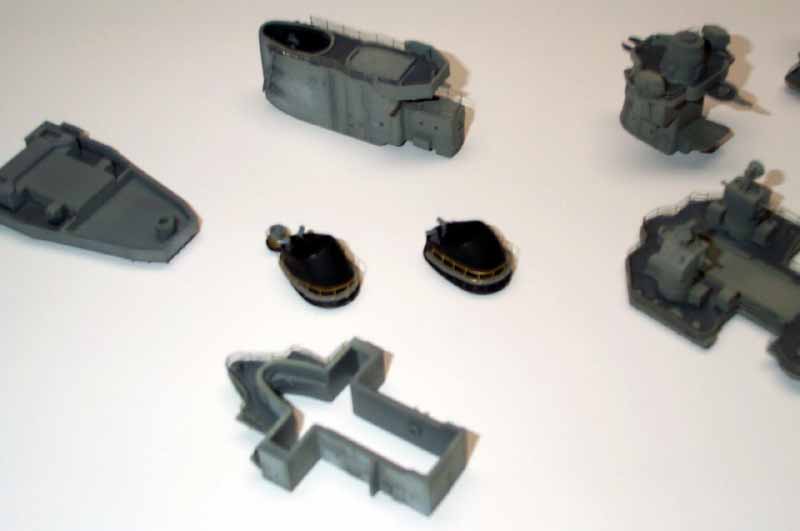
| I built the ship in subassemblies. This is critical because there are a lot of hard to reach corners in the Big J. To paint all horizontal surfaces, you must build it this way. I painted and feathered each part and from time to time, I fitted them together to see how it looked. The non-skid flooring of the ship is colored matte black in actual. But you may want to lighten it a bit to make it gunship gray for the scale effect. I had to replace the balcony atop the secondary mass to replicate the actual one in the ship. The Tamiya nor the GMM part does is not accurate on this. Most of the balconies are supported with beams and poles for better strength. I also discovered that the black colored strip in between the two anchor chains is painted dark grey (same as the bow color) and not black. I also masked the deck to simulate planking to make the ship look better. | |||||||
 |
|||||||
 |
|||||||
| . | |||||||
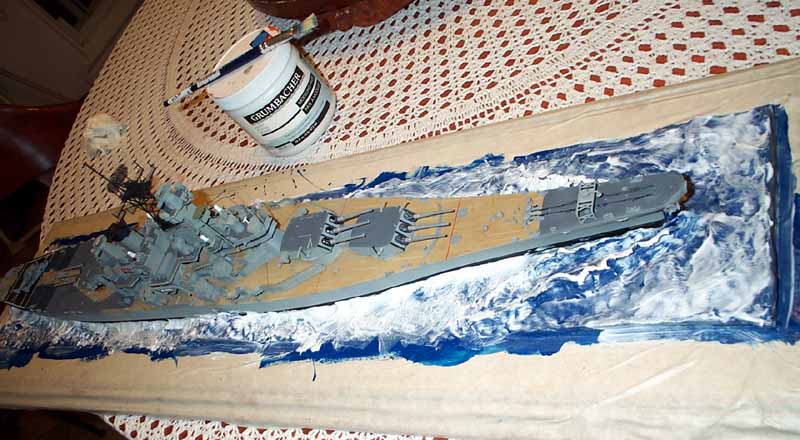
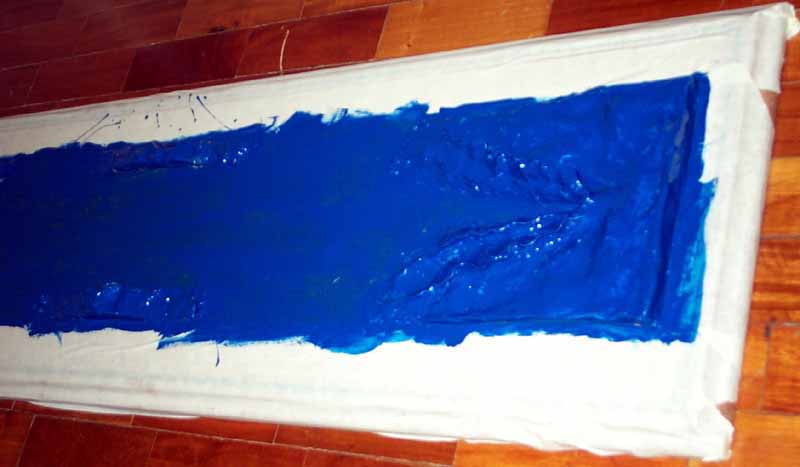
| .To make the waves for the diorama, I used Sculpey Modeling Clay. NEVER LEAVE YOUR SCULPEY IN YOUR CABINET. Leave it somewhere cool. The refrigerator is the best place to keep it. Just tell your children it ain't some pie you bought from 7-11. My first pack hardened shortly after I used 1/10th of it for my Panteleyev Project. I complained to the manufacturer why they never placed in the packaging "Store in Cool/Cold places". They replaced my hardened stock immediately. After sculpting the waves, I oven baked it for 15 minutes max!! I then used a Marine Blue Quick Drying enamel from the nearest hardware and painted the entire "sea-area" of the diorama. I did about 3 coats of this. This will enable you to hide the cracks. No need to worry if you painted it thickly. It actually looks better that way. After drying, I applied Graumbacker Modeling Paste. I believe that the best acrylic gel medium is still Liquitex. Graumbacker remains white when dry. Liquitex remains white when dry. Therefore you have to wipe of the excess gel that hit the body of the ship or you'll have to scrape it off when it hardened! Then added a mix of green, white and blue acrylic paint for the area nearer the ship. Then I painted the white water with Liquitex acrylic paint straight from the tube. After it has all dried up, I coated everything with acrylic floor wax to make the water glossy. |  |
||||||
 |
|||||||
|
|||||||
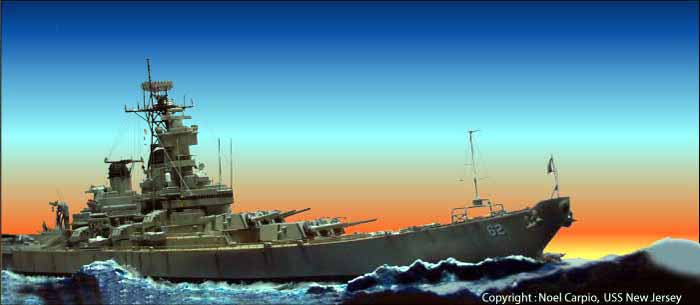
| I encourage you to build one yourself. This kit is great.
The fit is good and the accuracy from the real one is not as far. To see
the finished ship click the image on the right.
Happy Modeling! Noel |
 |
||||||