USS North Carolina BB 55

by Ron Horabin, Cheshire England
|
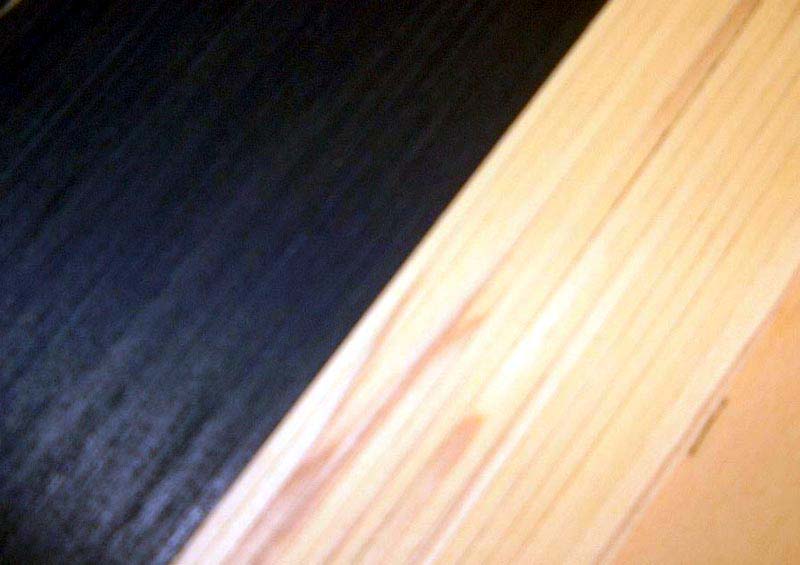
PART 3 DECK PLANKING While I was waiting for my paint from White Ensign Models, I decided to begin to plank the decks. I mentioned earlier that I had already put in the decks, well when I do my planking I put in another deck, this time a little thinner, still in plywood but slightly smaller on both sides, this helps with the waterway around the side of the ship. |
|
| First I mark out on my second piece of plywood the positions
of the superstructure, the forward main turret also the aft turret, and
not forgetting the center line of the ship. For the planking I have purchased
from Mantua Models UK Ltd 175 lengths of 3 mm x 1 mm lime wood, 1 meter
in length, this gives me 577.5ft of deck planking, at 1/8 to 1 ft scale,
this is a total footage of 46,200ft to scale planking, not quit enough
to cover the 55,000ft North Carolina has on her decks, but this was all
he had at the time.
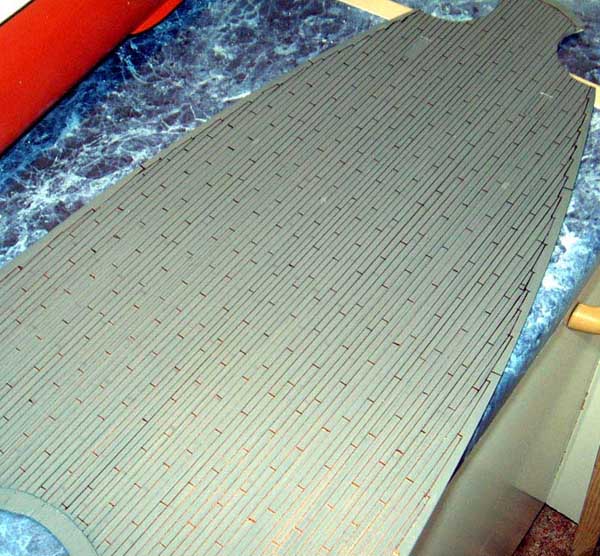
The camouflage scheme the model will depict shows that the decks where actually stained or painted blue to match the measure 32 which is pale grey, haze grey and now I have been told dull black, this is applied in a disruptive pattern, deck blue on all decks and horizontal surfaces, thus making it harder to spot from above, during conflict. Having marked the center line and all the outlines of the superstructure and bollard recesses I could start to lay out each individual plank. Starting from the center line each plank is laid and glued in place with PVA waterproof adhesive. This process is time consuming and patience is needed to keep the work constant. |
Click images
to enlarge |
 |
|
 |
|
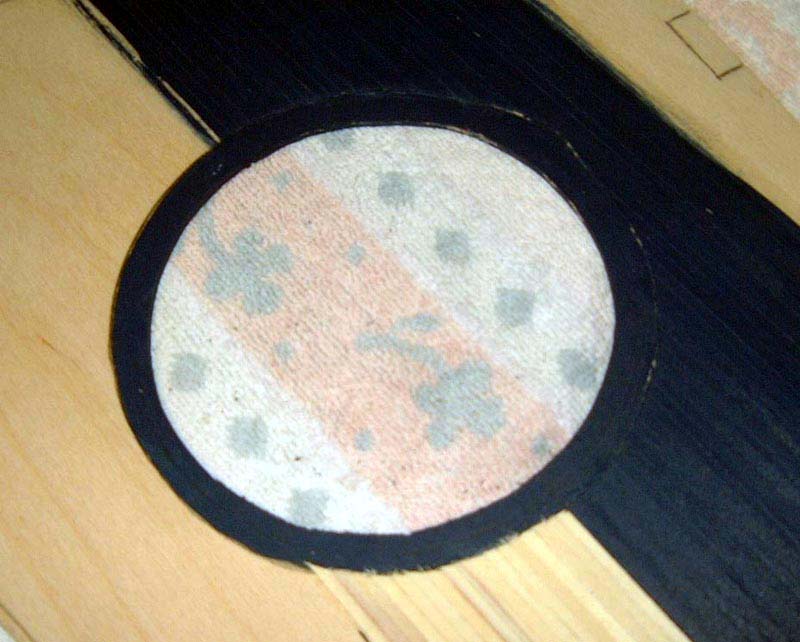
| Eventually you end up at the edge of the waterway where all the planks have to be cut in to a trimming timber, at this point the timber is cut down by half its width and tapered to fit the curved section of the waterway. I then remove the ply from the first deck and leave to dry out before I paint it the right shade of deck blue. I use this method because they are working models and they need repainting in there lifetime, this method you take out the bollards, take out the small screws from under them and you can take away the deck and repaint it very easily, also where the rudders are you can cover the section where you gain access, very neatly, a lot of models are spoilt by sections showing in the deck planking, as a small square at the rear of the vessel. |  |
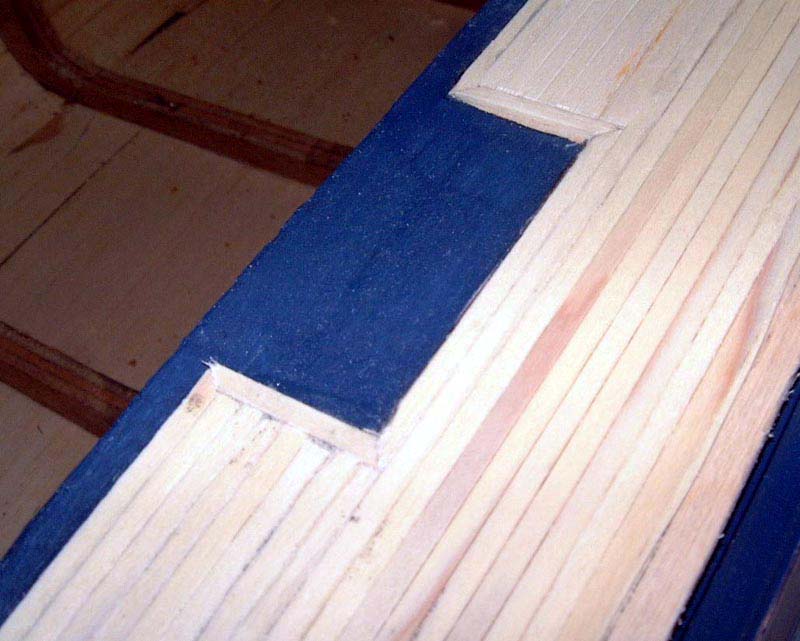
| The next photo of the deck lining is a trial section to give you some
idea of what it will look like, the planking needs to be more uniformed
and
smaller and narrower lining. |
 |
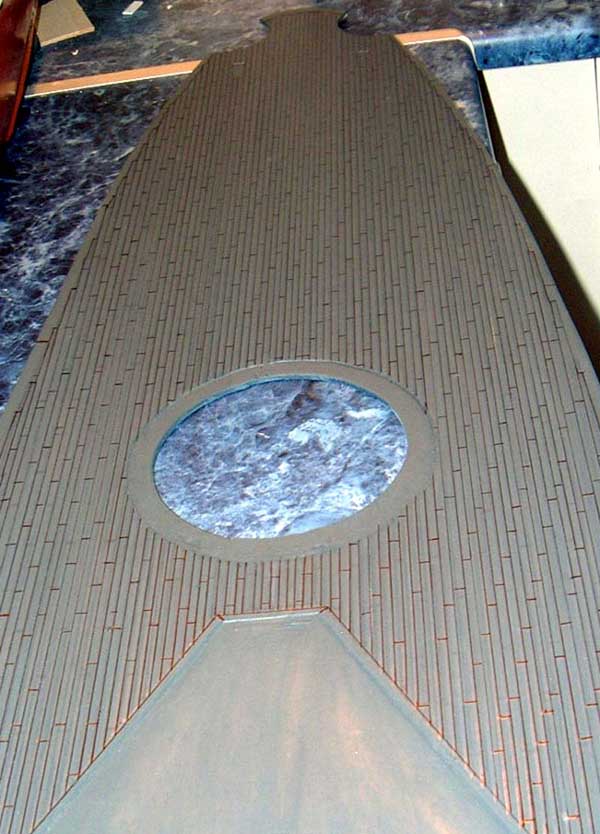
| These two half sections of decking are to be sanded down and re-stained in a lighter shade of deck blue , and are to be lined in to show the planking. | |
| Because the decks are so blue I decided to line in the joint between the planks to give it a better look, you can see them from a distance, but also gives a little definition to the all blue decks which to me looked to bland. | 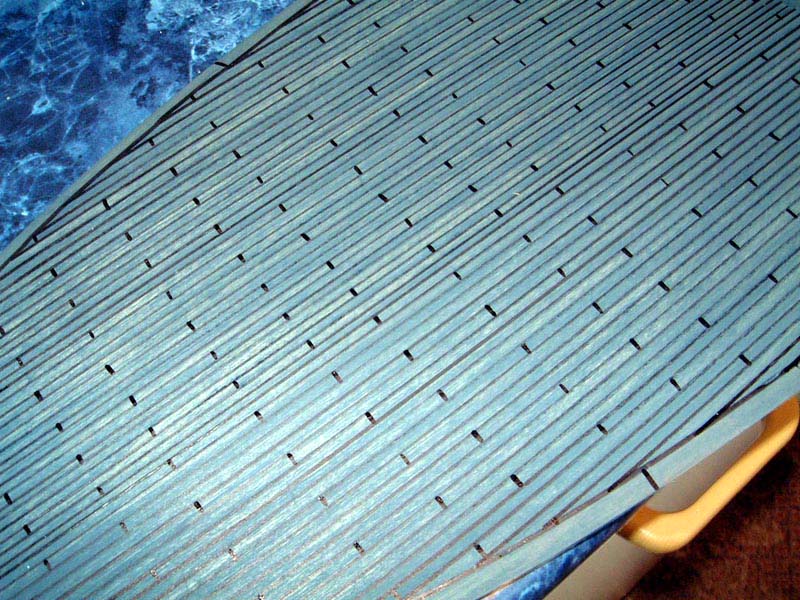 |
| Completed new lined deck, completely repainted and lined
with thinner water proof marker pen.
Stay tuned for more as the ship takes shape. |
 |
 |
|
|
on to part 4 |
|
