USS North Carolina BB 55

by Ron Horabin, Cheshire England
|
Part 13 PhotoEtch Radar and accessories |
|||||||||||||||
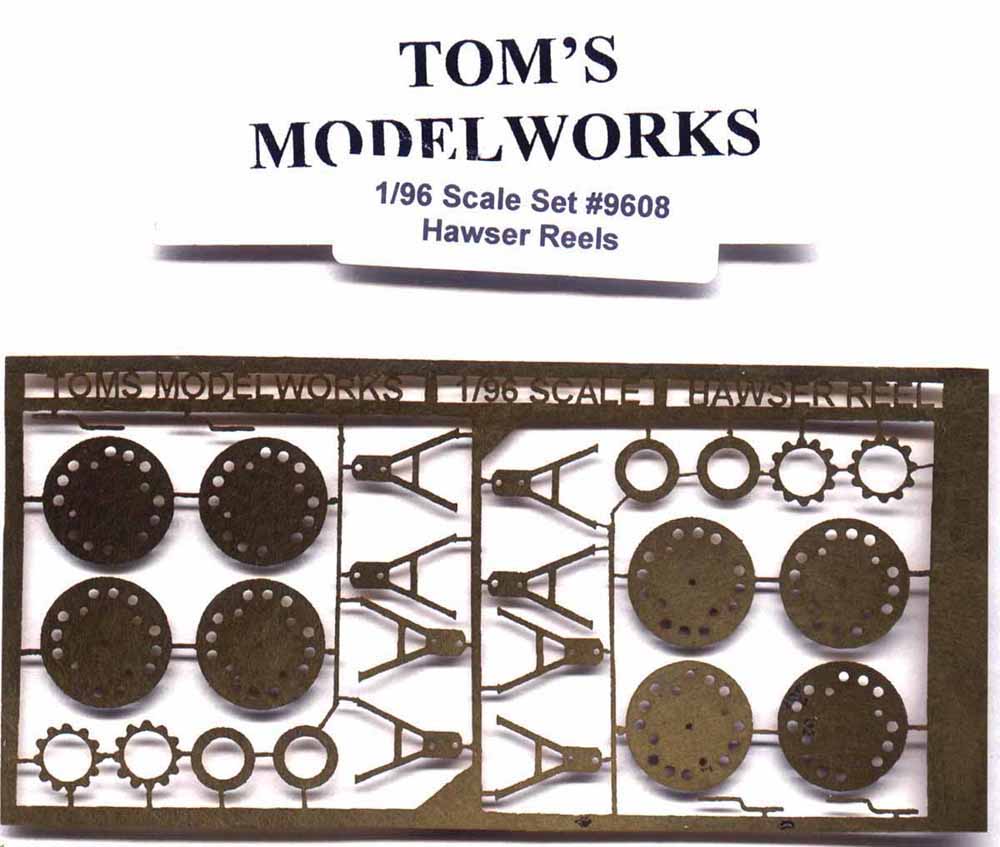
| Hi Everyone, There is a small amount of building, most of it is P/E in 1/96 scale from TOMS MODELWORKS. | |||||||||||||||
|
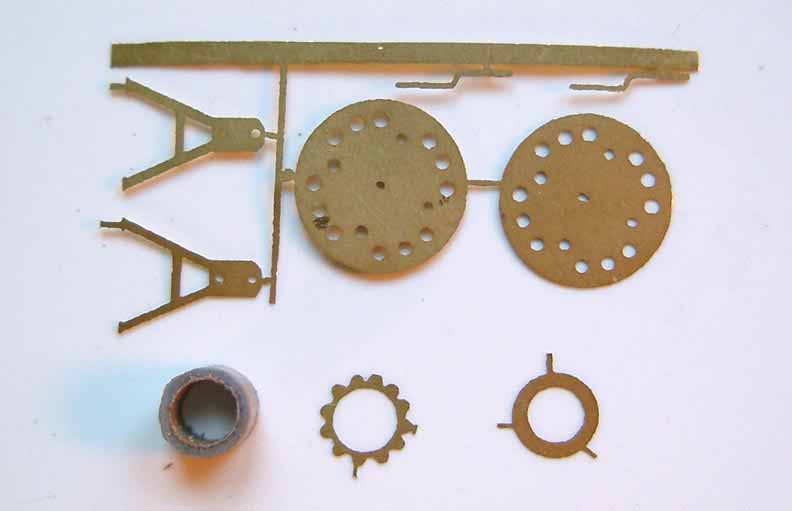
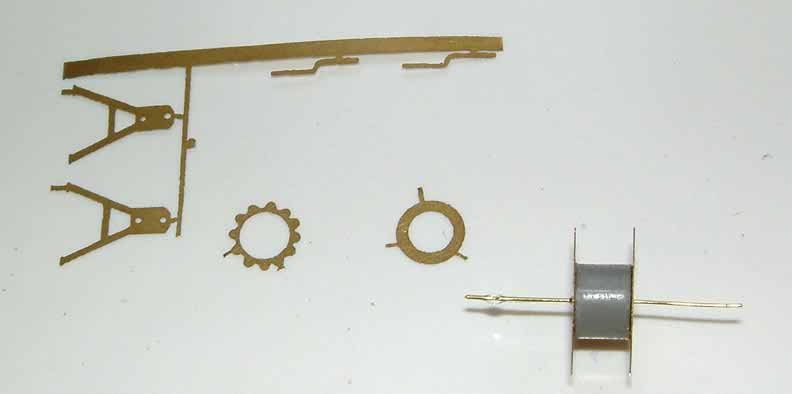
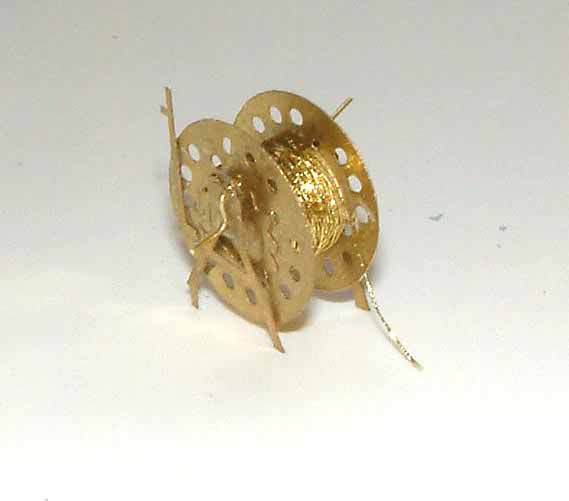
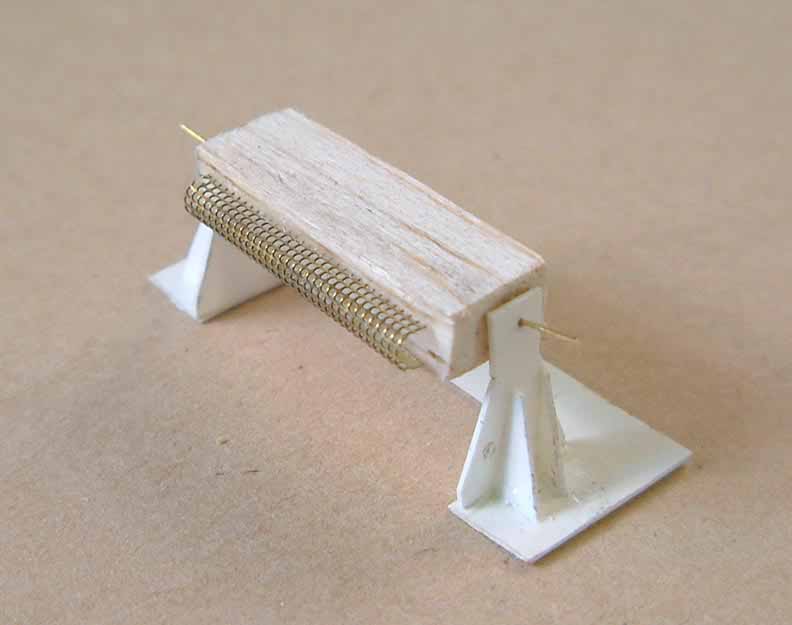
This set is very nice; there are 4 in the set, from what I can find in photo's I only need one, I have built two. First I cut the 7 parts I need from the set, then finding a small round piece of plastic tube I glued it to the inside of the reel sides, then I glued the second reel side to the plastic sleeve, I then pasted a shaft though from one side to the other, leaving plenty of shaft to be trimmed off later, this part is not in the kit, I then put to one side to dry, I used super glue for this operation. |
click images
to enlarge |
||||||||||||||
 |
|||||||||||||||
|
|||||||||||||||
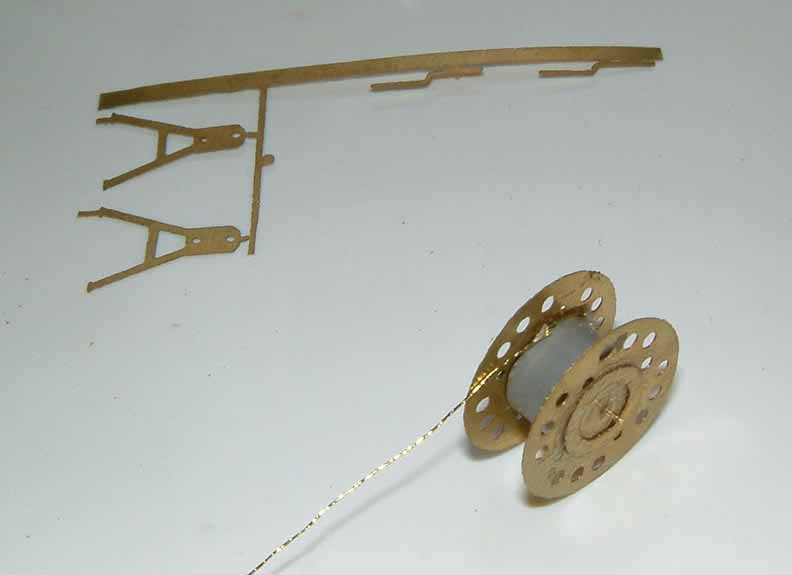
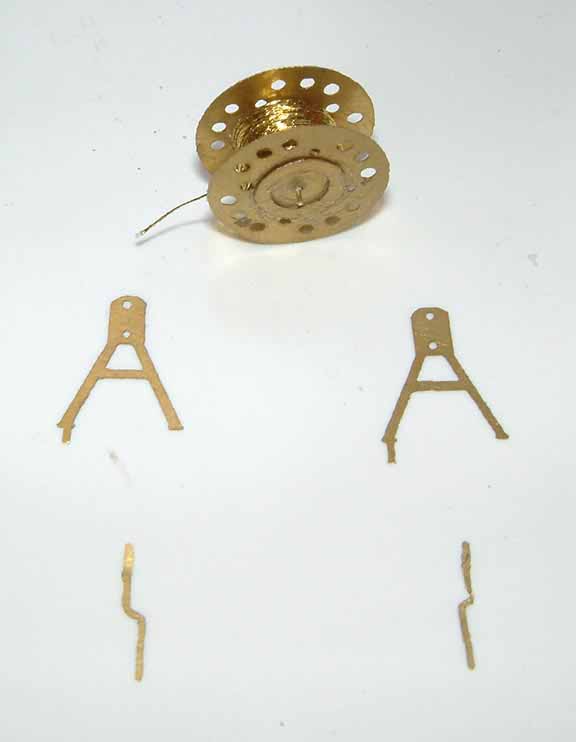
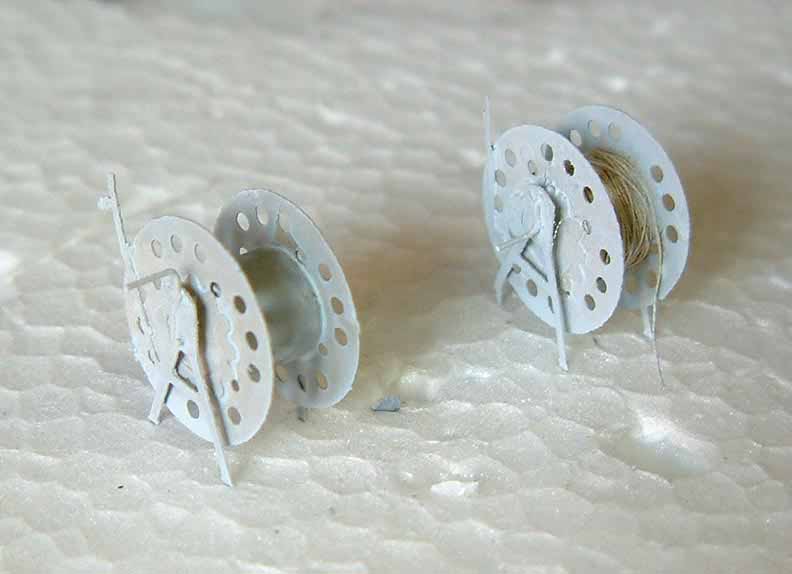
| While out shopping with the CIC we called in a small craft shop and purchased a reel of thin wire for handrails, and a reel of very thin wire for the cable on the reels. You can if you want wind the cable on to the reel first, as I did with one, or leave it till you are finished and painted. | 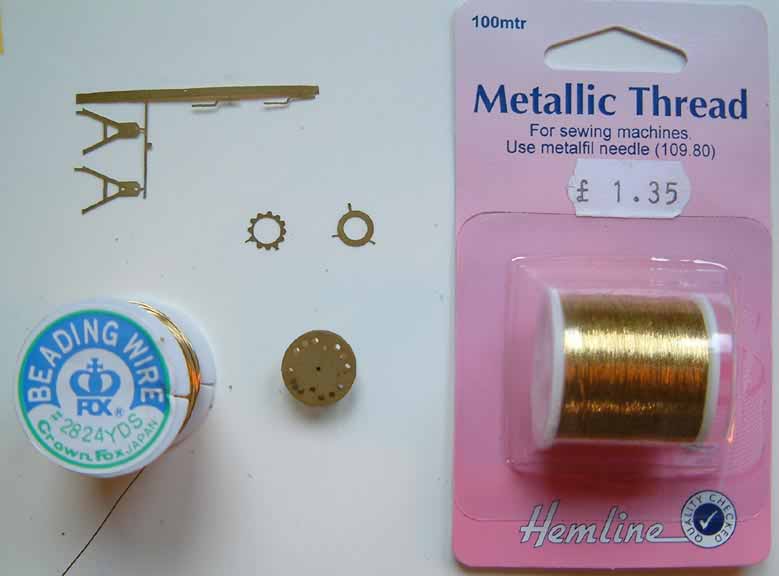 |
||||||||||||||
|
|||||||||||||||
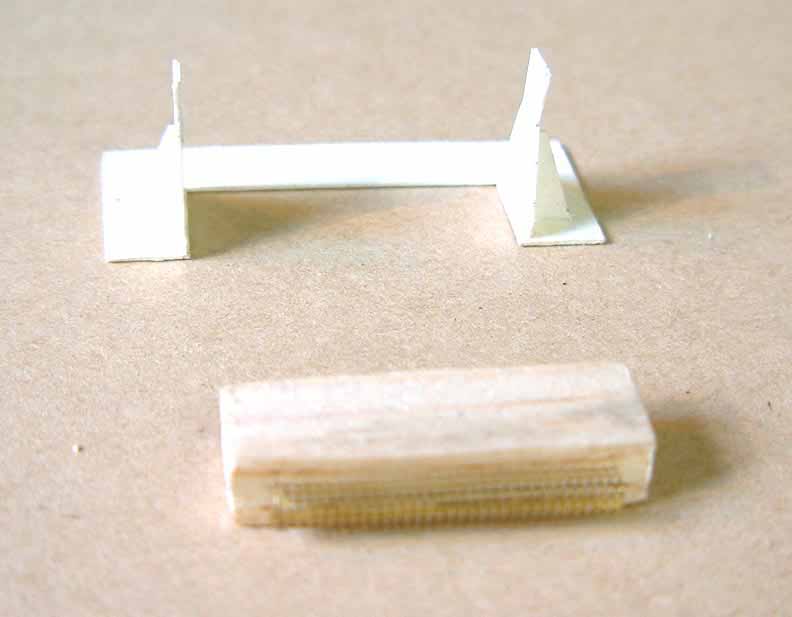
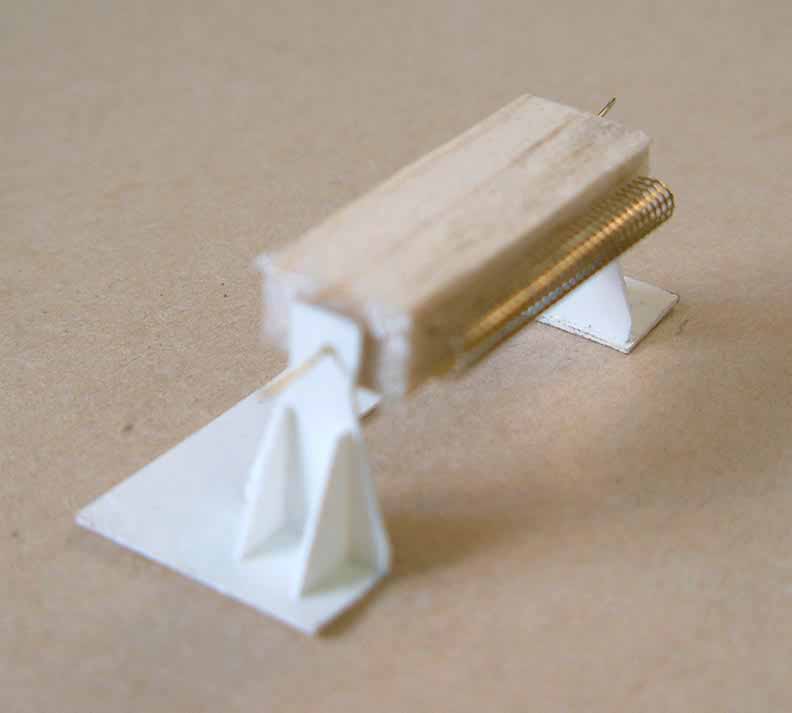
MK8 Radar.
 |
|||||||||||||||
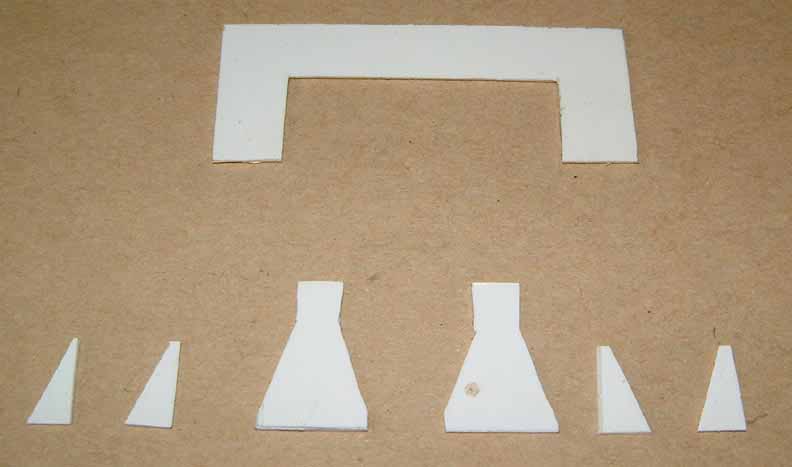
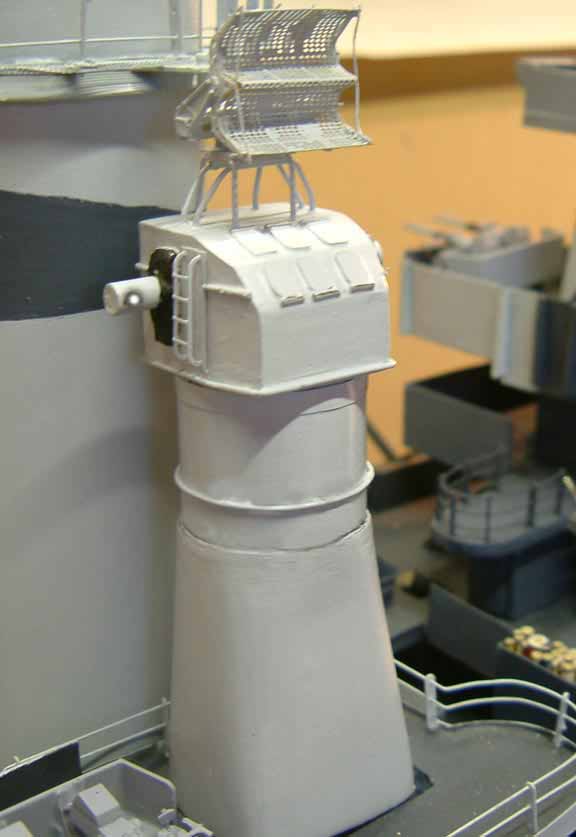
Not exactly accurate, but one that does not look too bad,
the first thing I did was to mark out the plastic card with the 7 parts
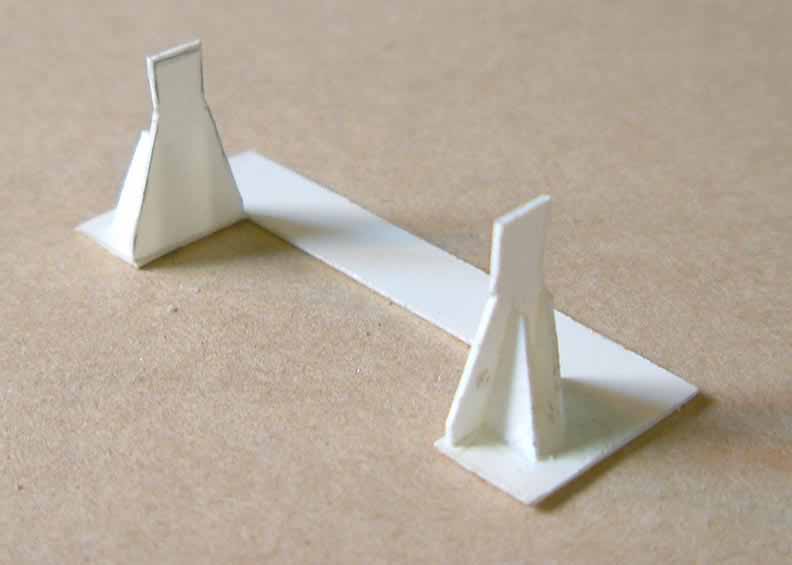
I need and then cut them out, the base was laid down and the uprights glued
in position with poly glue, the angled supporting brackets where then glue
to the uprights and left to dry.
|
|||||||||||||||
|
|||||||||||||||
|
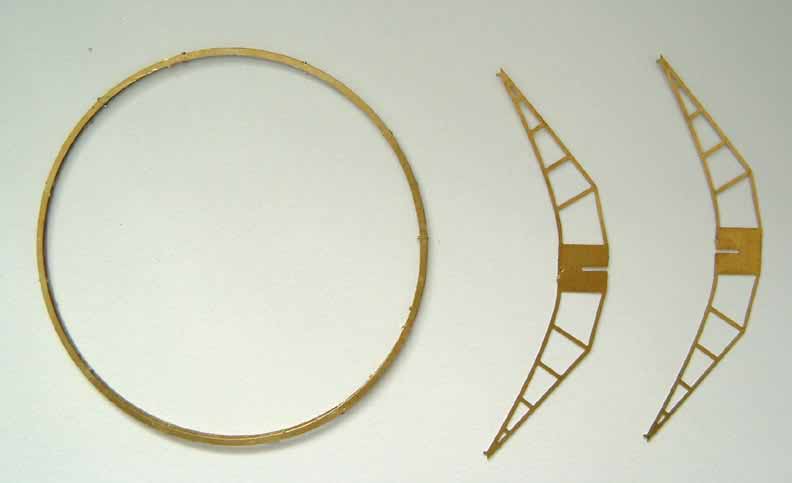
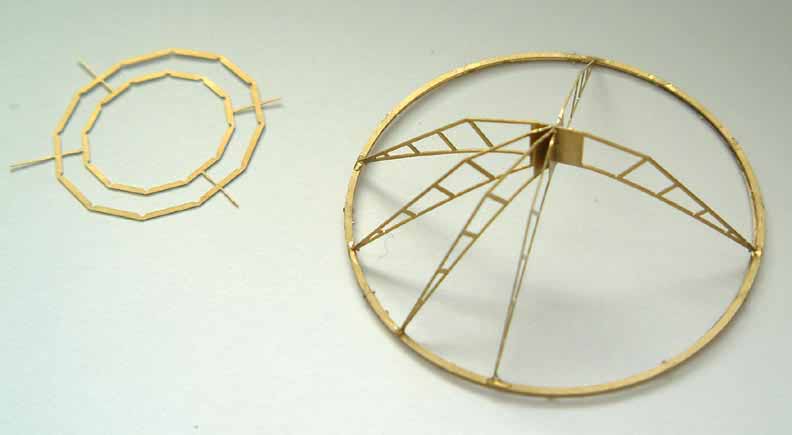
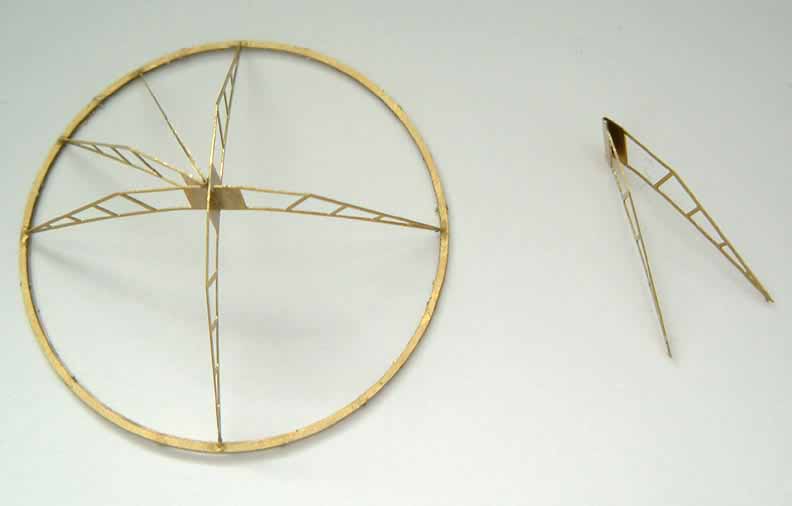
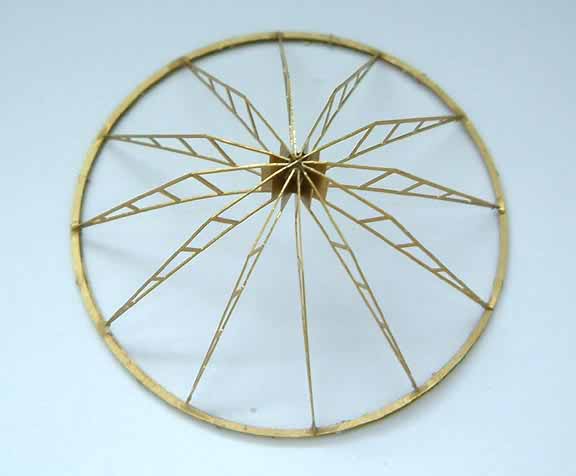
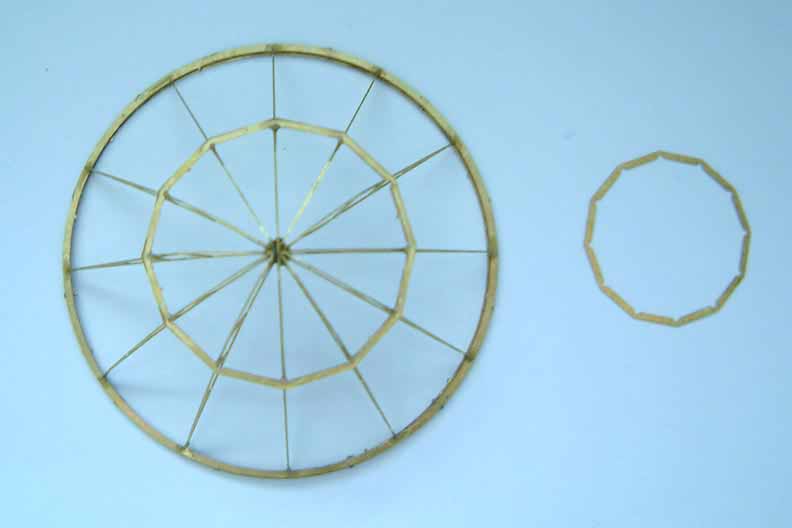
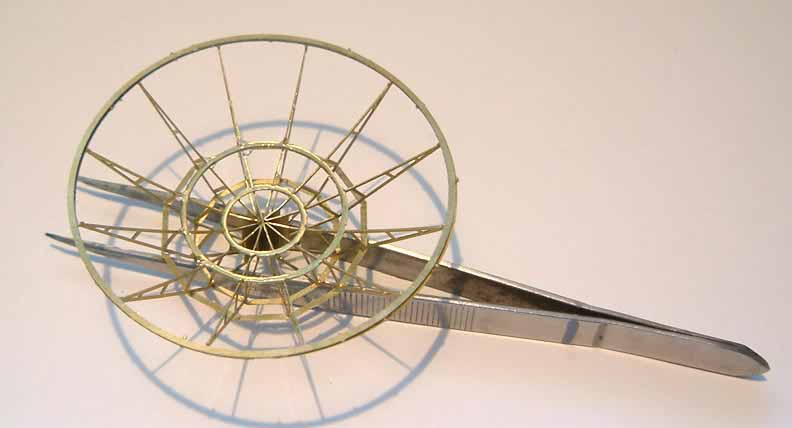
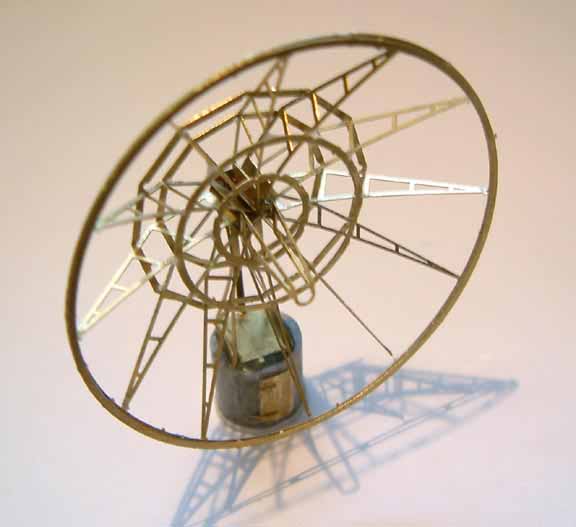
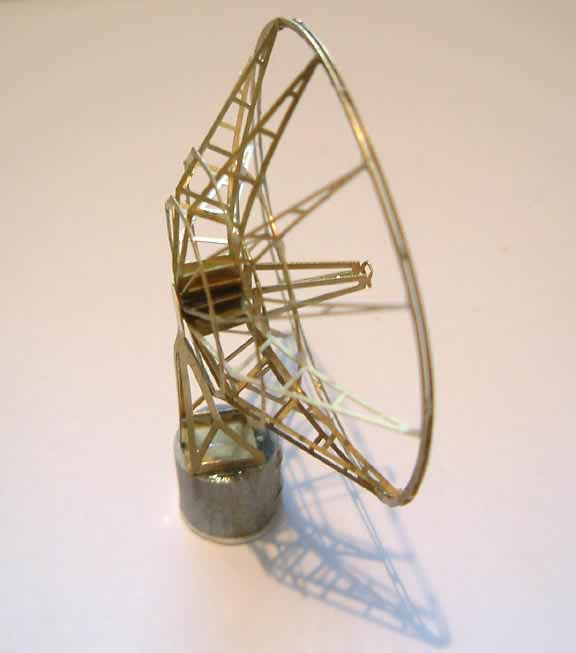
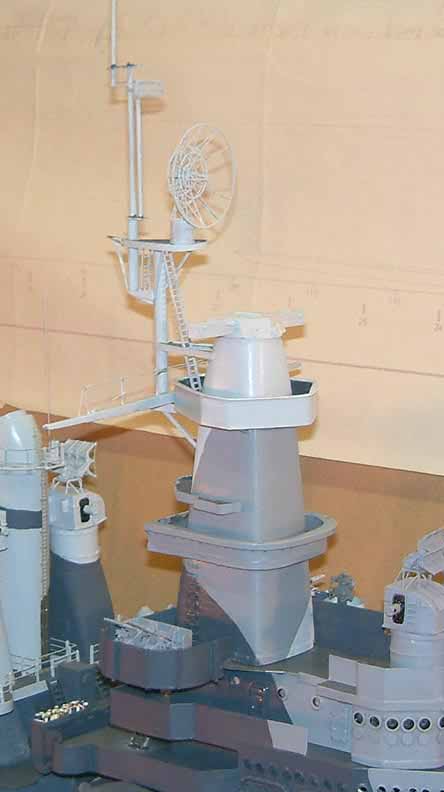
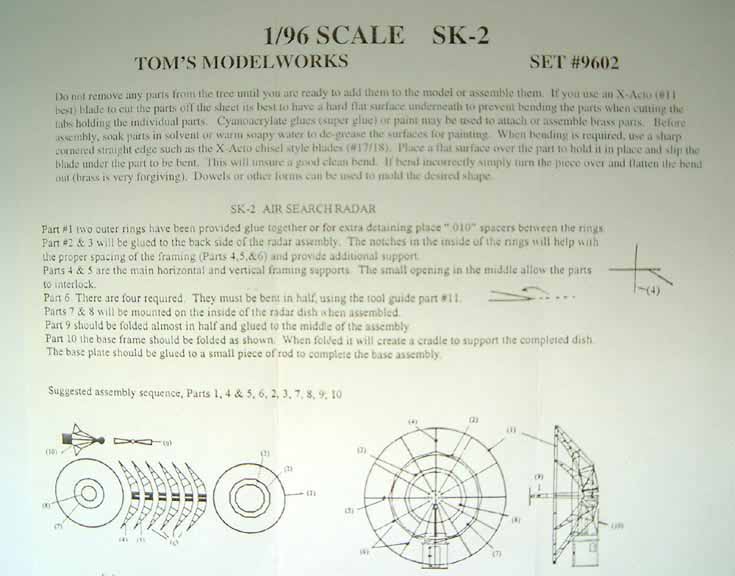
This again is 1/96 scale by Toms Modelworks, this is a complex piece of P/E and has a very good instruction sheet with it. |
 |
||||||||||||||
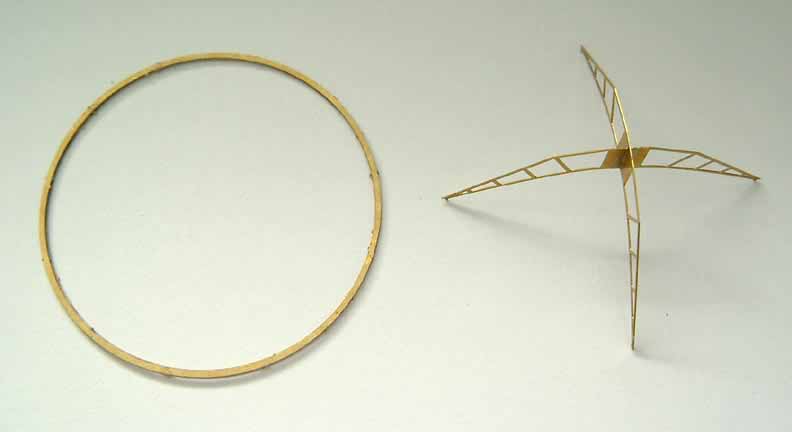
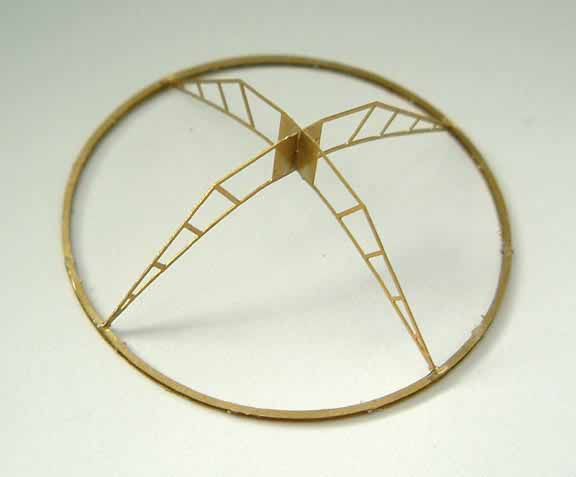
First I separated the two large rings and super glued 12
very small spacing pieces to the first and then laid the second one on
top and glued together, the sections for the dish are well marked, taking
the two that slot into each other, I glued them together and in to
position, the next 4 sections were folded to the correct angle and were
glued in position and left to dry.
|
|||||||||||||||
|
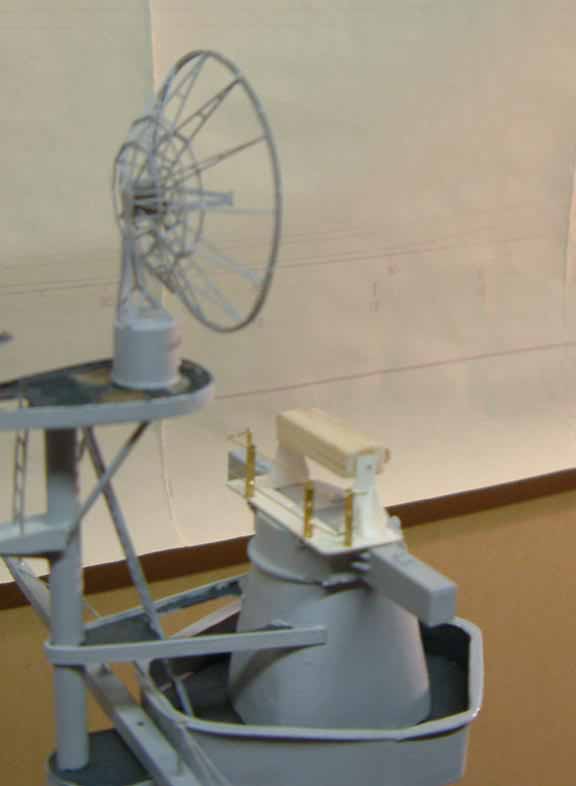
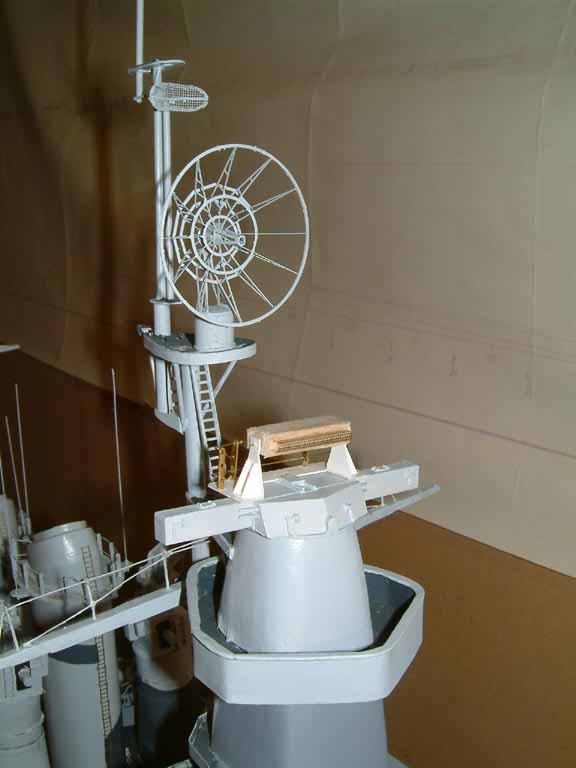
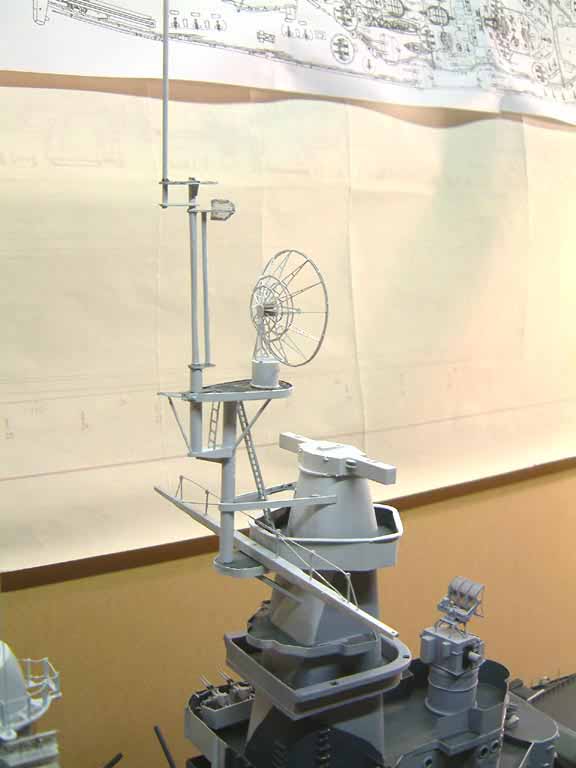
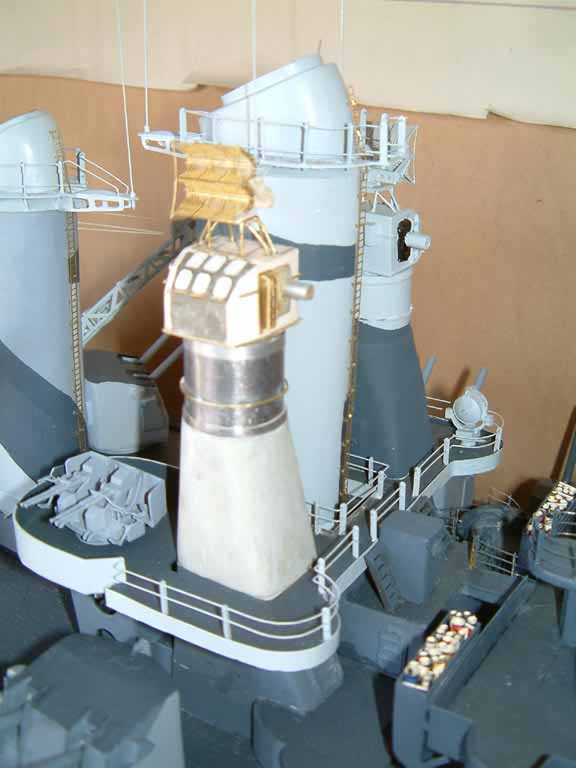
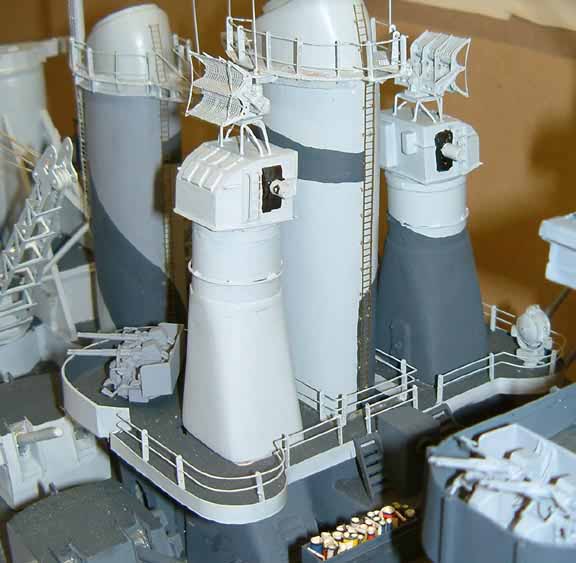
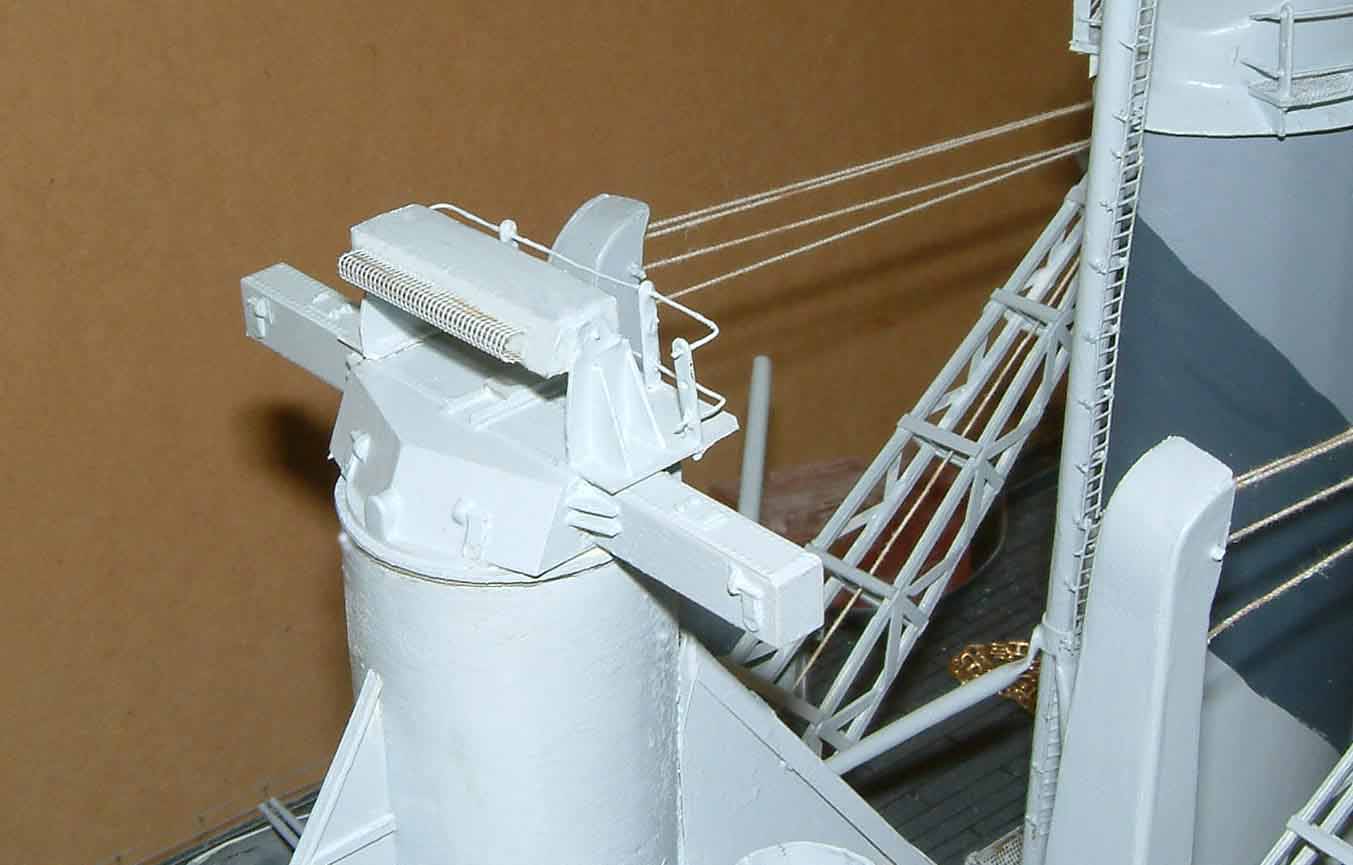
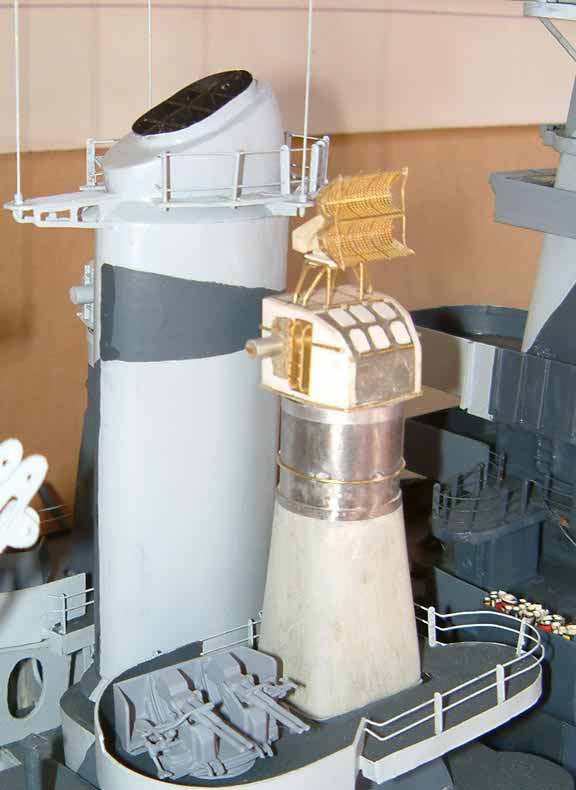
We have talked about these before but not the ones either side of the first smoke stack, the tapered part of the base was made from balsa wood covered with filla paste and sanded to shape, the next section is an empty can of paint glued in to position, the next section is part or my castings, I had made four in all, the radar again is Toms, a few small band were fitted around the second section, the two radar towers were sprayed with WEM paints , camouflage was applied with a paint brush. |
 |
||||||||||||||
|
|||||||||||||||
|
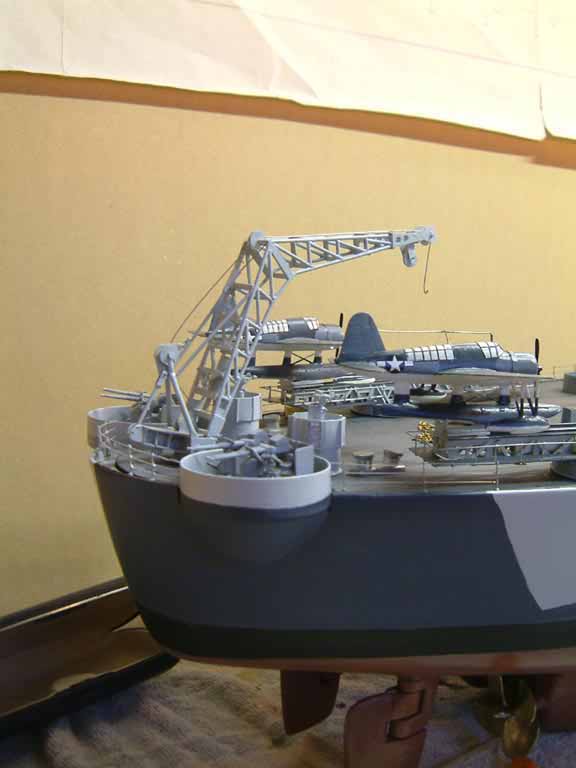
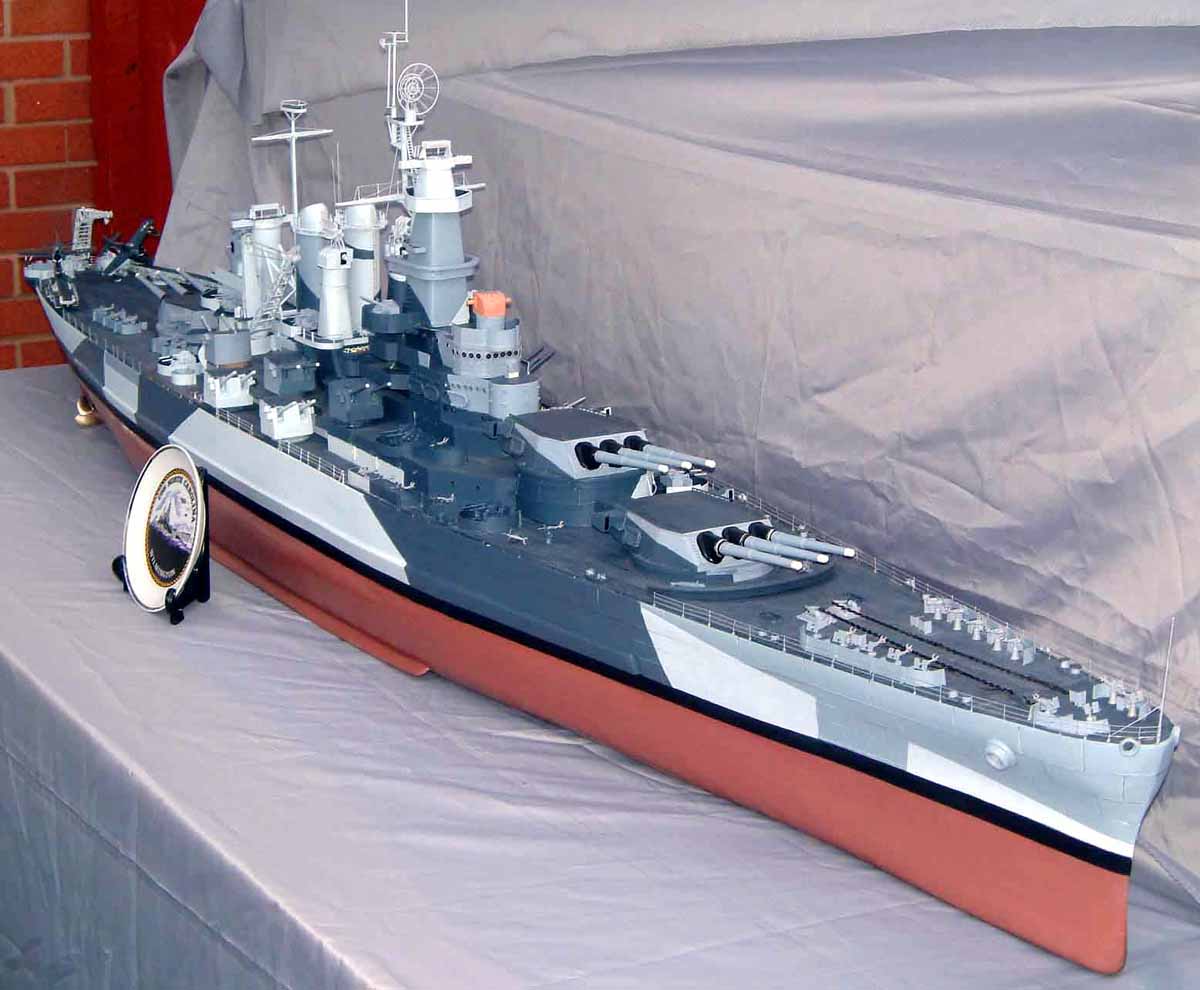
The last handrail around the outside of the ship is finally finished but there is still some on the main superstructure to do. The last photo's are the latest taken on a windy day in my back garden. Till next time happy modelling, Ron h. |
 |
||||||||||||||
 |
|||||||||||||||
|
on to part 14 coming soon |
|||||||||||||||