The Mutants' Guide to Photographing Ship Models
By Jeff Herne
We all build models, some build good models,
some build great models. But one of the vastly overlooked areas of modeling involves
taking pictures of your models, and doing them justice. Truth is, a good photographer can
be a bad modeler, and get better looking photos than a great modeler that’s a
terrible photographer.
There are 2 VERY IMPORTANT things you must have when taking photos of your models, Lighting and Background
Lighting is everything, it sets the mood, brings out the details, and can change the colors of model if not set up properly. I use the absolute best source of light that money can buy…SUNLIGHT. It’s free, and when it’s available, it’s damn near perfect. So, bring your model outside, in nice weather I typically use the patio table. If the weather is cold, I’ll shoot directly under a window. If you must shoot indoors, grab as much lighting as you can, and try to avoid aiming a light source directly at the model. Instead, bouncing off a wall, the ceiling, or even a piece of foam core is a great way to diffuse the light and eliminate alot of shadows.
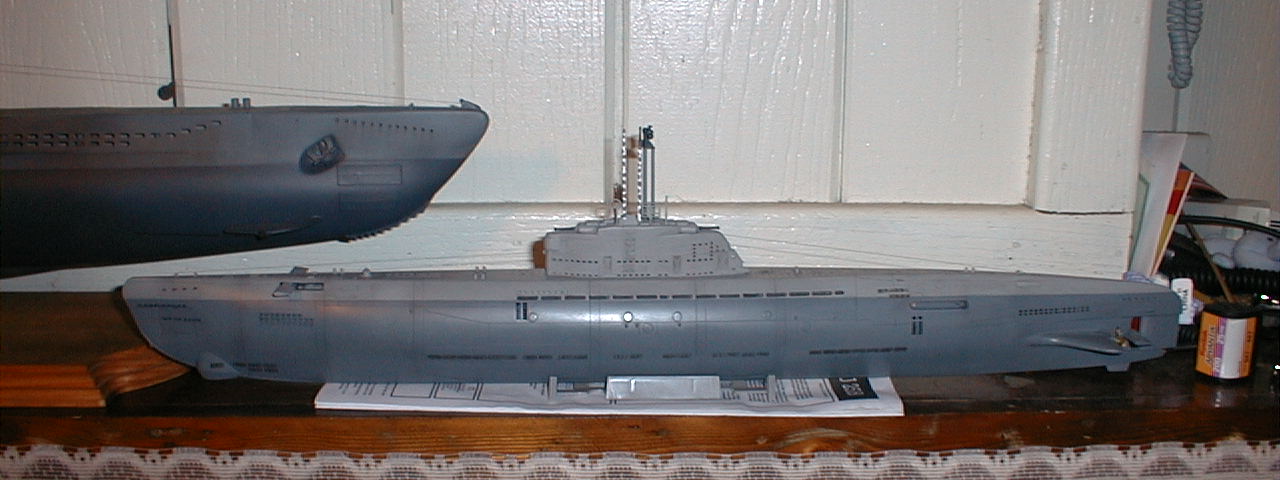
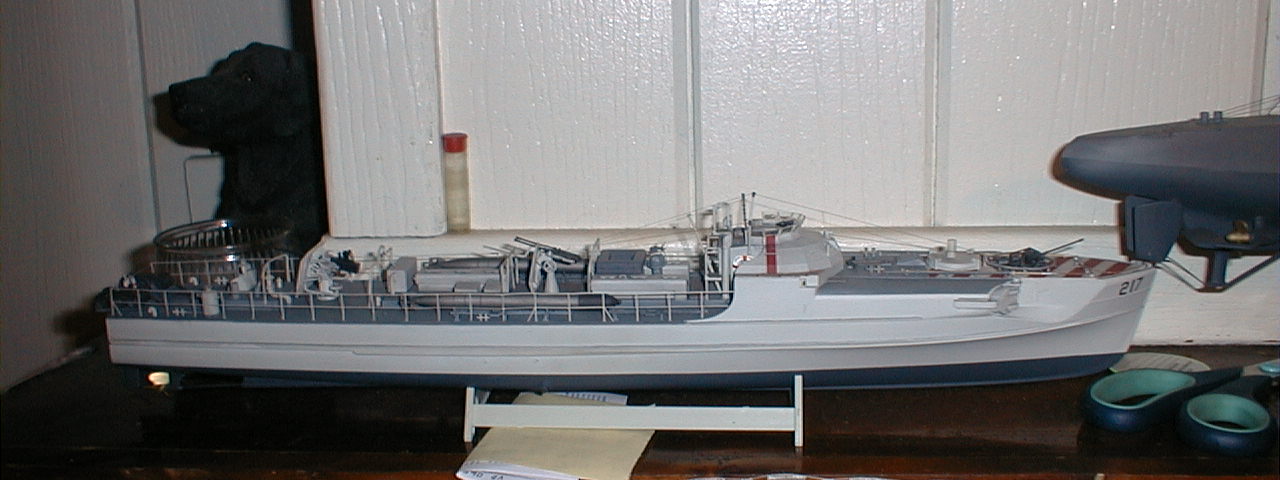
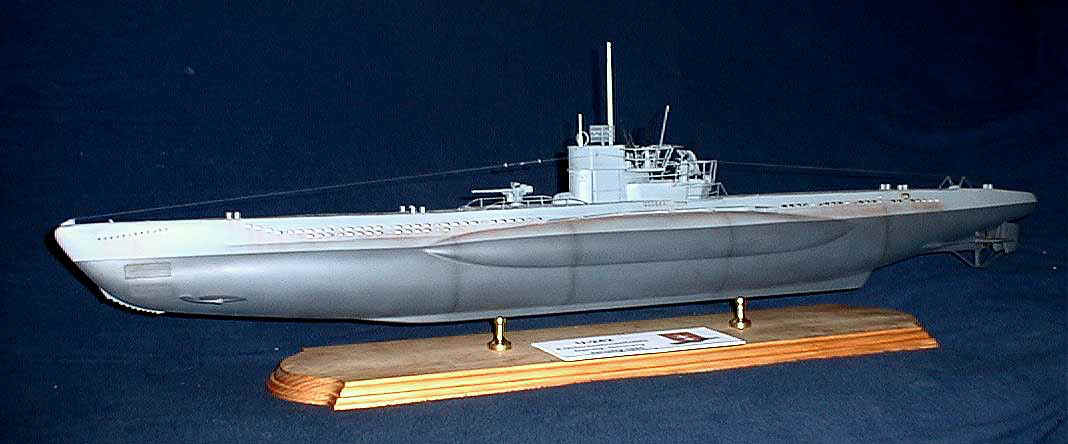
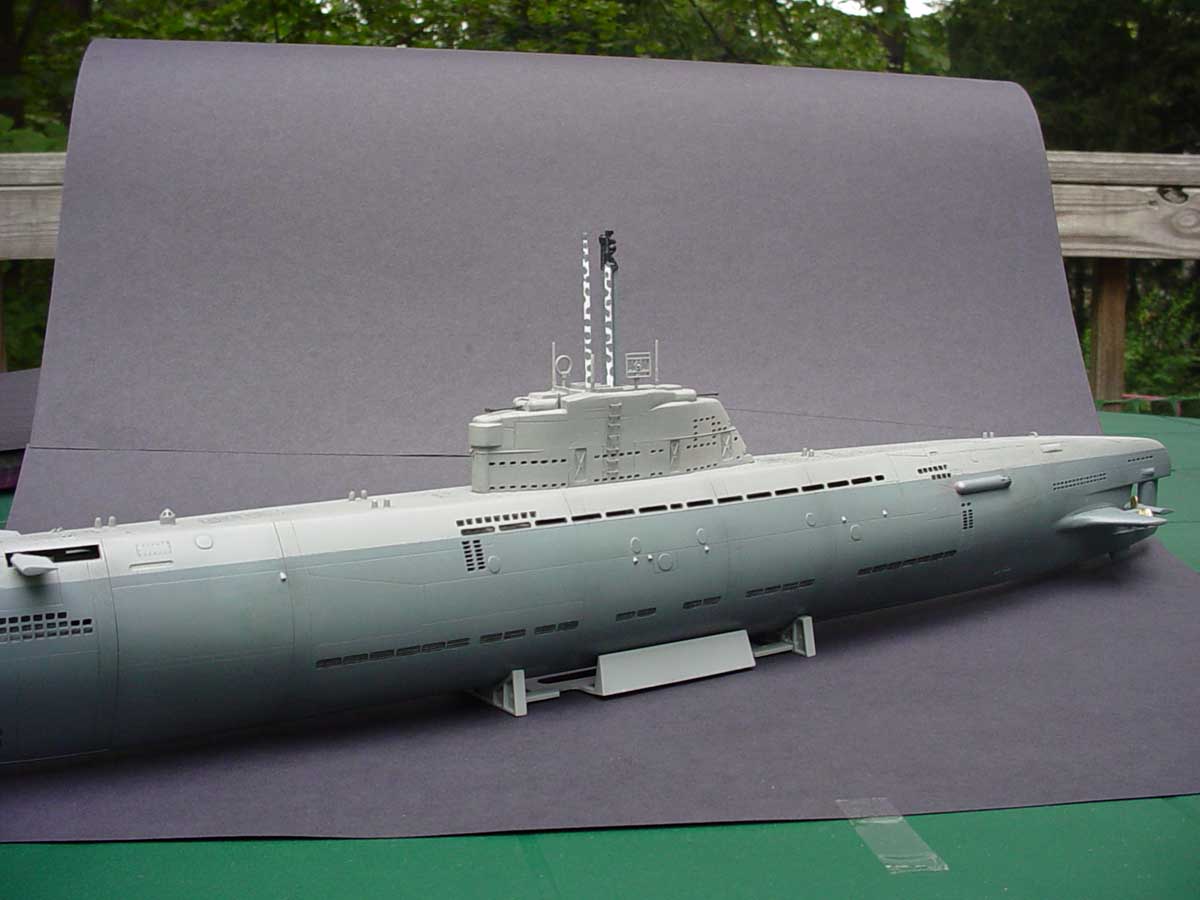
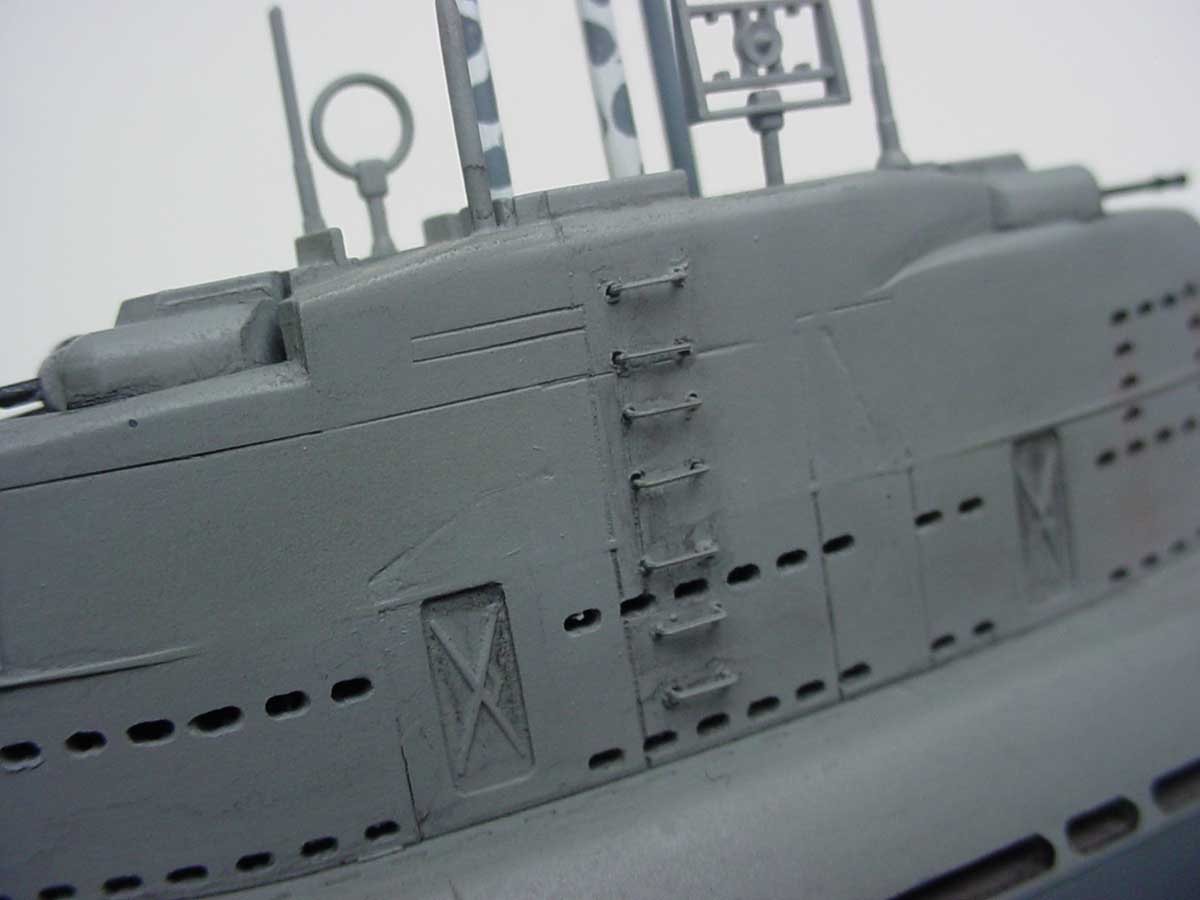
Background is vital. Do you really want blurred images of your dog in the background of your model photos? I use construction paper or poster board…it comes in a variety of colors and sizes, and I choose what contrasts the model best, based on how its been painted. Lighter ships, I prefer a darker background, darker ships, a lighter background. It’s all about contrast, but not too much. Here's a simple photo of a typical background, in this case, close up shots of my Revell Type XXI U-boat. It's taken on my deck, on a resin table.
Here's the results of the same placement using this background
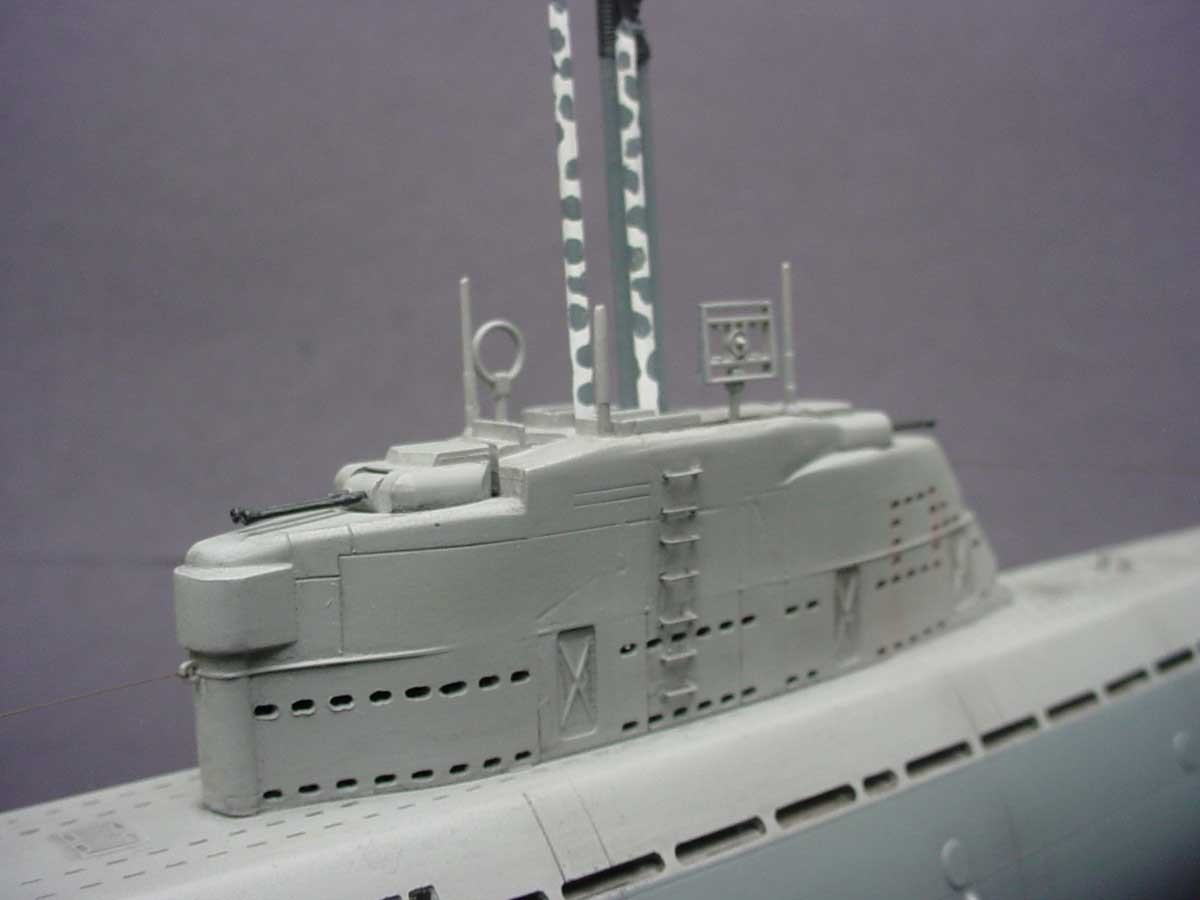
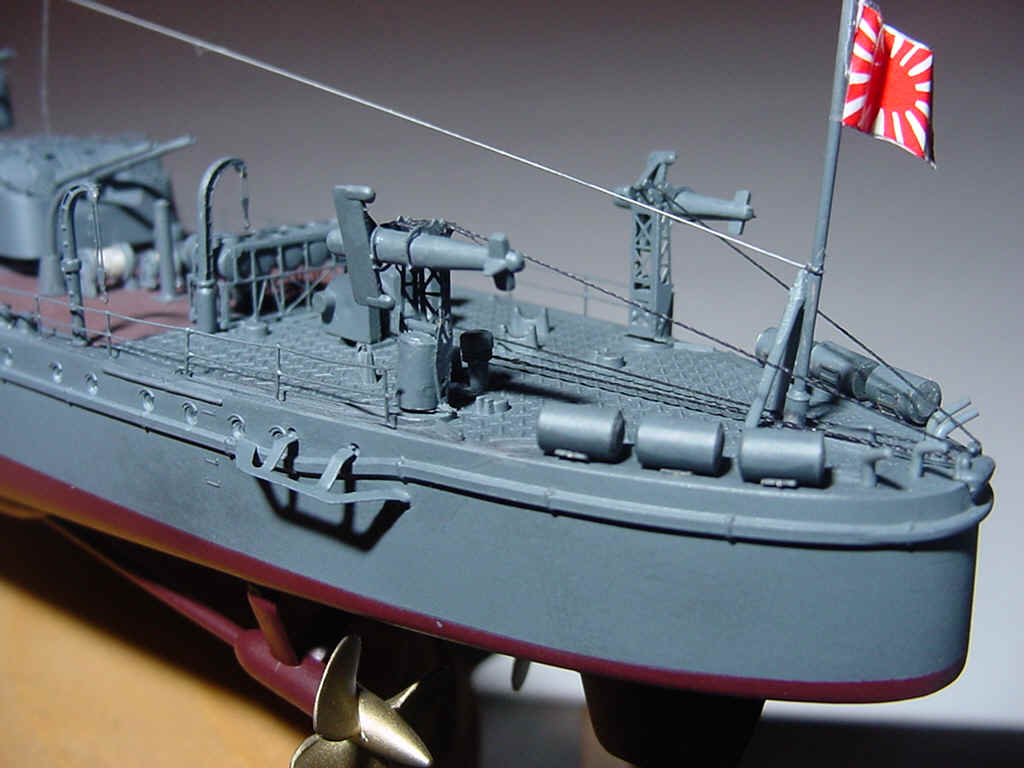
The image on the right is taken from the same picture on the left. I take all my images at the highest resolution, so I can crop an otherwise bad-looking shot (on the left) and get something decent from it without losing quality.
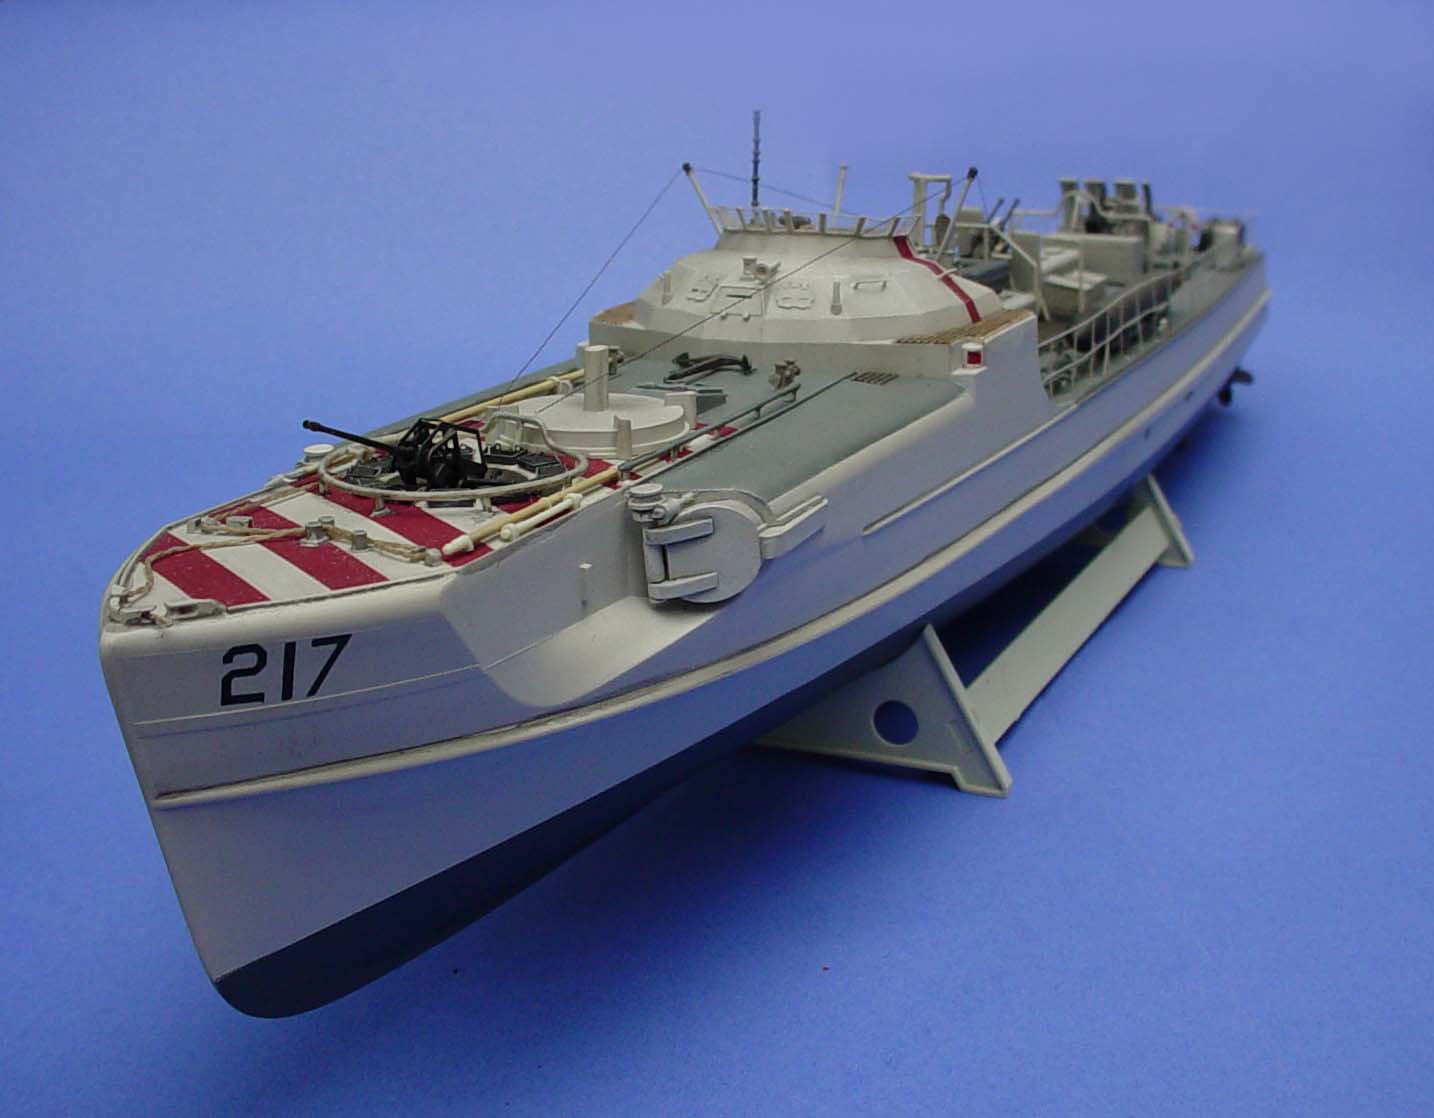
When I took these shots, I really wasn't satisfied with the contrast in the images, as the background was too dark for my liking. So...I switched backgrounds and went to a light shade. I simply slid the light gray paper behind the model. Here's the sequence:
The first image is untouched, the second is cropped, and the third is cropped and brightened using photo editing software. The color balance was not adjusted. At the highest resolution, 1600x1200, I was still able to crop this down without losing quality. In fact, to get it to the levels acceptable for web graphics, I had to reduce the size of the final cropped image (on the right).
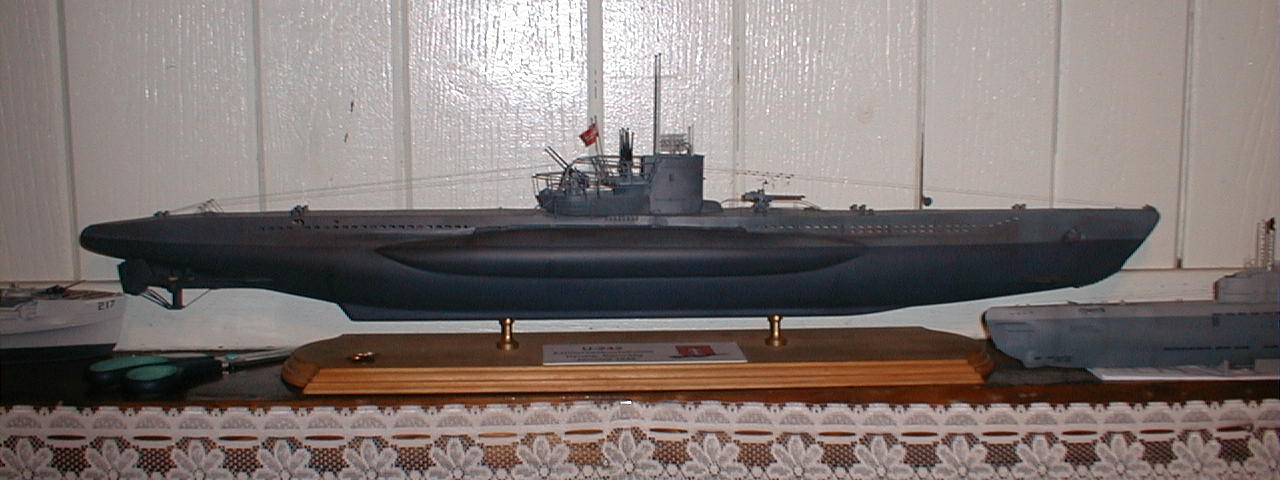
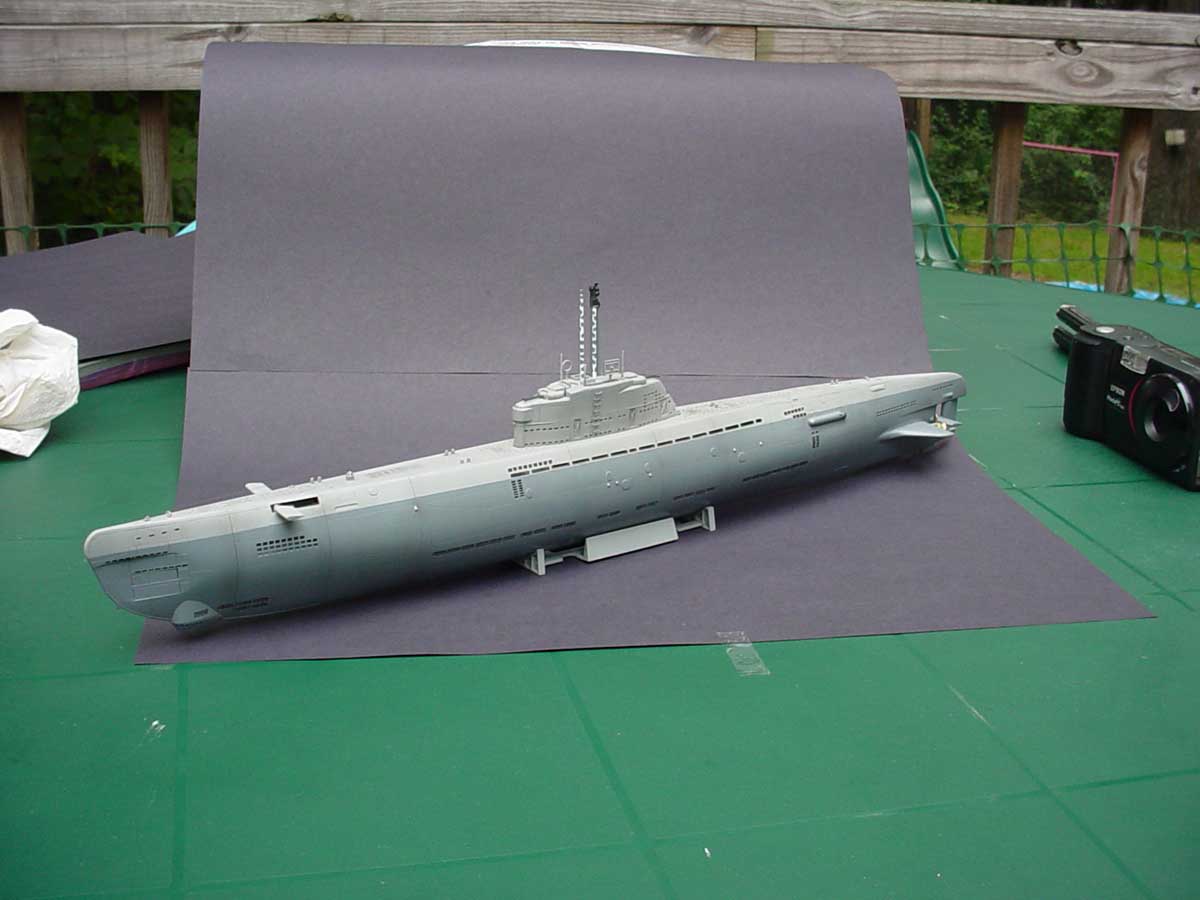
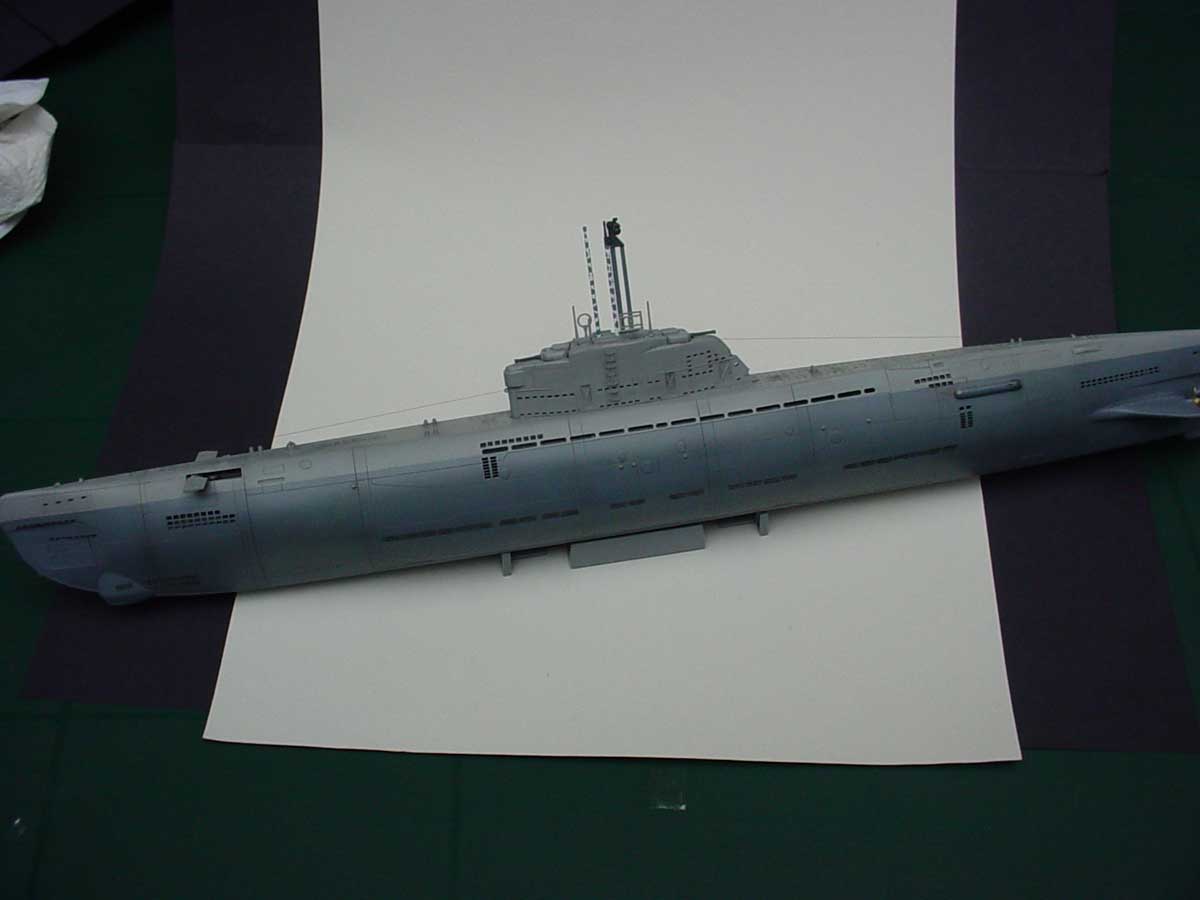
When I decide to put a background together for a model shoot, I make sure its at least 30% larger than the largest dimension of the model. Since we’re talking ships, that’s the length of the ship. This allows sufficient background color when shooting the model ľ on bow or stern, or broadside. The images above used a background that was setup for detail shots, up close, not showing the full model. Of course, if you want a shot of the entire model, your background needs to be larger than the dimensions of the model. Here's the first shot of the Type XXI, unedited, and un-cropped.
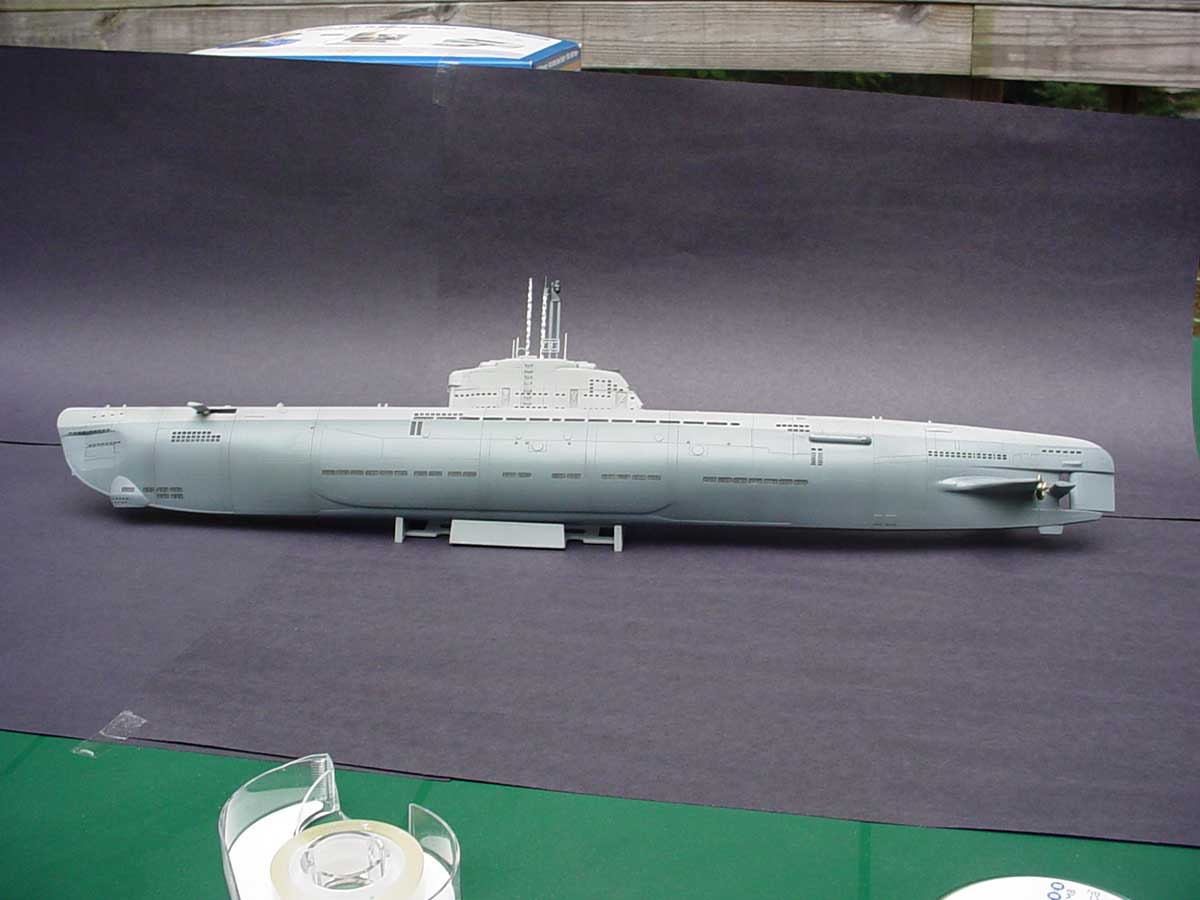
As you can see, there's alot in this image that can be cropped out. You'll also notice the lines from the construction paper background. If you decide to spend the .79 cents on a sheet of 24x36 poster paper, it eliminates the need to remove the lines in the paper.
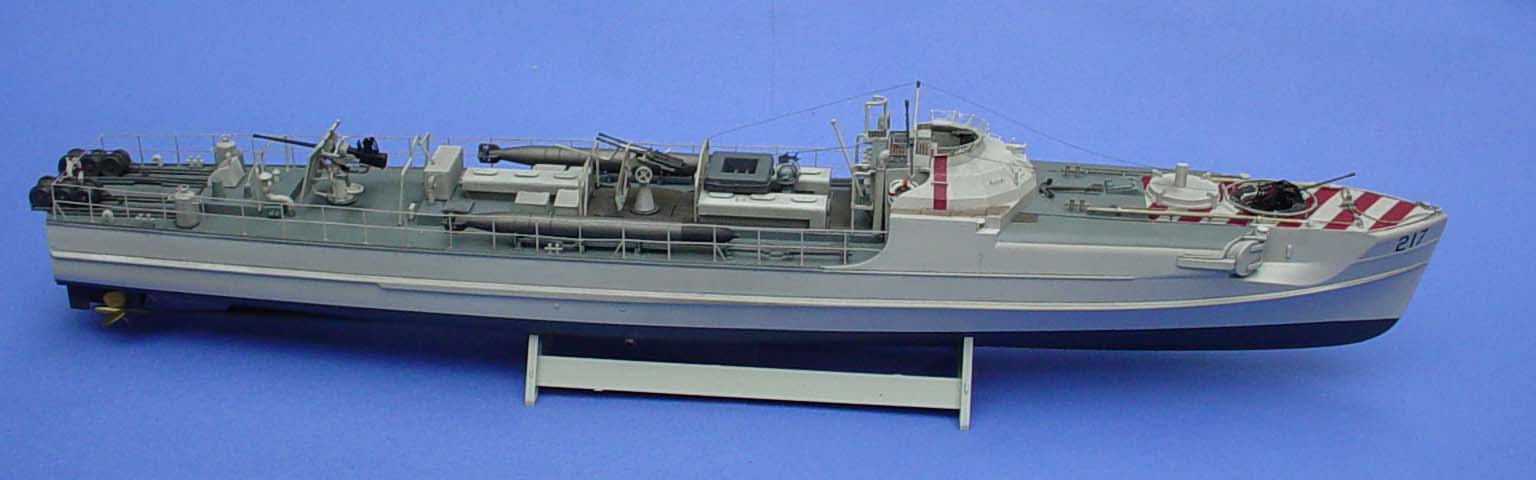
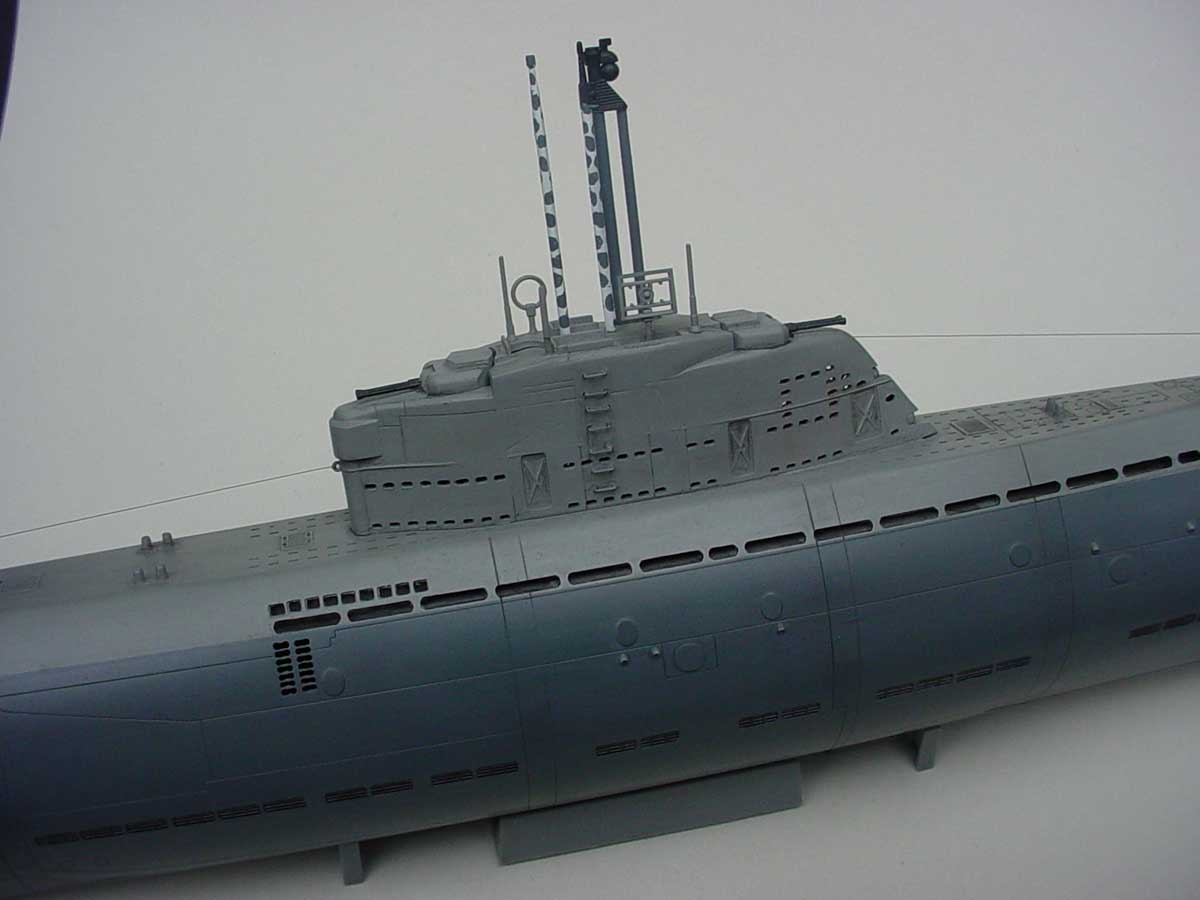
Here's the cropped, final version of this same photo:
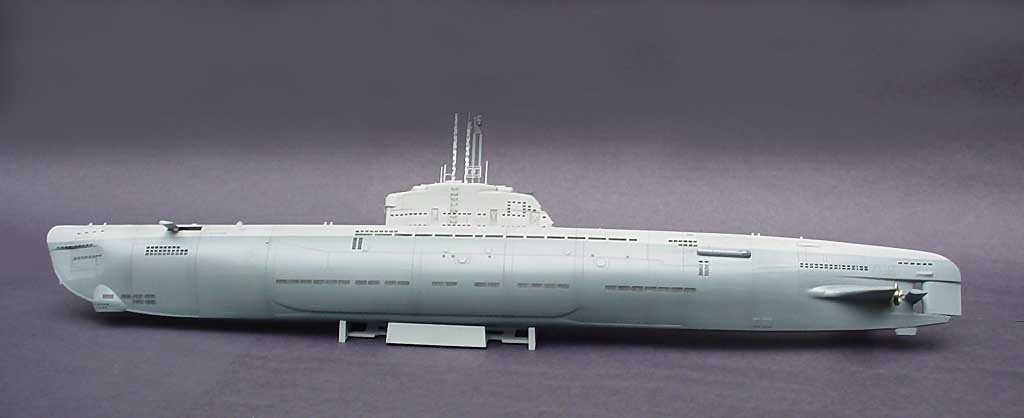
In this photo, the image was cropped, removing the scotch tape, the upper edge of the backdrop, and the green table. The lines were editied out, simply by matching the color of the background and airbrushing the dark lines out. I blended the upper portion of the background, and I deliberately left a small sliver near the stern for you to compare.
A decent camera is a must, and most of the new digital cameras are inexpensive and take good photos. I have two that I use, a Sony Mavica CD400 and Epson PC700. The Mavica retails for about $400 and the PC700 was a $129 camera about 4 years ago. The PC700 is probably comparable to the simple point and shoot digitals that are out there today. The Mavica is a high end digital camera, with all sorts of manual and auto settings, most of which I don't use. Tripods are also helpful, especially if you’re a wobbly photographer to begin with.
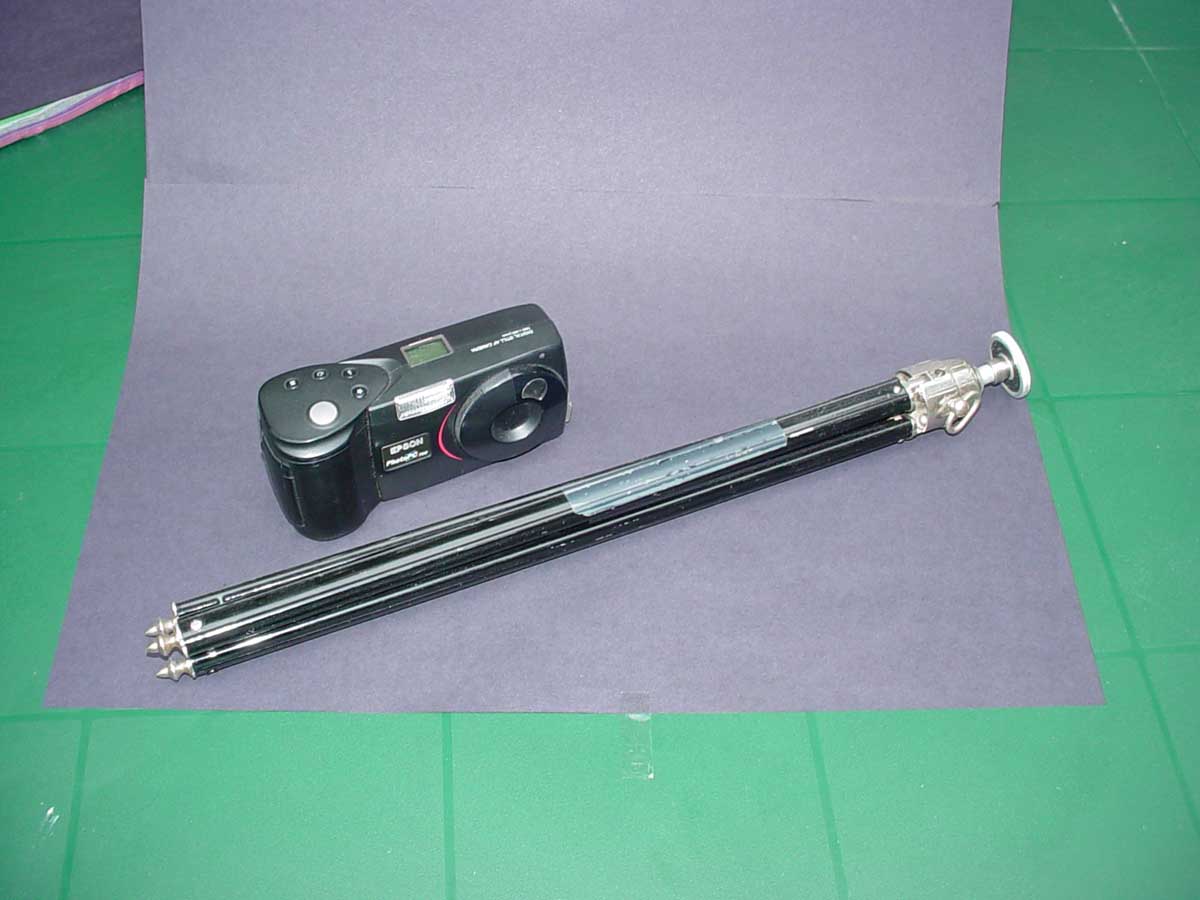
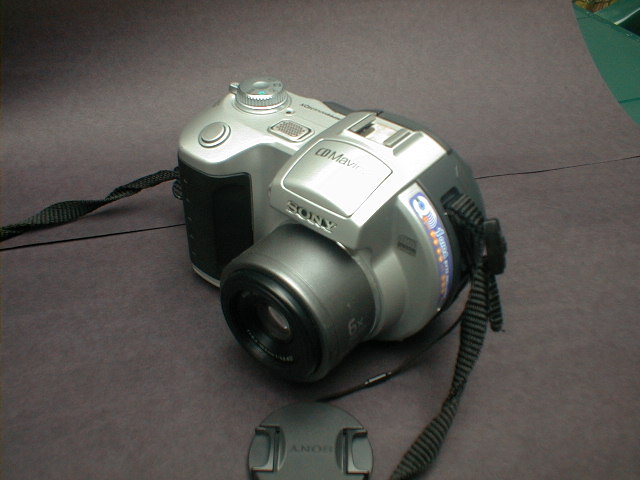
Everything you need...
Photo editing software is a must-have if you intend to take decent ship model photos. From Photoshop to the countless share-ware type packages that come bundled with cameras and scanners, pick the one that works best for you. I personally use Adobe Photoshop 5, although a 1998 release, it still does everything I need it to do.
It's all about experimenting with your camera and setup. If you're not worried about the number of pictures you take (which is not an issue with digital), then take tons more than you need. Experiment with different settings, flash, macro, whatever bells and whistles your camera provides. Sometimes the results are favorable, sometimes not. But the beauty of digital images is that you can simply delete those images that don't turn out right. I took about 25 photos of the Type XXI, and only 10 or so came out to my liking.
I hope this helps answer some basic questions. I've written about things that have worked for me, and it took some serious experimenting before I found out what worked, and what didn't. A little extra effort can make all the difference in the world about how your models look in photos. Take a look, these are all models you've seen before...