
Working with resin ships- The Basics
By Mike Taylor

Before we get into the particular techniques
involved in building resin ships, let’s first look at some techniques that should be
used in the building on ship models in general.
Ship
models, due to their intricate details and numerous small parts, must be handled as little
as possible. To enable myself to have access to all sides of the ship, yet not touch it
while working on it I usually mount it with rolled over masking tape to a piece of
cardboard. Make sure the cardboard is large enough to extend at least 20cm beyond all
sides of the ship. This protects it from being bumped into anything. In this way you can
hold the ship in your hand and maneuver it to any angle without actually touching it.
If
you’re going to put the ship on a water base the time to begin this work is before
you begin to work on the ship. The reason is that you need to handle the hull and use it
to mark it’s position on the base. If you wait until after the ship is assembled, or
even painted you risk damaging any railing you may have added or rubbing off the paint.
Many of the techniques I will discuss here may be
used on resin and plastic ship kits. Let’s start at the beginning....
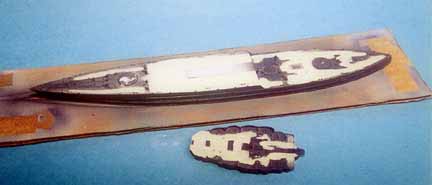
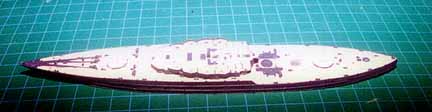
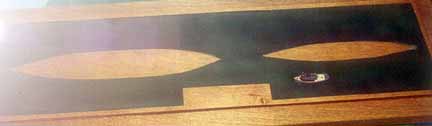
I began by positioning the kit hulls on my cutting
board to find out how large my base needed to be. Once I had the kits and the base I
placed masking tape on the base then positioned the hulls on the masking tape and traced
them with the tip of an exacto knife. After removing the excess masking tape you are left
with the masking tape “footprint” of each ship on the base. Then I mask the
edges of the base and also a spot for a nameplate with 2 to 3 layers of masking tape. The
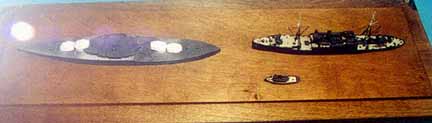
area left uncovered represents the water. As this was going to be a harbor I airbrushed
this area with a blue/green color, and prepared to use my “calm water” technique
for the base. This is very simple. Once the ships positions are determined and masked and
the borders are masked and the water is painted pour some acrylic gloss varnish over the
base and spread it out with a fan brush. This acrylic varnish is used by artists and can
be found in most art supply or craft stores. It is milky in appearance and has the
consistency of maple syrup. Once spread out on the base it will even itself out and once
dry it is clear and glossy. The base can be set aside until later.
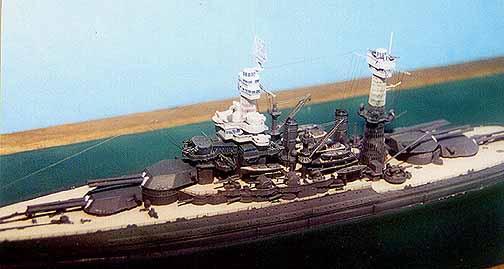
The
ship is then assembled following the instructions. Different deck levels are attached to a
piece of cardboard and painted, then glossed. Any windows or portholes are then painted
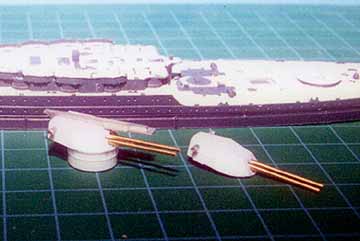
dark blue and a light drybrush of lightened Gunship Gray is applied. Small parts like
searchlights and guns are painted while still on their sprues then cut off and attached as
required. The photo etched parts are painted the hull color while attached to their frame
then cut out, shaped (if required) and superglued in place. Once the glue has dried they
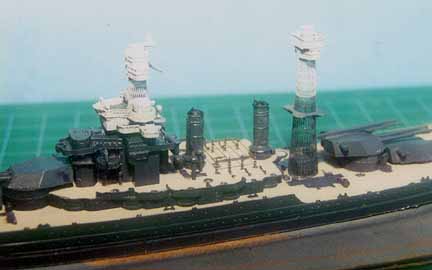
are touched up with the correct color with a small brush. The cage masts were painted
light gray overall, then referencing the instructions, were masked off and the lower color
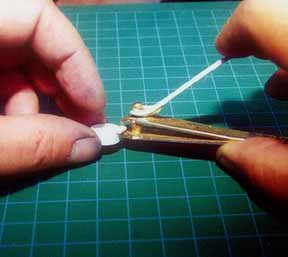
was applied before they were removed and rolled to shape. To shape the masts I began
rolling them with a large diameter paint brush. Then I worked my way down to smaller
diameter brush handles until I had a nice round cross section and the 2 ends met along
their length. Carefully holding it in my hand and aligning the meeting surfaces I applied
superglue along the joint with a toothpick. I used a round file to enlarge the opening in
the center of the mainmast searchlight platform until it slid easily into its position on
the mast. Before I glued it into place I added the railing surrounding the platform and
the searchlights. Once the Fighting top was attached I cemented the masts into place with
slow drying super glue. This allowed me time to make sure they were aligned along the
centerline from above , were sitting straight up and down, and were aligned to each other
when looked at from the bow or stern. The blast bags for the main turrets were made by
building up layers of white glue, then painted white. The photo etched boat cranes and
stern catapult crane were bent to shape and assembled. The stern catapult was replaced
with a photo etched catapult from Gold Medal Models Cruiser/Destroyer set. It may not be
100% accurate for this ship but it looks fine and I preferred it over the white metal kit
offering. Now we are ready to set the ship on the base.
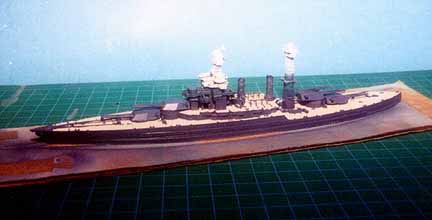
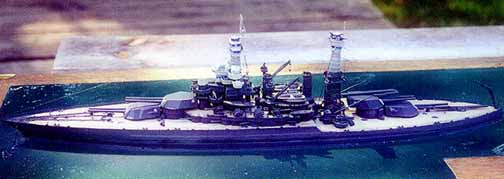
Now
this ship is securely fastened to the base. Setting the ship on the base is the only time
you should need to touch the ship once assembly has begun. With the ship firmly in place
photo etched railing can now be added. I begin to add railing from the uppermost first
working my way down to the main deck level. For the rigging I like to use 4 mil ceramic
fiber or boron fiber. Using dividers I measure the distance between the 2 points then
transfer that to a piece of paper. Then I place the rigging material between the 2 points
and cut it with an exacto. Then both ends are dipped into superglue and the rigging is
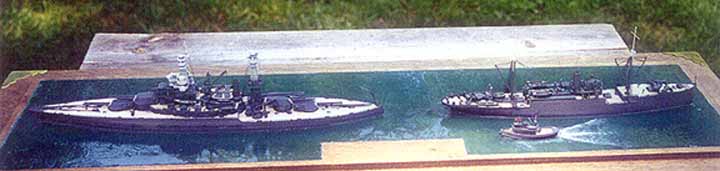
placed-working from the center of the ship out. Since this ship is at anchor I gave it a
final coat of dullcoat to eliminate glue spots and blend it together. If it were at sea
I’d give it an overall coat of gloss, either to make it overall very glossy or glossy
at the waterline working up to semi gloss at the mast tops-ships at sea are wet.


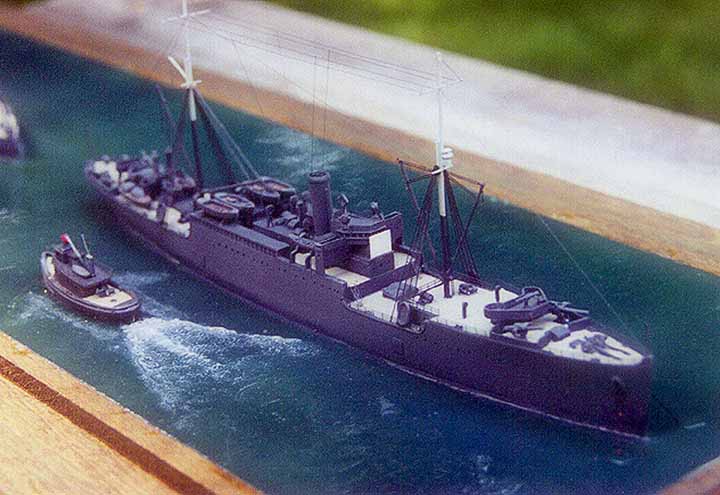
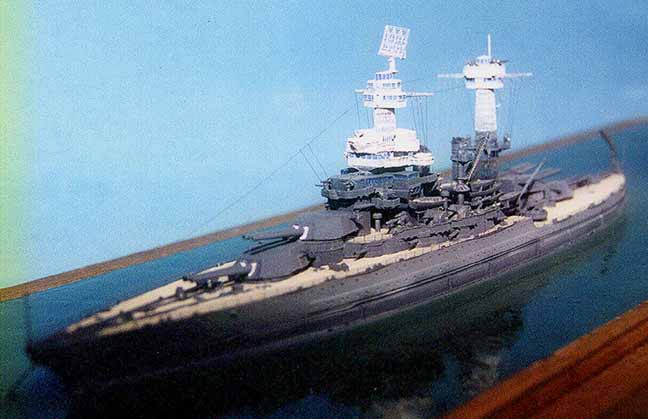
I can’t say enough about the quality of this Hi Mold kit. It was a fun kit to build with no surprises....Mike Taylor