| |
| I found I like making model Warships, it passes the time
and depending on the time you put in, along with the advice that contributors
make on every topic on this site, over time the tricky little models slowly
improve. The major problem I experienced was lack of shelf space
around My Home. One solution I came up with was mounting the "model
Warships" inside a picture and then hanging them on the wall. This
is not a new idea as various wooden type boat pictures adorn Pubs, which
I tend to frequent as it is a past time I also thoroughly enjoy.
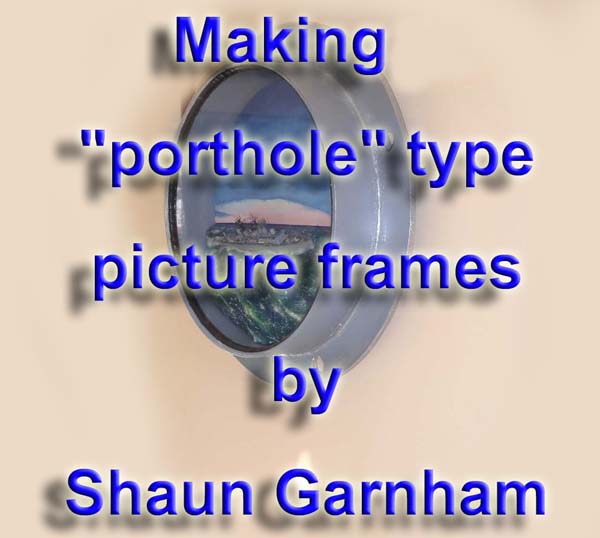
To give the picture frame a Nautical feel I have made them to resemble
a "Porthole".
I will give some dimensions and materials (available in UK) I use but obviously if or when you make yours just make it using what works for your own preference or available items. The general idea can be modified to make various shapes and sizes with the same basic approach, using plastic trays, I have made square, rectangle, a corner shape but I will show how I make round. |
 |
 |
|
 |
|
| The "porthole" is made out of a plastic/resin drainage pipe connector,
plywood, sealant and polystyrene, making it light, unlike a metal porthole.
Main disadvantage is you can only see one side of the Warship, but then
how many times do you change it round on the Shelf ?
Sorry this may be difficult to follow, might be easier methods but hopefully should give you idea's at least. I realise that everyone making model Ships are used to using solvents, glues, knifes and electric tools, well unfortunately making the "portholes" is just as dangerous, maybe more so with higher surface area coverage so ensure very good ventilation, an outside work space/garage, a drill, drill bits, jig saw, work horse etc would be good. |
 |
| The round shape is pretty strong in itself as I use drainage items used i the building trade. I use a osmadrain drainage chamber pipe joiner 300x150mm 4-5mm thick plastic, although measures 325x200mm (c £27). Bought from builders merchant. |  |
| Mark all the way round 100mm from edge, then cut it in two, one half
has a ridge the other is smooth with 3 recesses, shows the two halfs together.
My apologies as picture shows 2 finished portholes side by side but currently
not making any and on other projects.
I personally cut the drainage connector in half slowly with a hacksaw and end up with two round plastic tubes that only stick out 100mm into the room once hung as a picture. |
 |
| Holed Surround (for the smooth tube)
I use 9mm plywood, ensure you mark all lines for circles to cut, including the eigth holes before doing any cutting as easier to do on the whole board using the same centre. Place the plastic round tube on the wood and draw all the way around the plastic tube on both the internal and external sides. The dimension for external side of My drainage tube is 324mm and I add 50mm for the width of porthole so wood width is around 425mm. Once cut it should just slide over the complete length of the plastic tube. |
 |
| I chose to have eight holes in my surround. These are 20mm diameter
using an electricians gland hole saw. The diameter of the circle
that the centre of my 20mm holes sit at and their distance apart is a mathematical
nightmare that unfortunately I can not remember, just do it to you liking
and check check check. In getting the hole in the centre of the 50mm
width remember that there is a 5mm weld but personal preference on actual
positioning.
Once all marked to a visually appealing round surround shape with holes, cut with jigsaw and hole cutter. Less width and smaller holes, 15mm also looks nice. |
 |
| Backrgound board inside the Porthole
nce you have cut out the surround you should have a round bit of plywood left over, the centre. I use this as the picture. It should just slide into the tube, if not cut until it does. |
 |
| To mount the background board inside the plastic circle I make 3 wooden
struts cut to shape and attached with 2 screws each to the tube, equally
spaced around the porthole at the back (pic_7a.jpeg) . One of the struts
I use as the top one to fix the picture hanging mechanism too.
Do not glue the struts into place as they need to be removed to place the finished picture board in once porthole all spray painted. |
 |
| Plastic tube.
On the interior of the tube to give the background board something to butt up against and to hide the edges of the board I attach cork, using impact adhesive, and leaving a gap between the 3 wooden struts the size of the mounting board. Rough the inside of the tube with emery cloth. I put the impact adhesive on both surfaces (cork and tube) to be joined, using as a first layer 1.5mm 70mm wide cork sticking against front edge around the inside plastic. |
 |
| The cork I get unfortunately does not go all the way around so I have to add a piece at the bottom which will be mainly covered by Sea scape. Once first layer cured I put on two 2.5mm 56mm wide layers of cork in line with the back edge of cork. Once all cured I then cut the leading edge of the cork near the plastic rime to give a tapered appearance. (There is a gap of 14mm to the front edge of plastic and 5mm of cork to put black sealant on and glass in, then sealant.) |  |
| Adding surround to Tube
Next rough the external surface of the tube. Then slide the cut plywood surround into place, position dependent on your preference and join the two together with Pink Grip, ensuring holes symmetricaly spaced to the hanging center. Put sealant weld on both sides of wood to hold it in place. You can remove pink grip if your not happy with finish and then reapply either when when wet or after it has cured by cutting/peeling off, then redo. Pink Grip first thing I used and seems to be good at sticking the two materials together. Pink grip a tad runny if too hot but if temp less than 10'C does not grip plastic tube. |
 |
| Once cured I paint wood, sealant, cork and plastic with grey wood primer,
doing 2 coats.
Once this dried I then spray with enamel silver paint to give desired effect. Once all dry I put a small bead of black sealant around the 5mm of cork on the inside, allow to dry, for the 2mm round picture glass to fit up against. |
 |
| Putting it together. |  |
| The Background board is free for you to paint, fix a painting to or
a photograph.
Personally I sand it, rough it, put on oil based wood primer, sand again, oil based wood primer and then do an oil painting. Give it a go, very relaxing in another annoying hobby kind of thing as you will then have even less hours in the day to do everything. Once the background is ready to go in I nail around 7 small nails into the area where the Sea going to go, cutting off ends. Then remove the 3 struts, push in board try to get it so horizon flat and level but do not worry if slightly out as you are looking through a porthole. Put in the struts, drill a couple of holes and fit backboard to strut so it does not move. If you are happy with it then you can put pink grip around back or masking tape to stop spiders getting in, then put on a label and varnish back |
 |
| The Sea I make 3 dimensional by shaping polystyrene and then covering
with paper then painting etc, cutting shape of ship where I want it to
go. Push it in to check look.
Put cotton wool in ship cut out and clear sealant then press finished Ship in. Once Ship and Sea ready put some clear sealant on sea area of board then push into nails. Any gaps between sea, sides and background fill in with clear sealant, then let dry. Once dry you can paint the sealant so it merges with sea. |
 |
| Once everything is in and finished, wait a week. This will give
you time to double check everything done. Lastly get 2mm picture
glass, from a glass business who will cut it to size and put it in place,
then put black sealant around edge. Allow to cure then Hang
picture on wall.
Do not worry if you want to change anything, just cut black sealant carefully and remove glass, then once finished put back in again. If it seems a lot of work it is, but effective as a picture and definitely different |
 |
| The other half tube is done in the same way but has a step.
The step is useful for putting the surround against but causes the cork
to be thicker for the background board.
I am always in admiration of any one of any ability who has had a go at making a model and I wish all of you many thanks and best wishes if you have a go or get a better idea, Good luck and good modelling. |
|
More
of Shaun Garnham's work.
Updated 12/10/2019

© ModelWarships.com